
The SkyBridge at Gatlinburg SkyPark was designed and built by Experiential Resources. With about 1.5 million visitors annually, it is ERi’s most trafficked project to date. The bridge was commissioned in April of 2019 and was opened to the public in May 2019. Learn about the construction and some fun facts below.
LENGTH, WIDTH, & HEIGHT
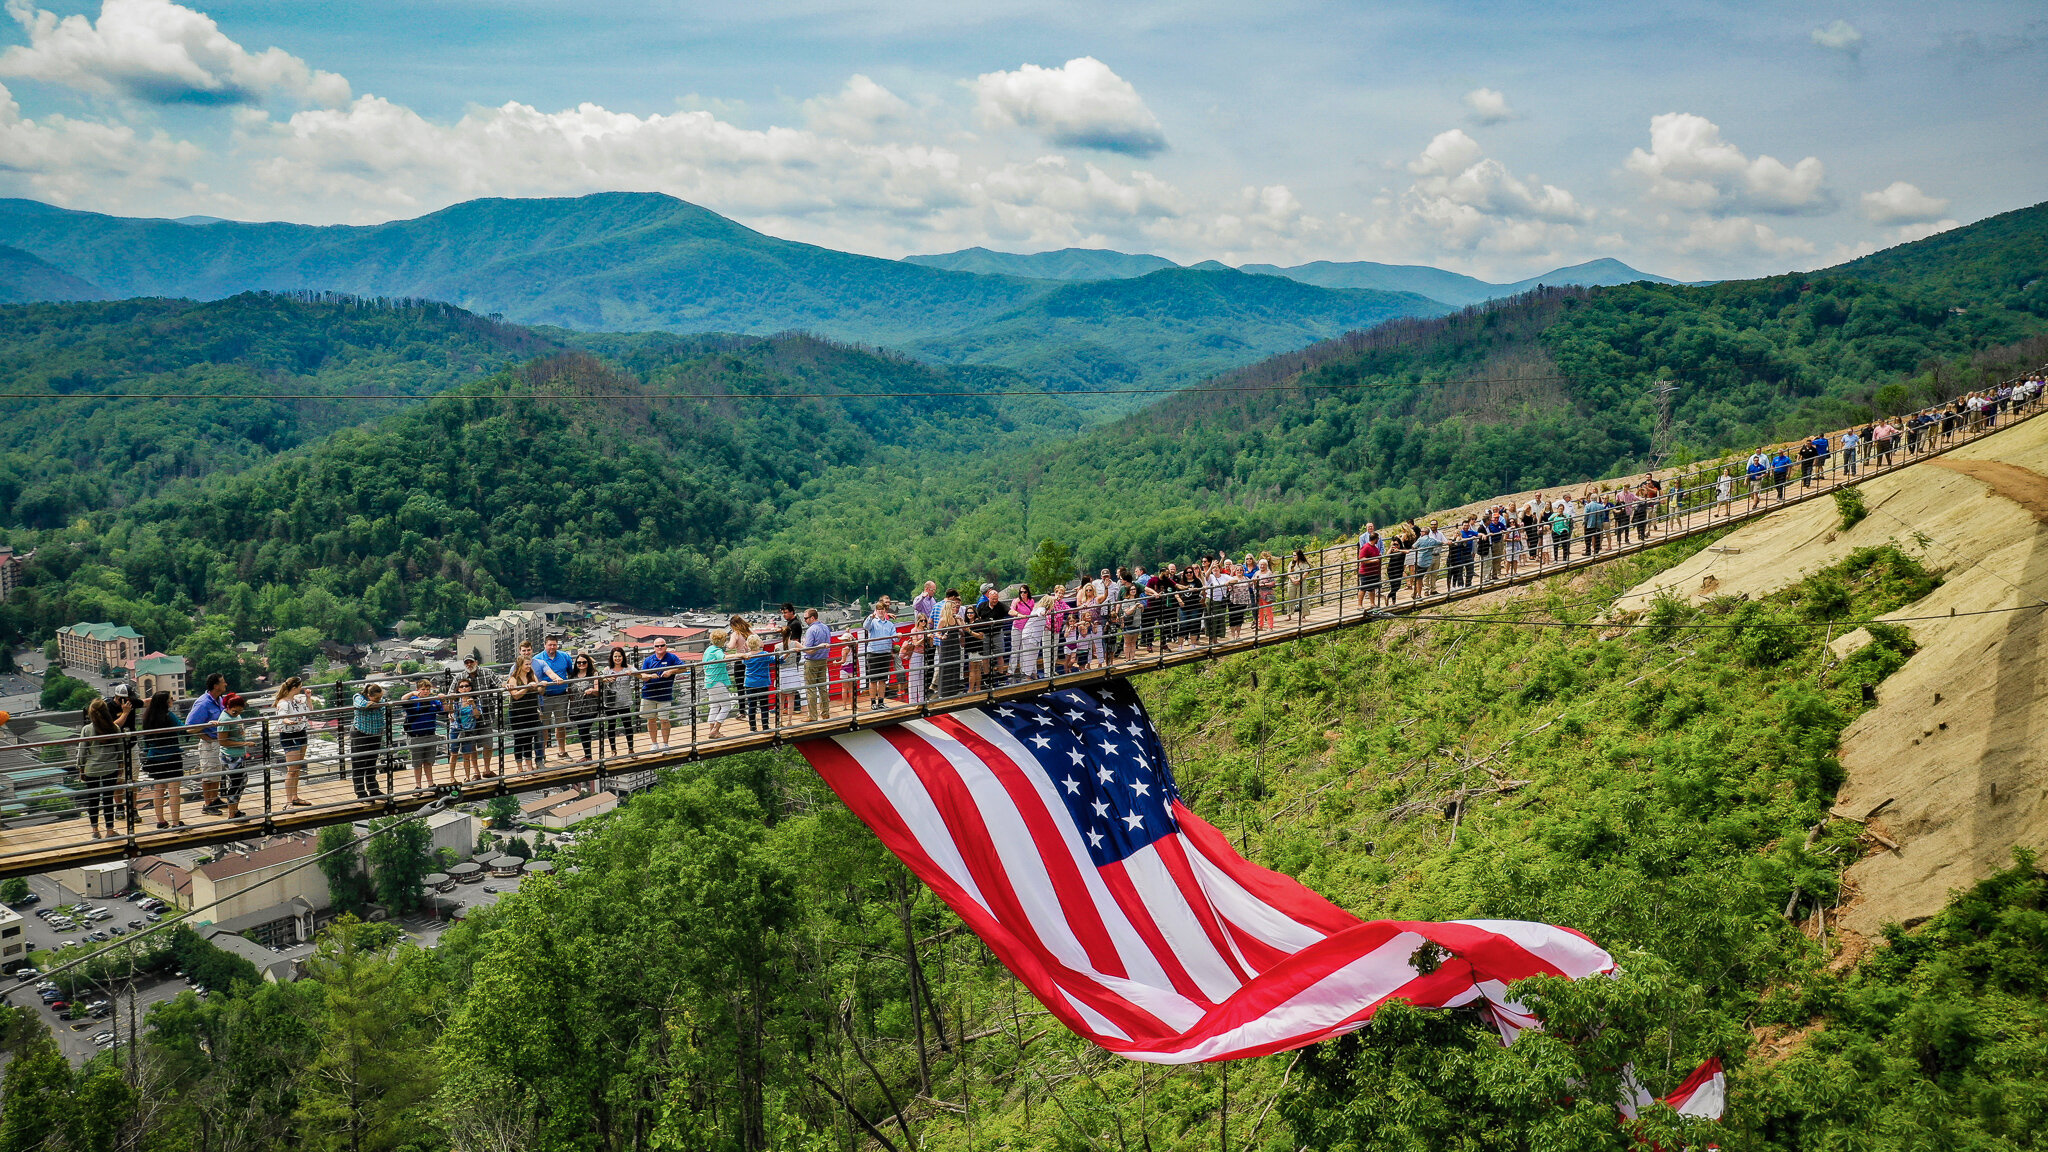
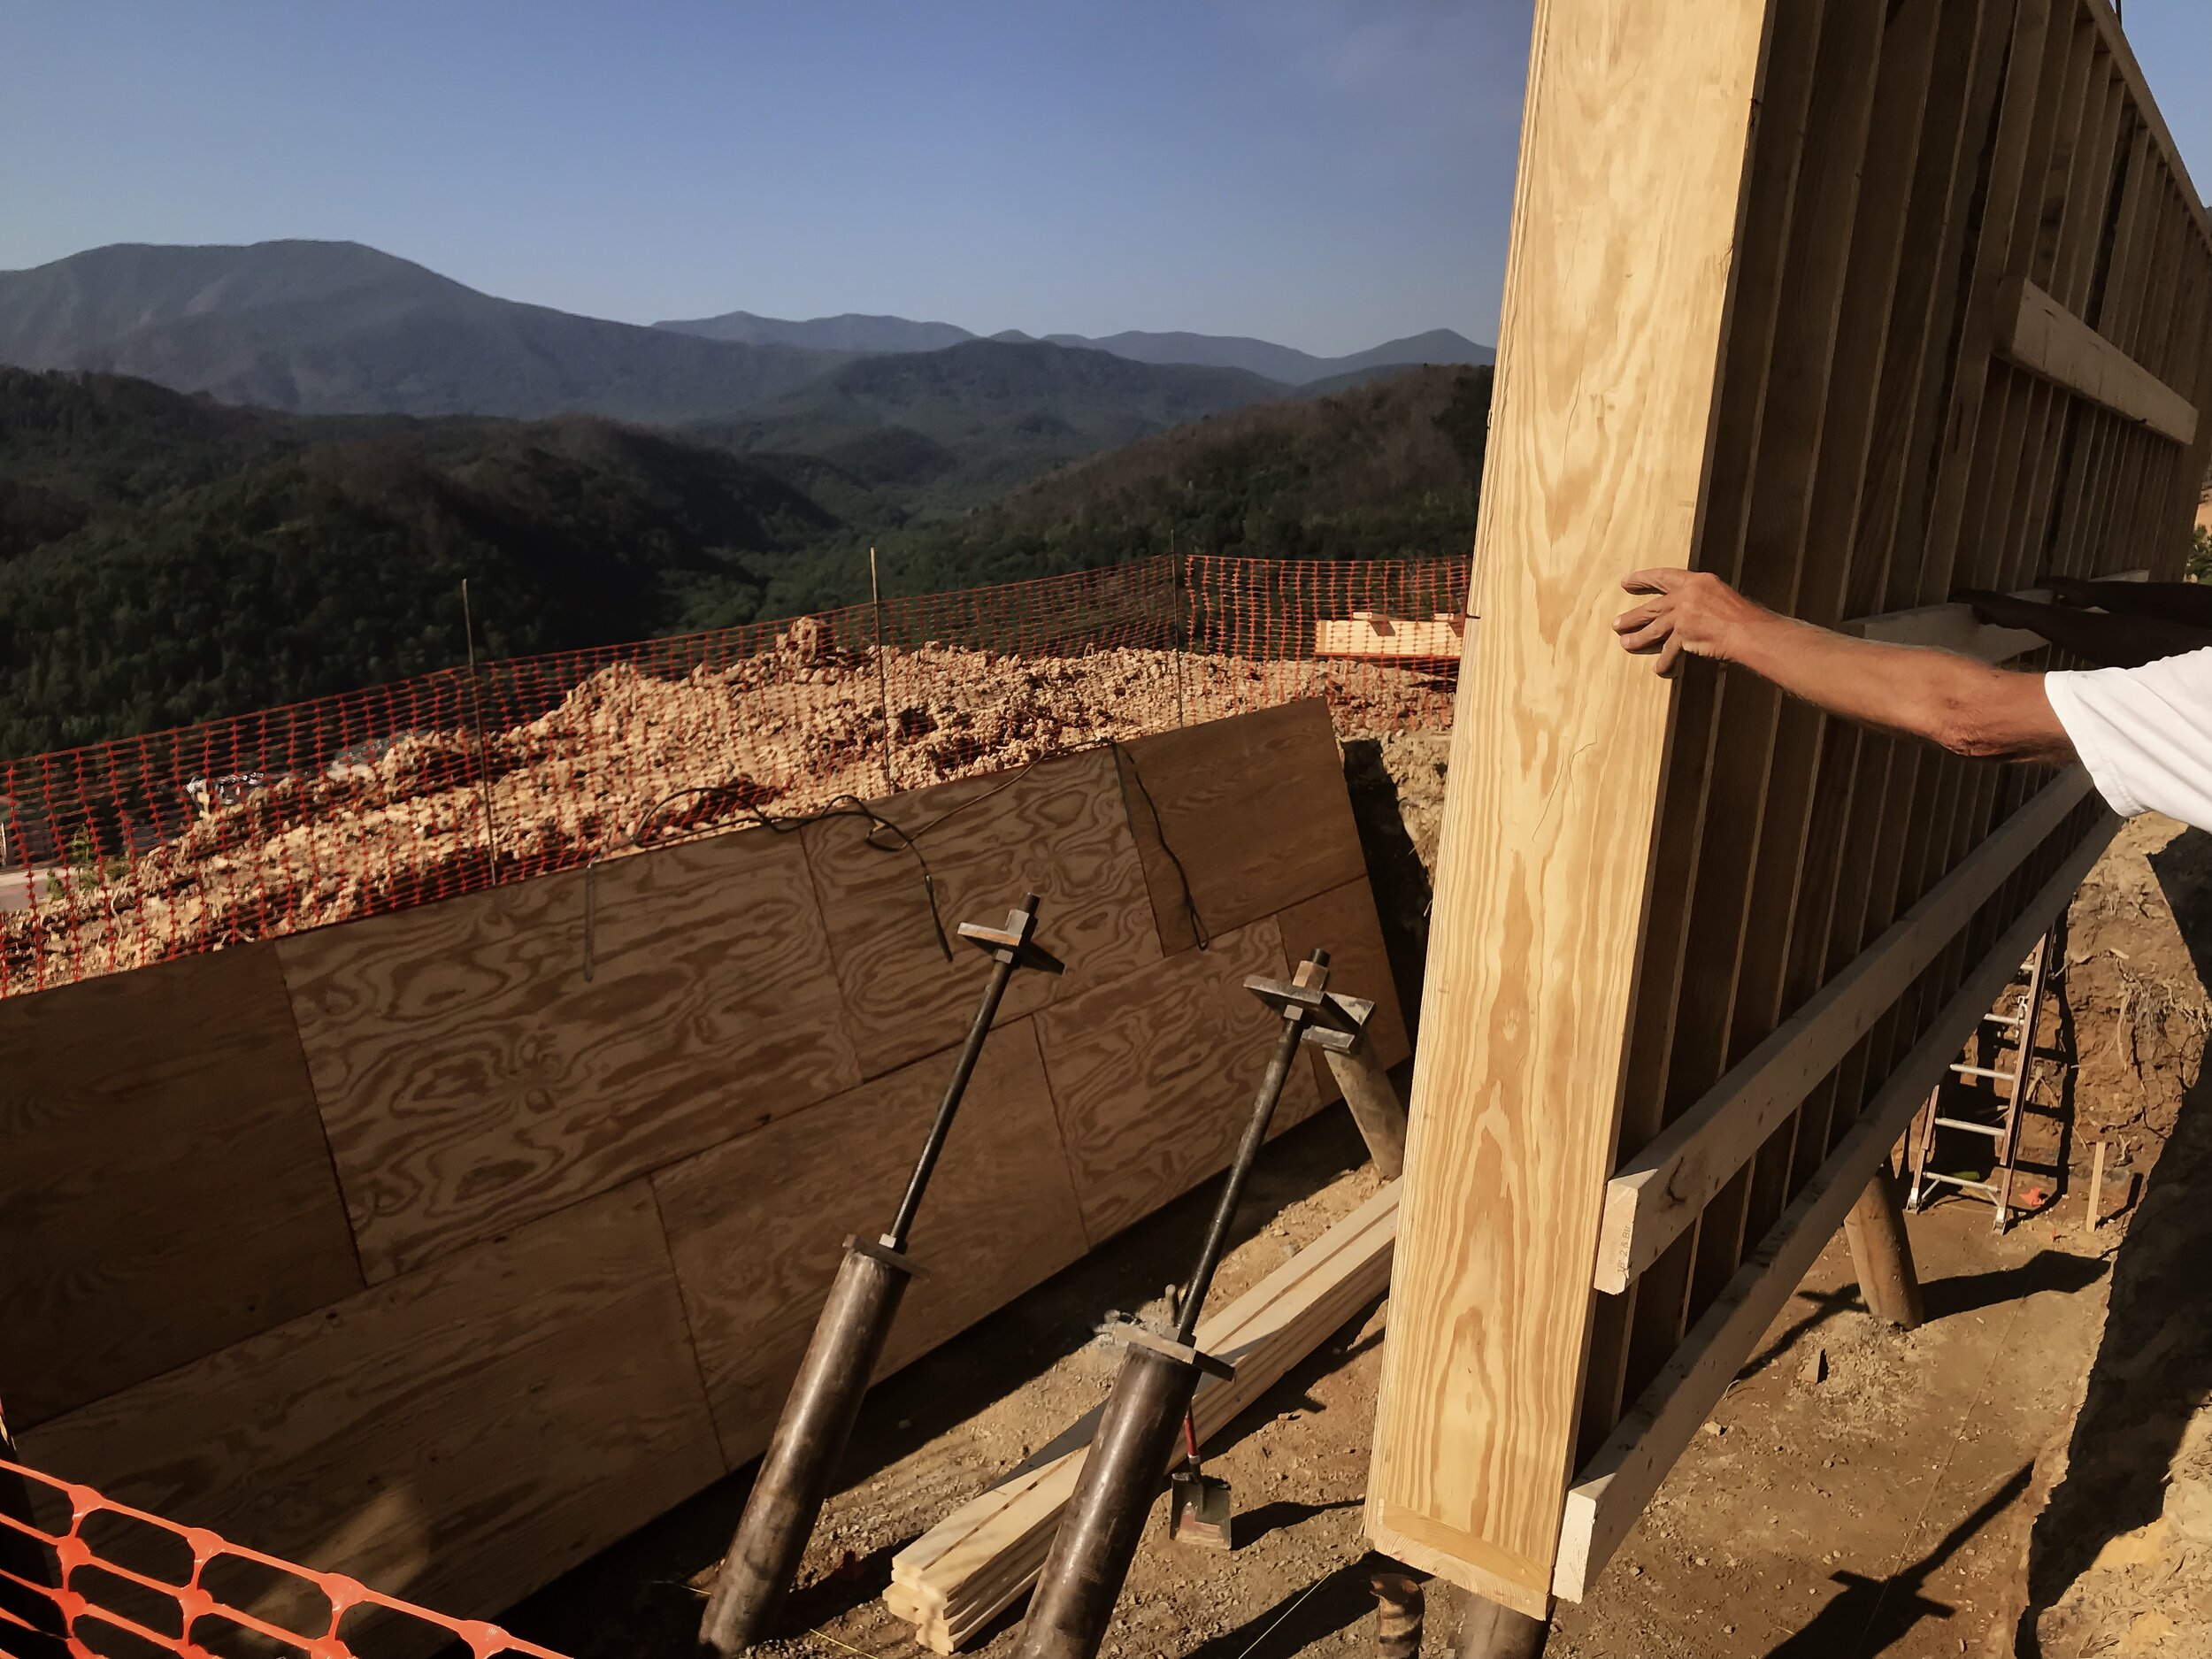
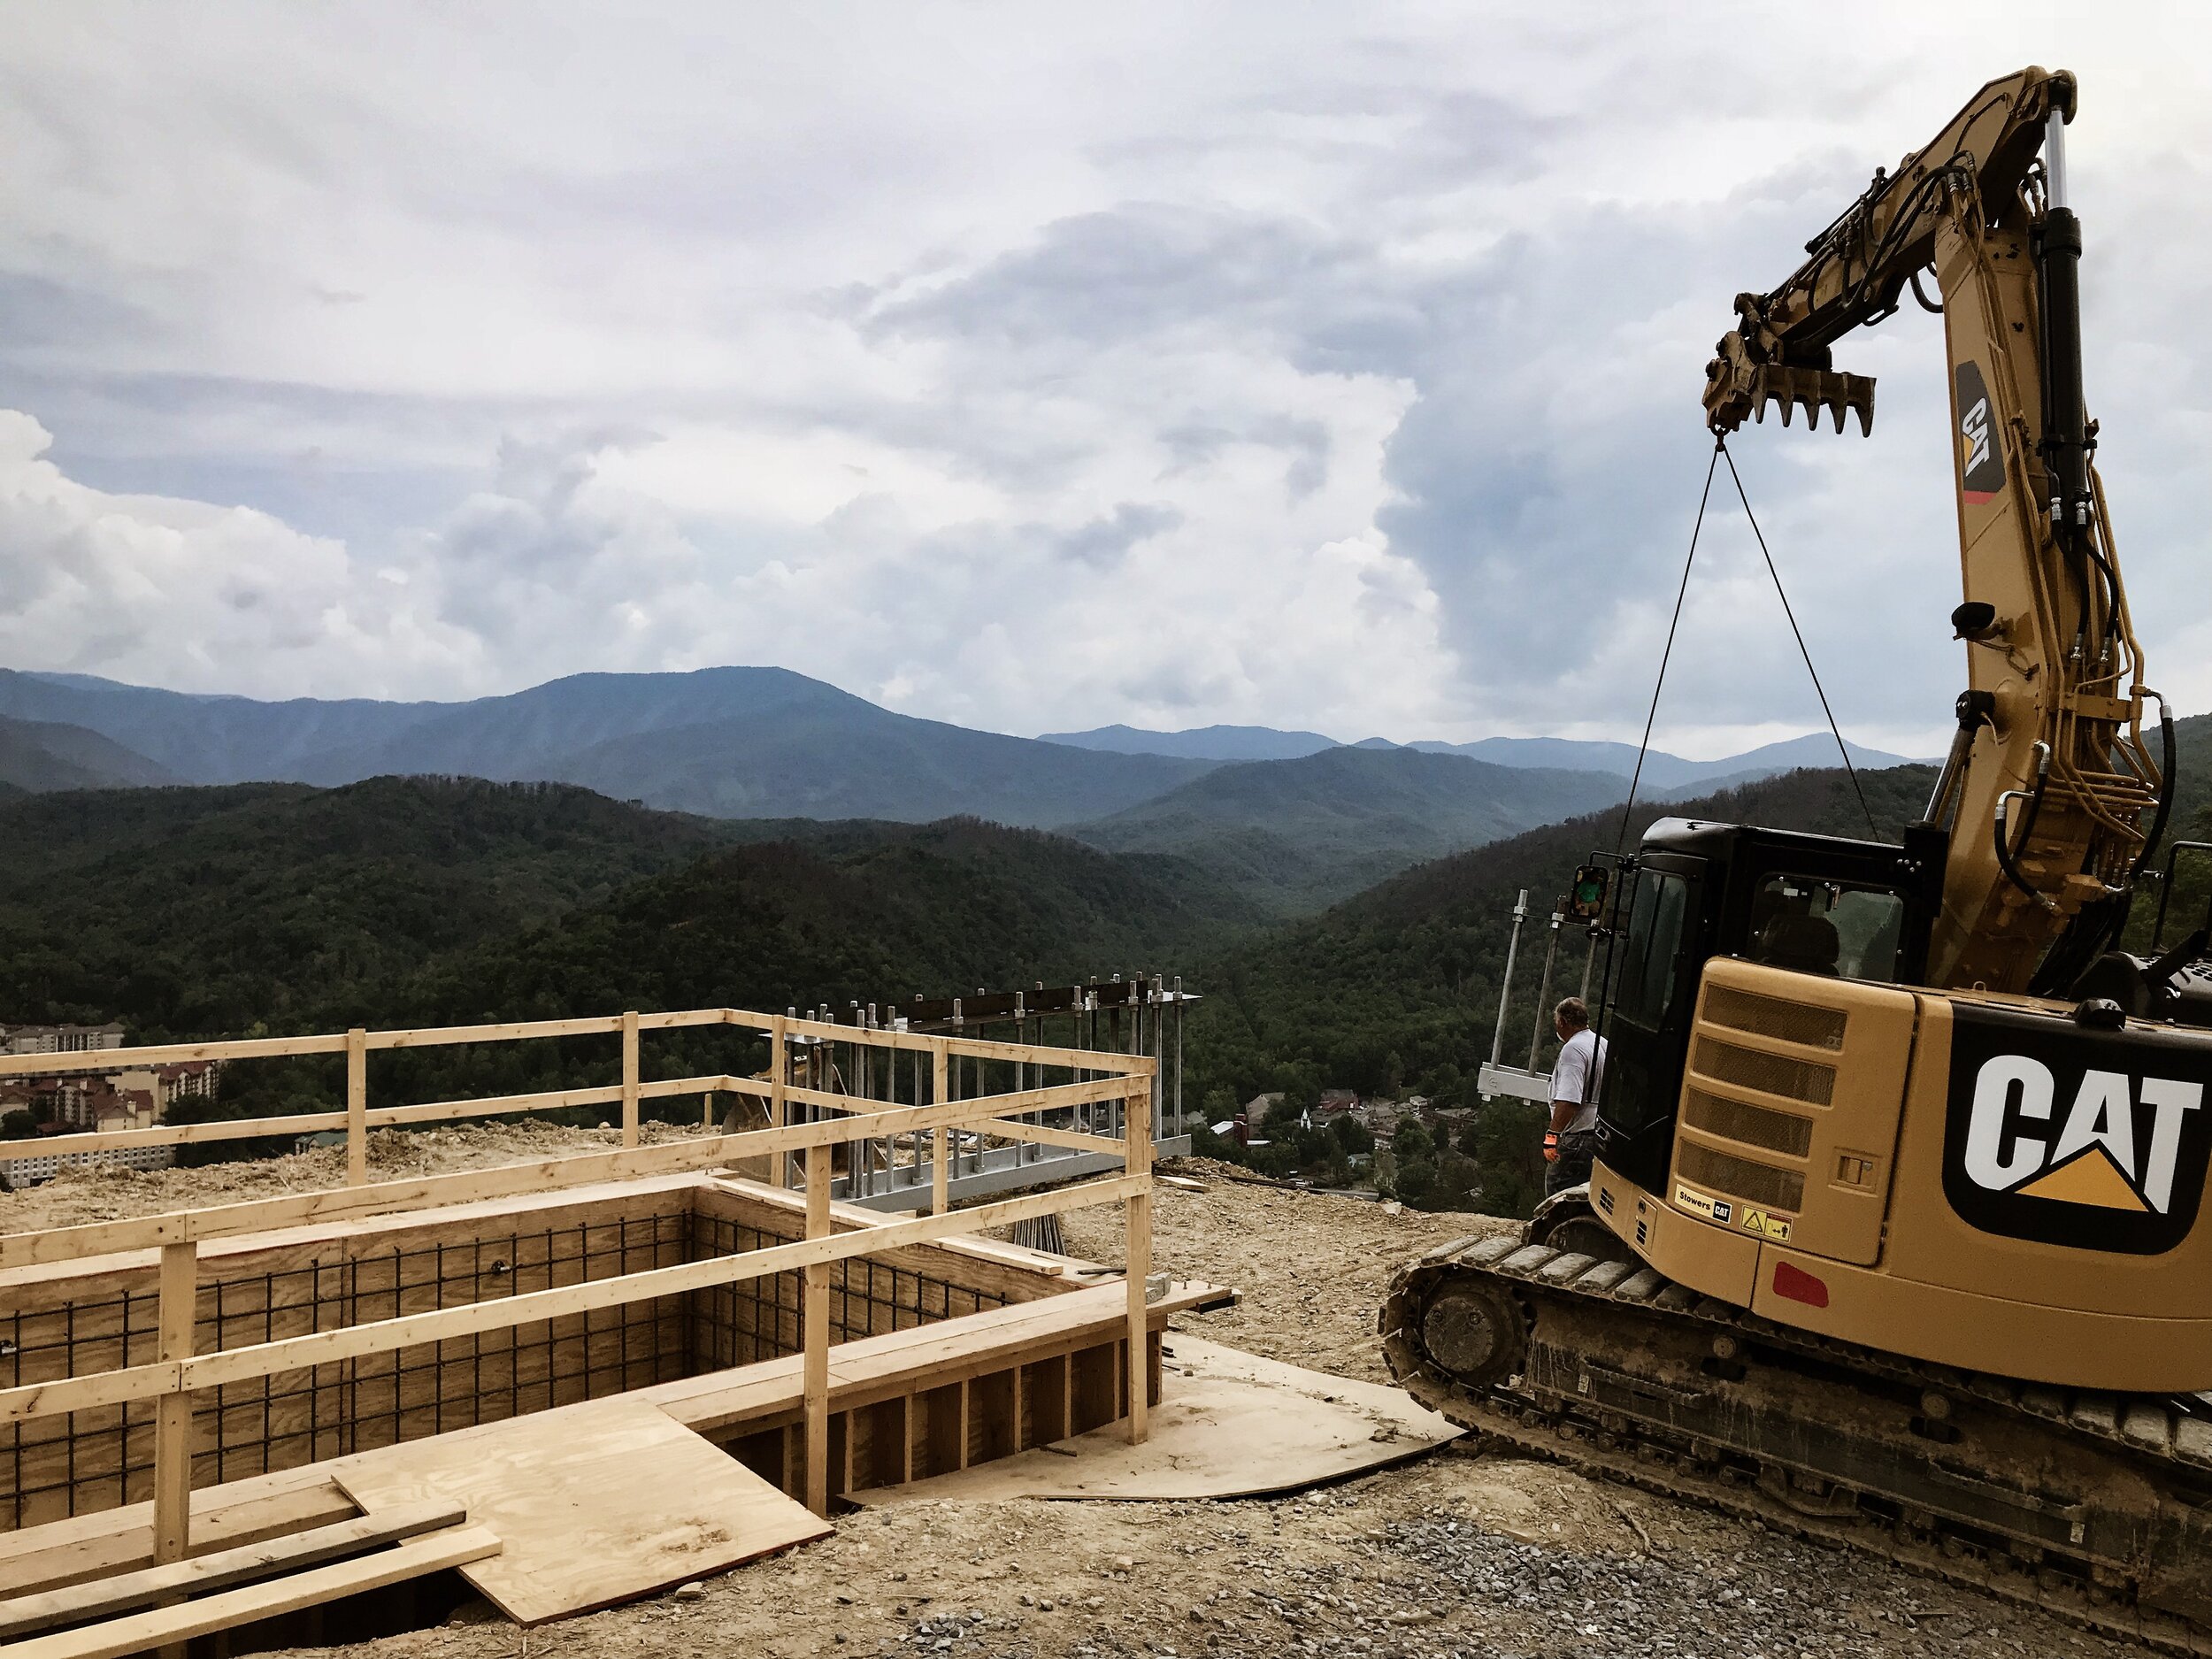
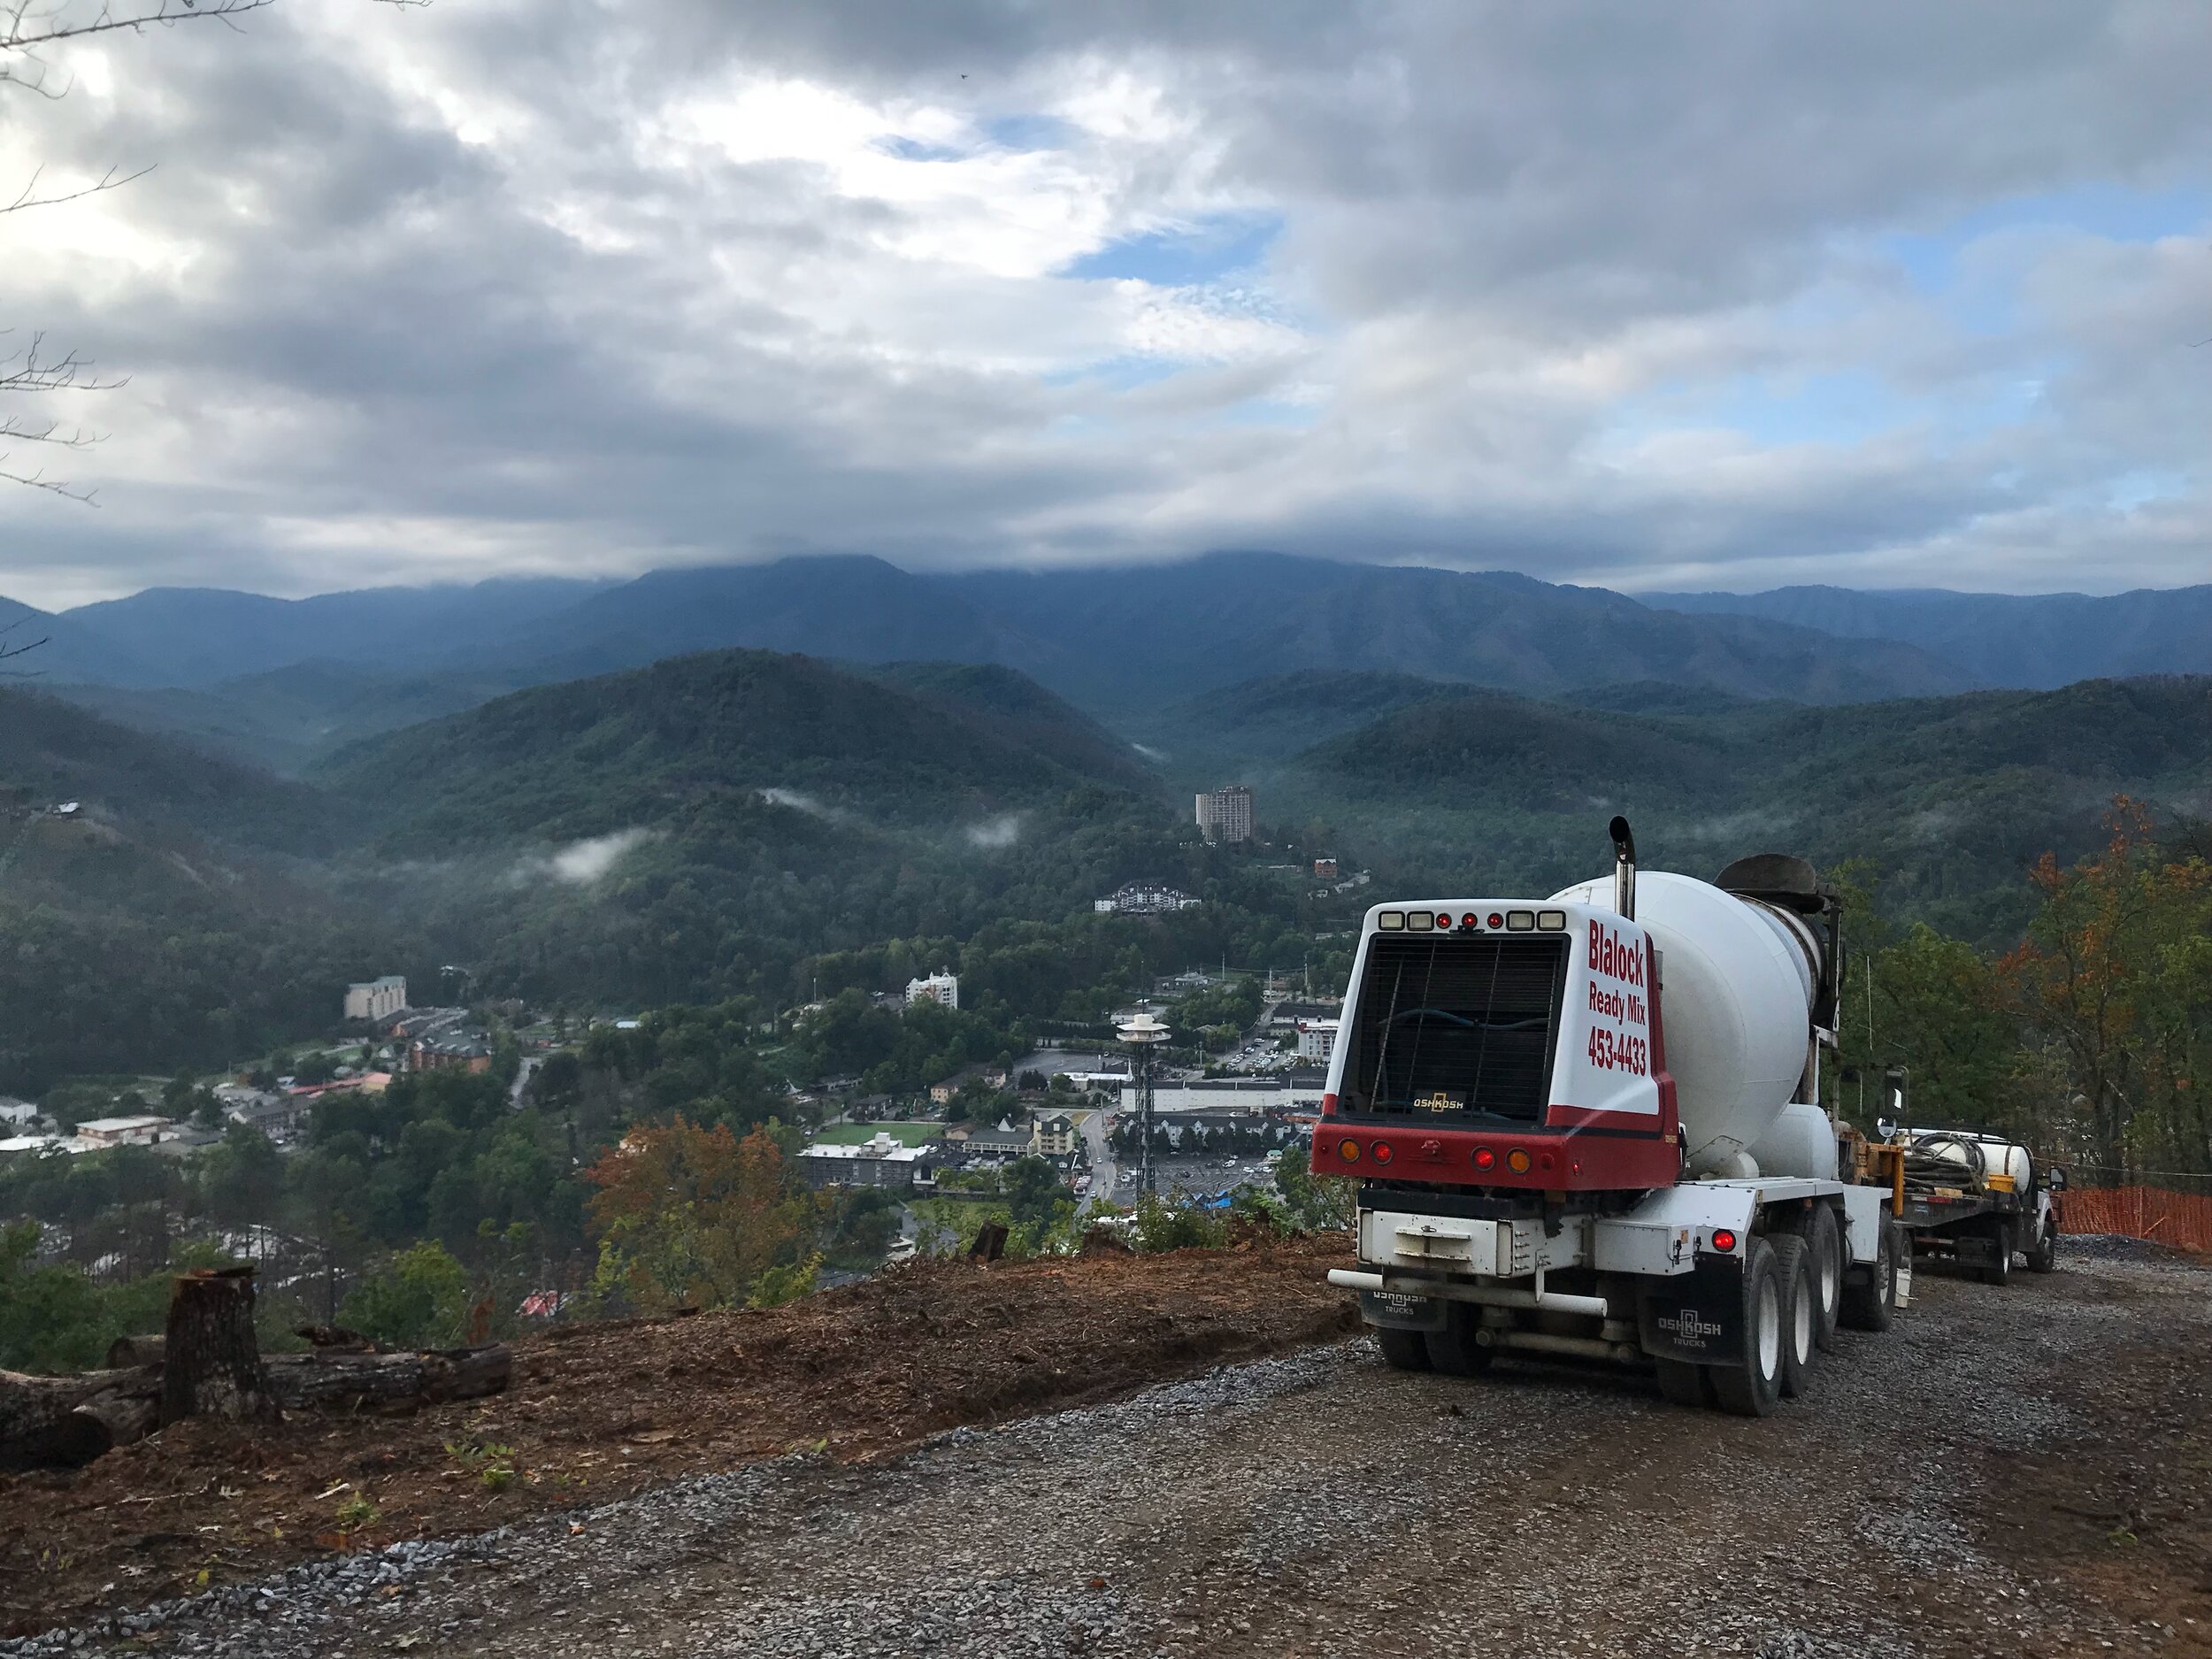
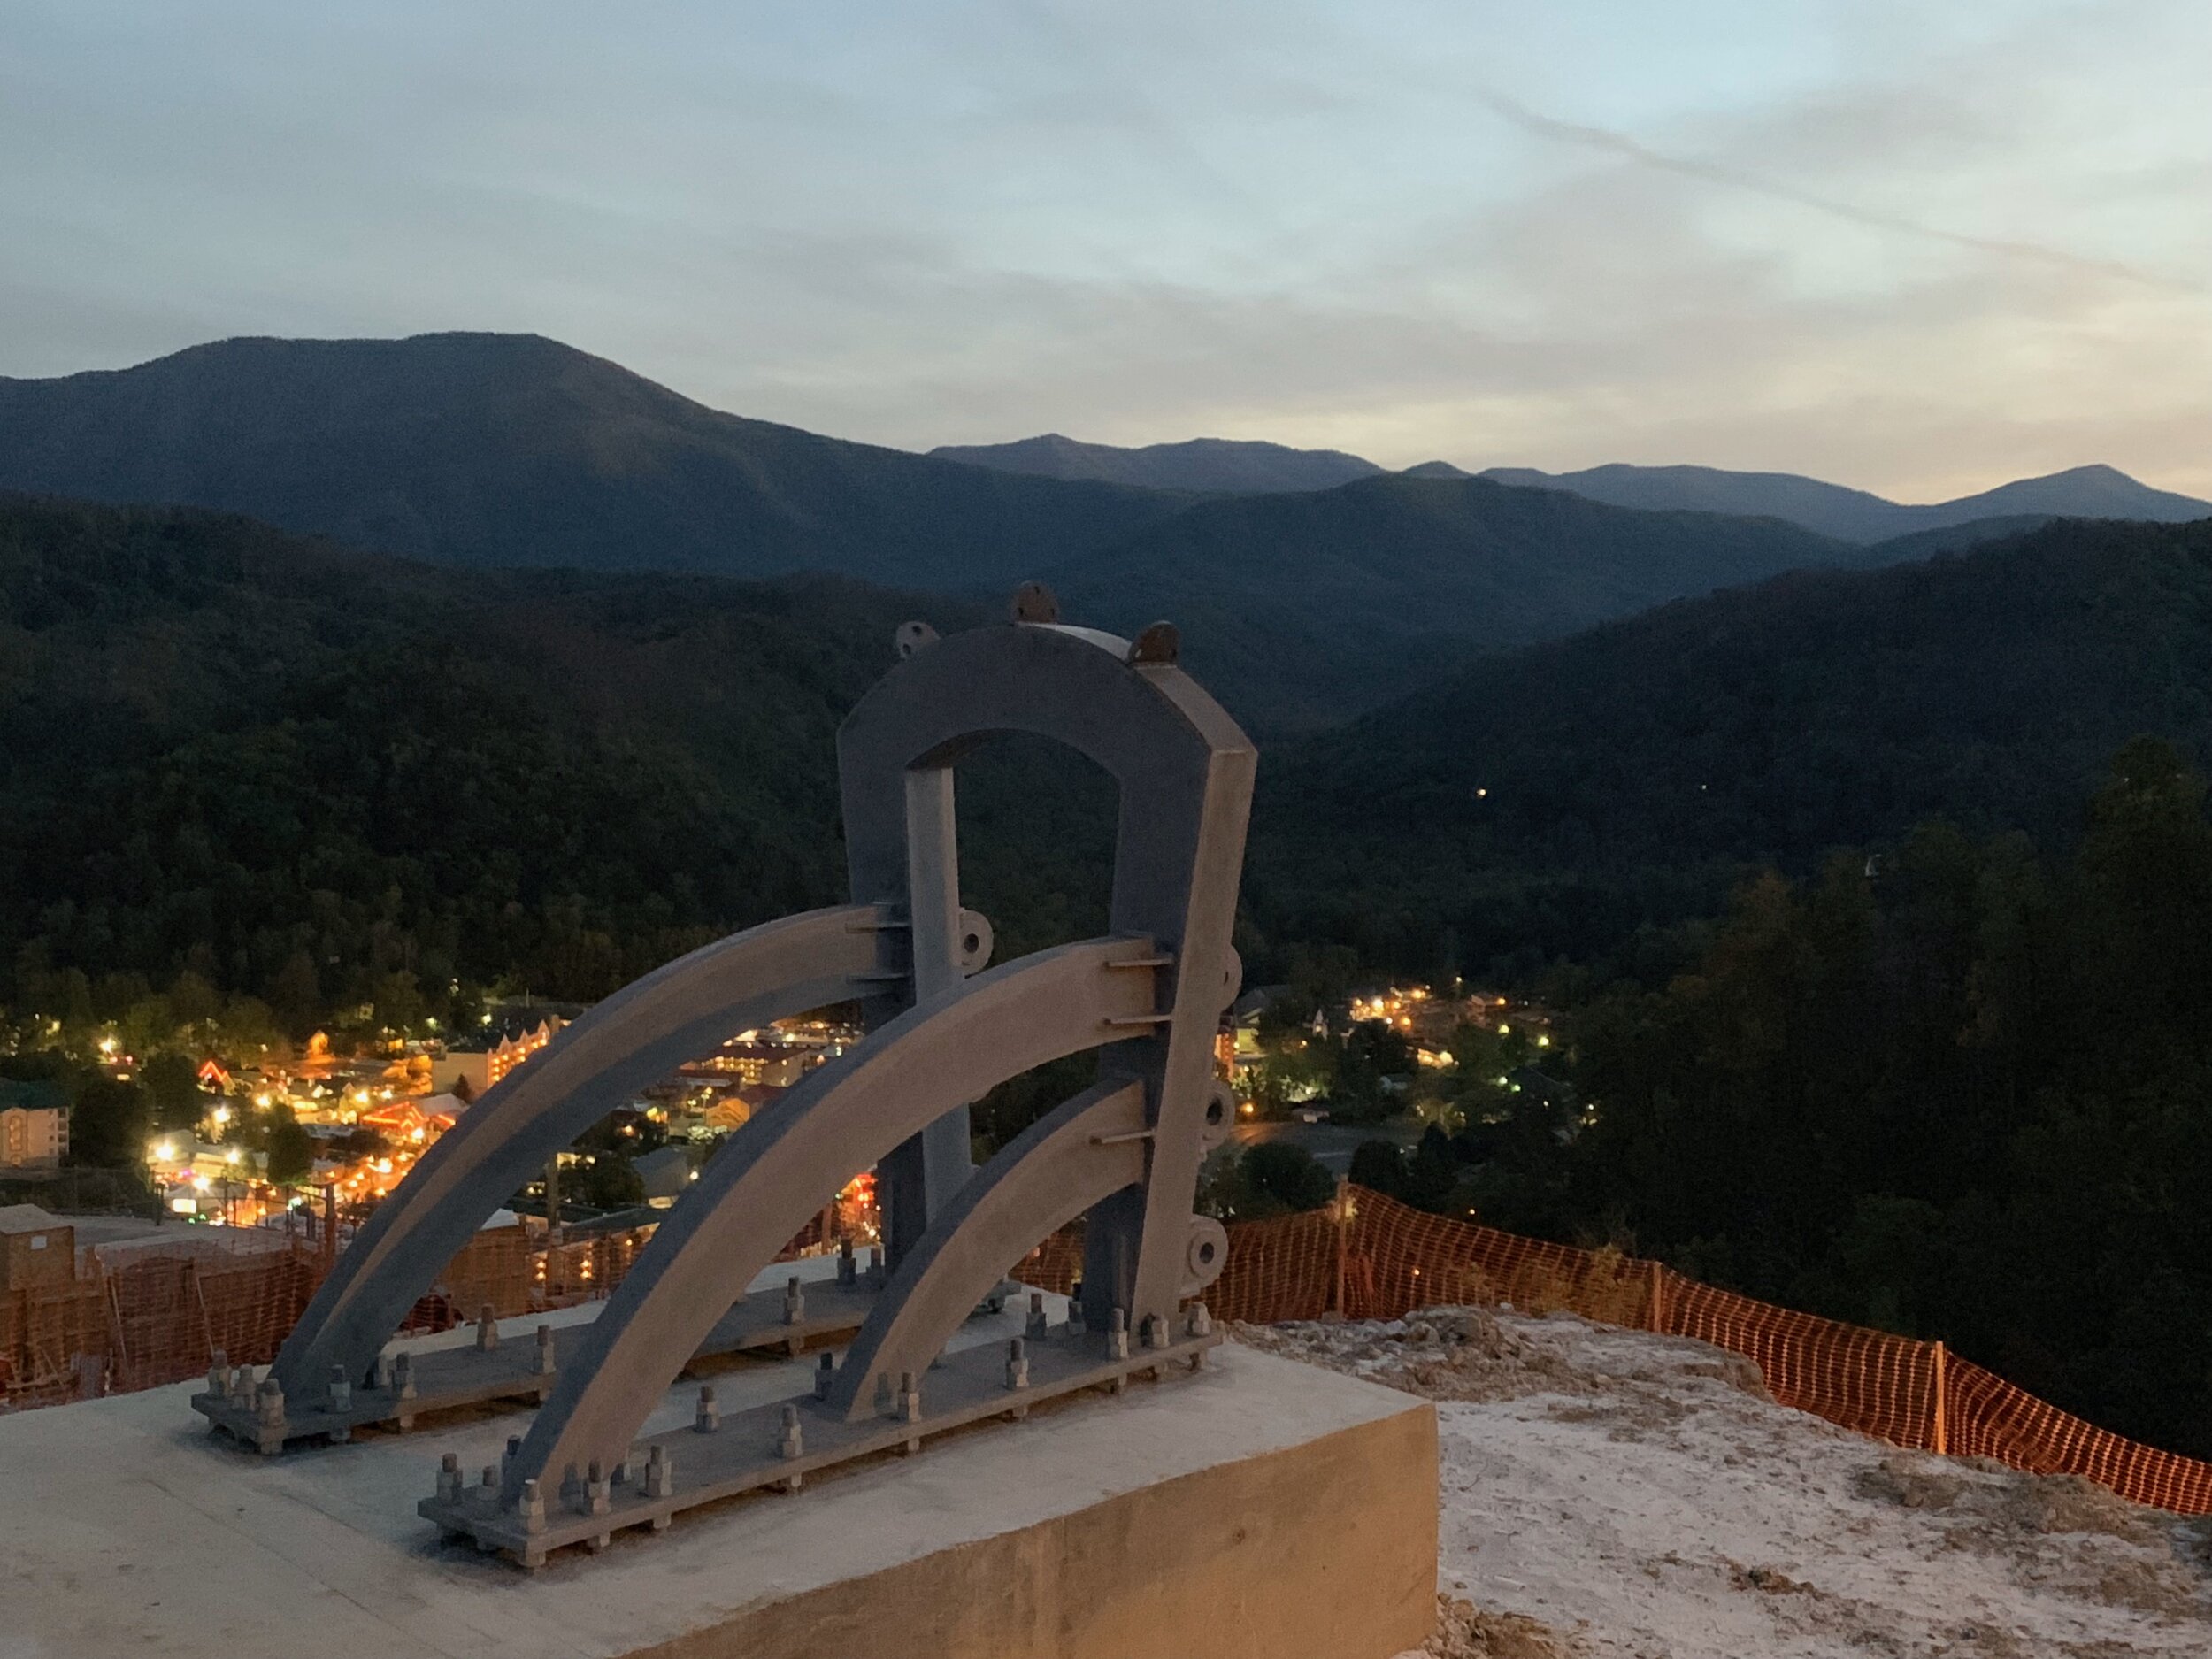
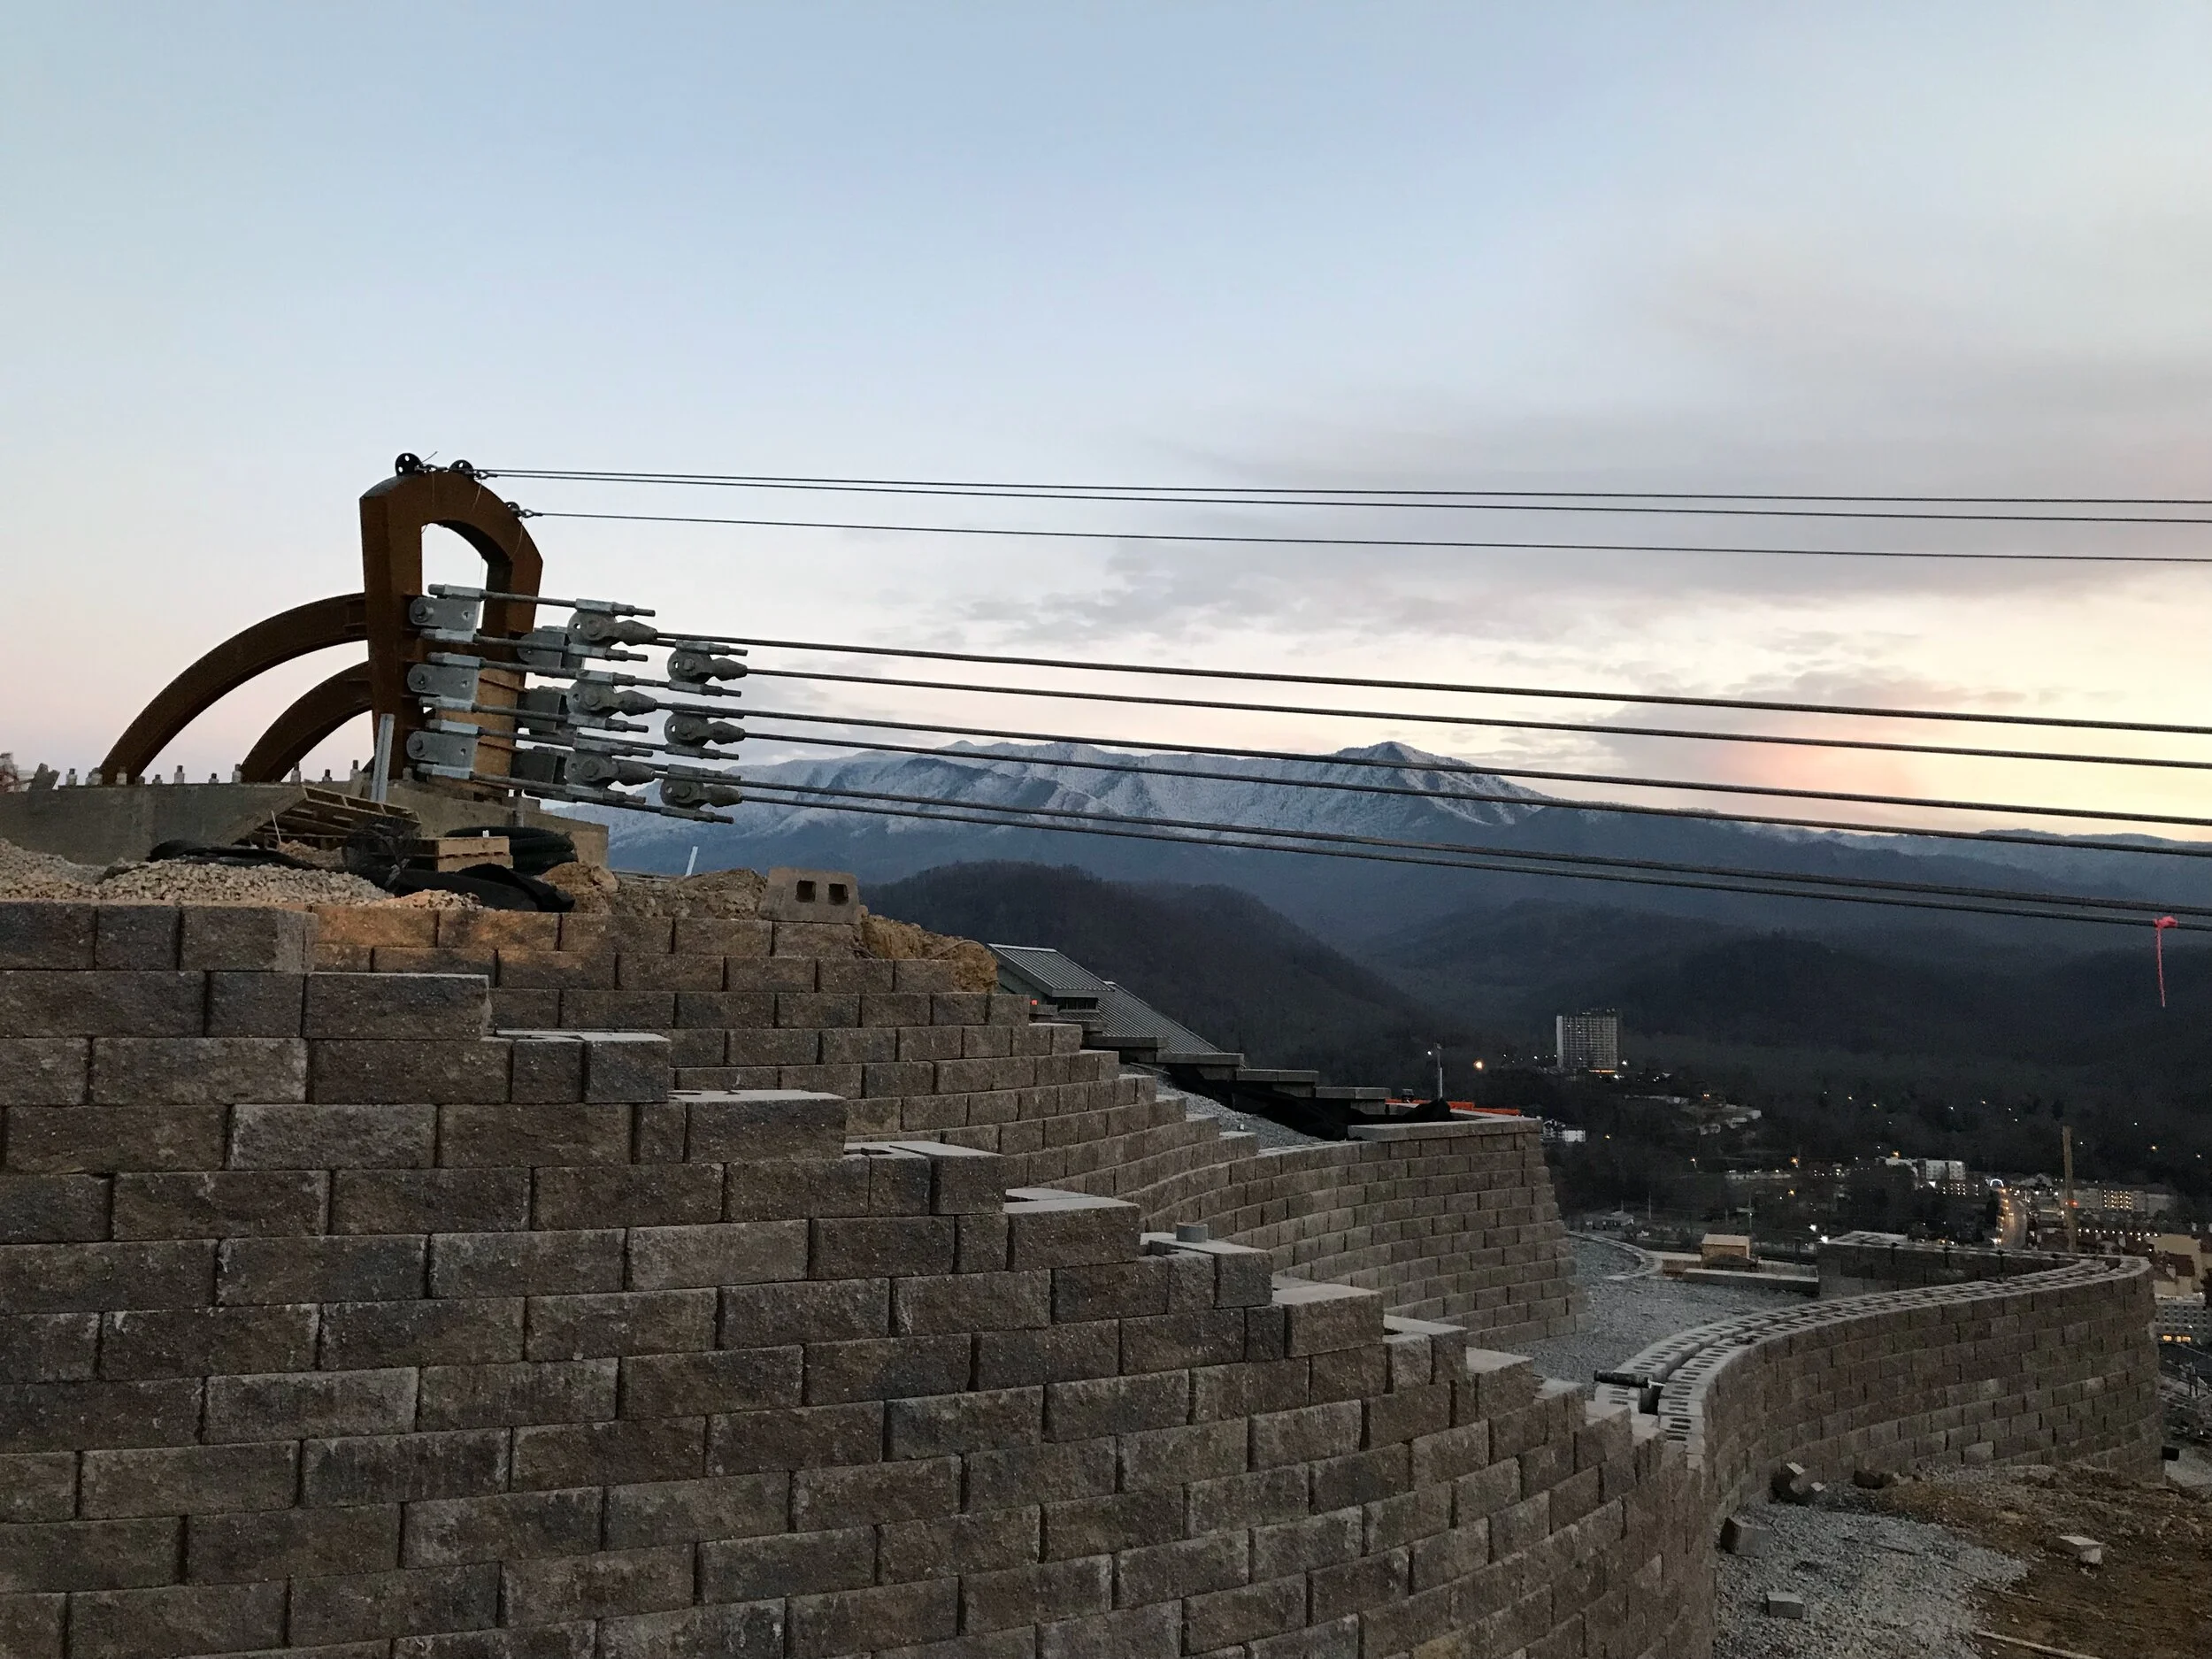
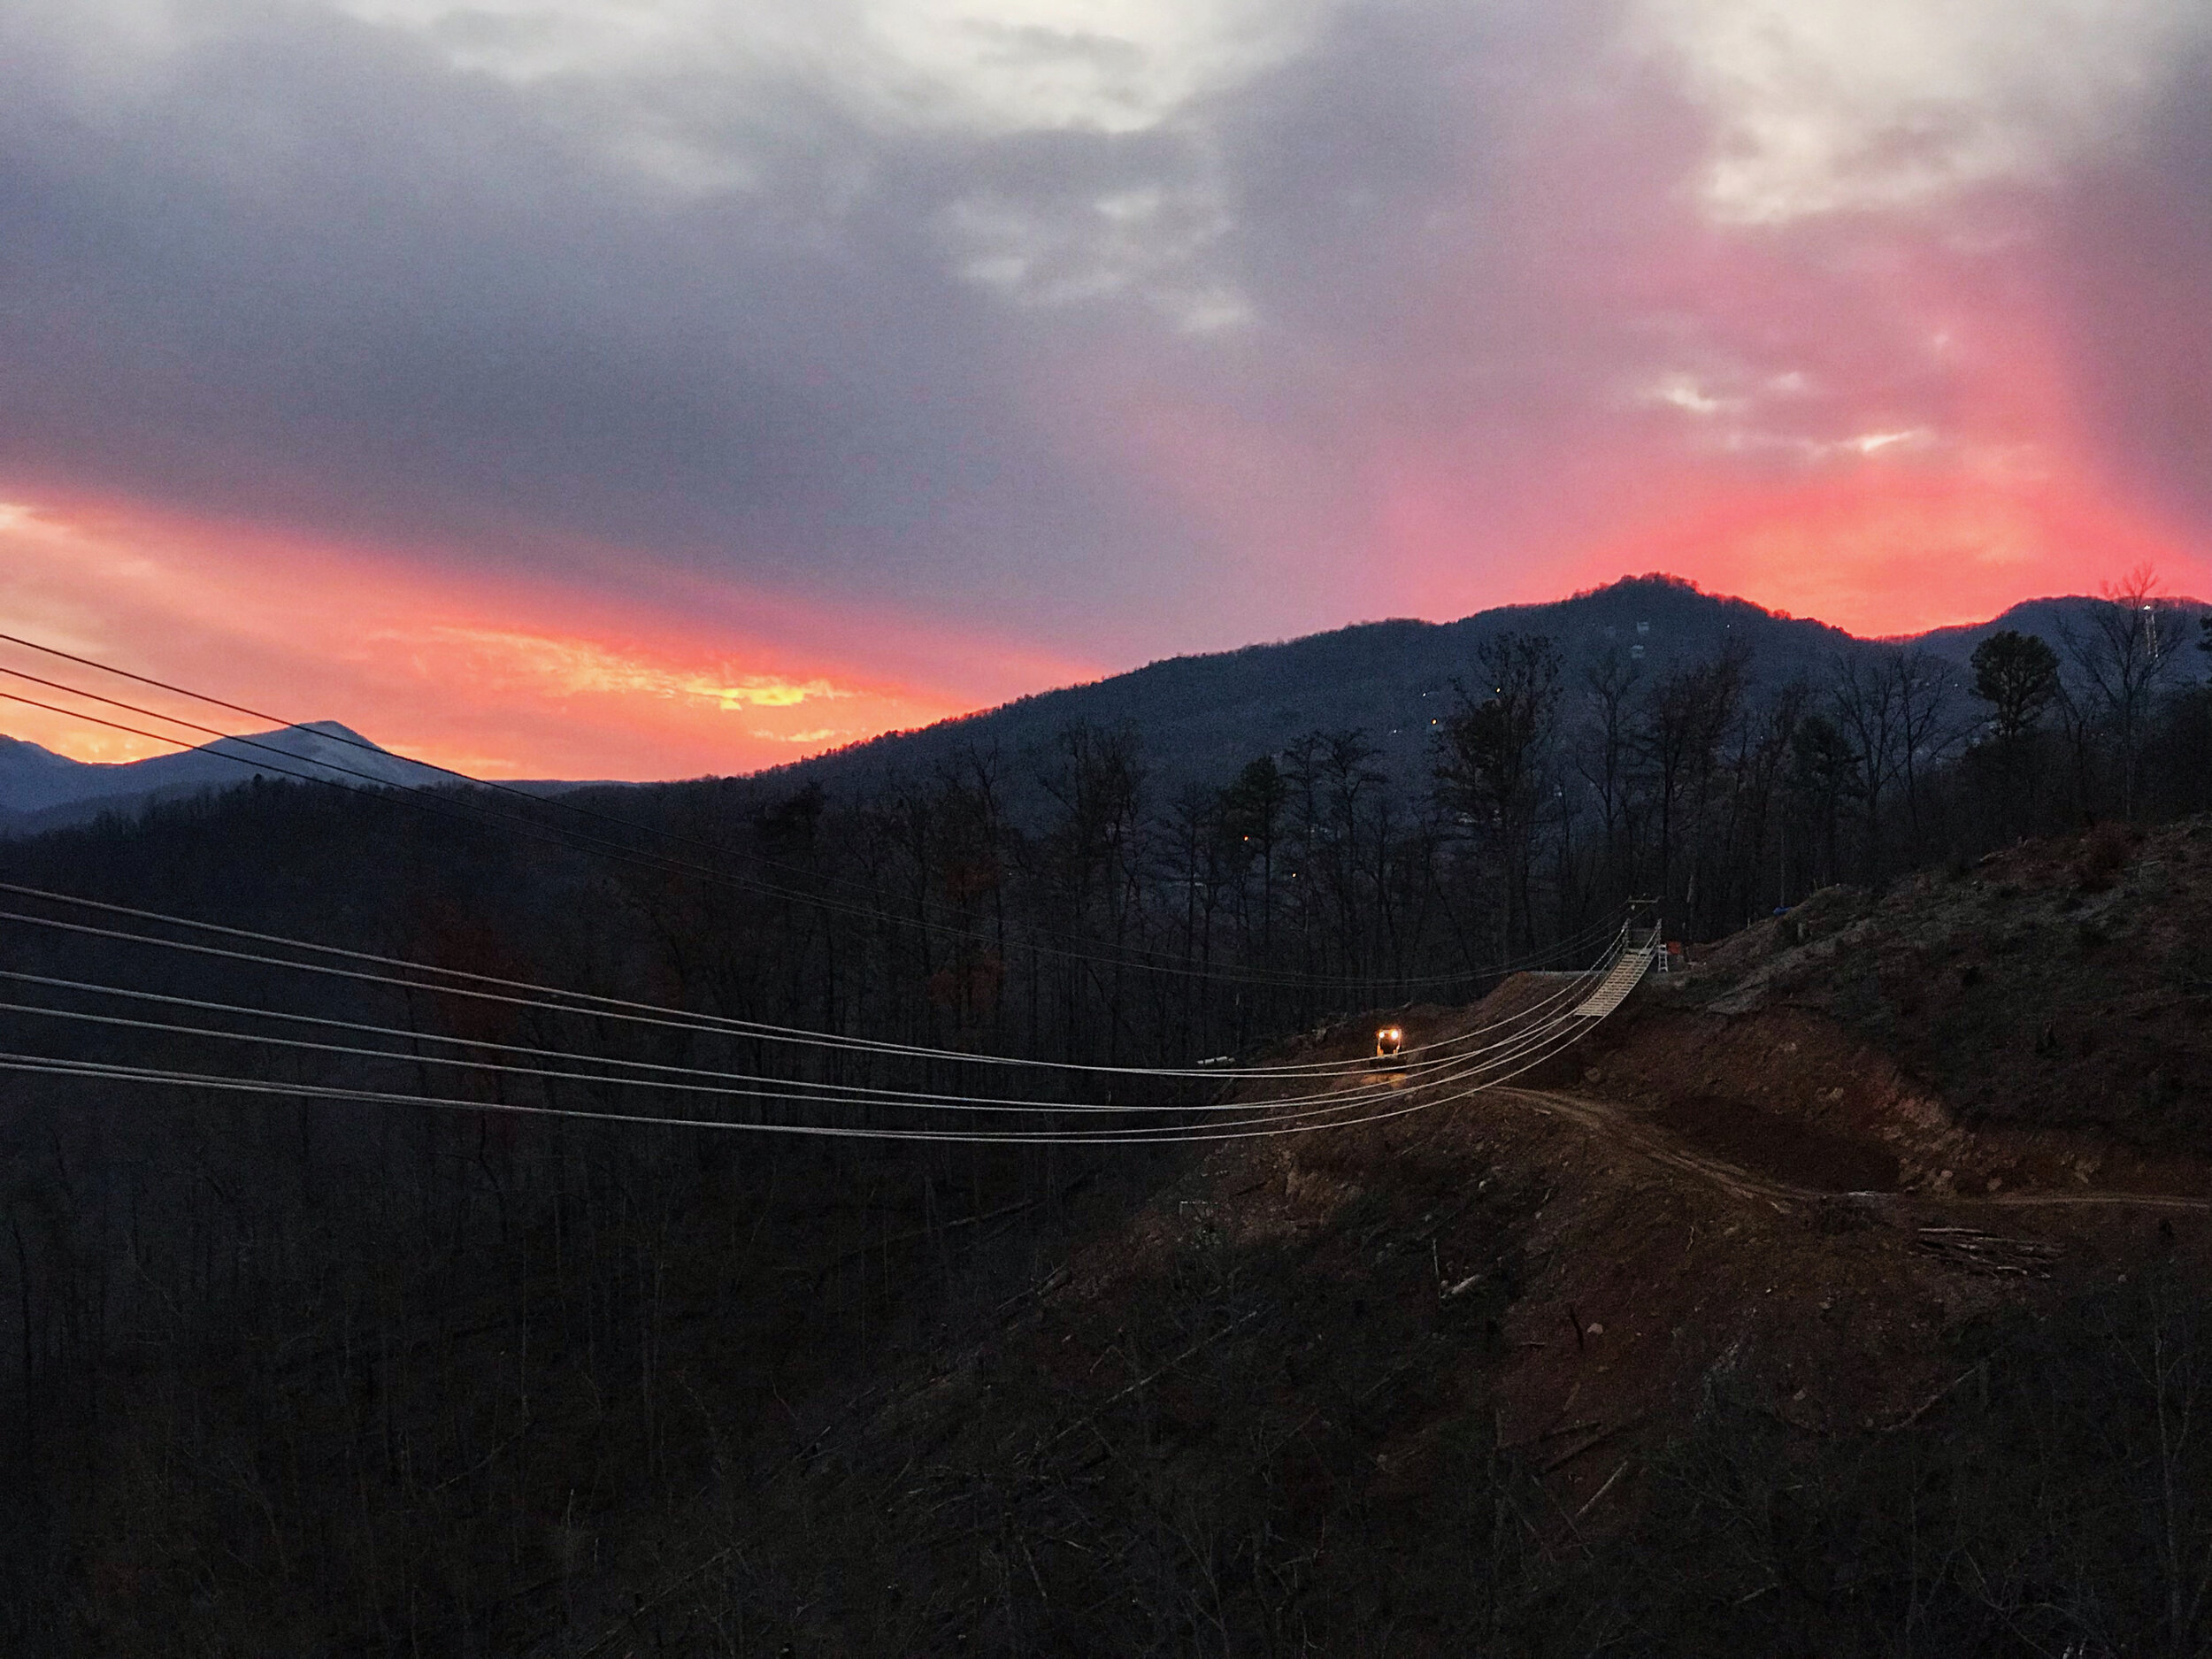
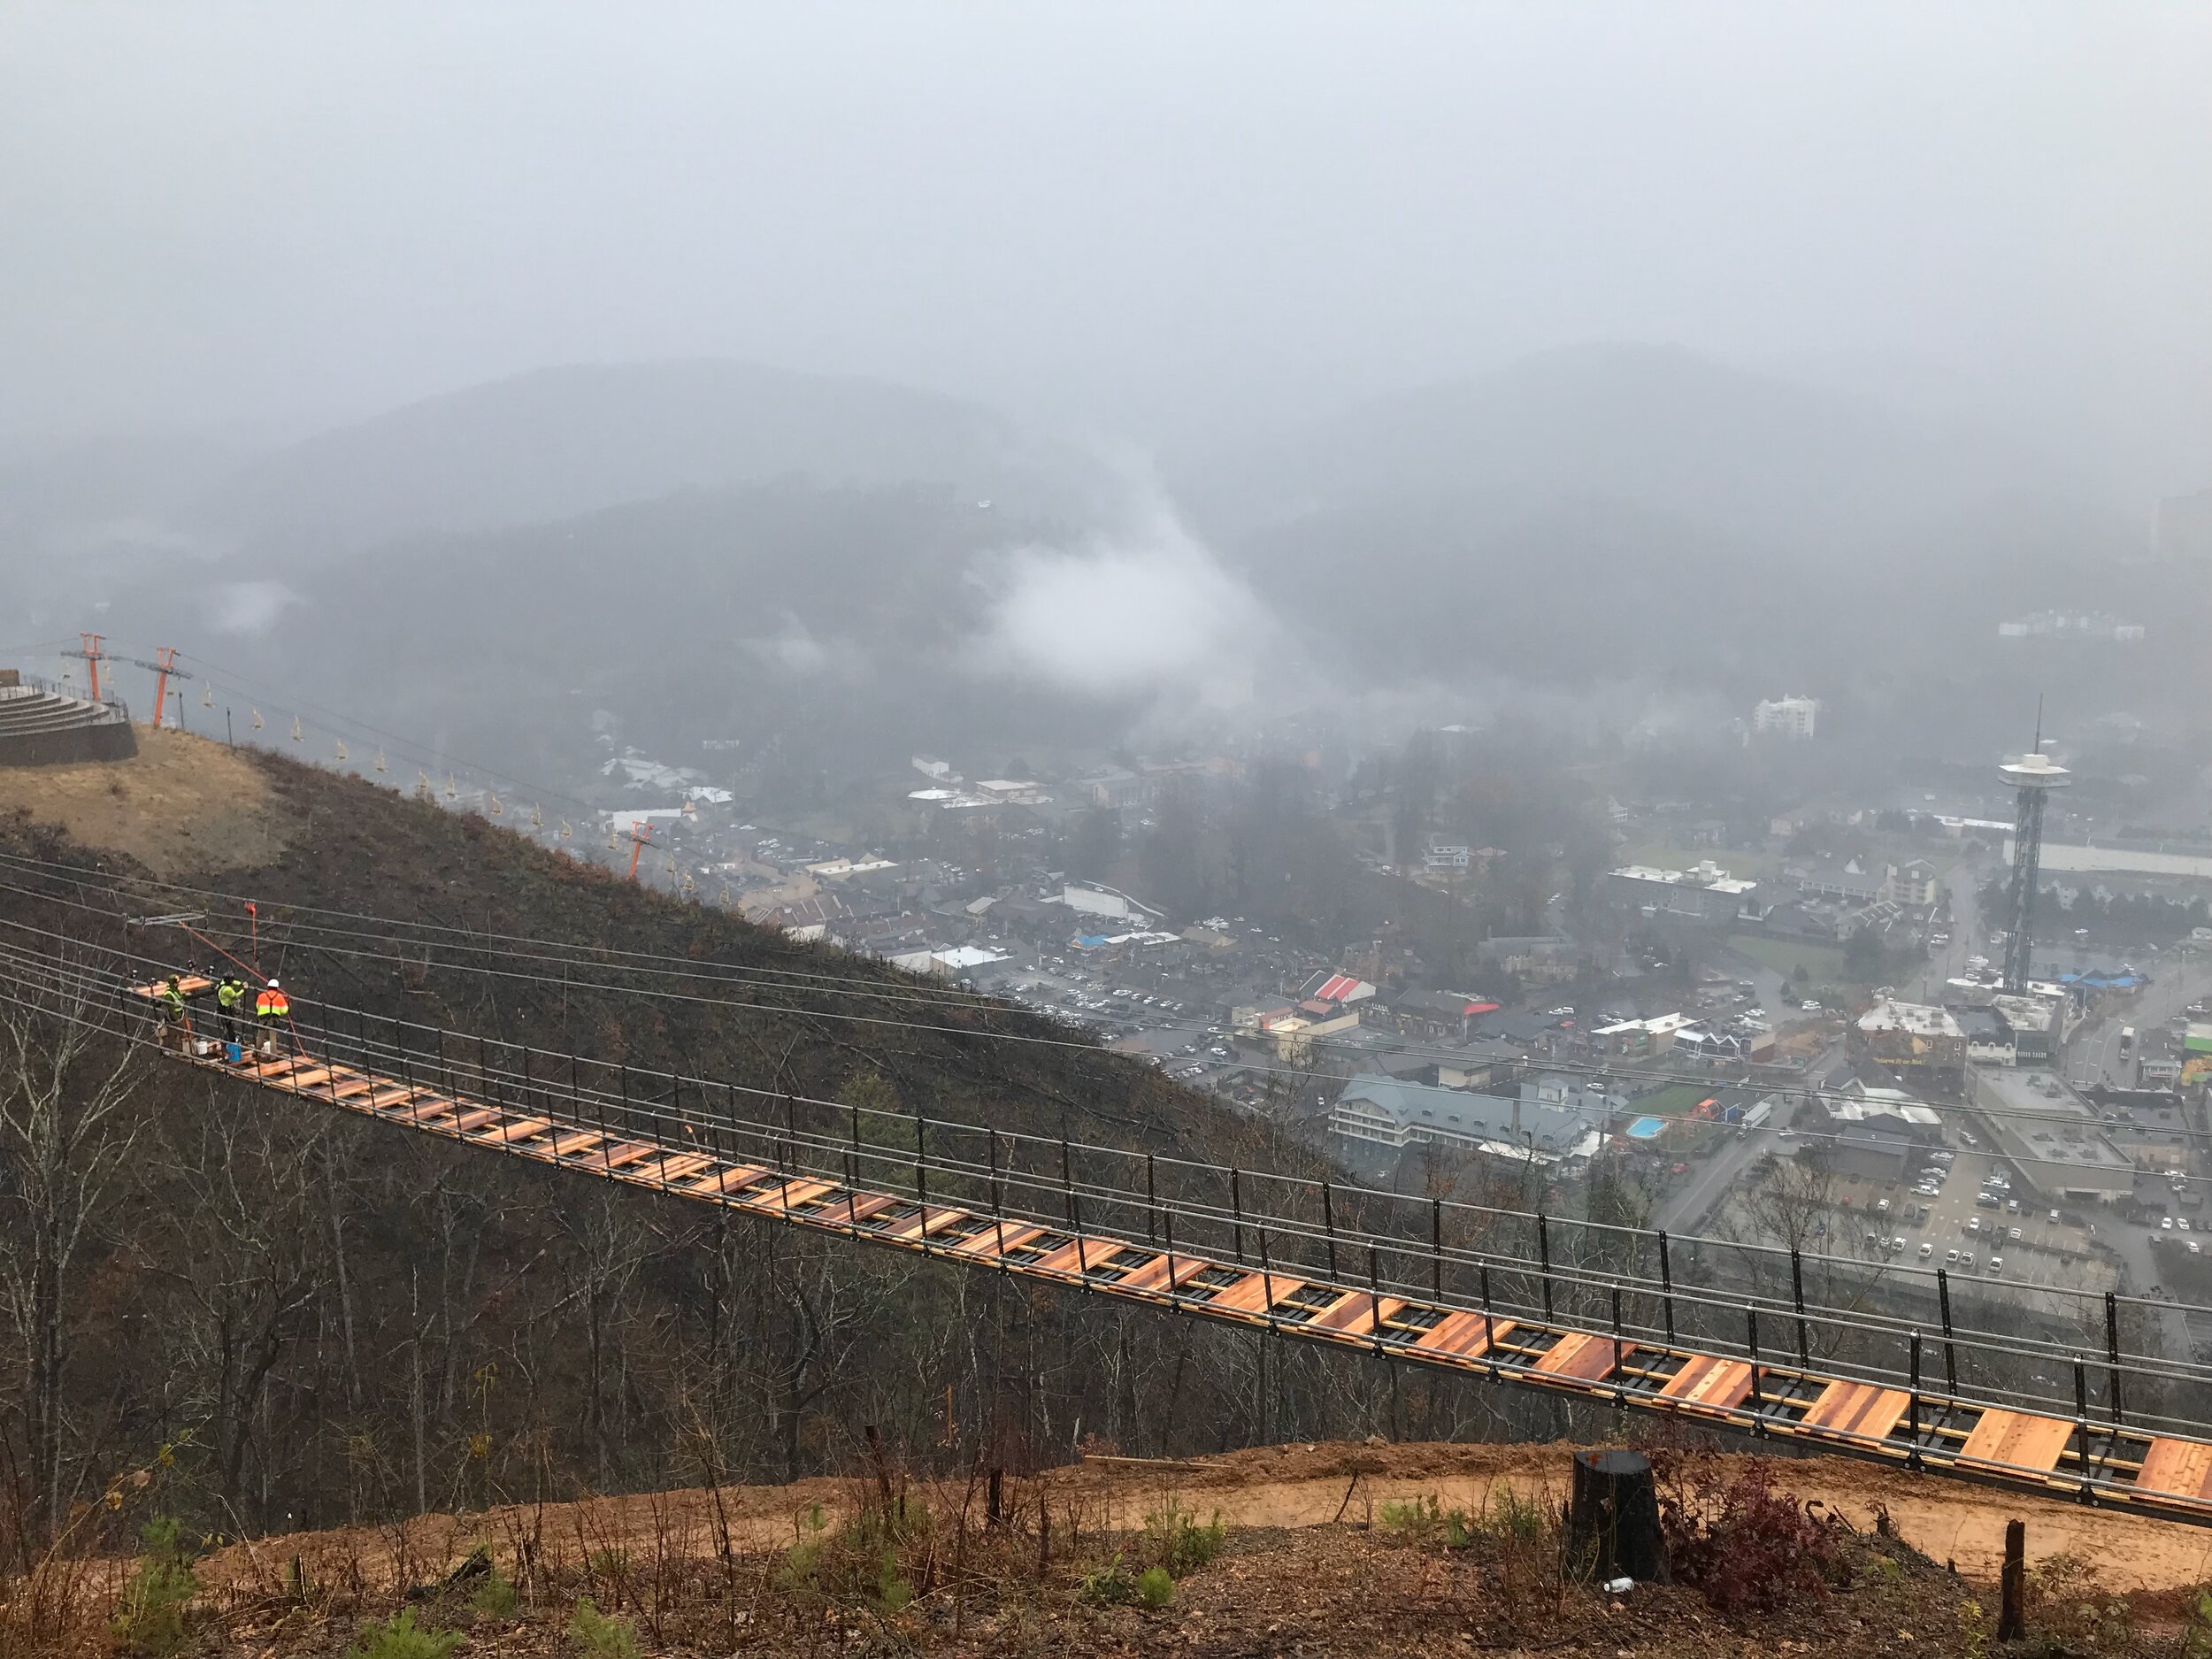
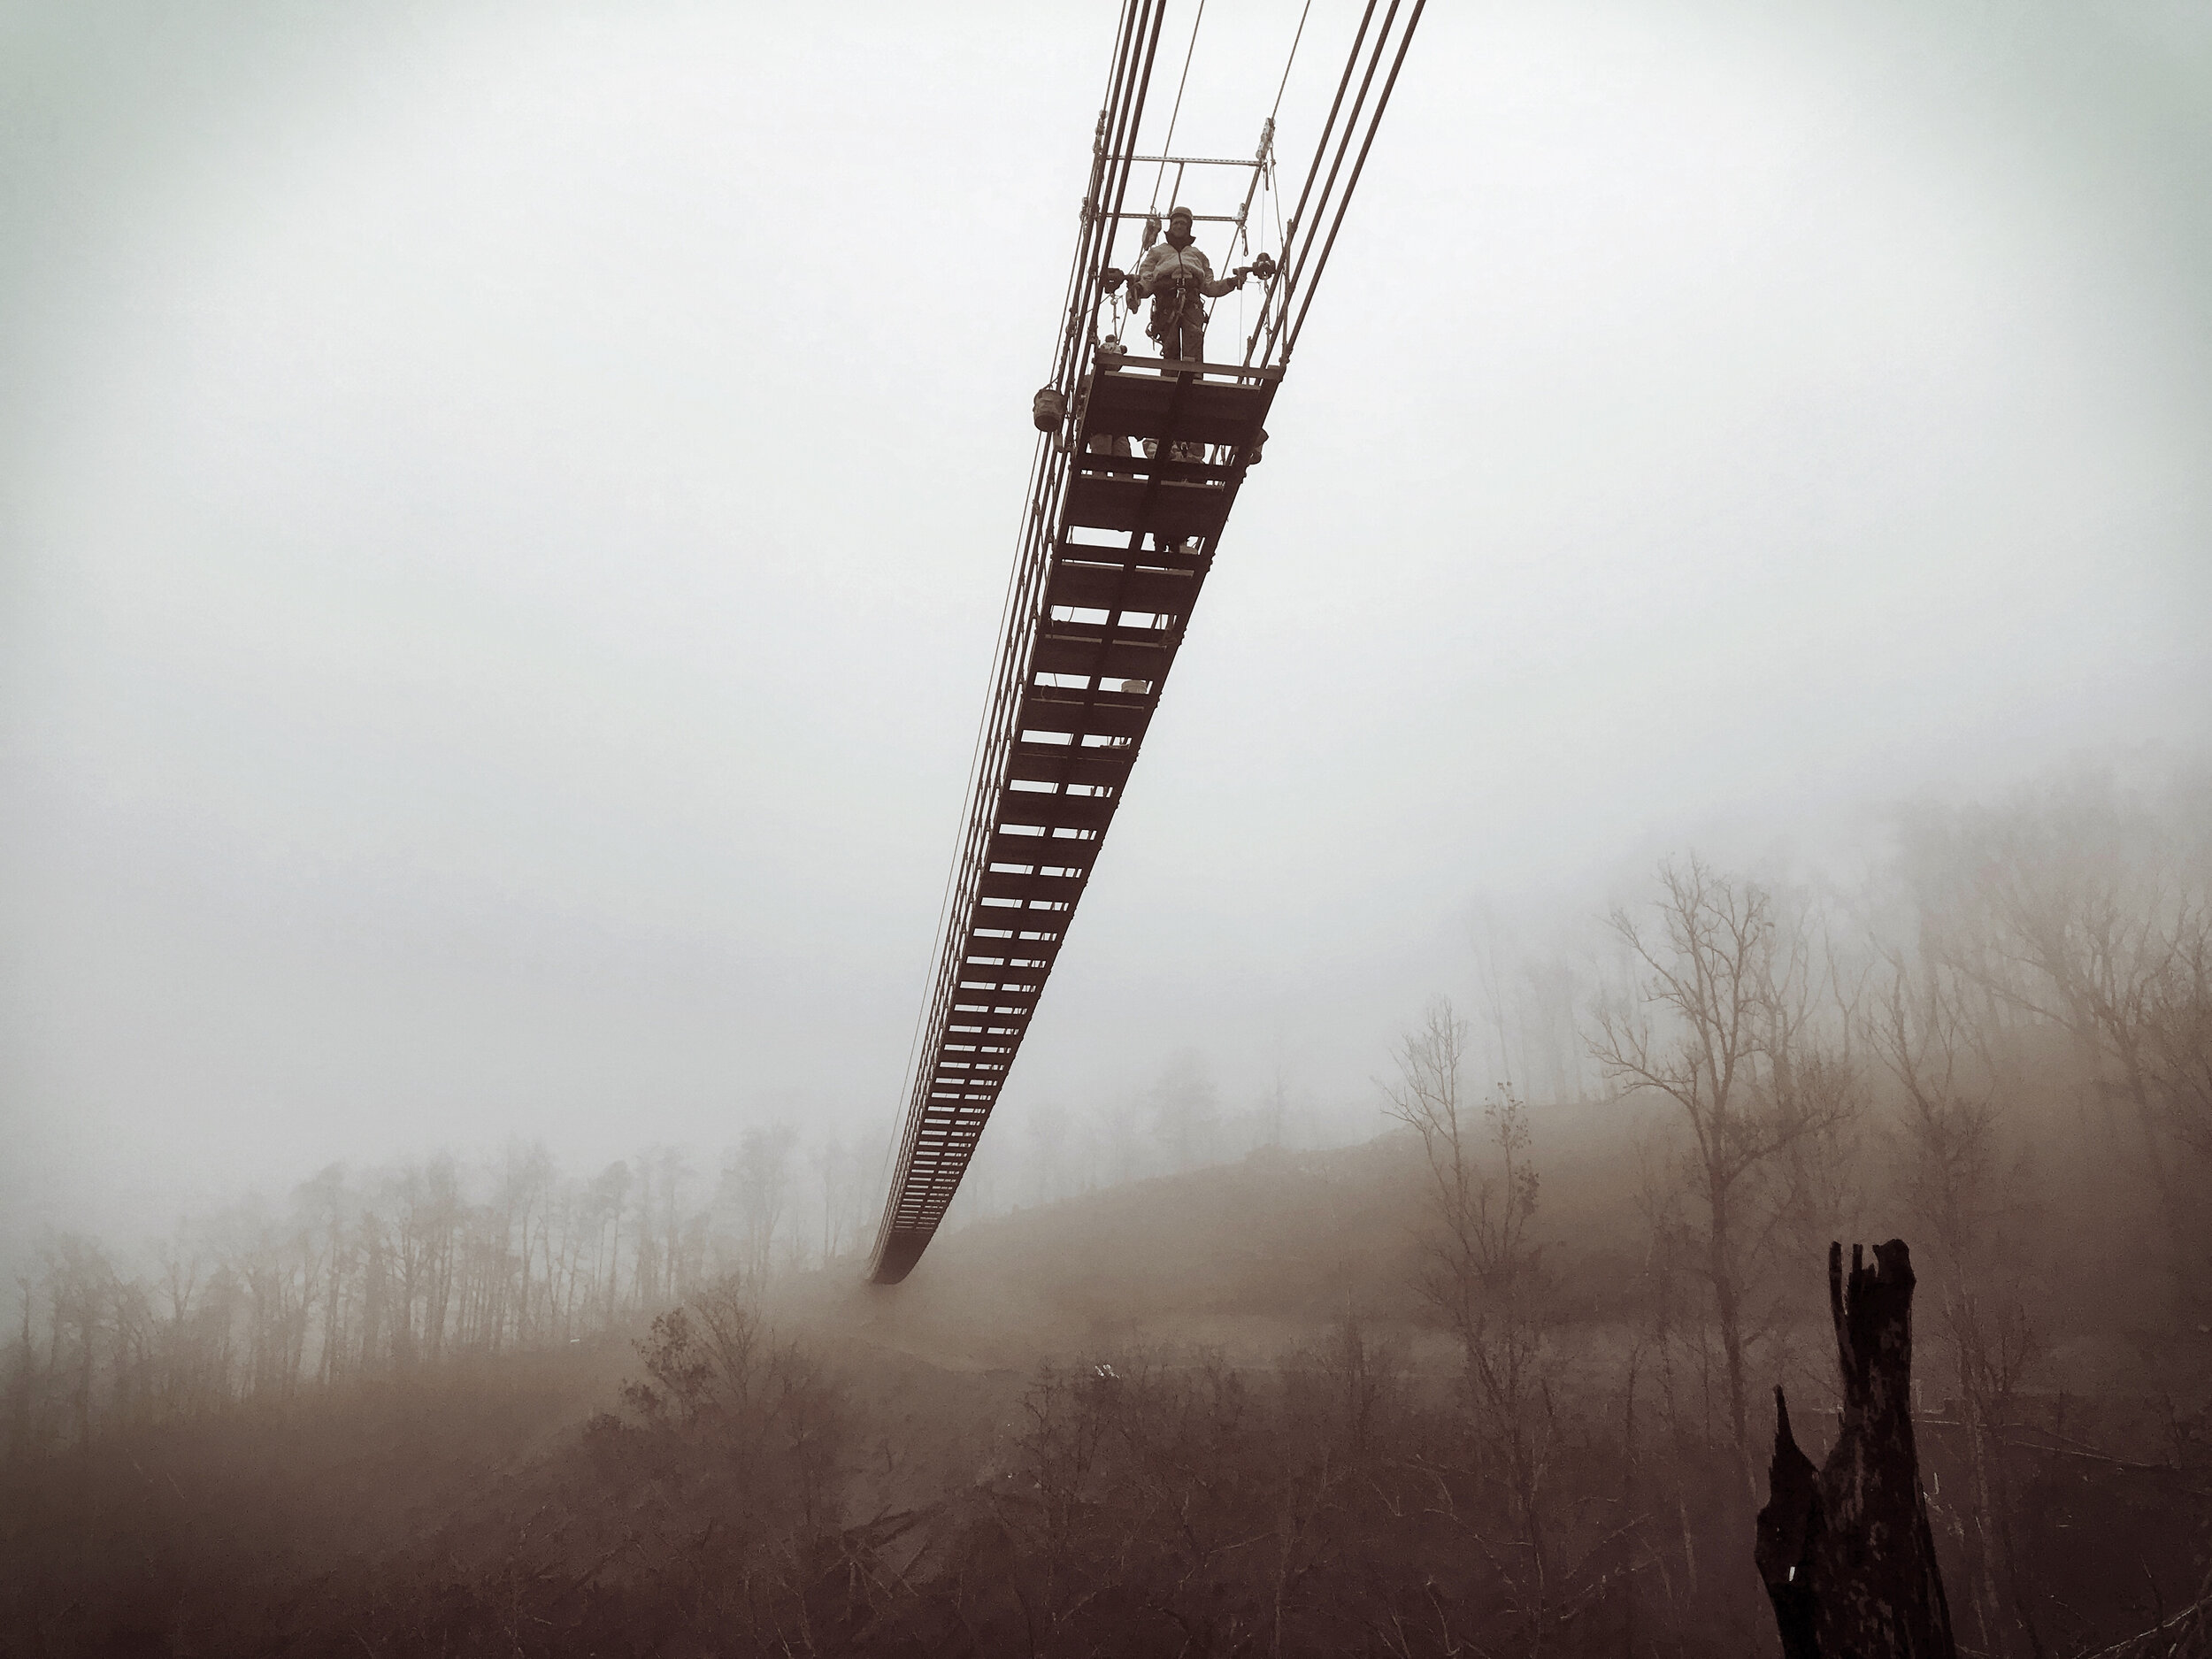
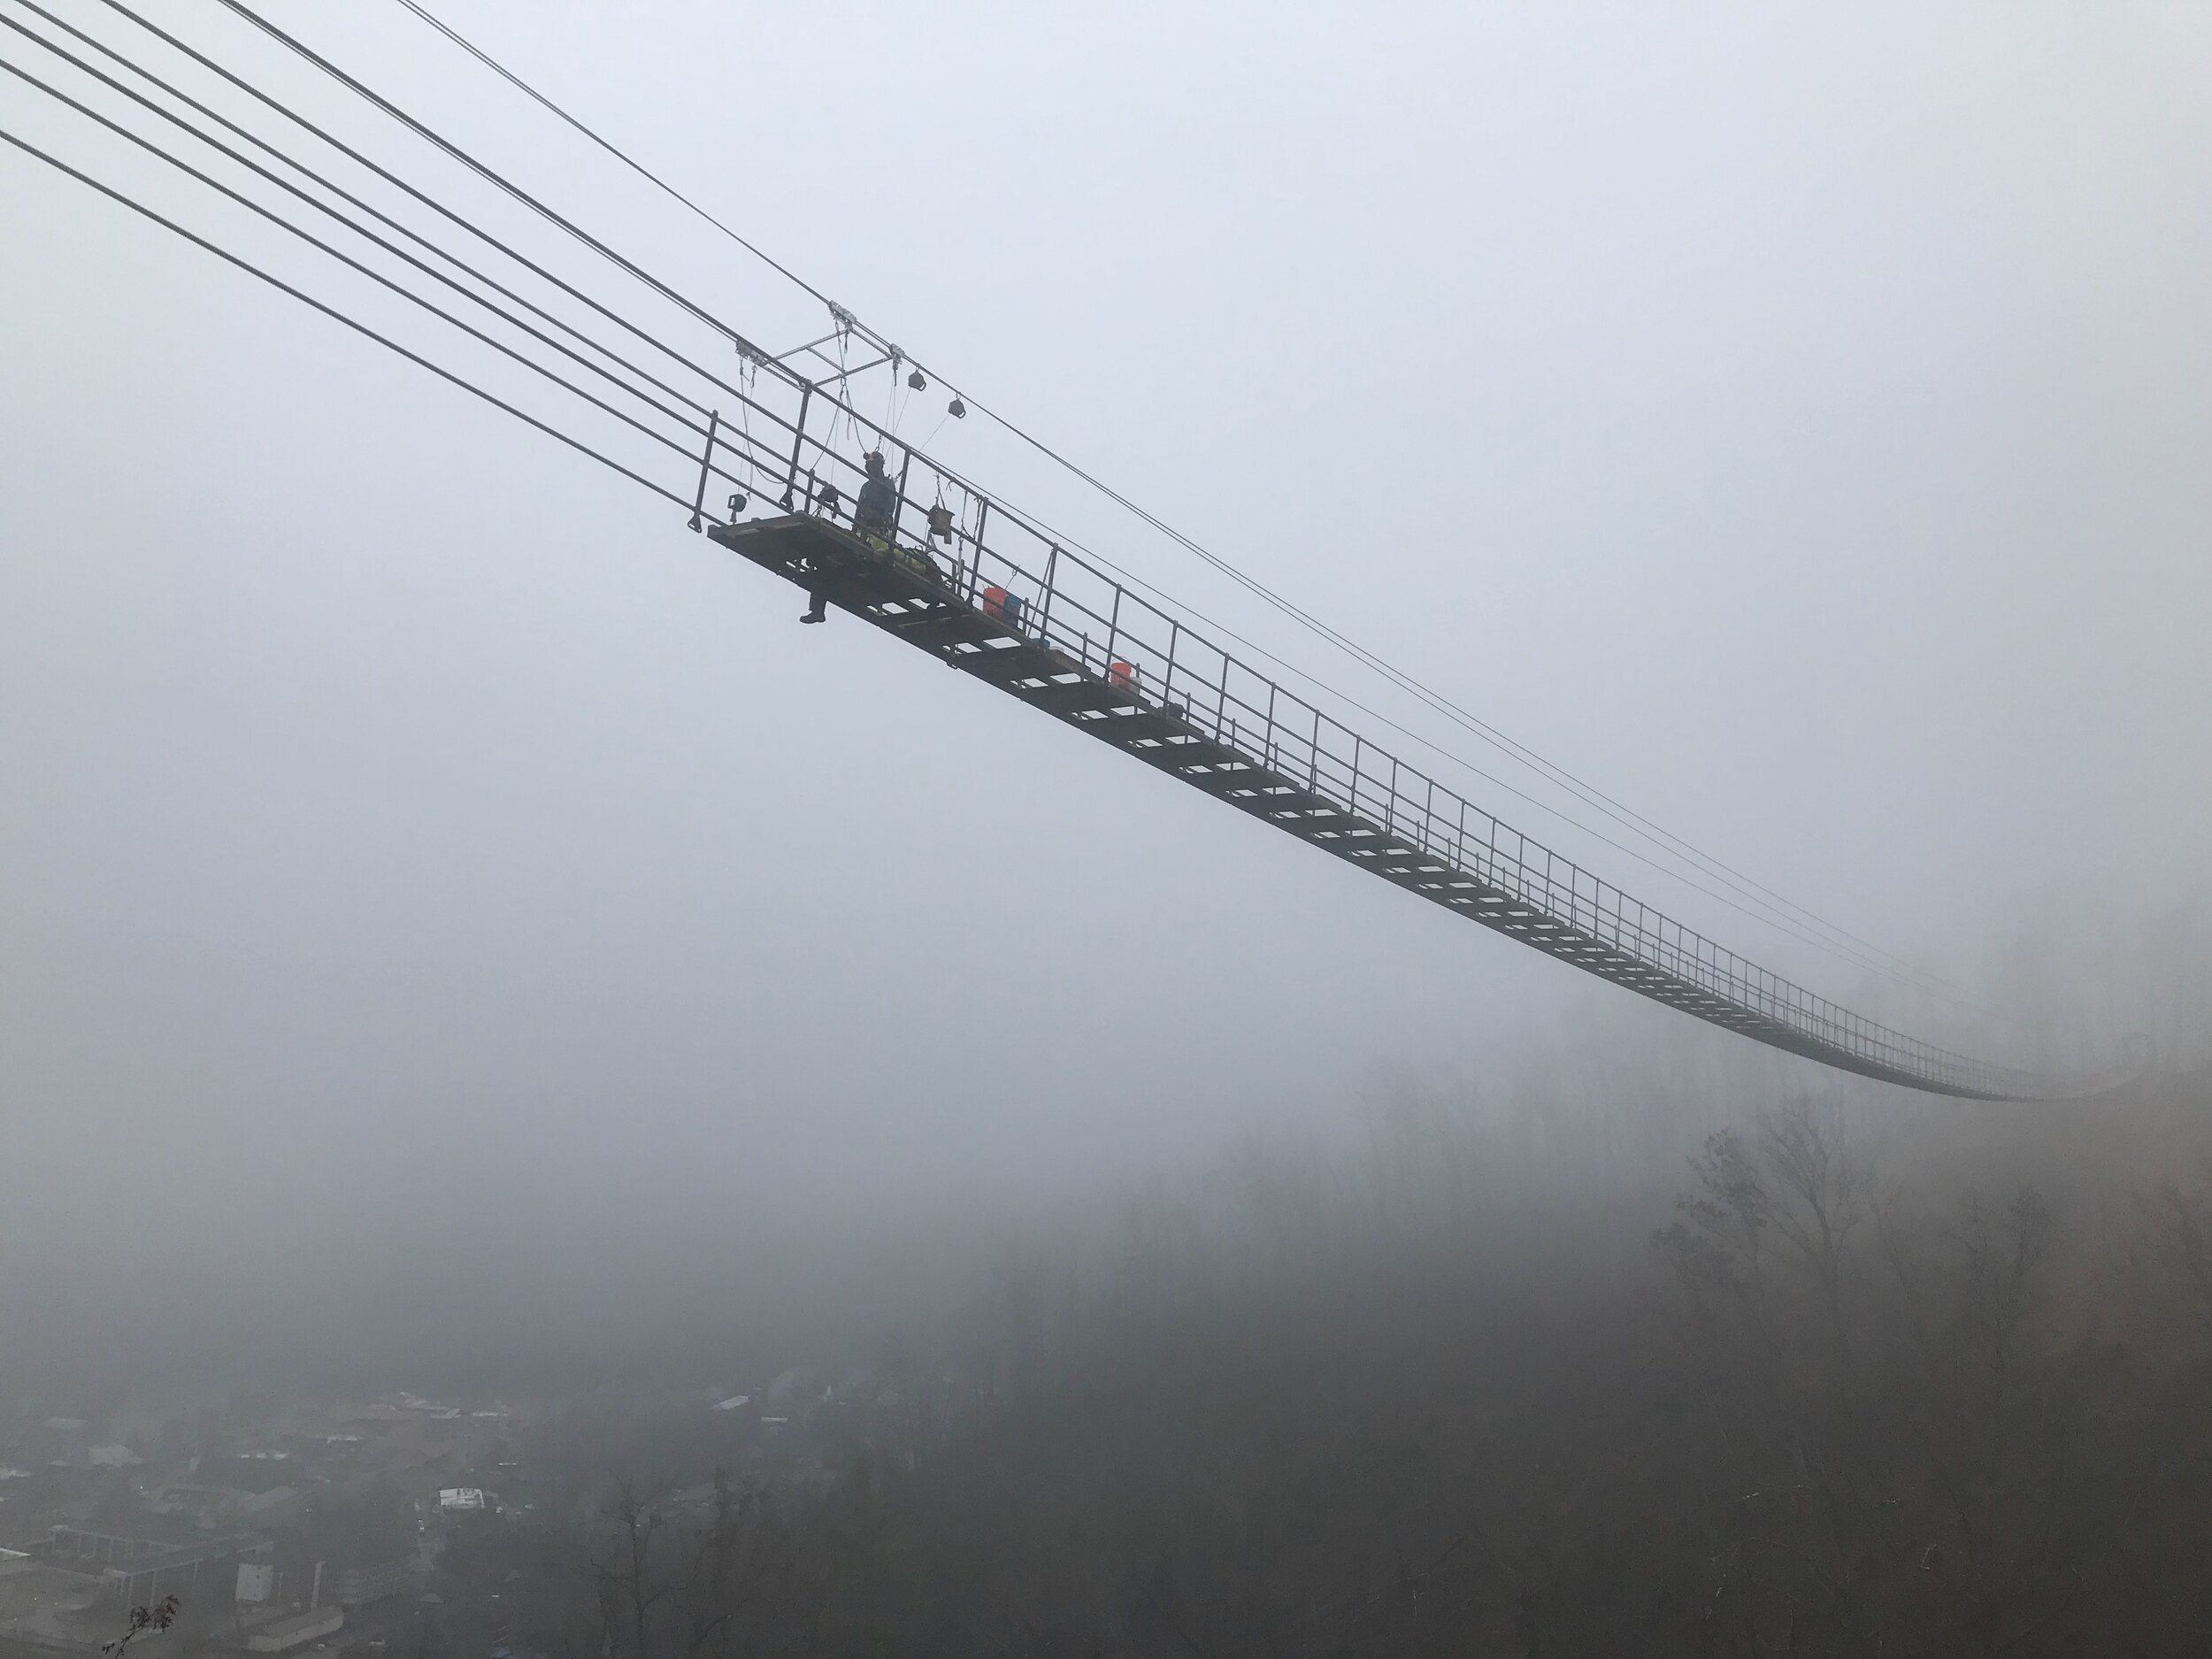
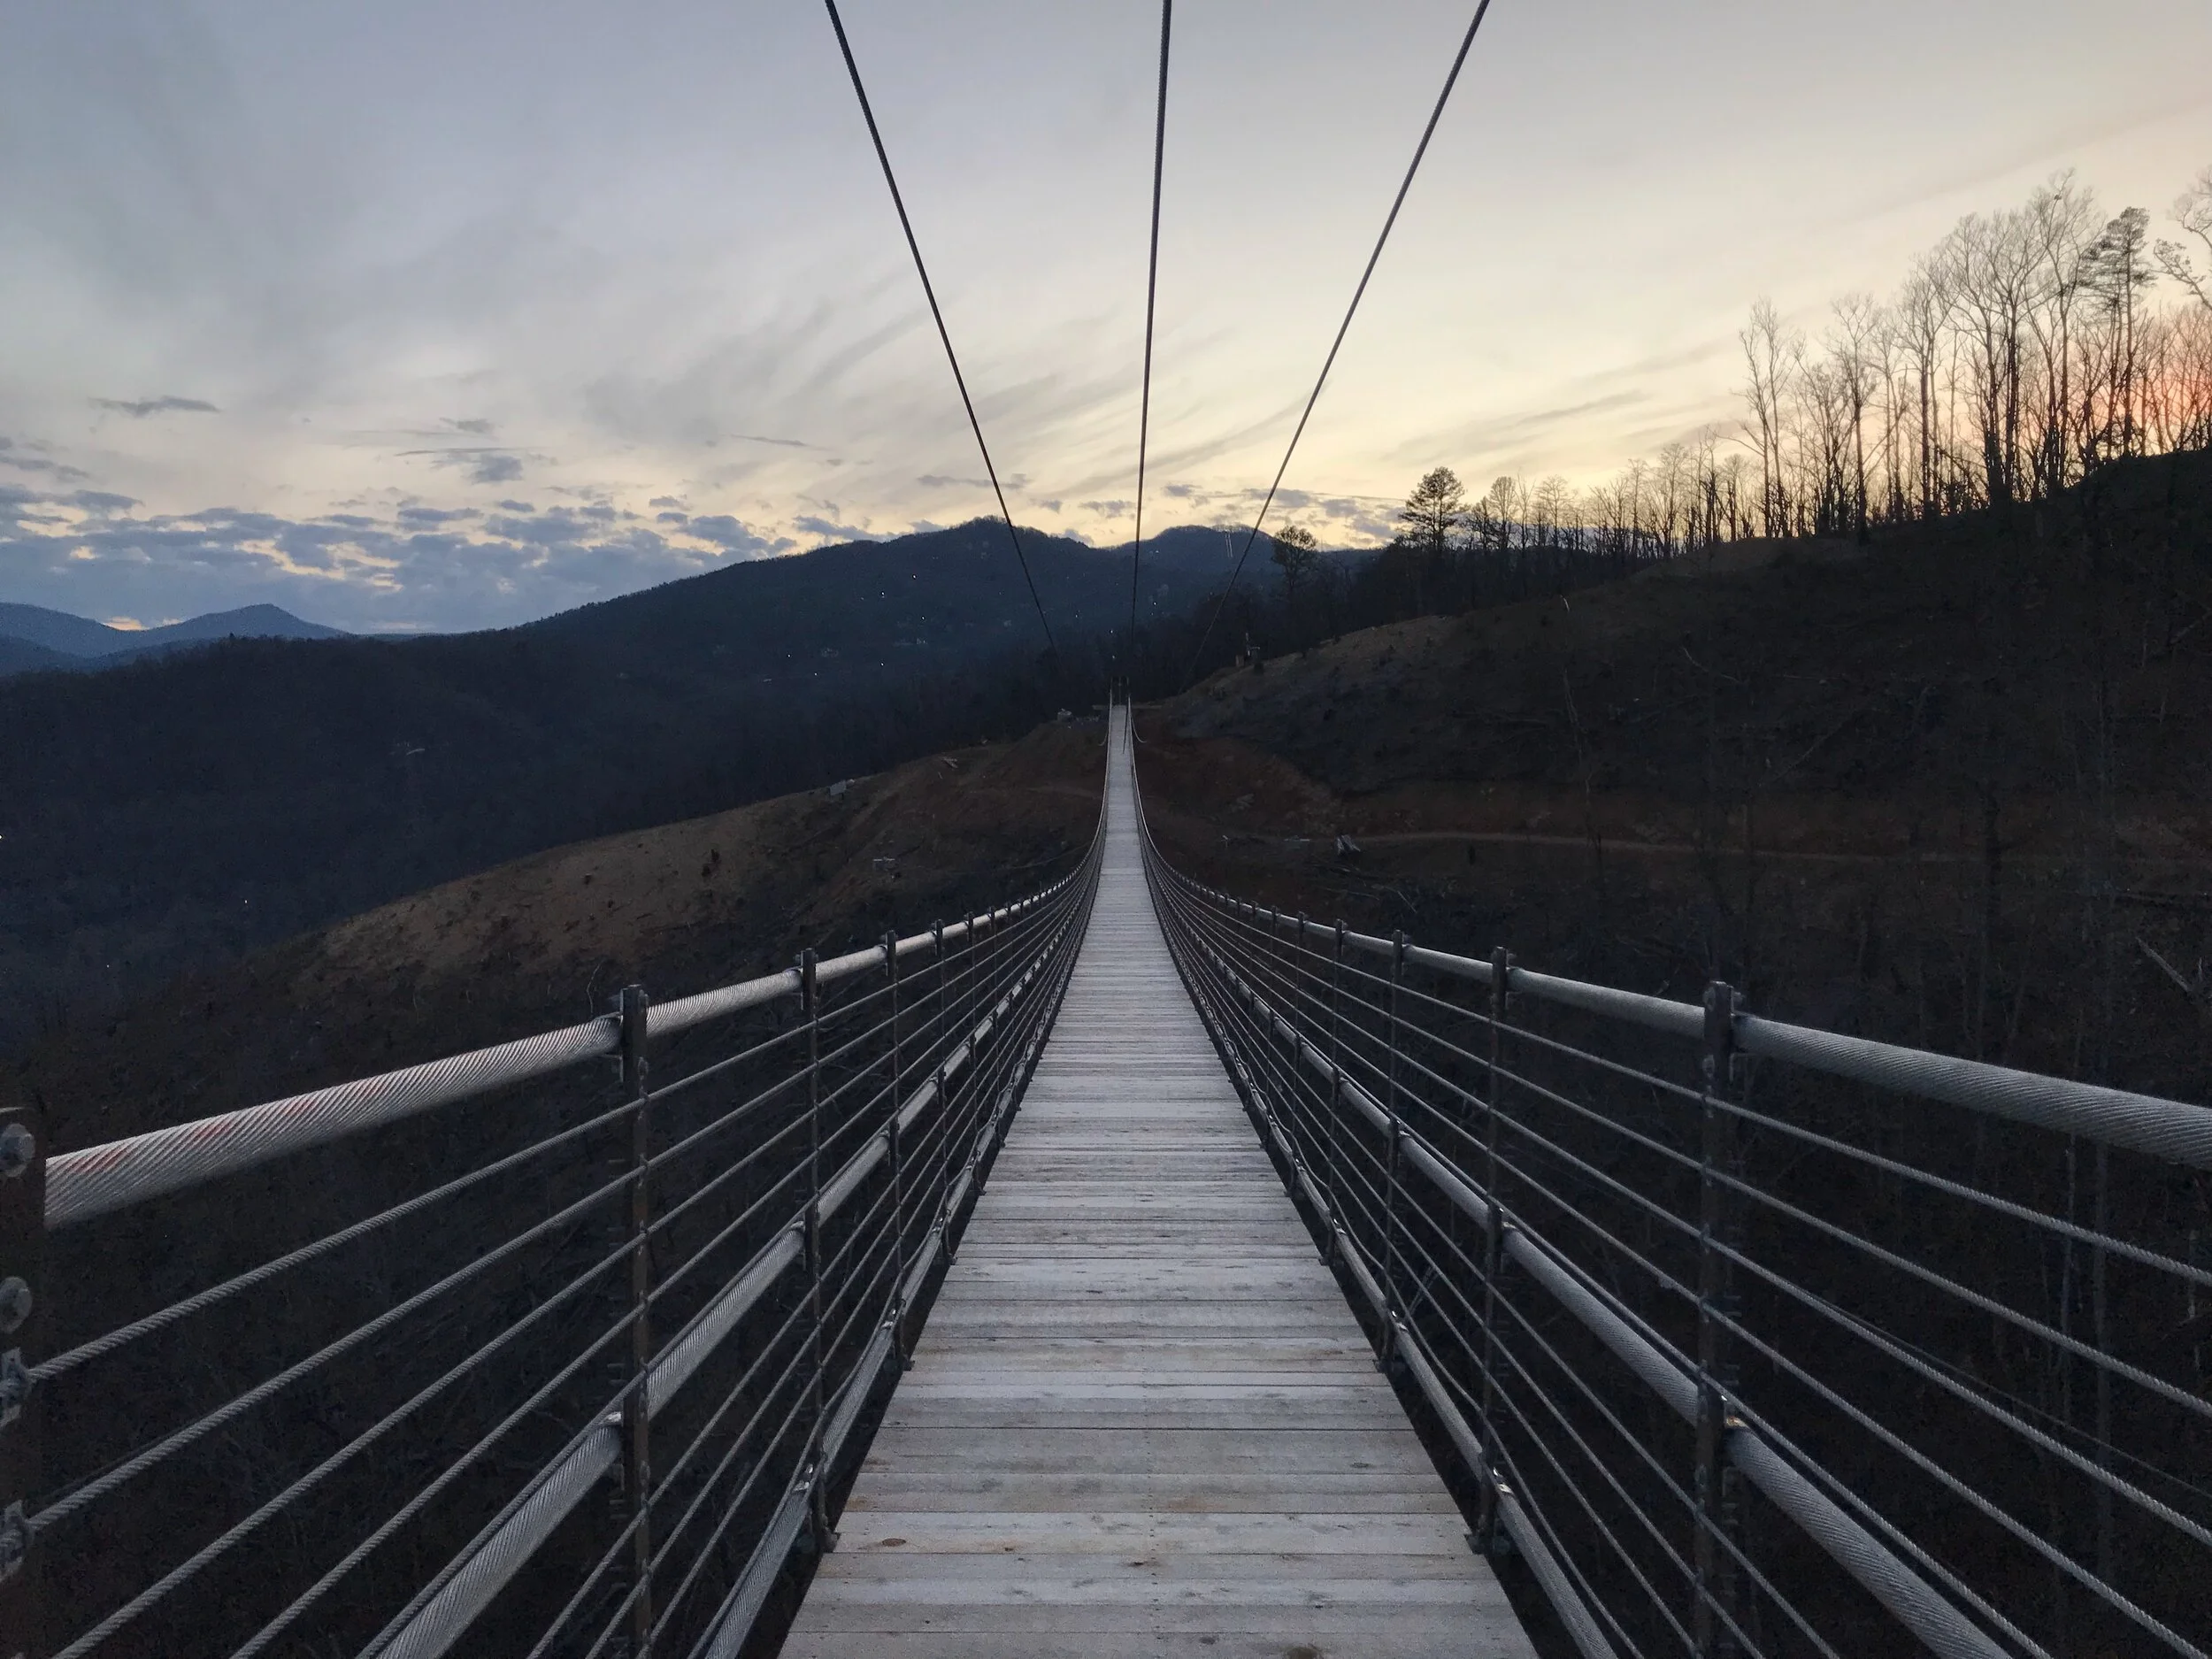
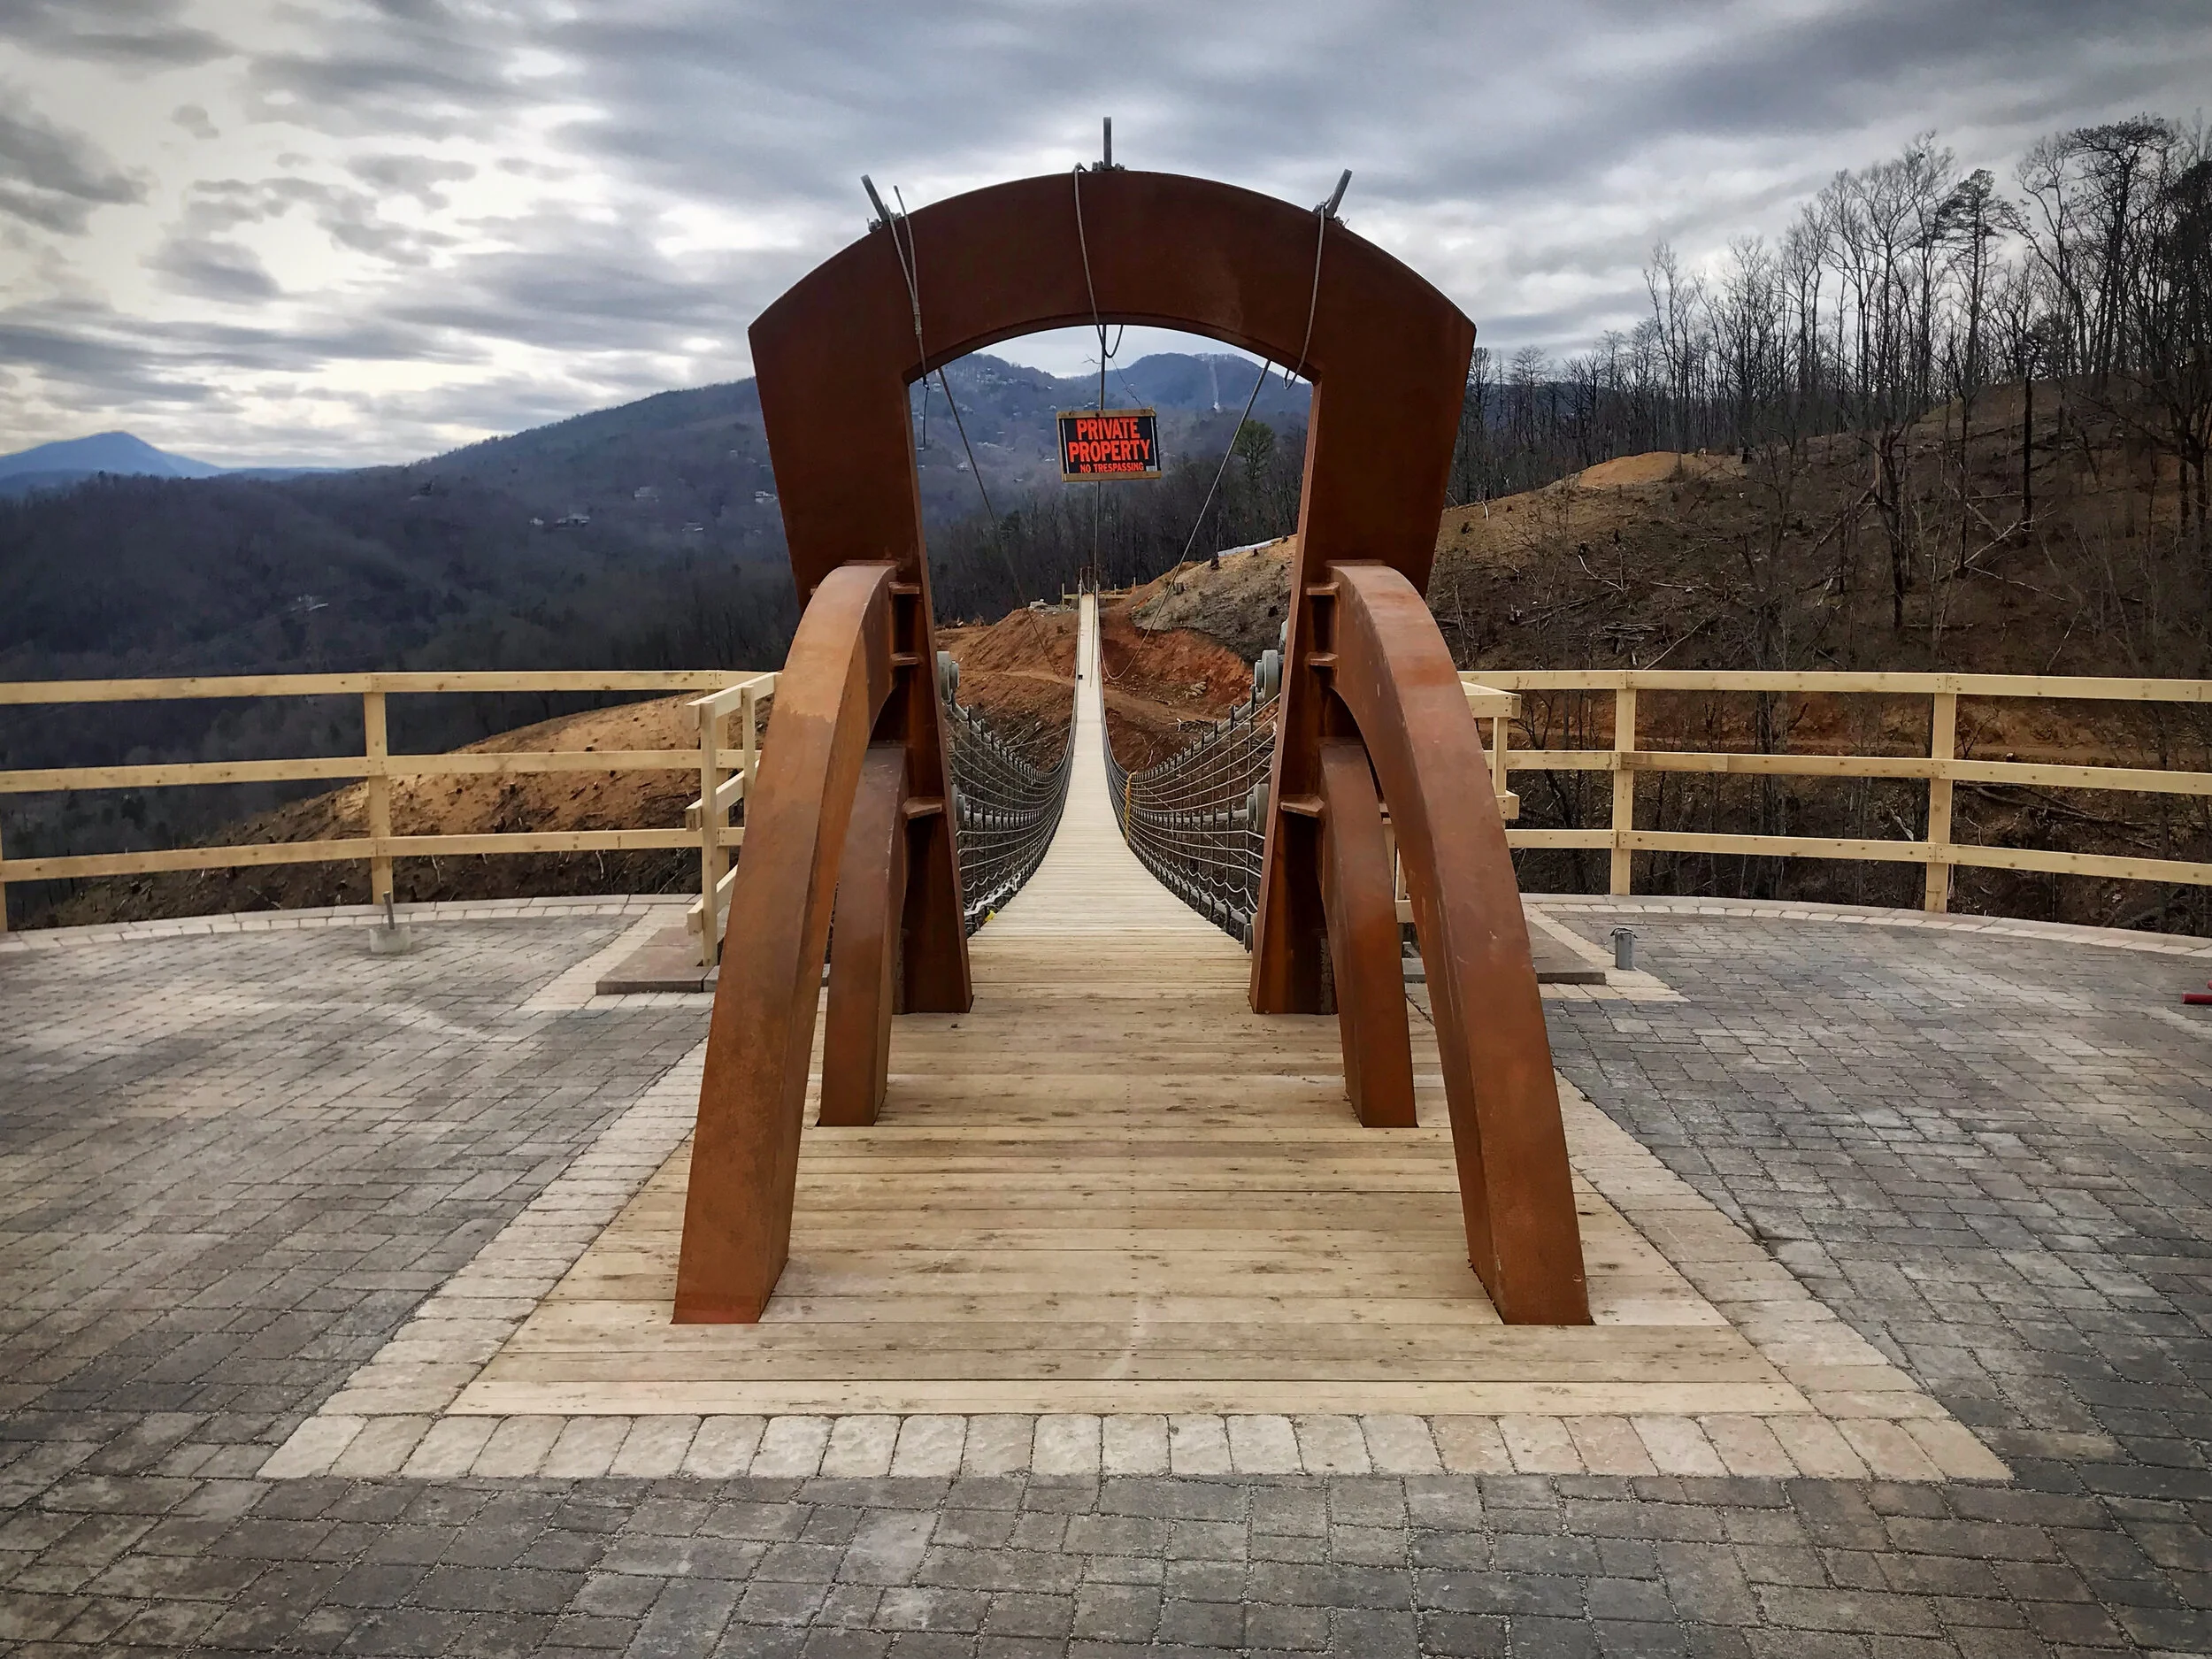
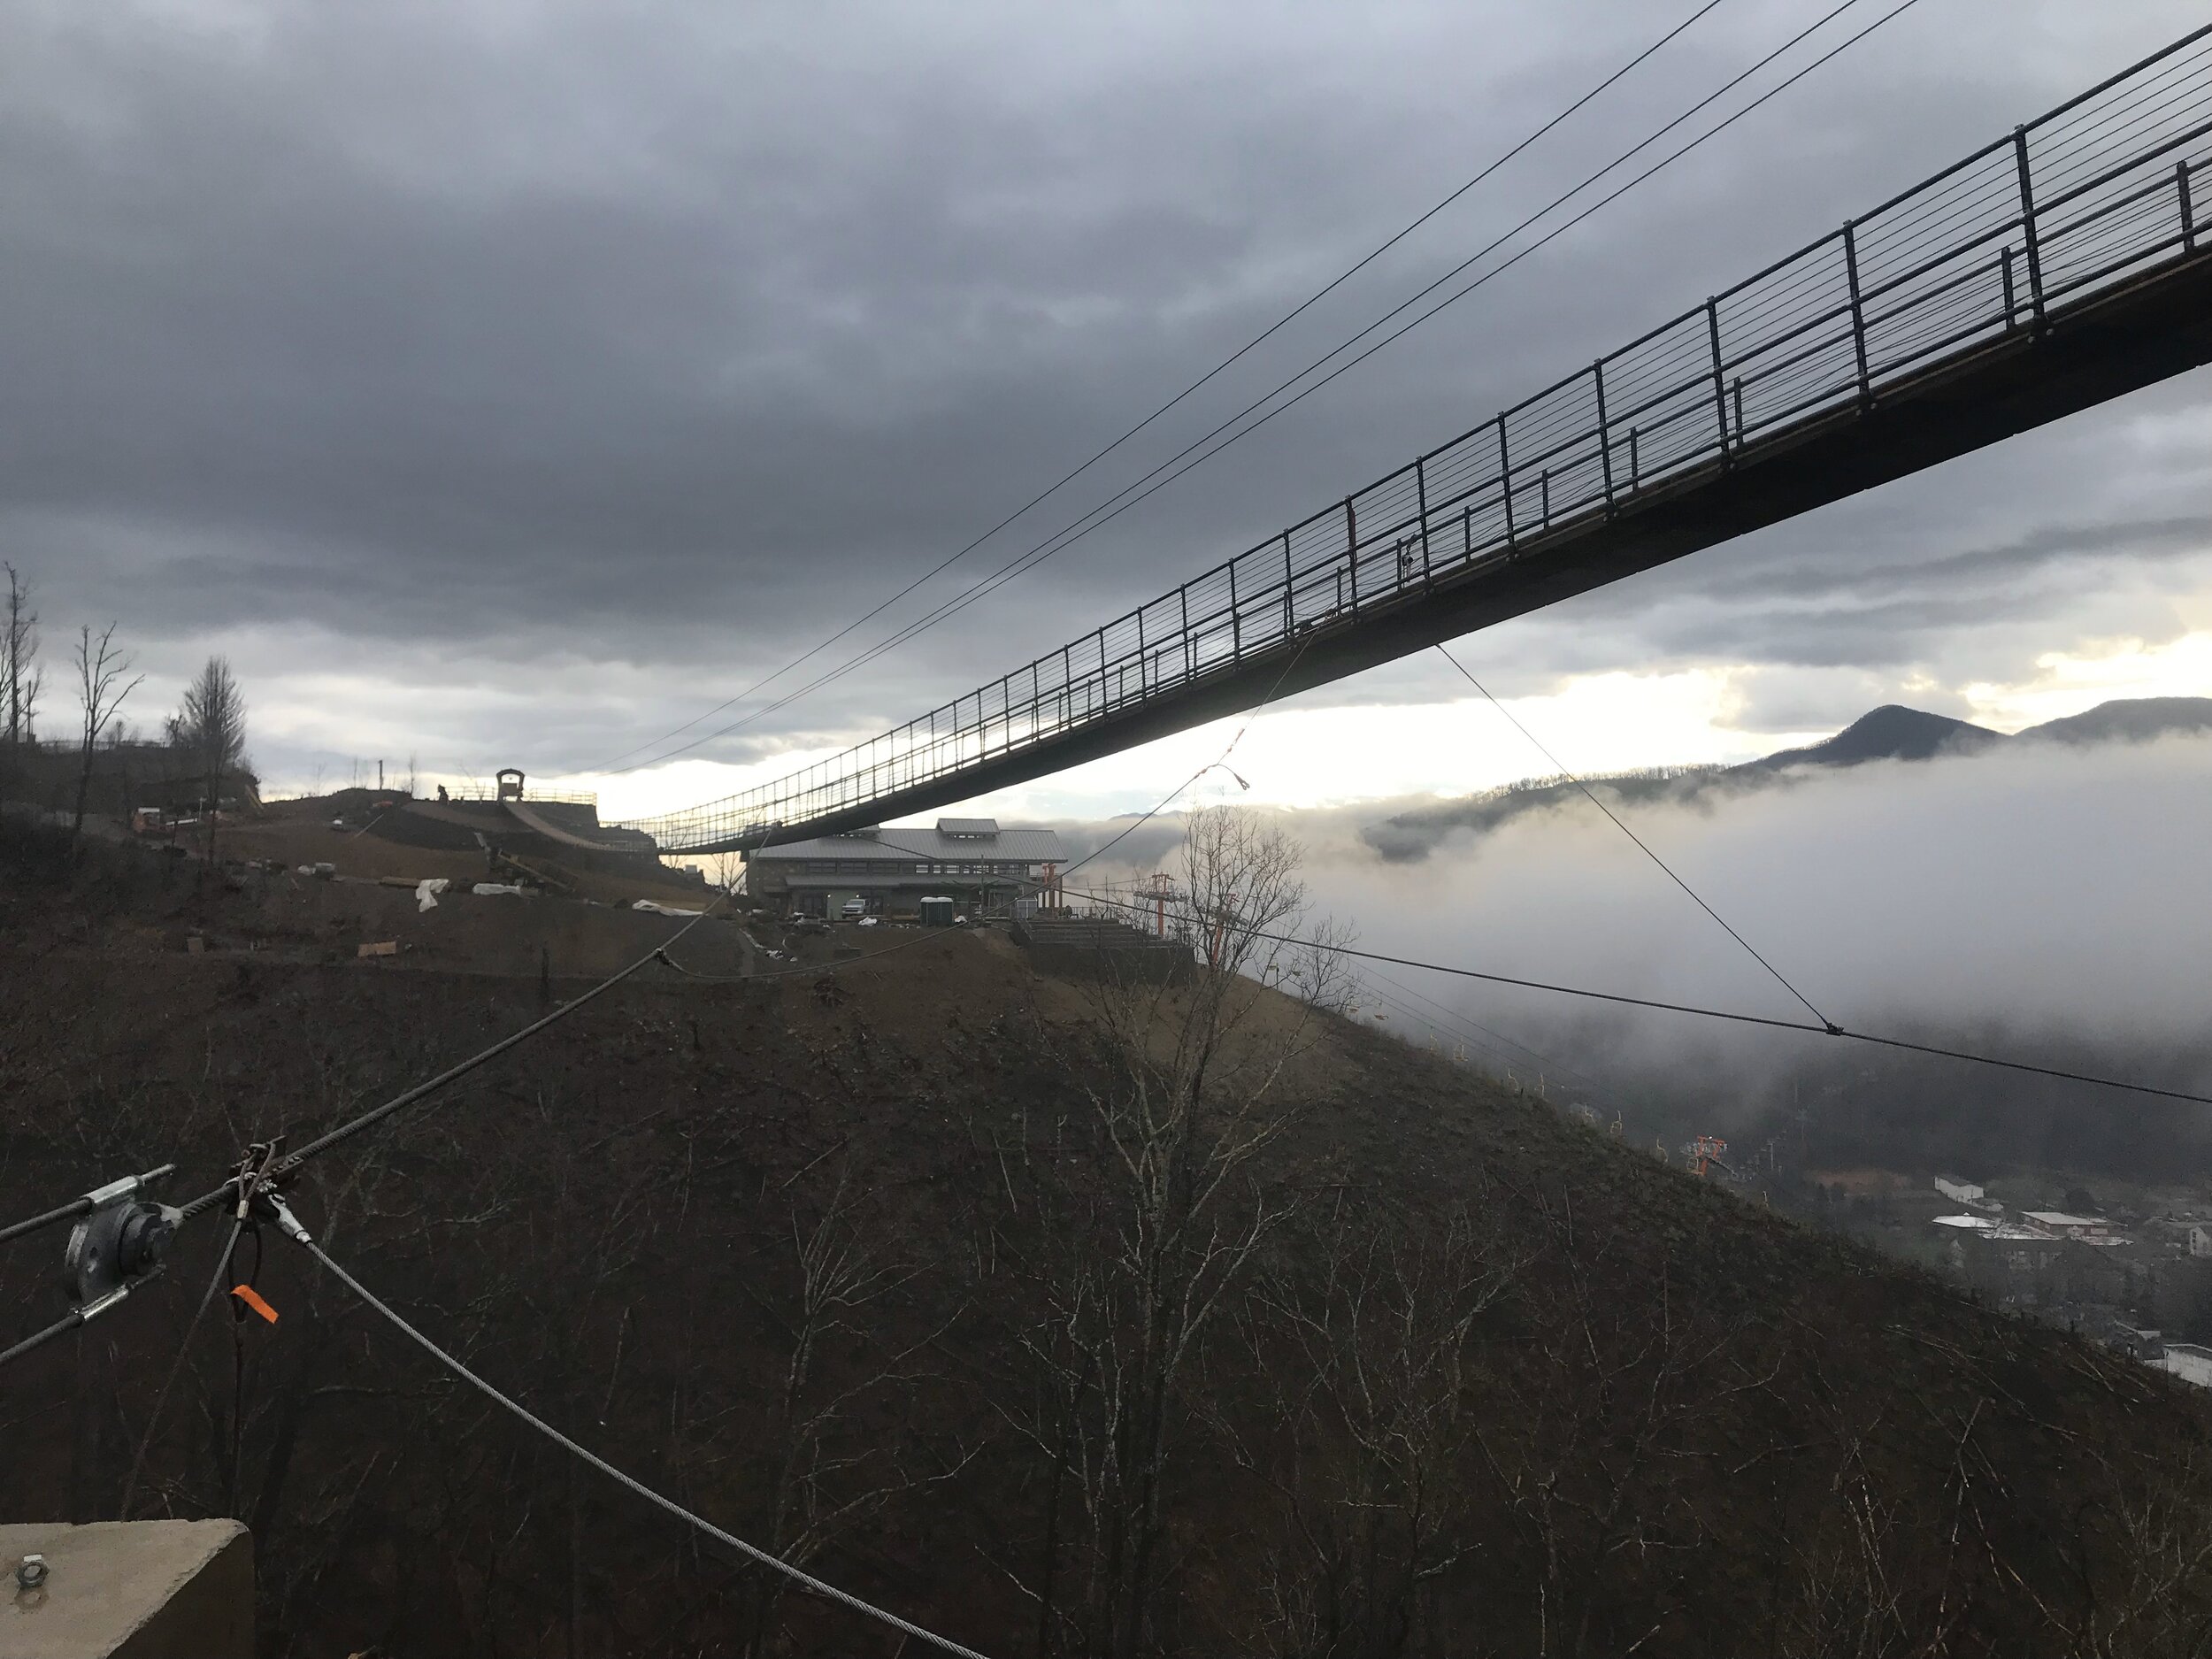
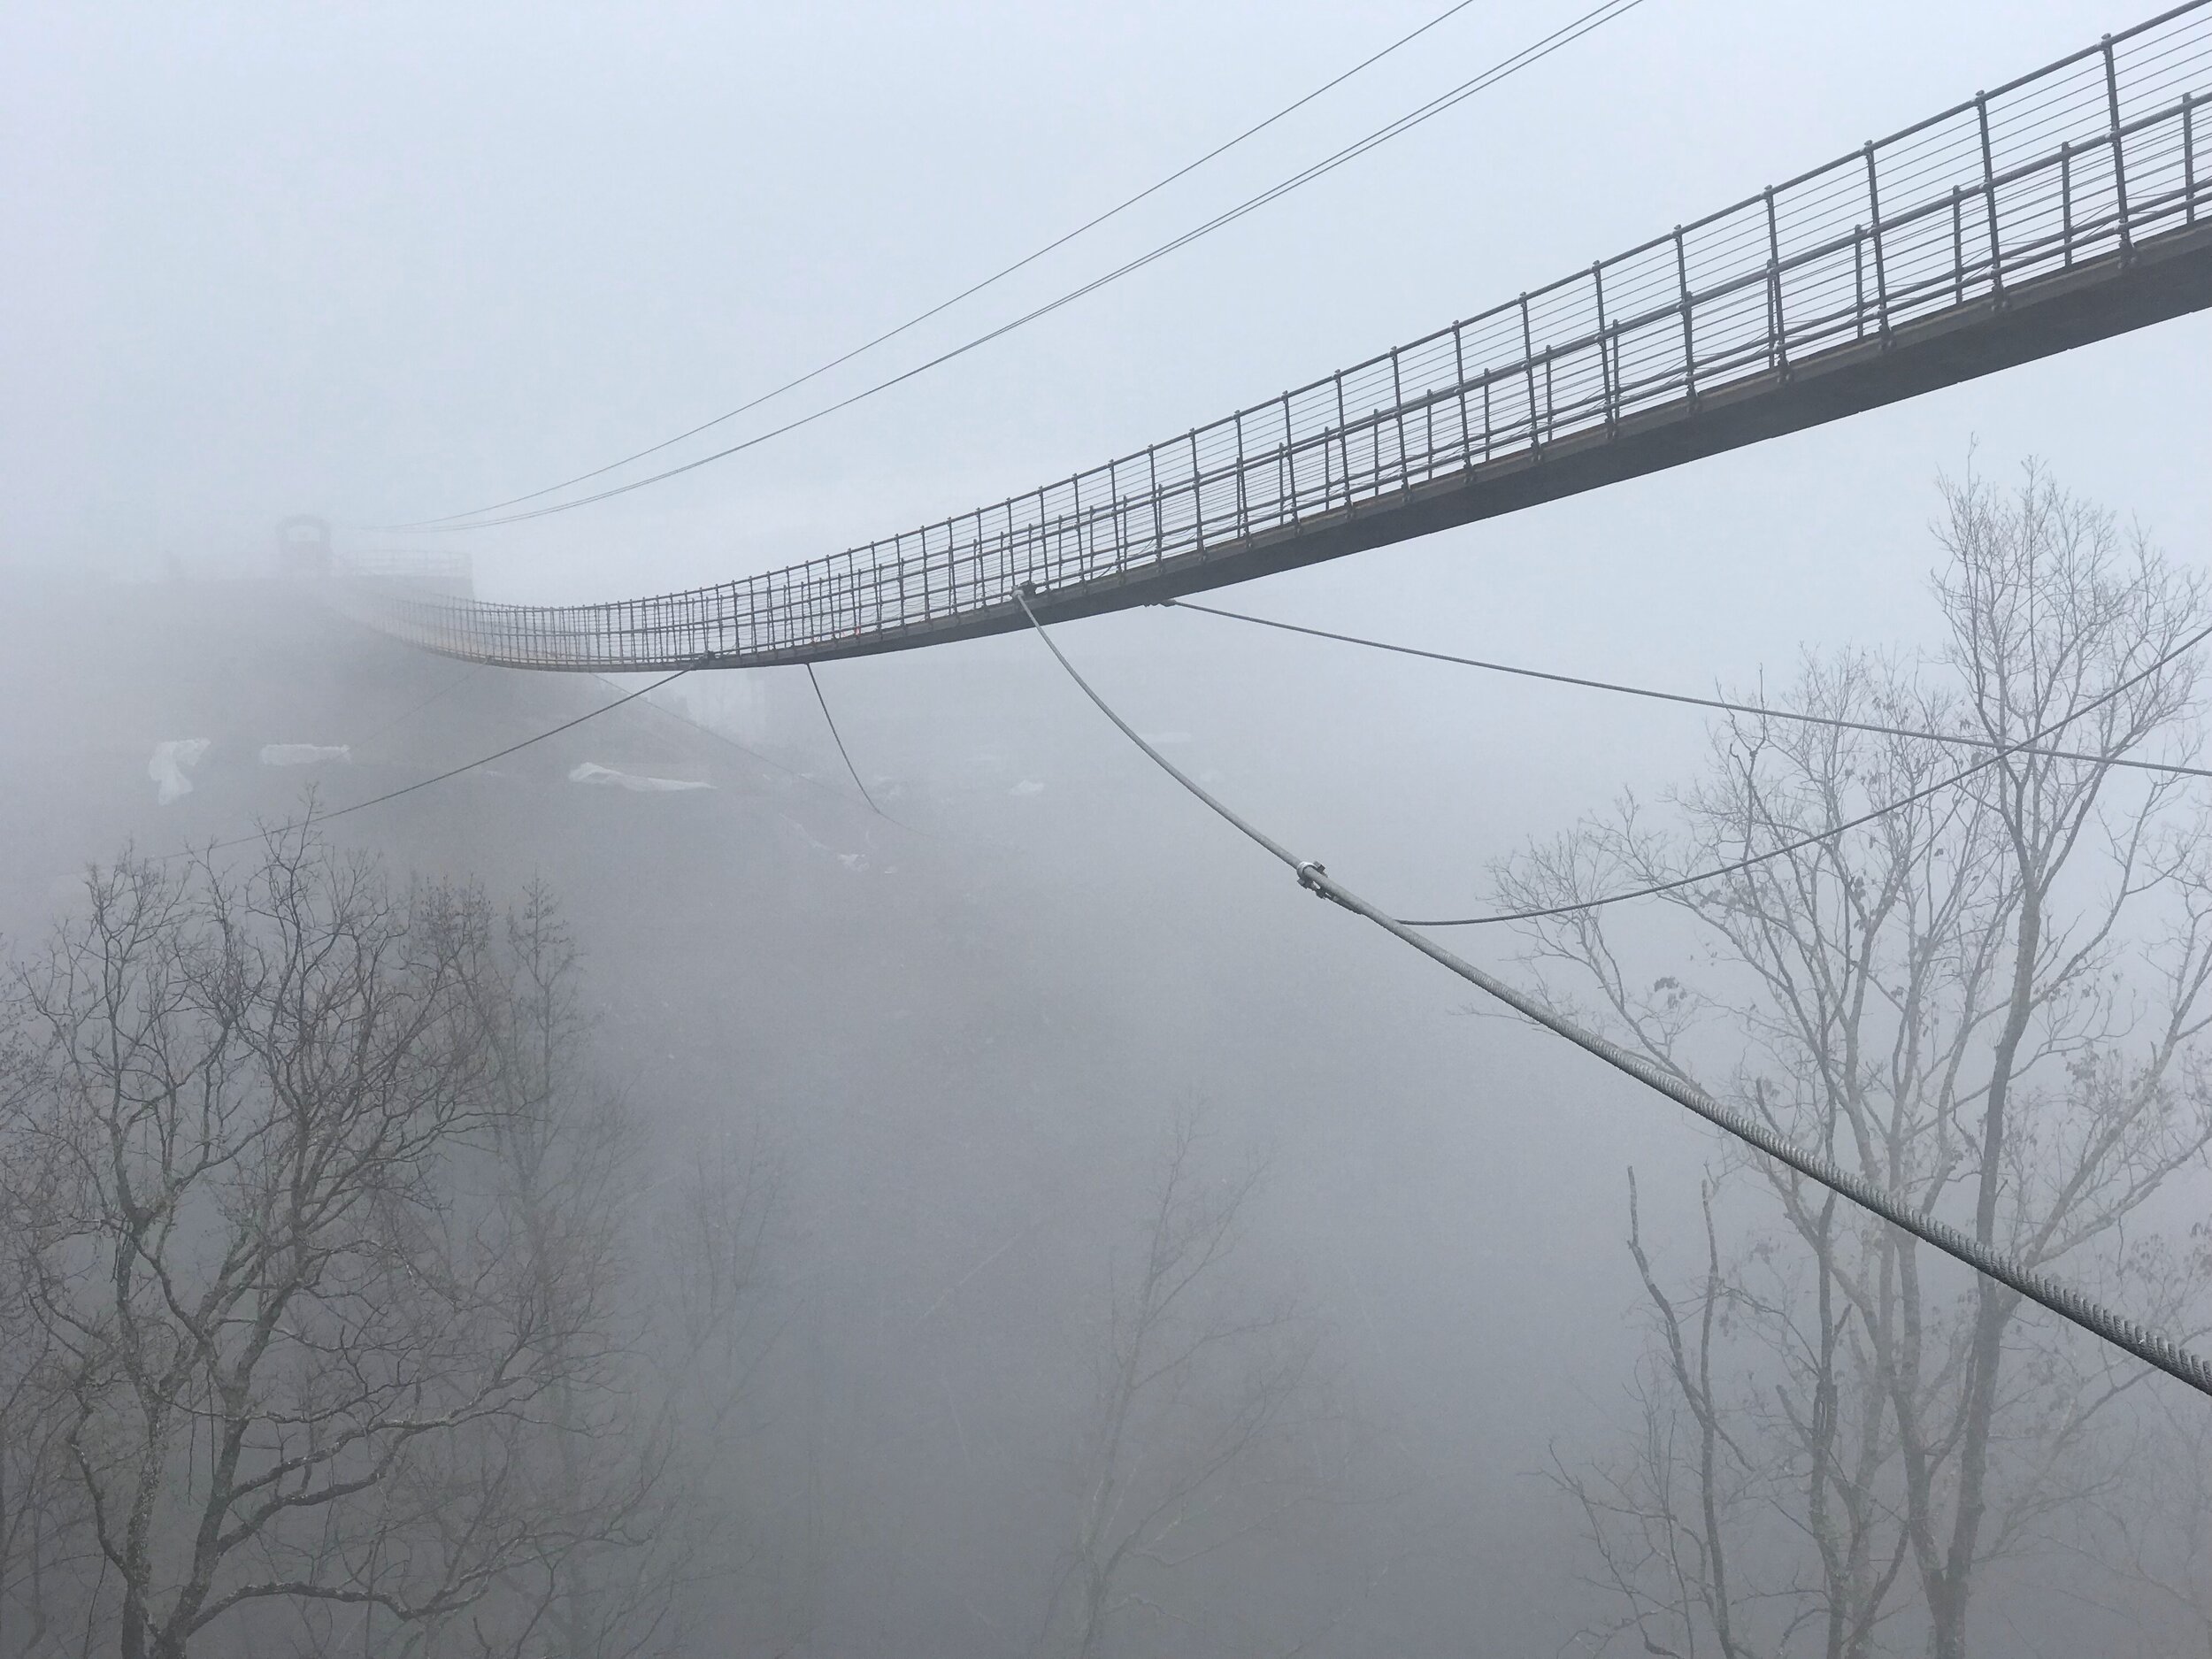
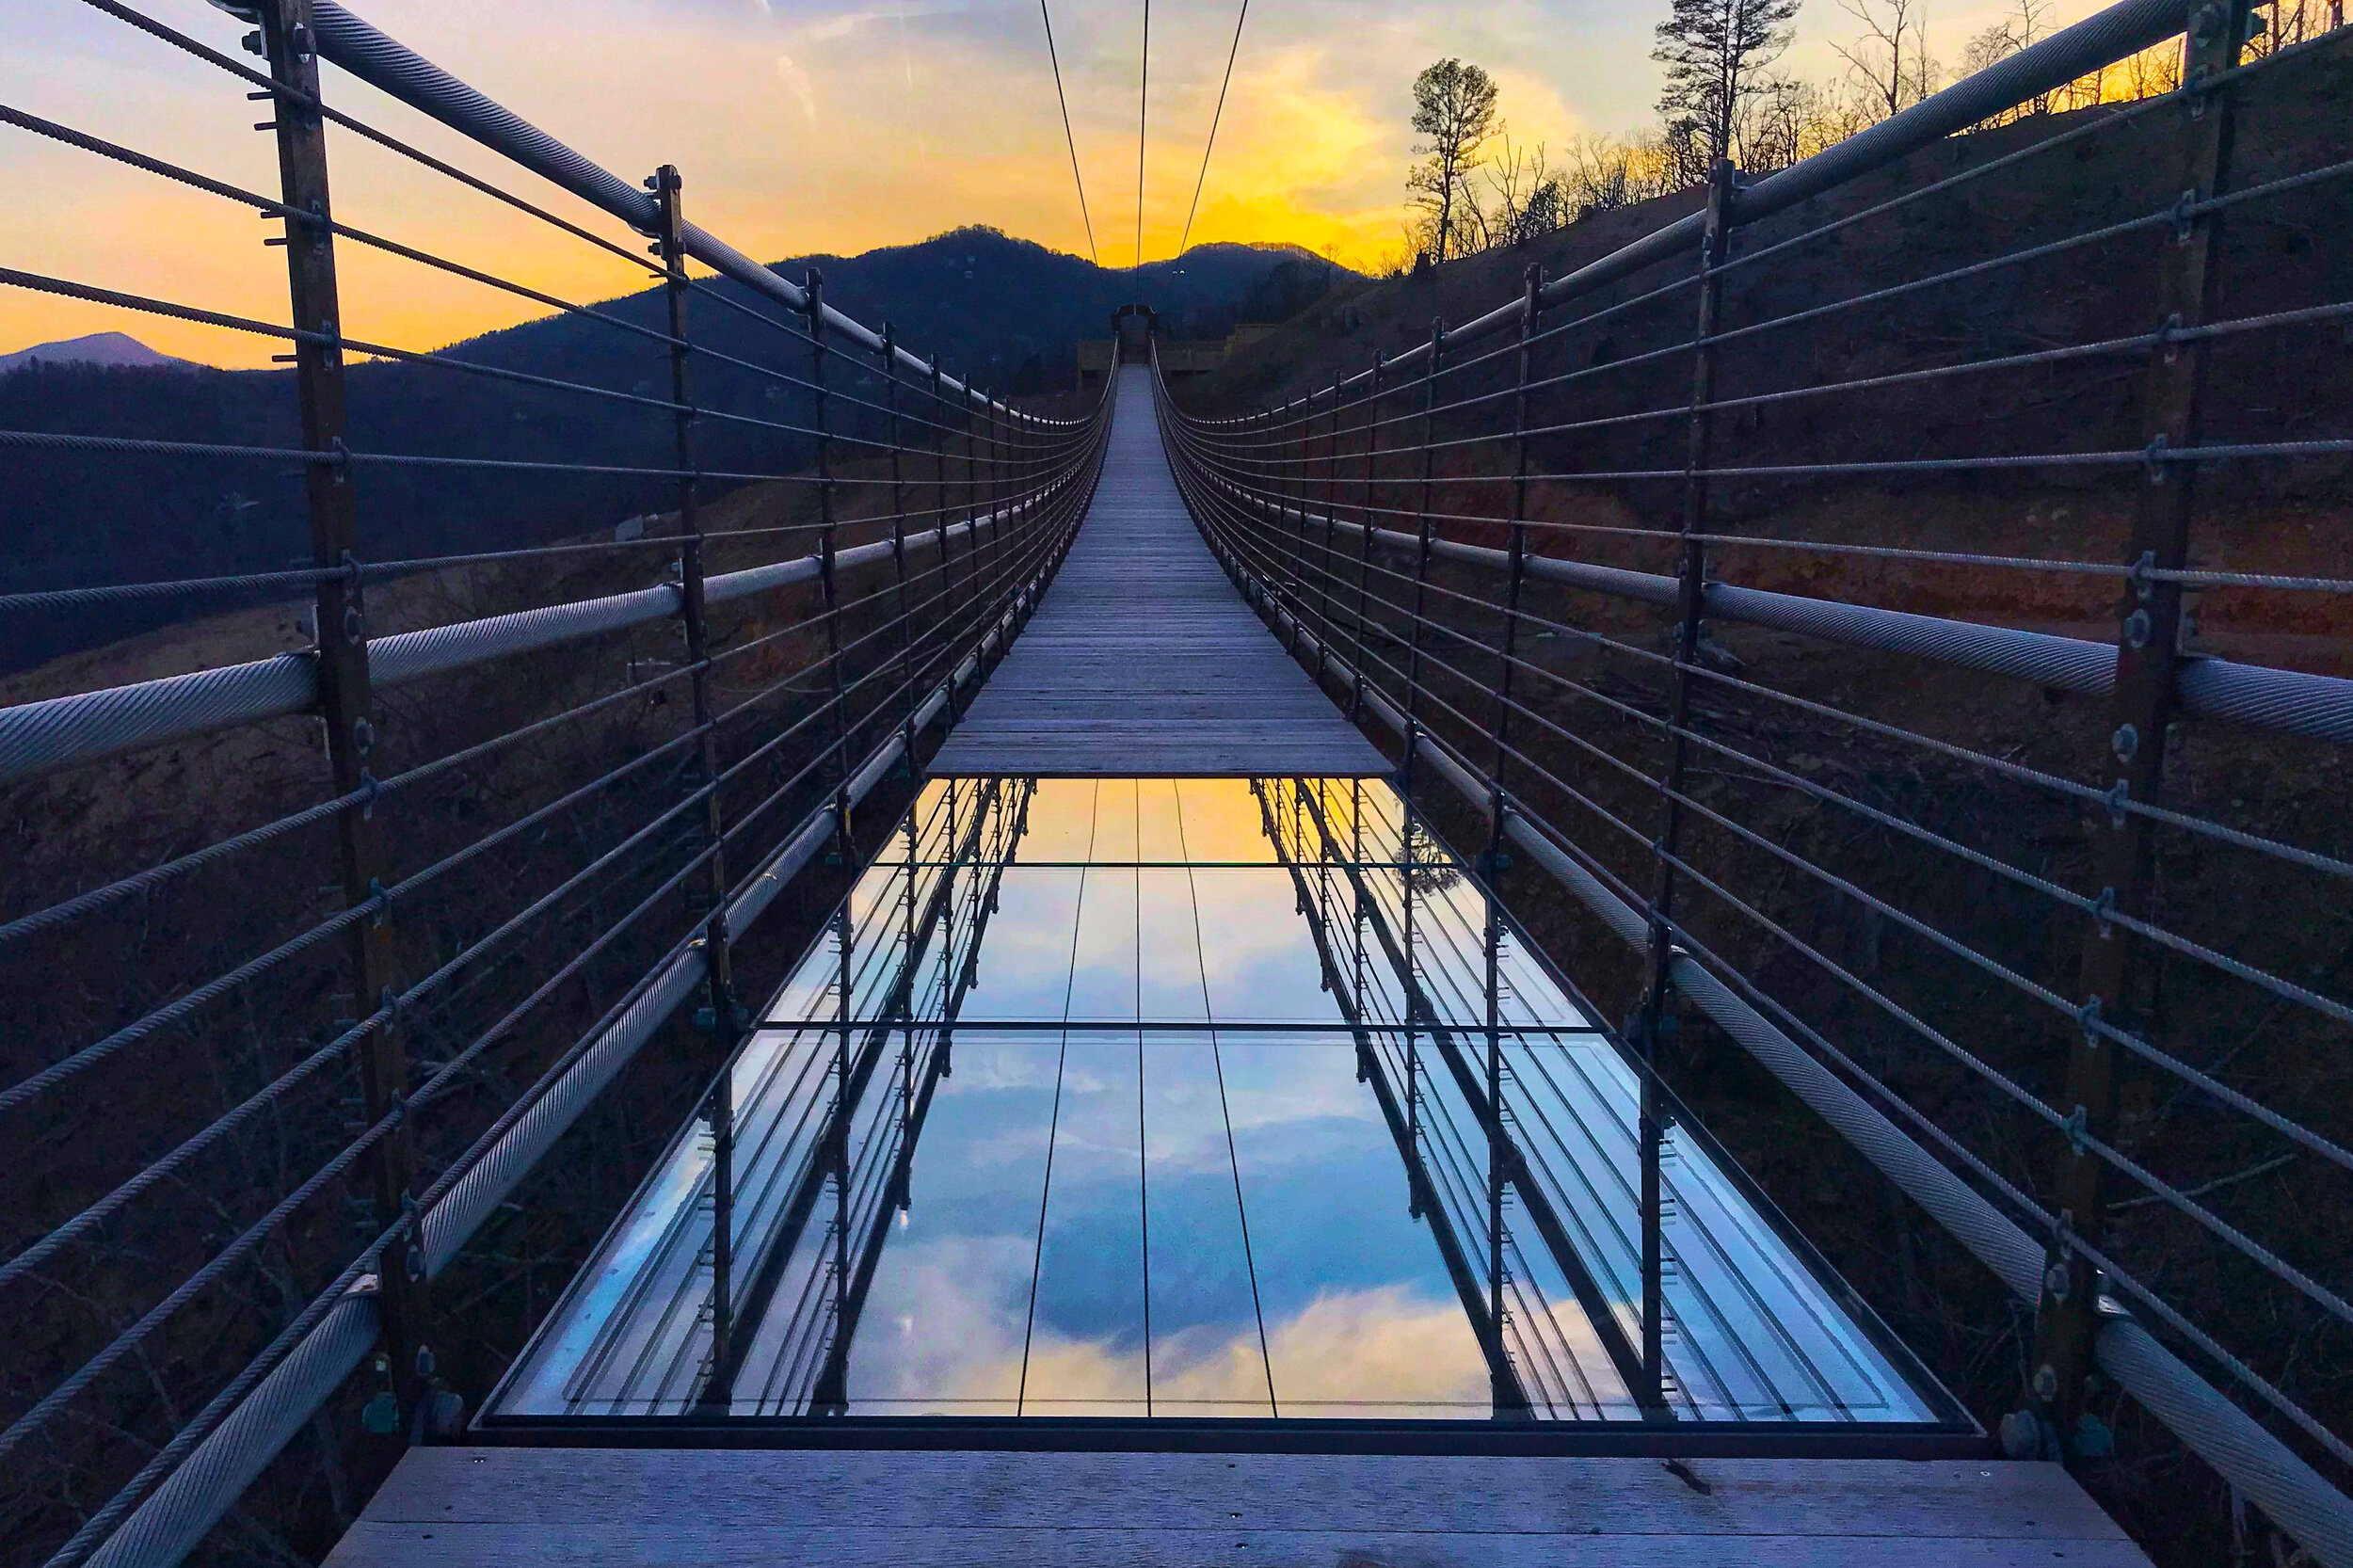
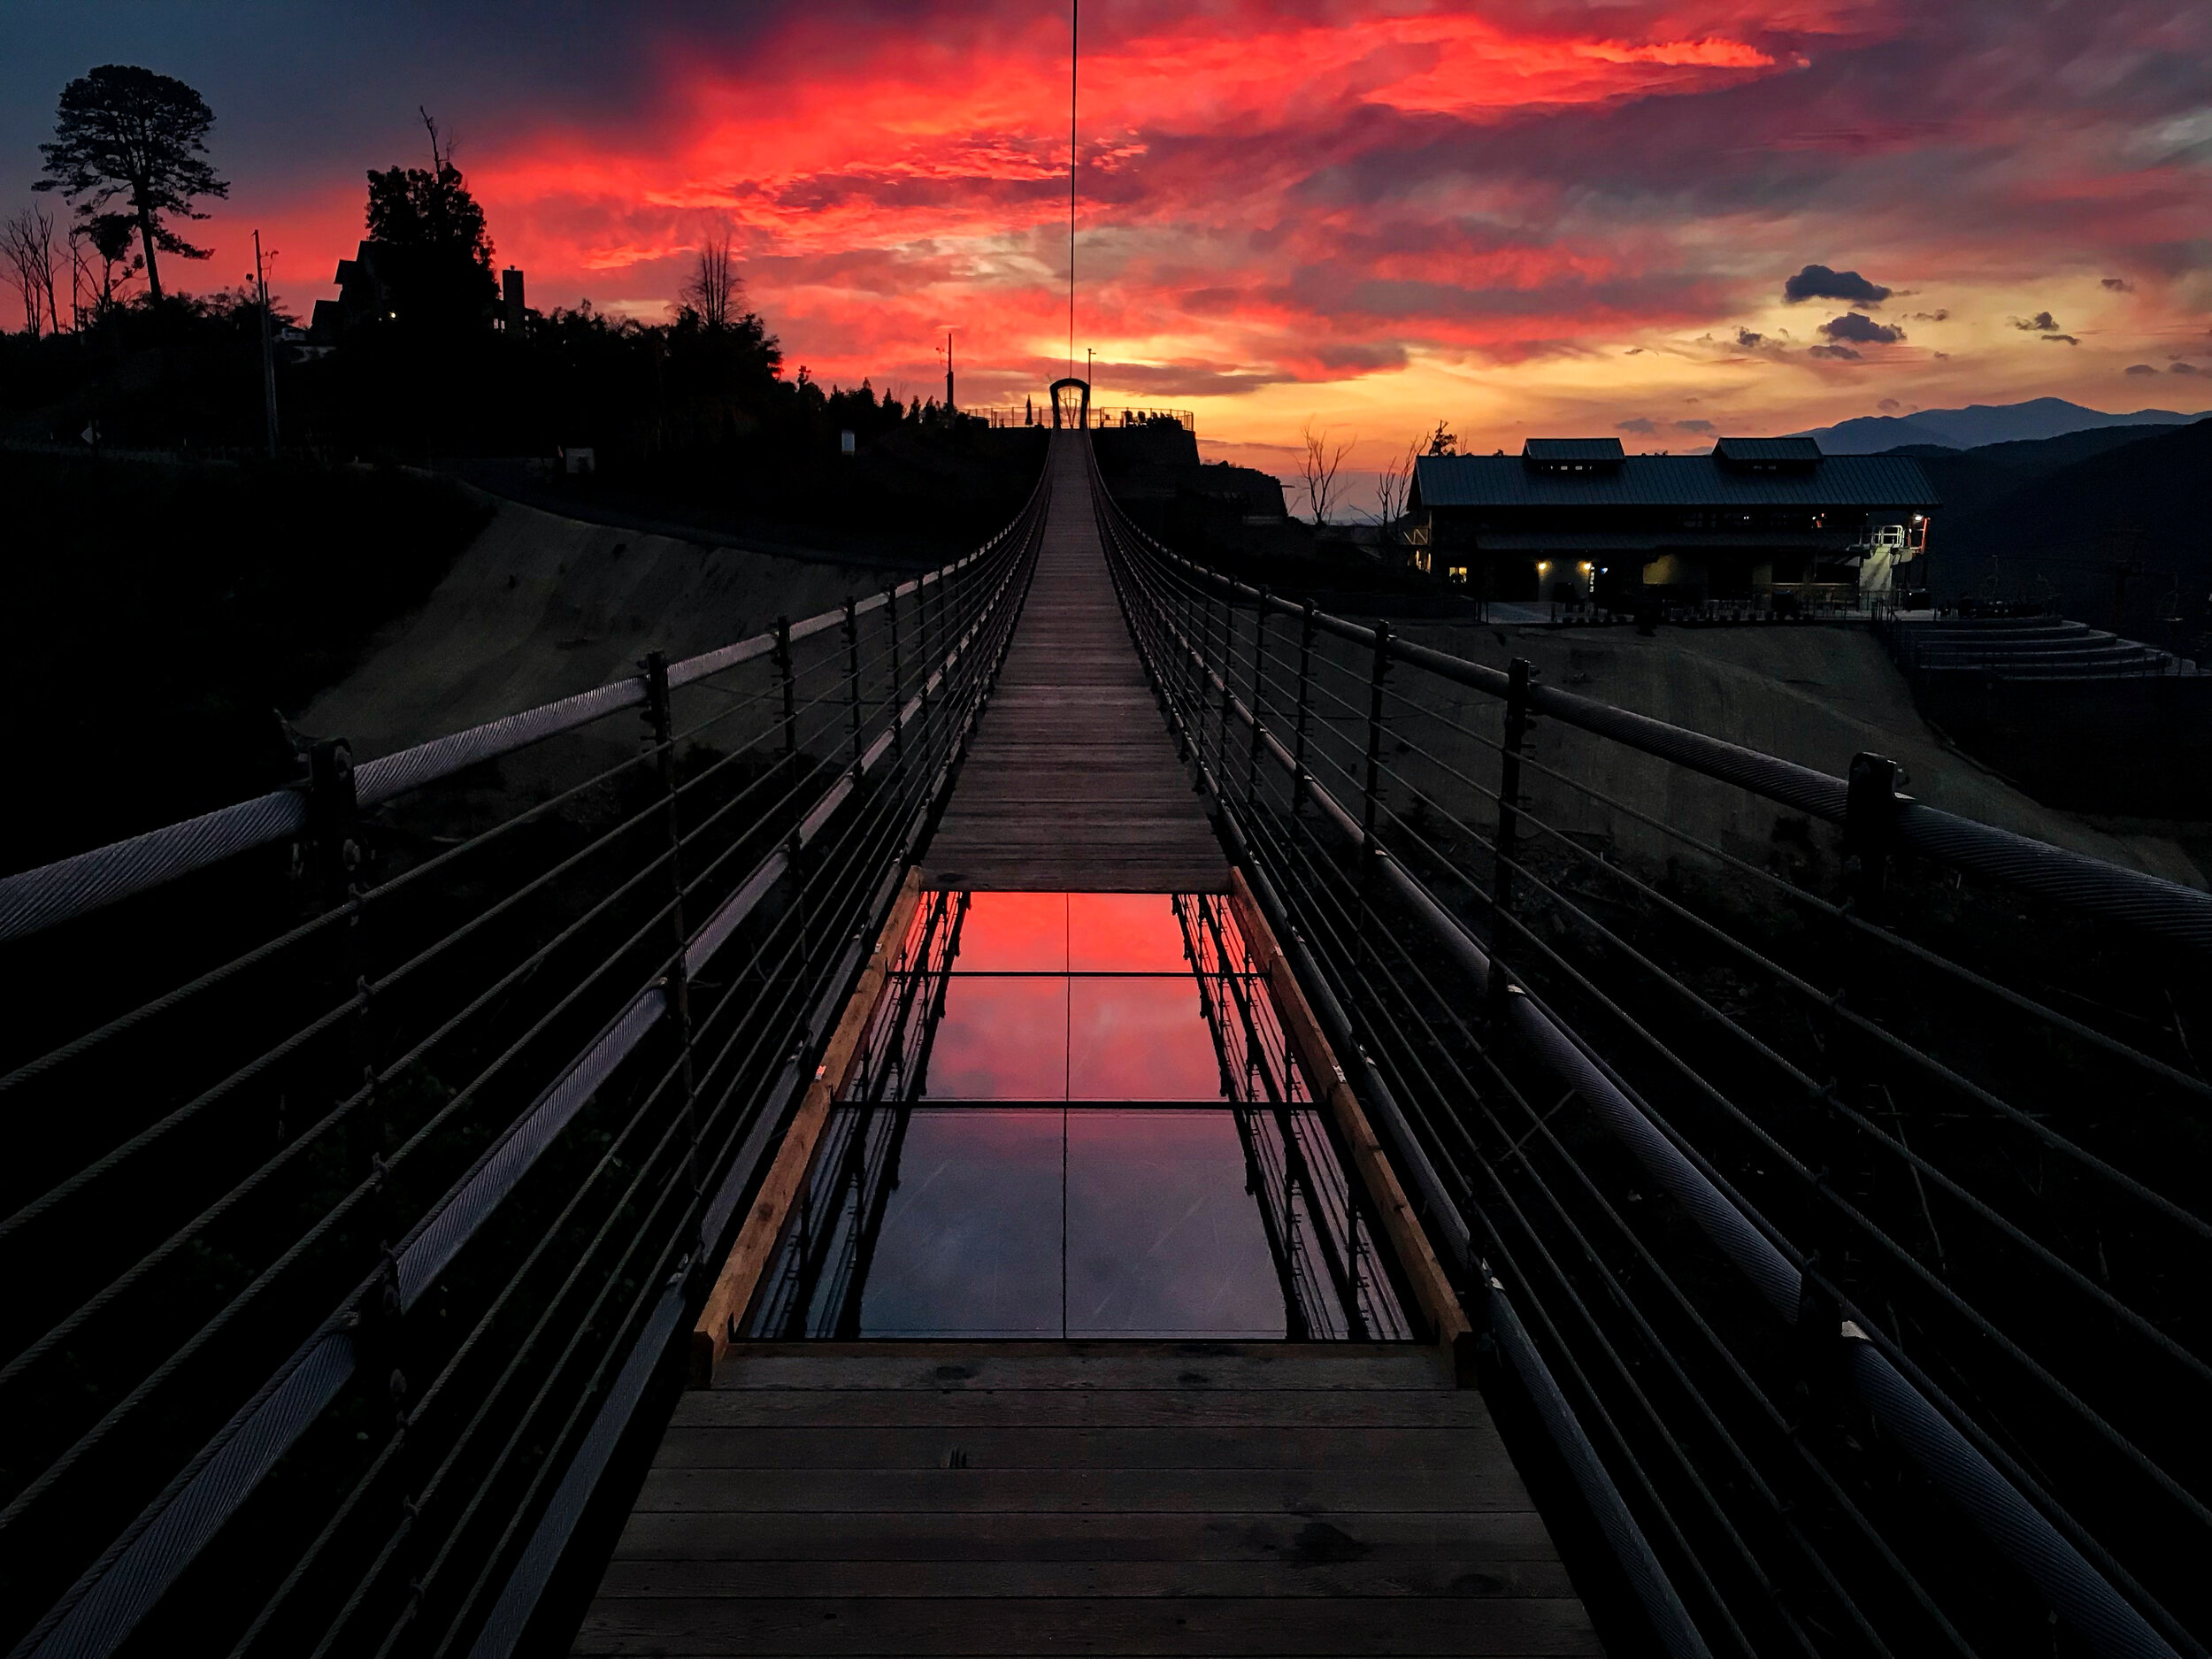
The SkyBridge is 680 feet /207 meters long from portal to portal. We only included the walking surface in that measurement, so the actual total construction length is even longer. The bridge is 5 feet/1.52 meters wide, and is about 150 feet/45.5 meters high…depending on how many people are on the bridge. The SkyBridge sits up high on the side of the mountain, about 500’ above downtown Gatlinburg. It has awesome panoramic views of the Smoky Mountains, including stunning sunrise and sunset views.
CAPACITY
The SkyBridge can hold 500 people who each weigh up to 400 pounds/181 kilograms. Technically its working load limit is higher than that, but operationally the capacity needs to be limited in case the bridge needs to be evacuated.
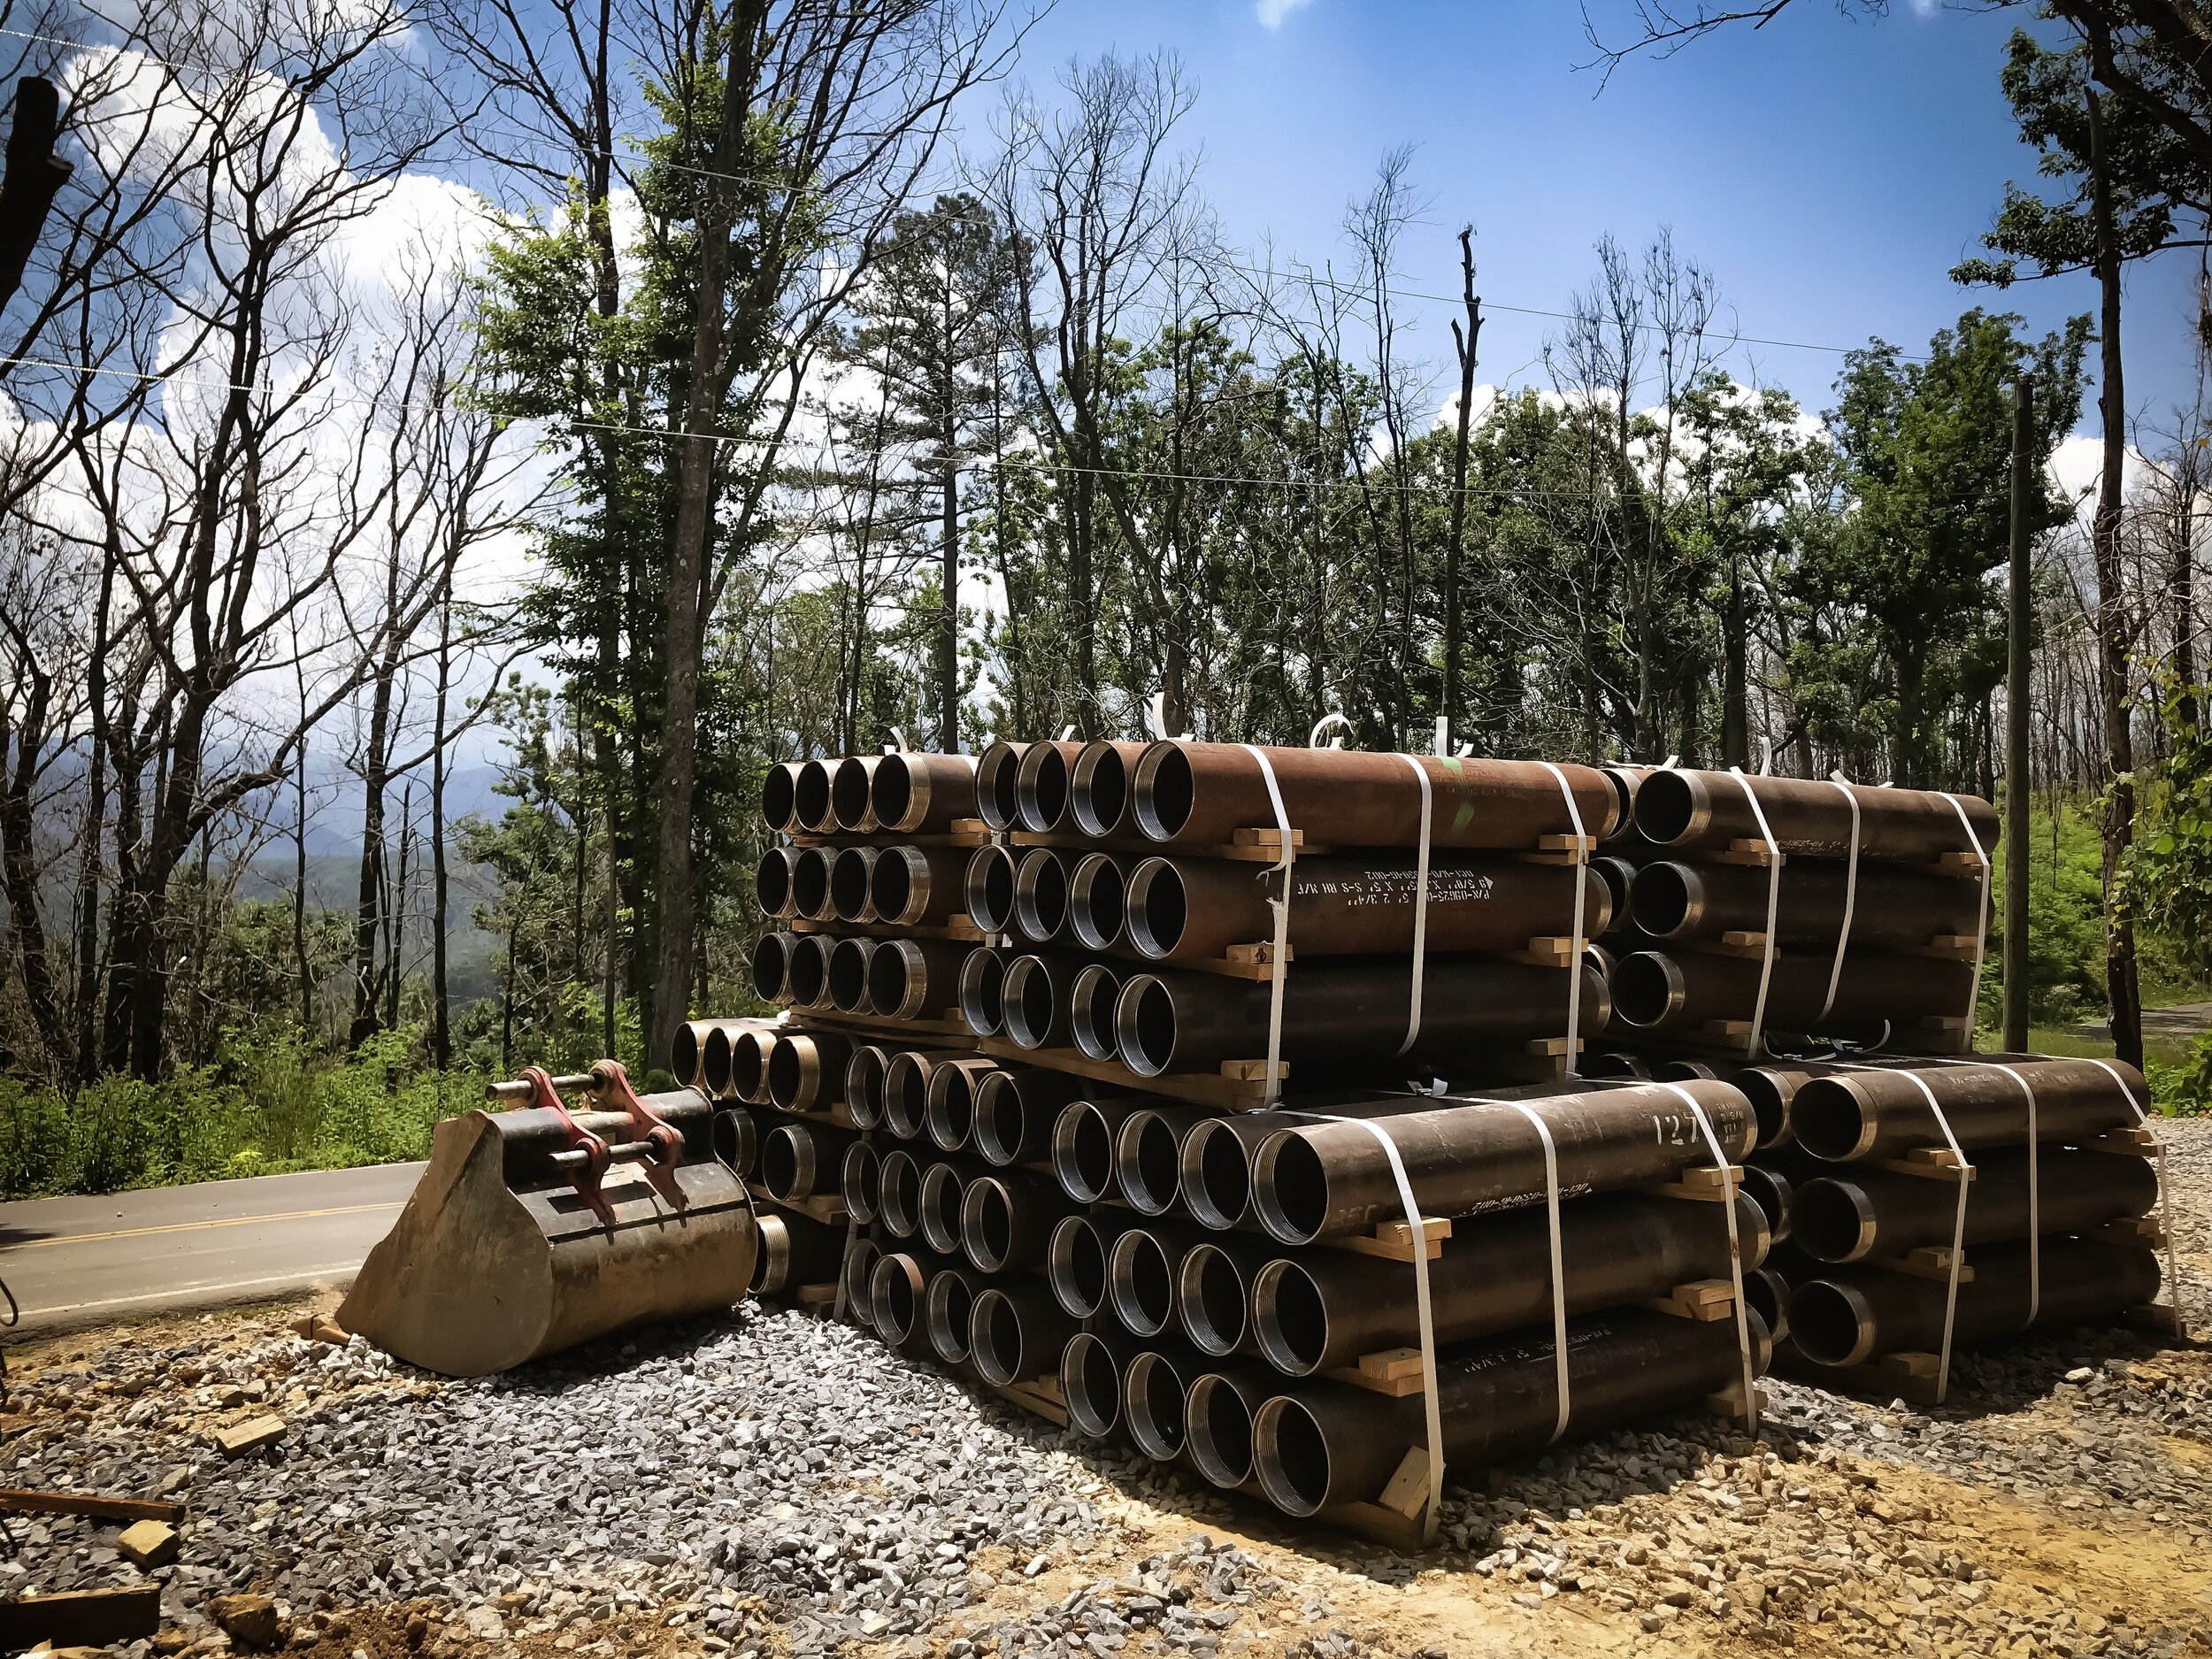
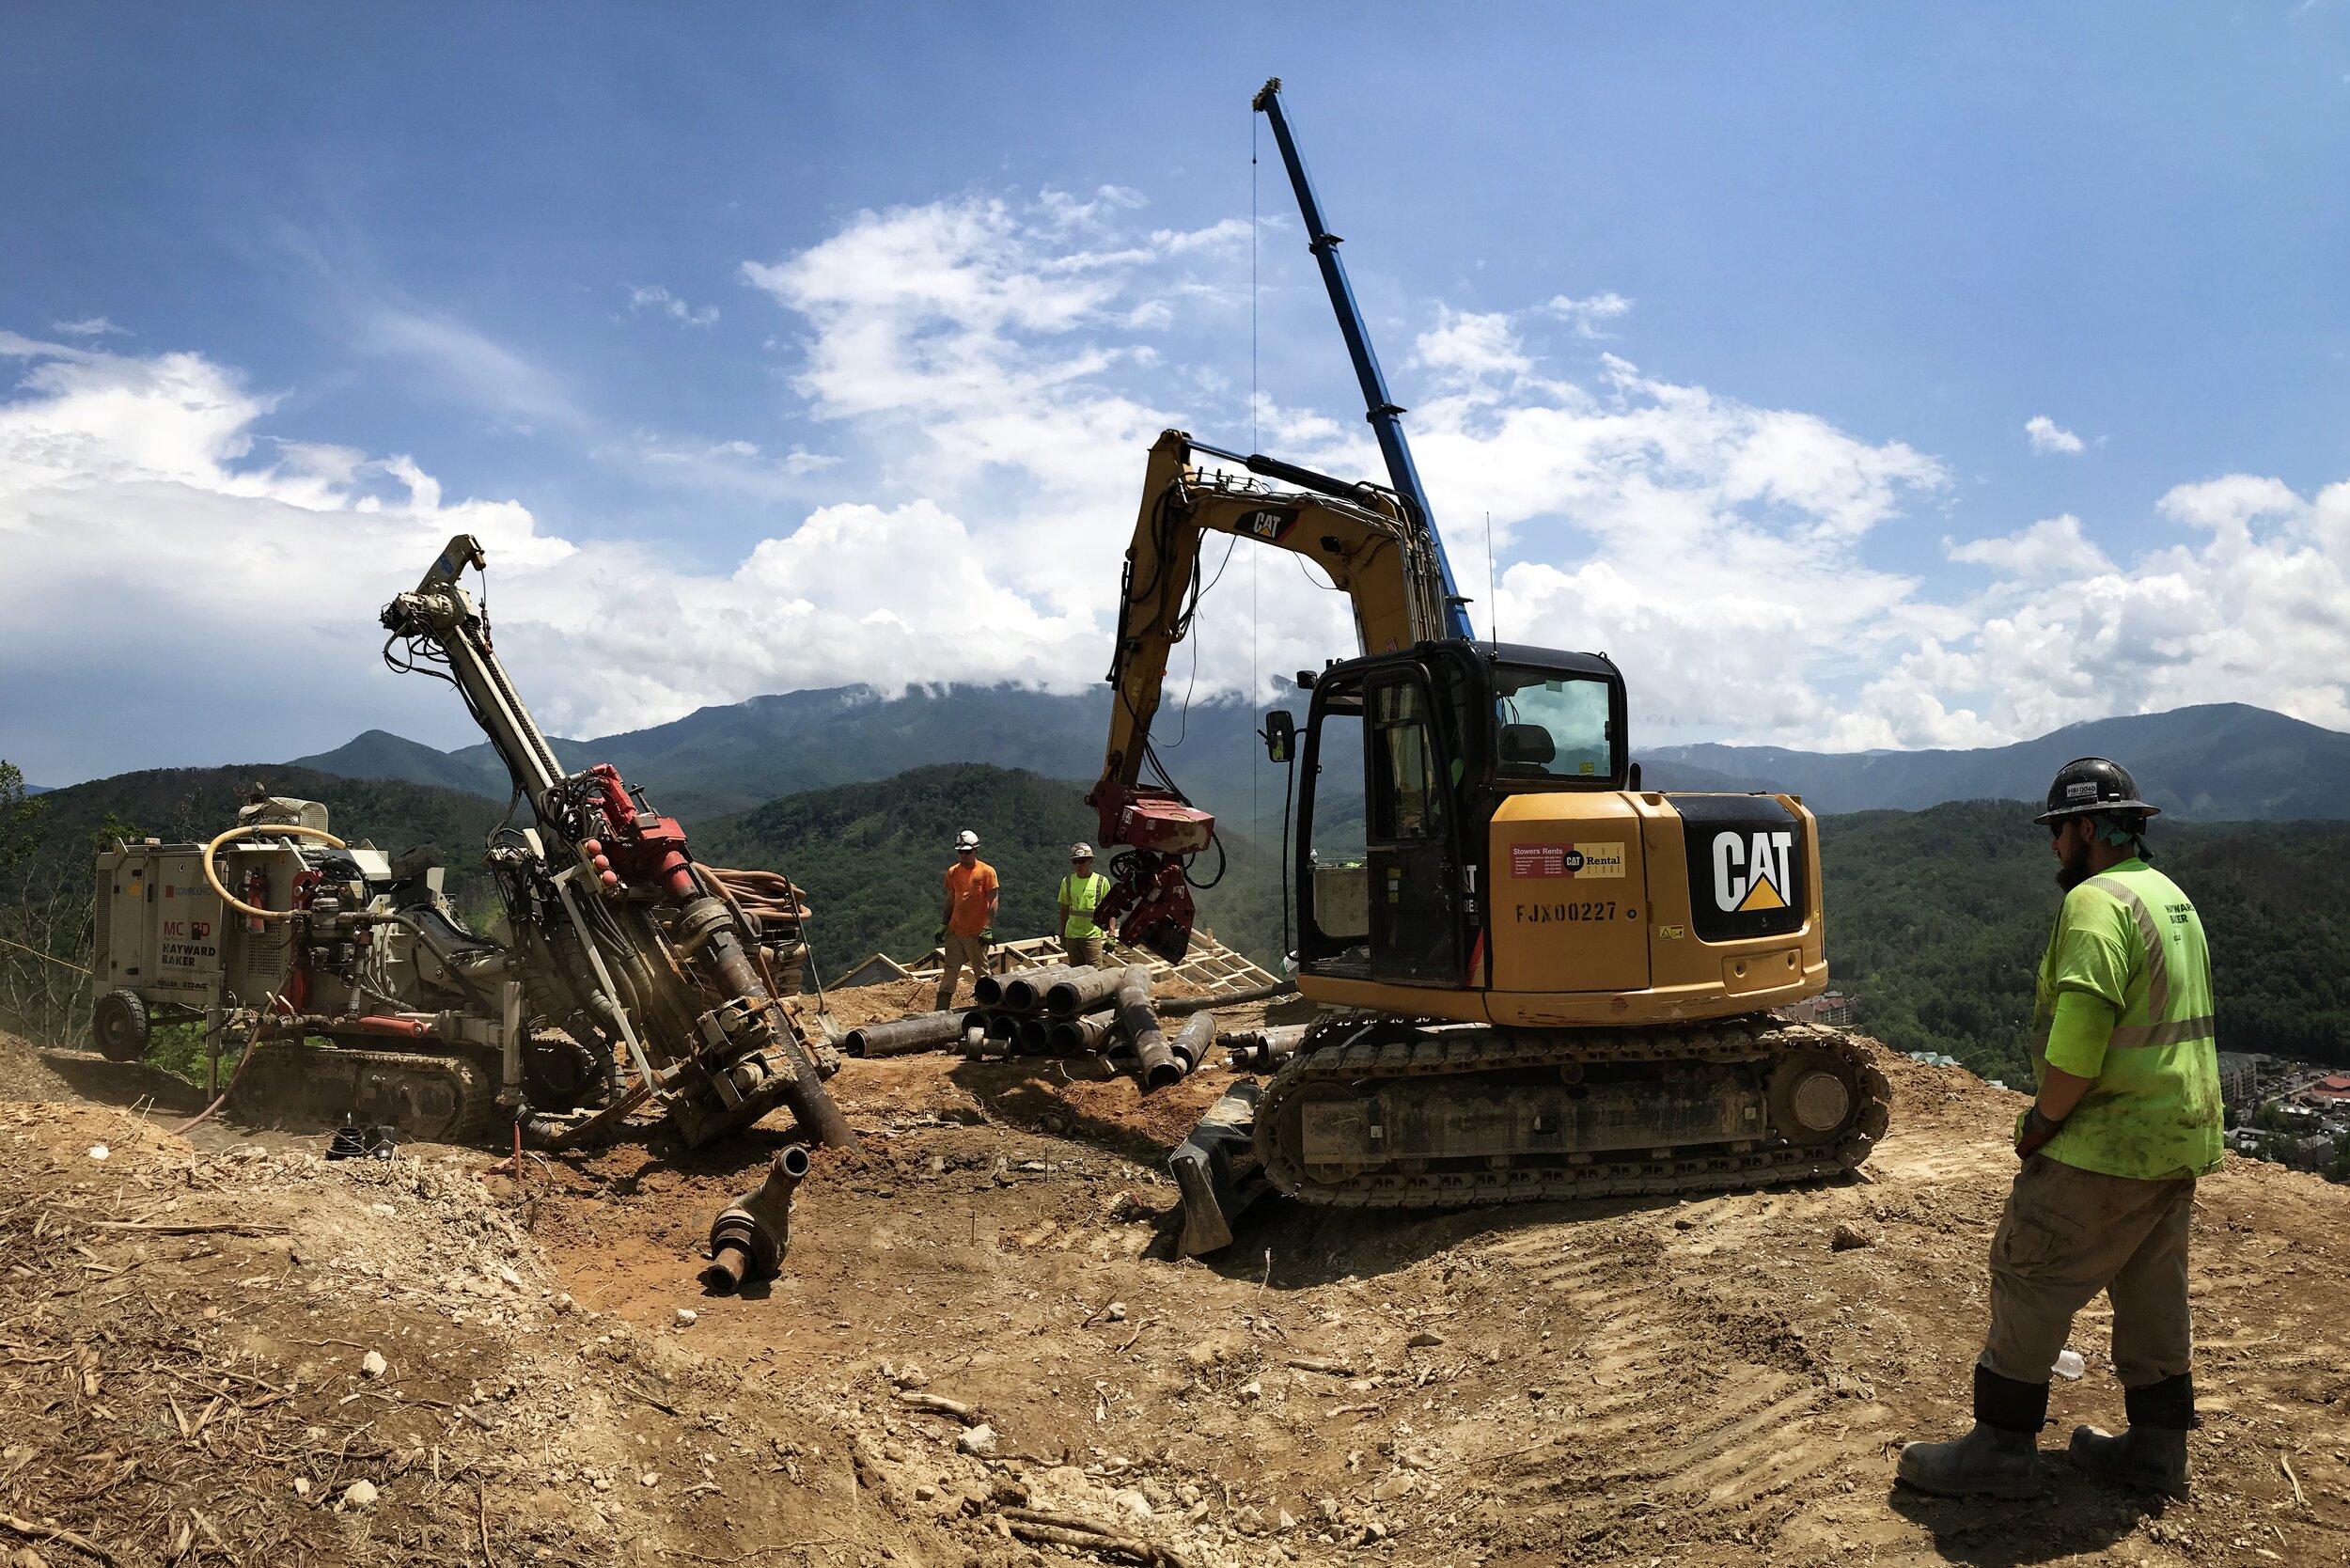
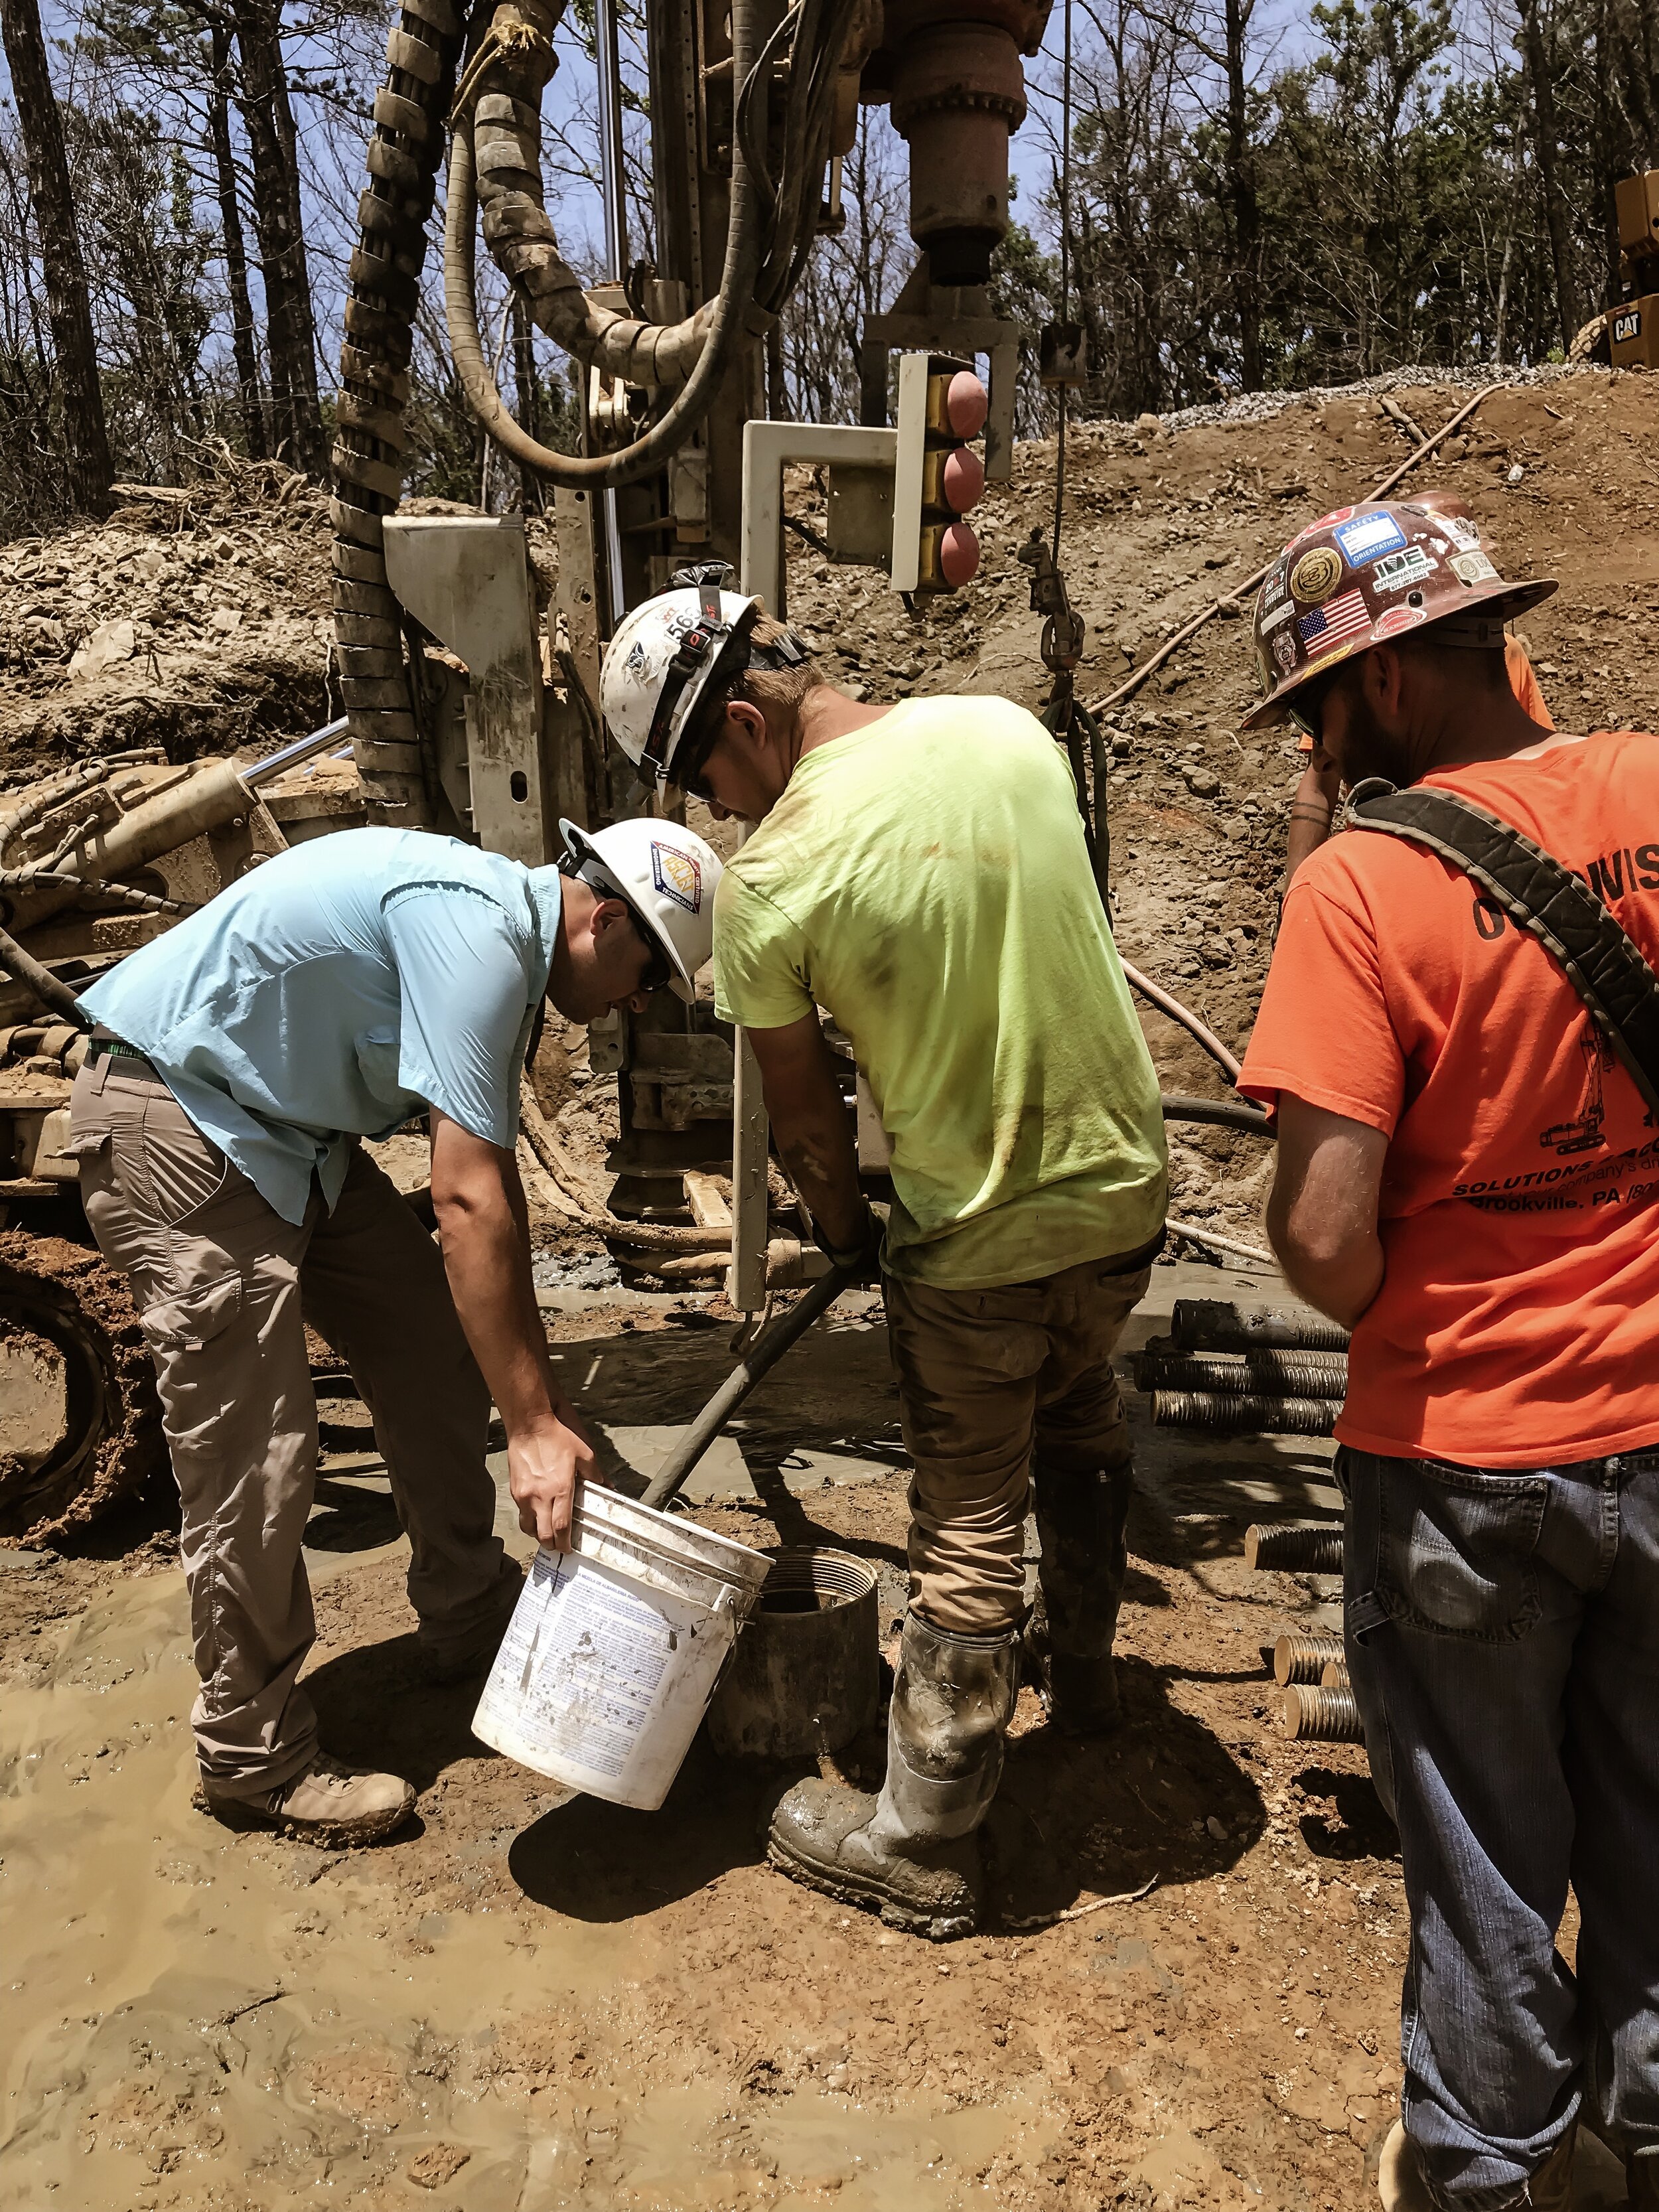
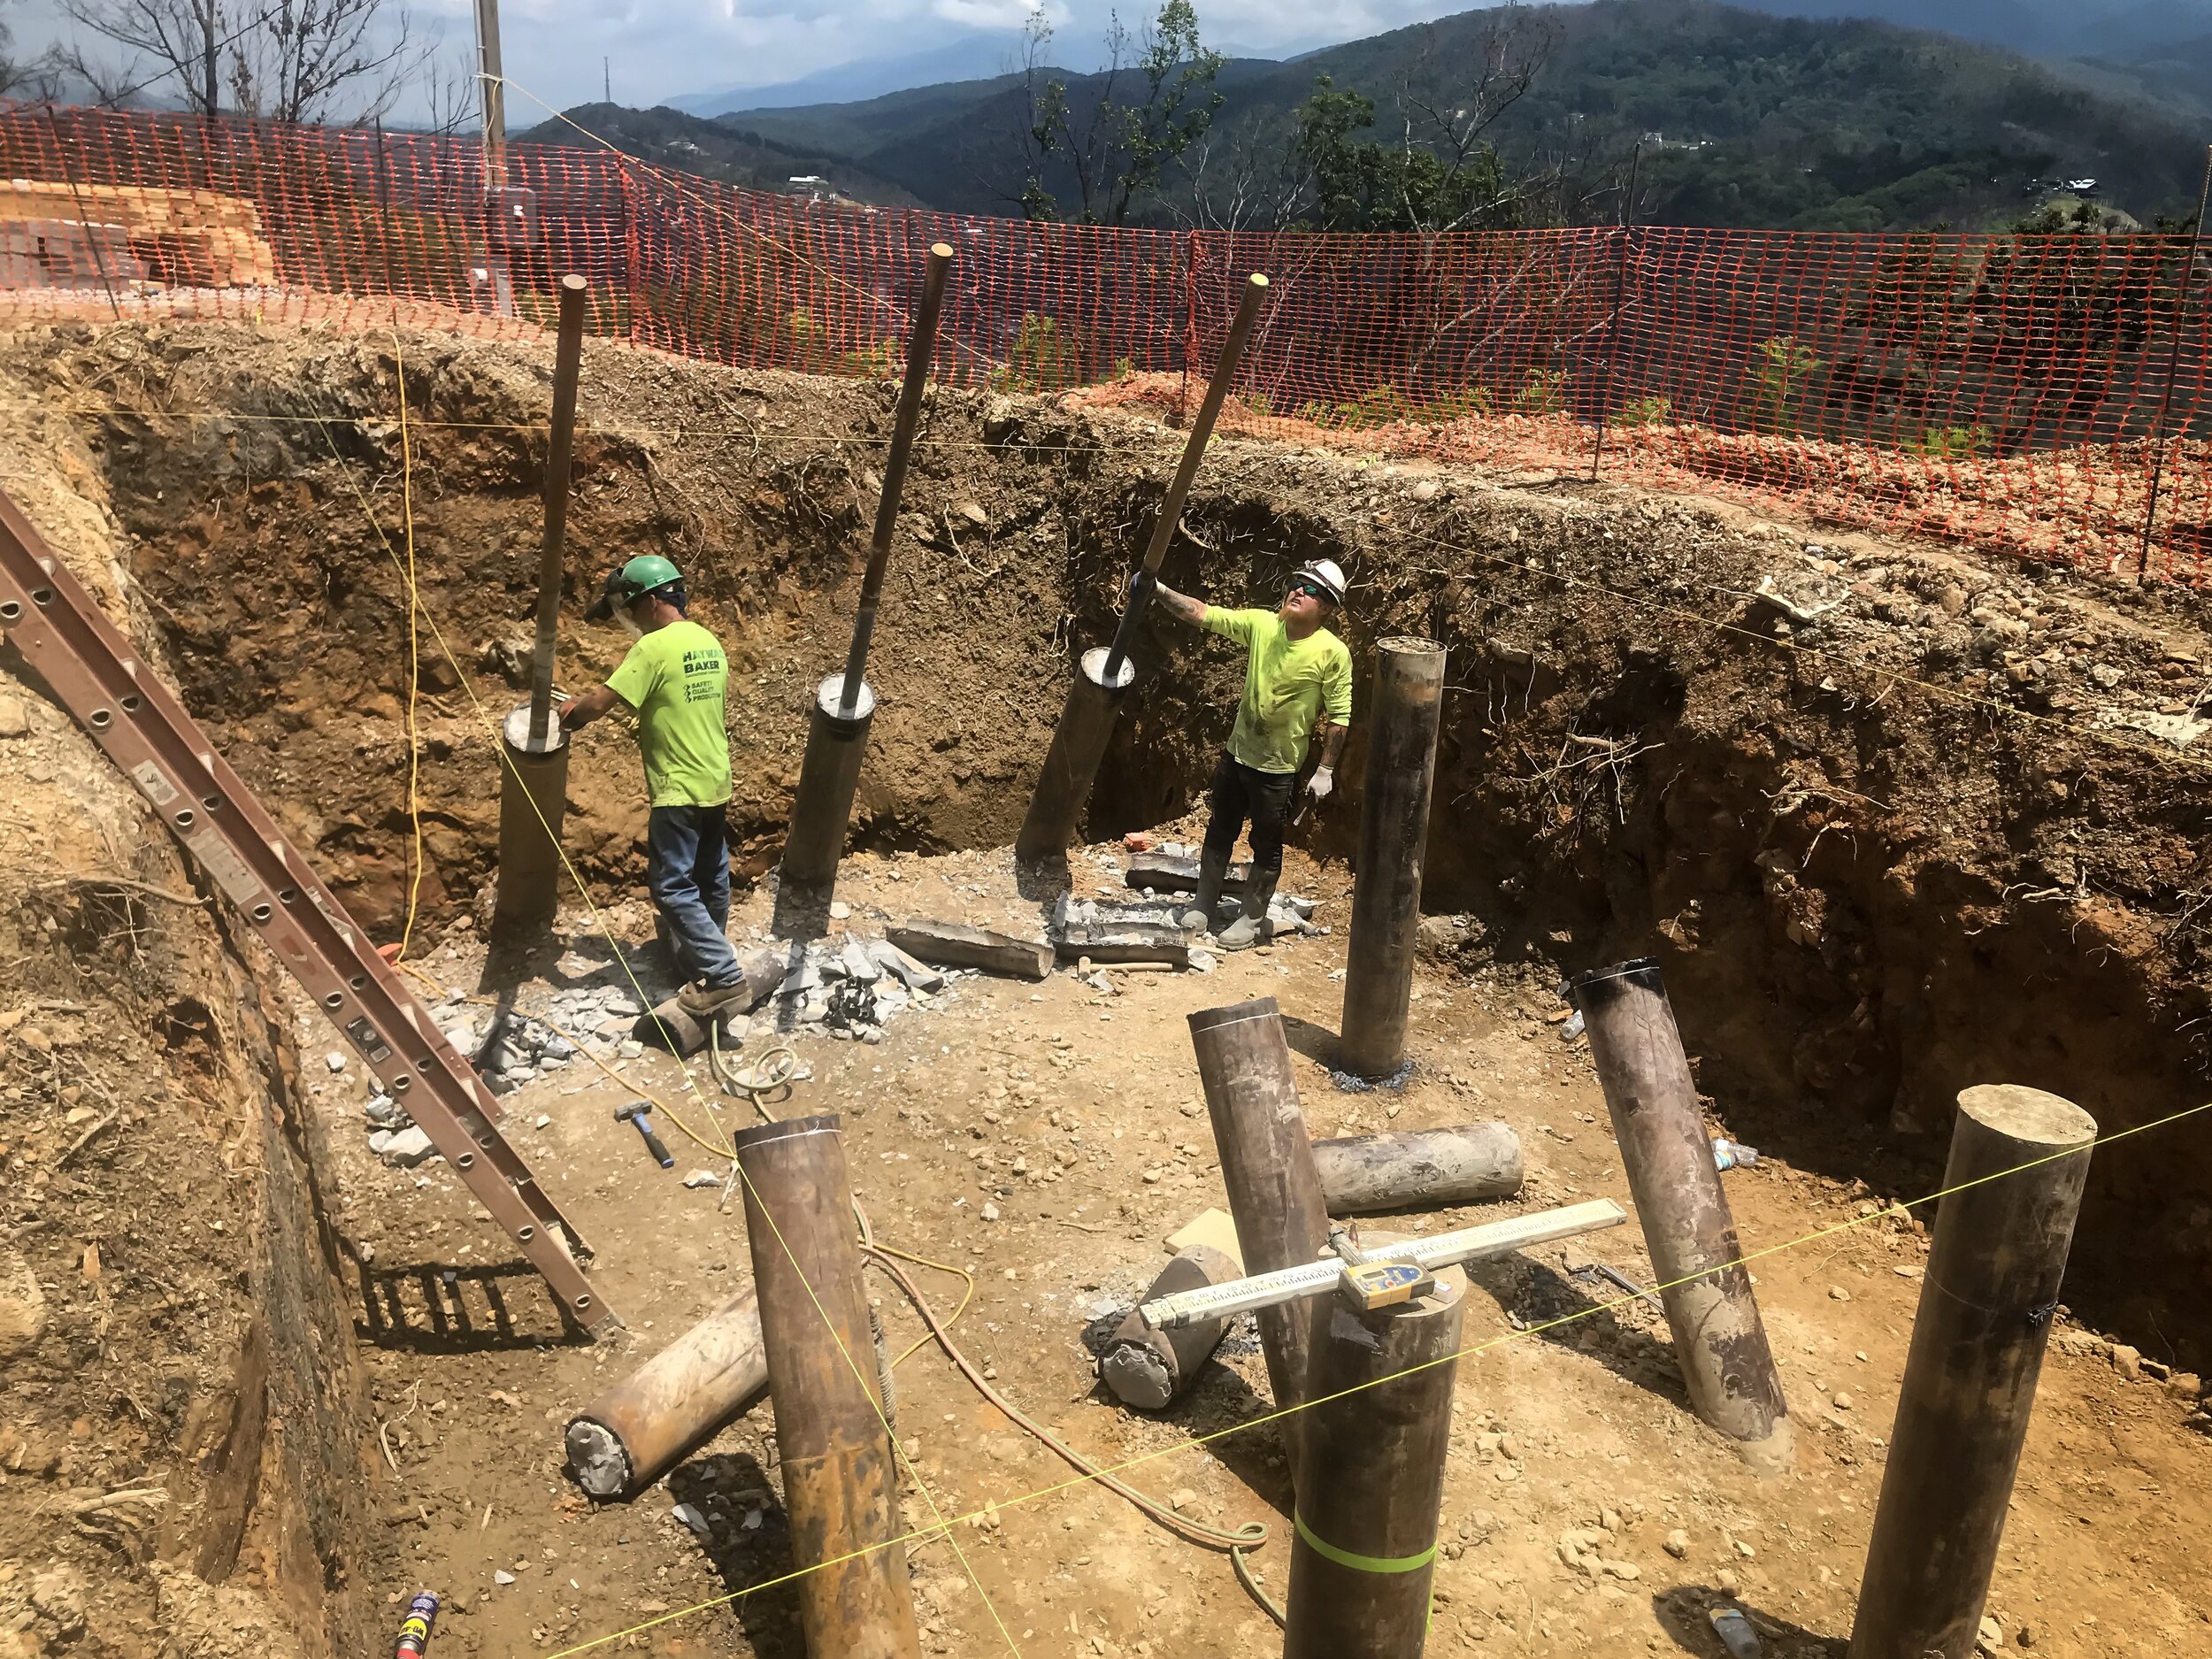
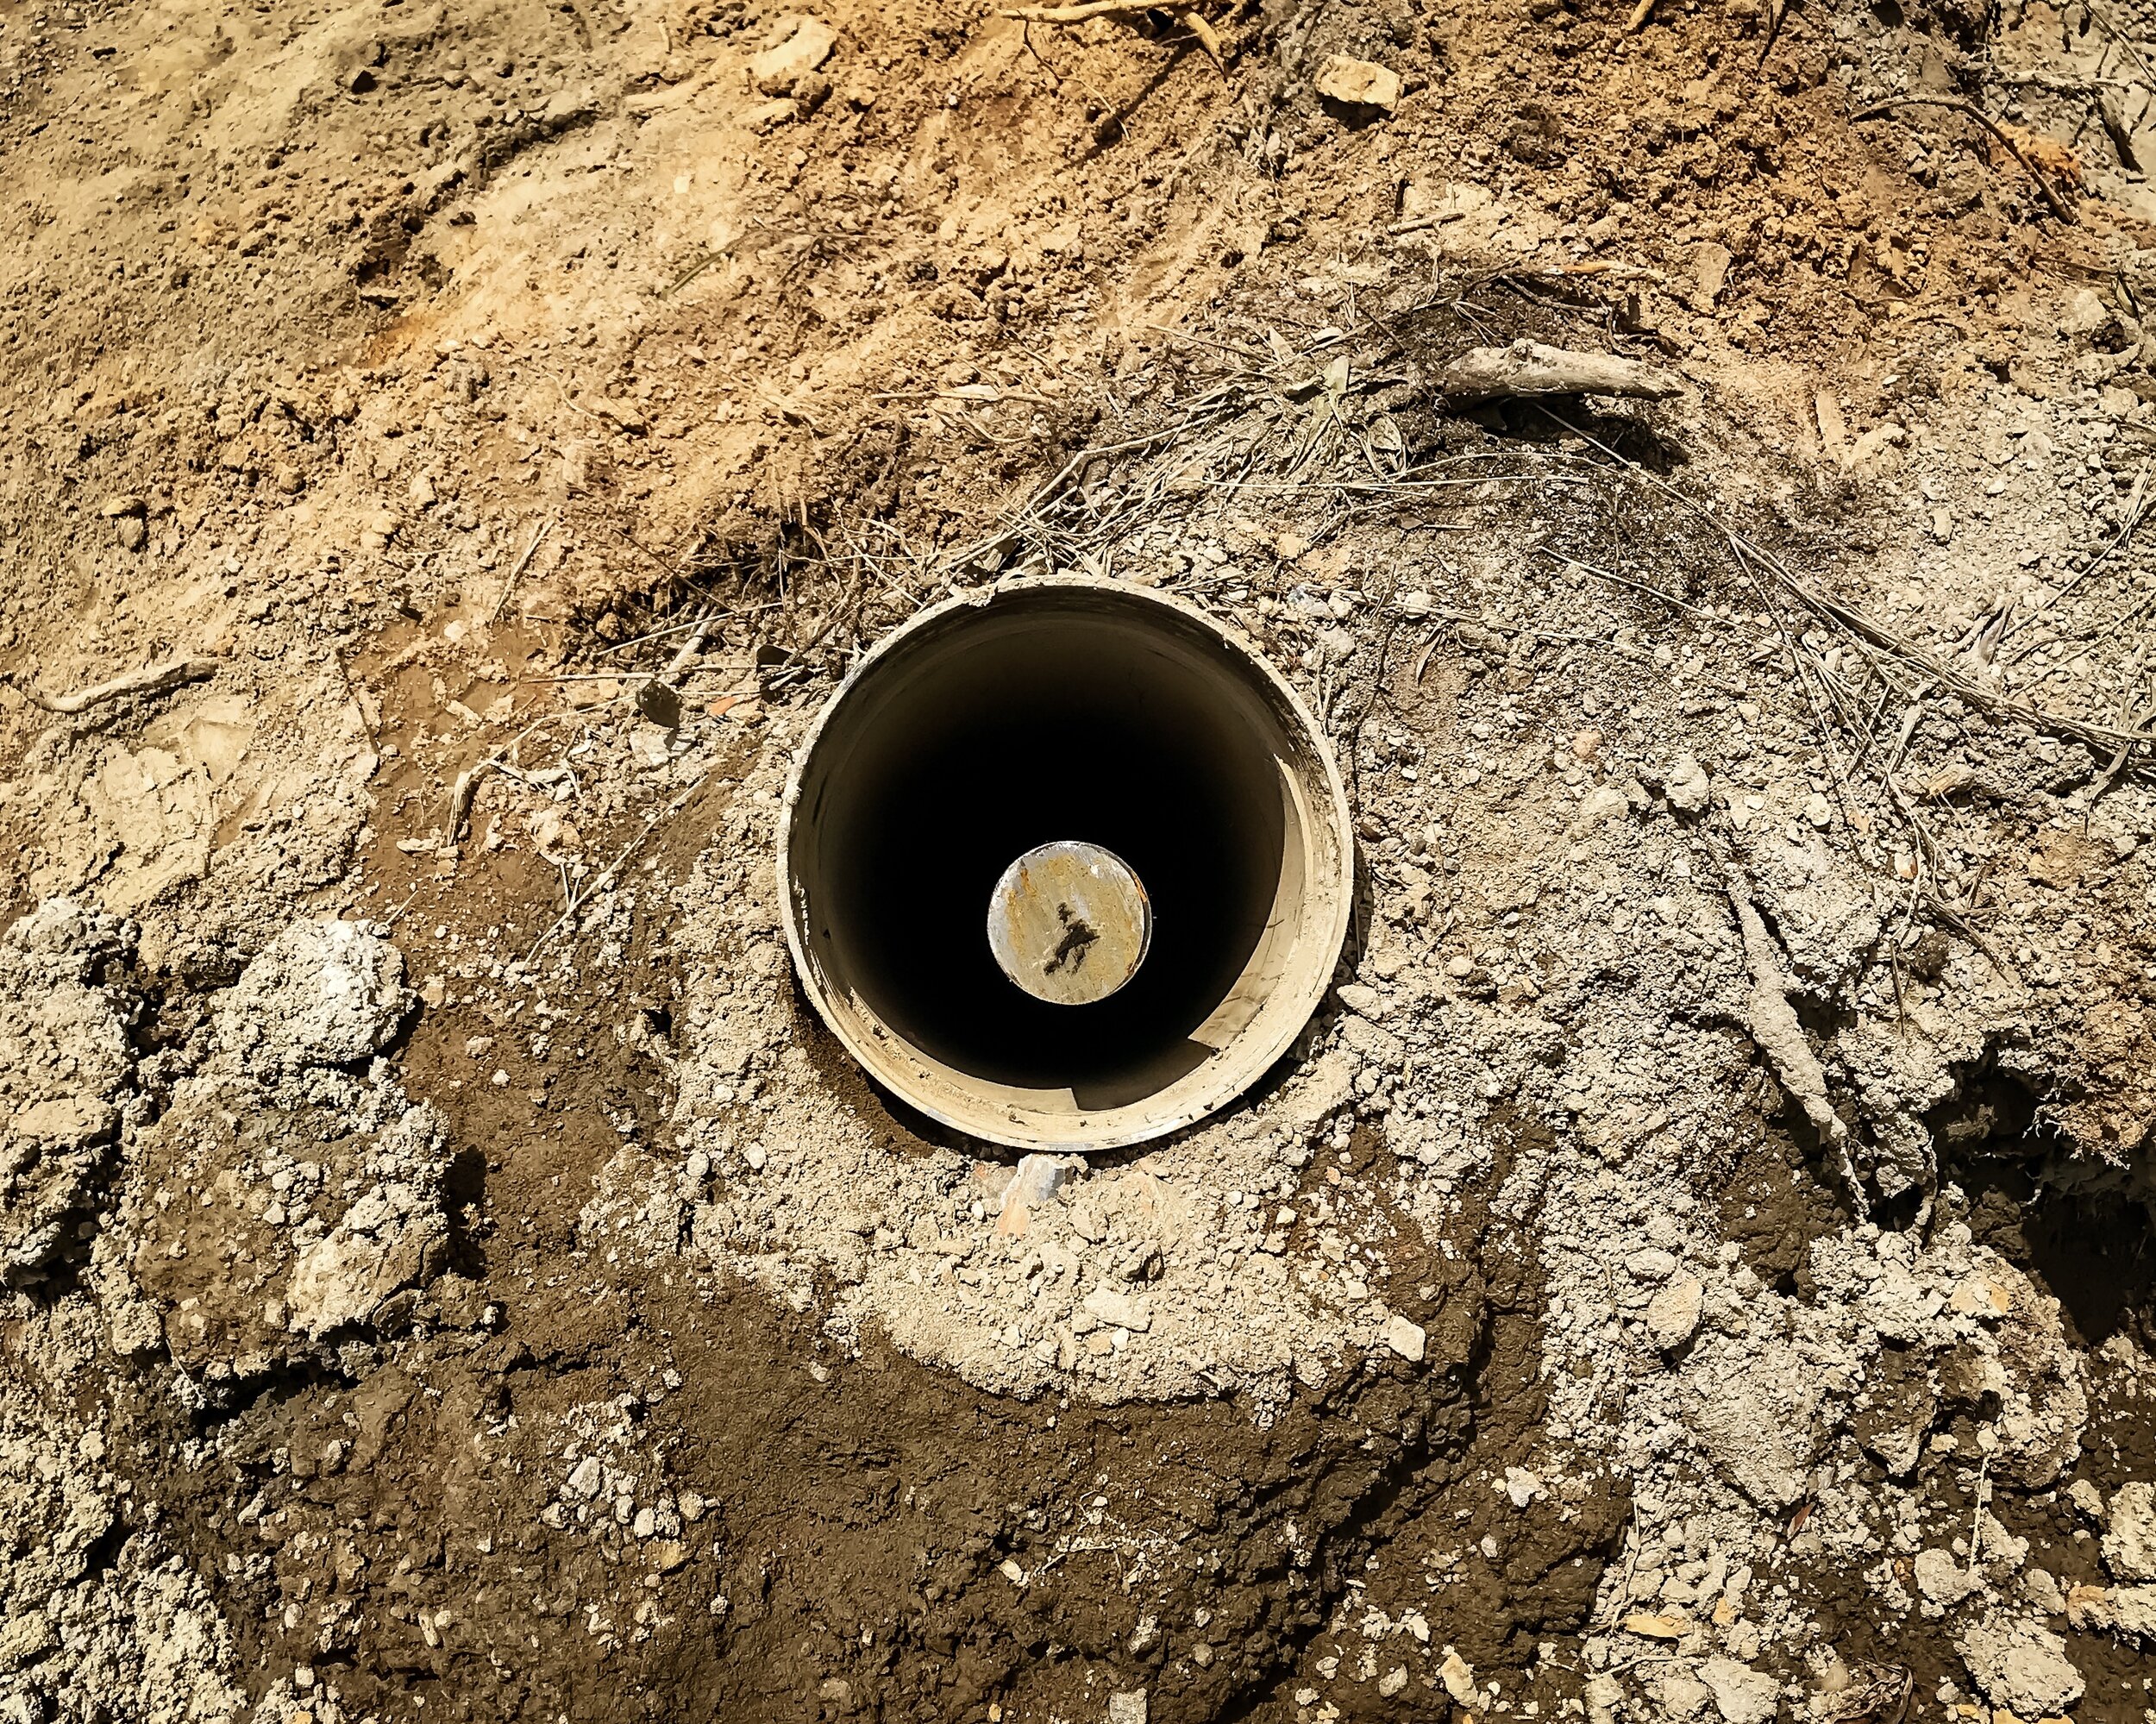
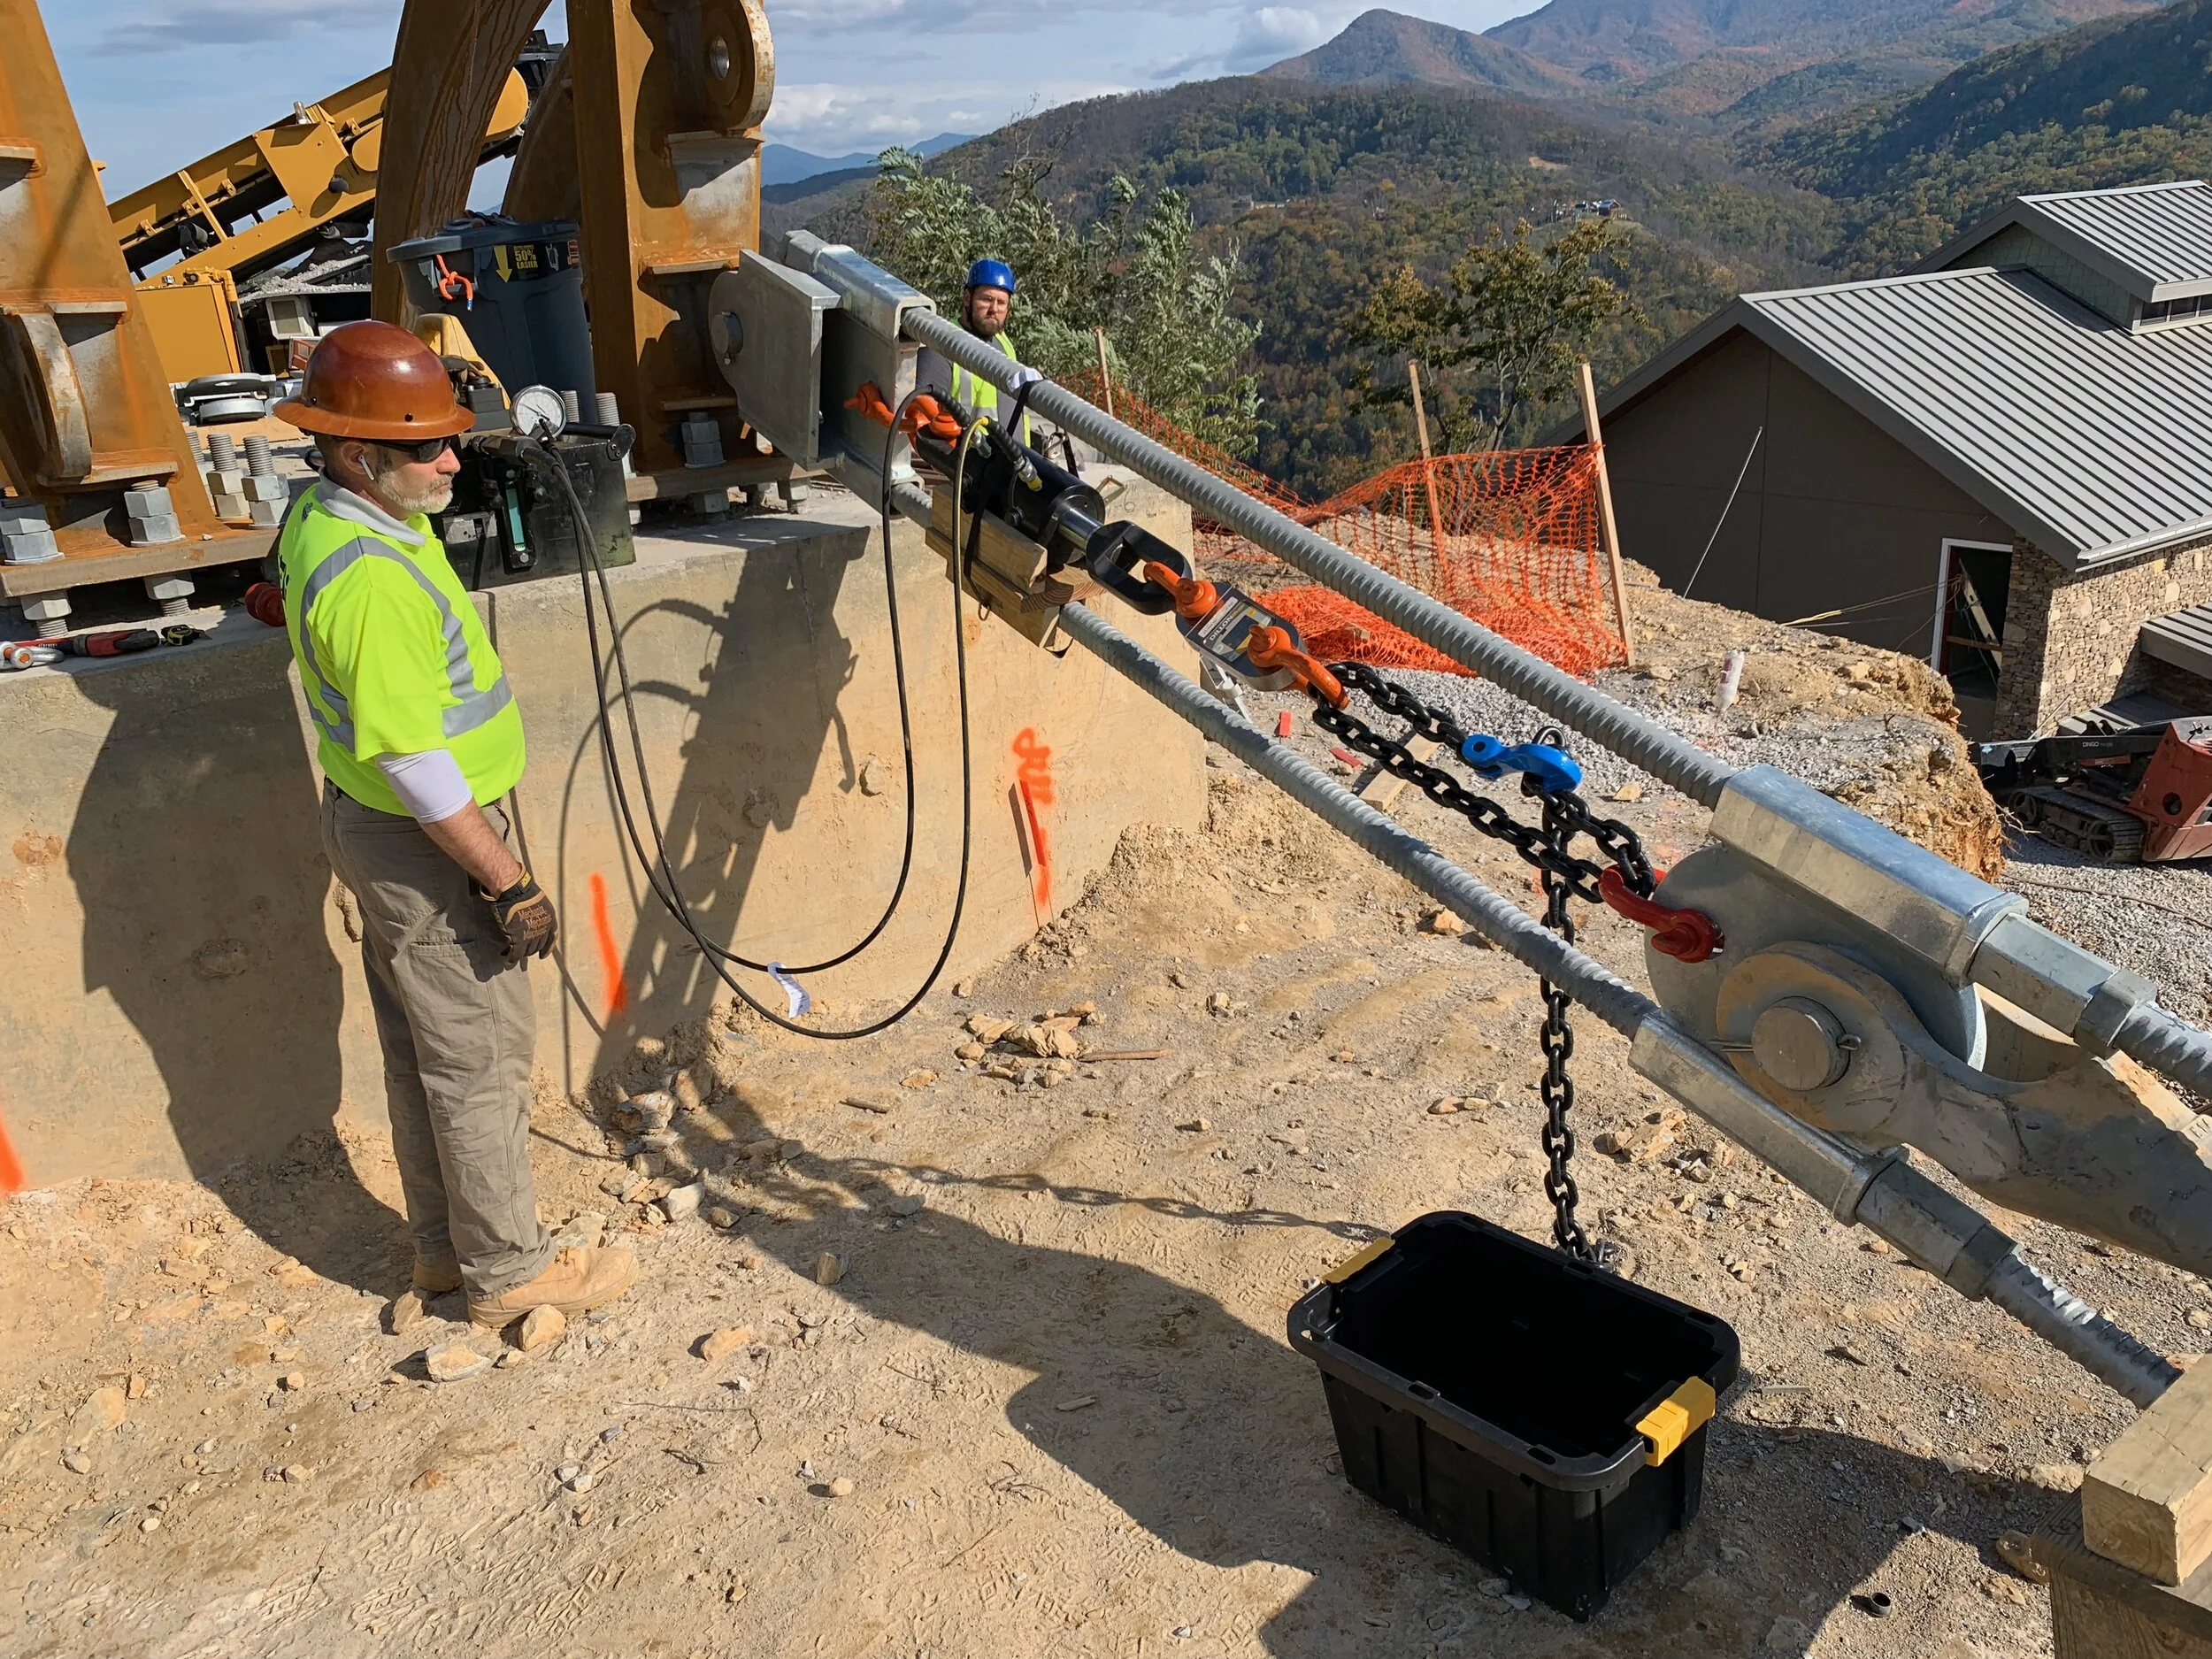
MICROPILE FOUNDATIONS
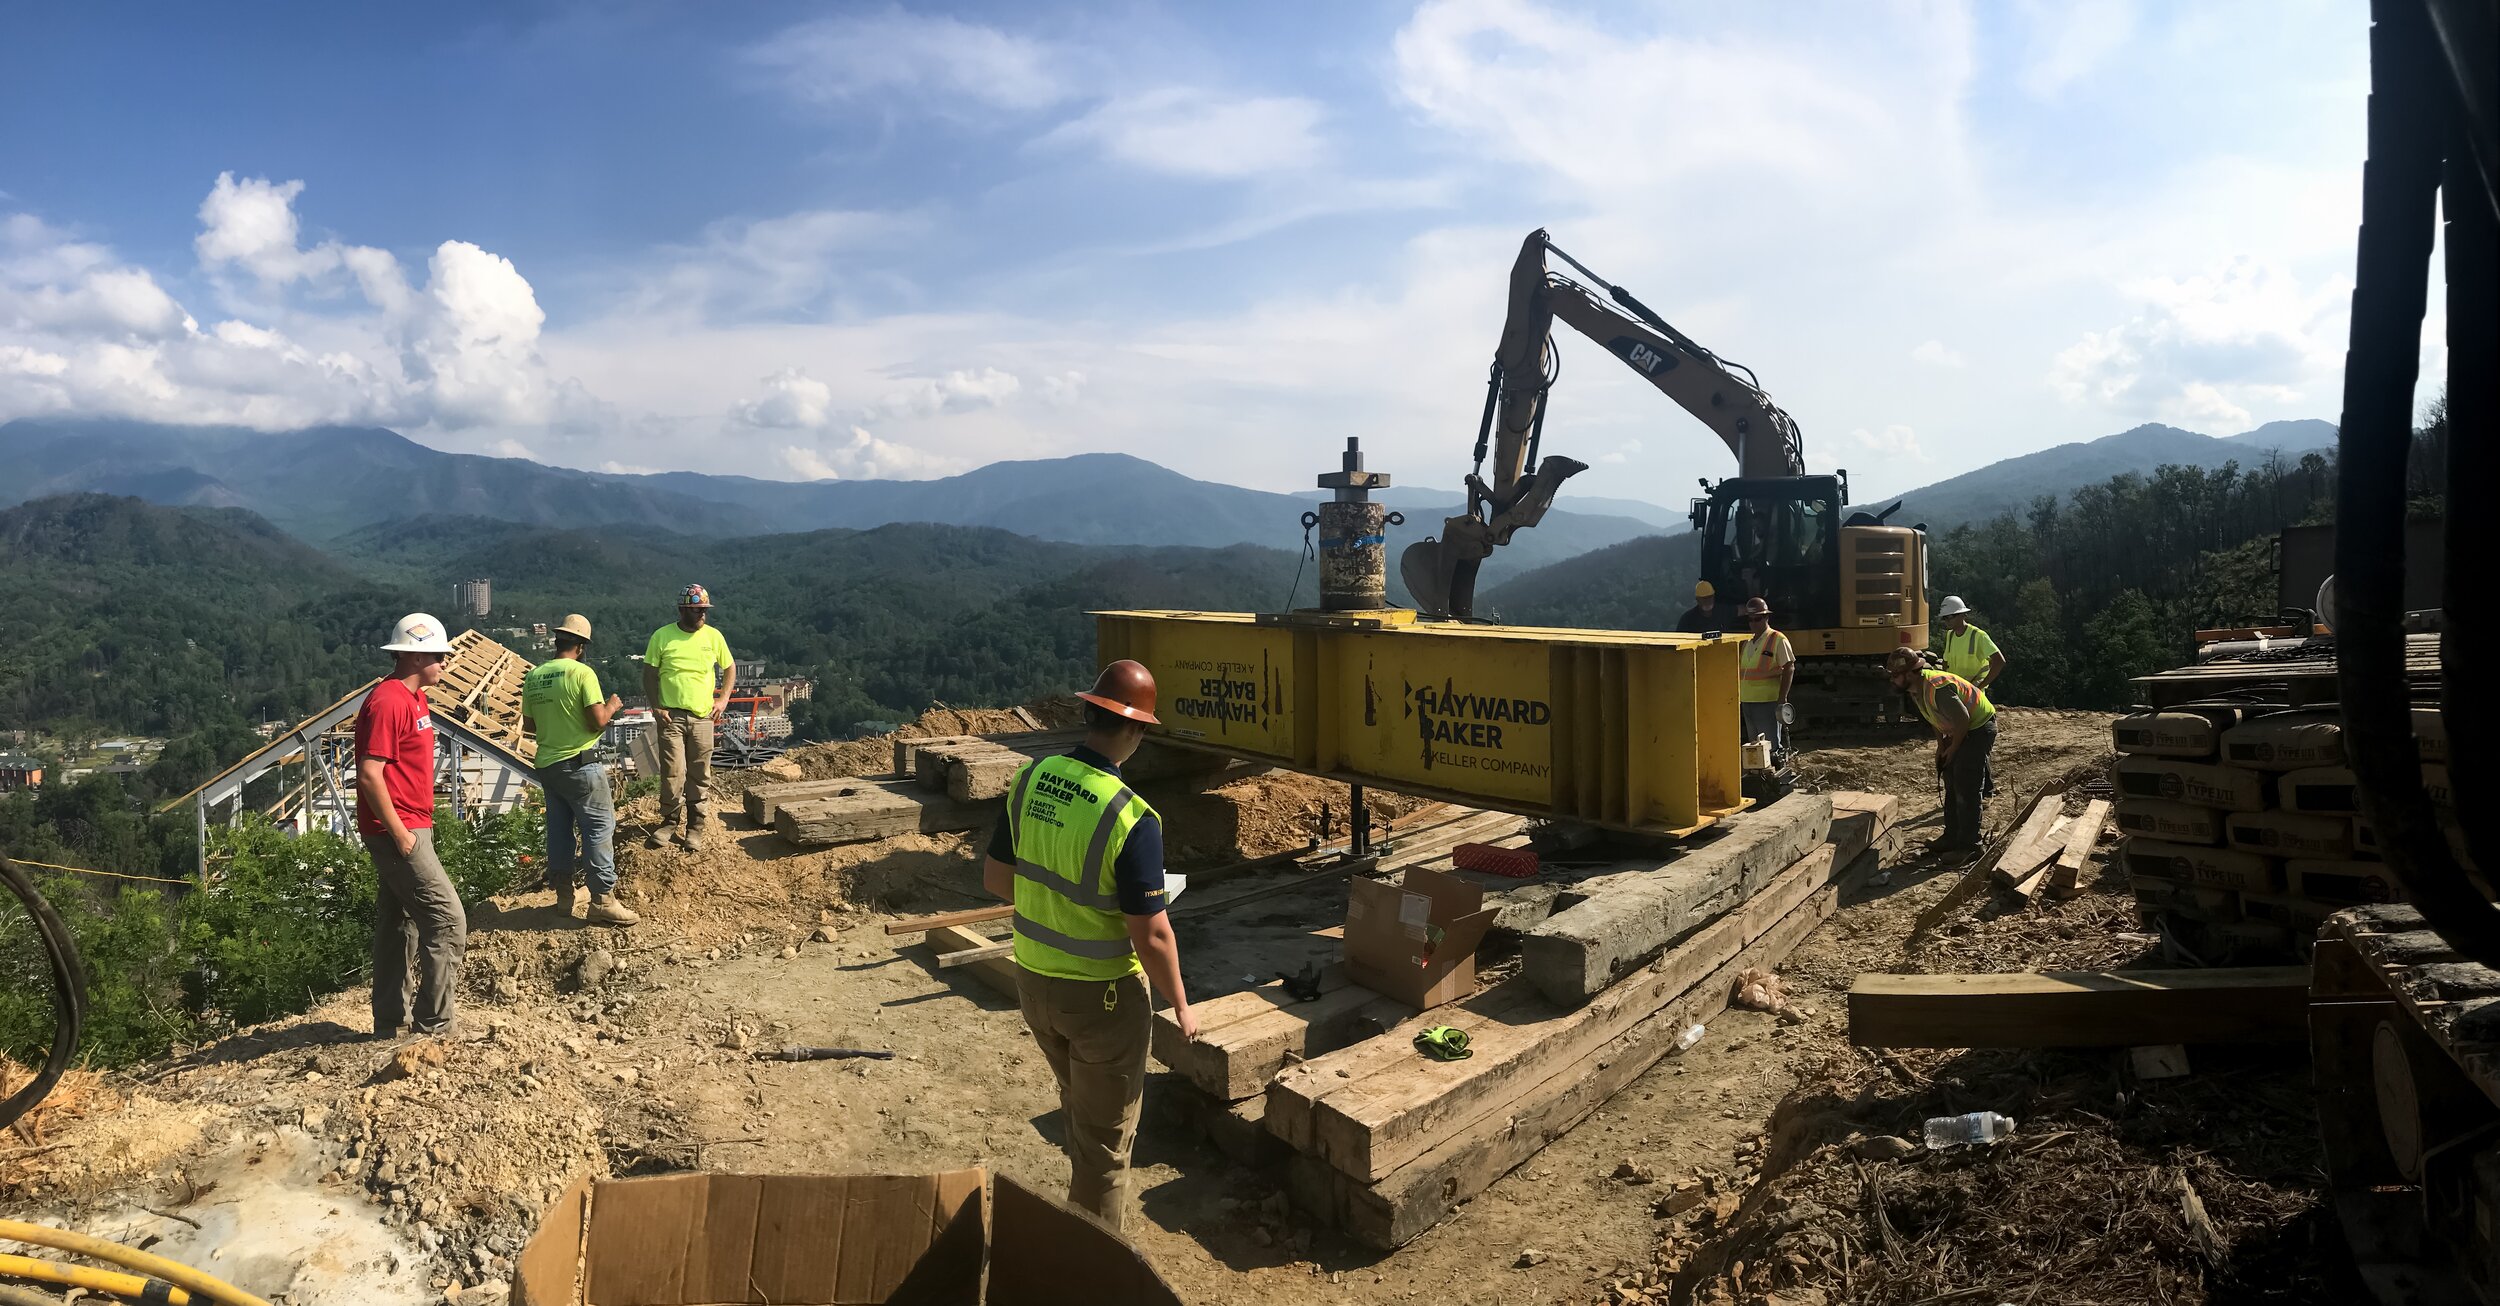
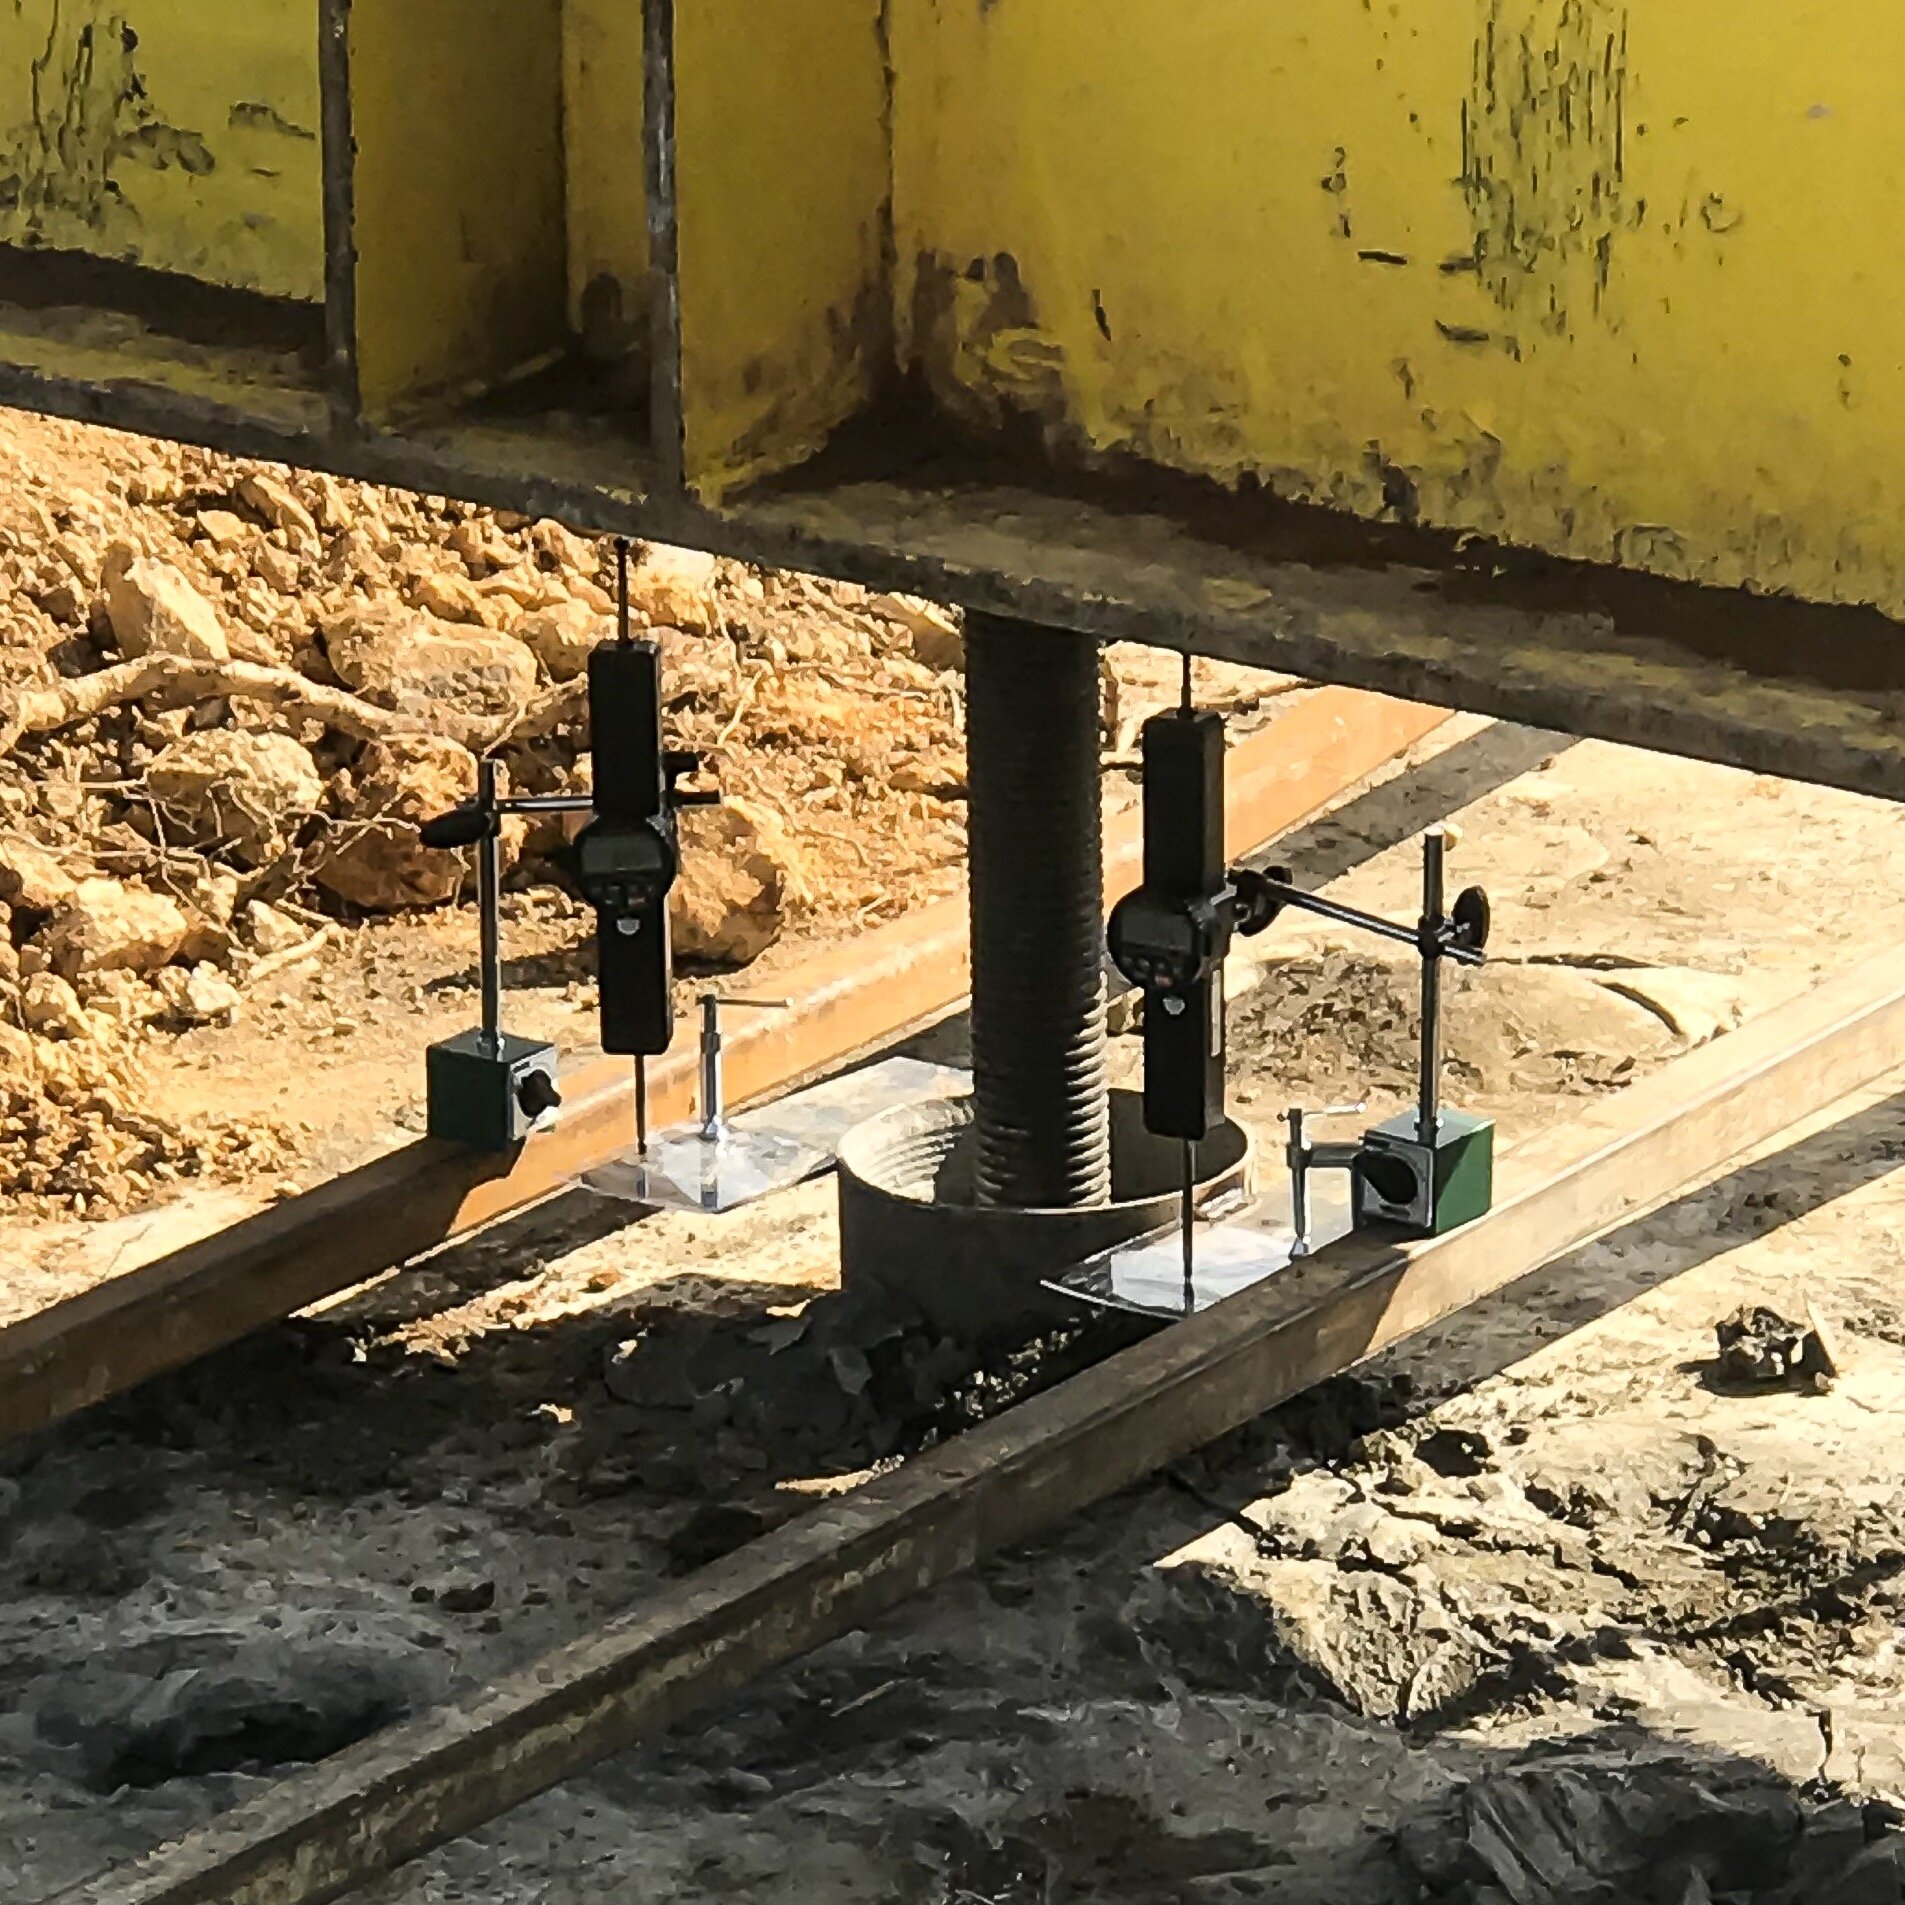
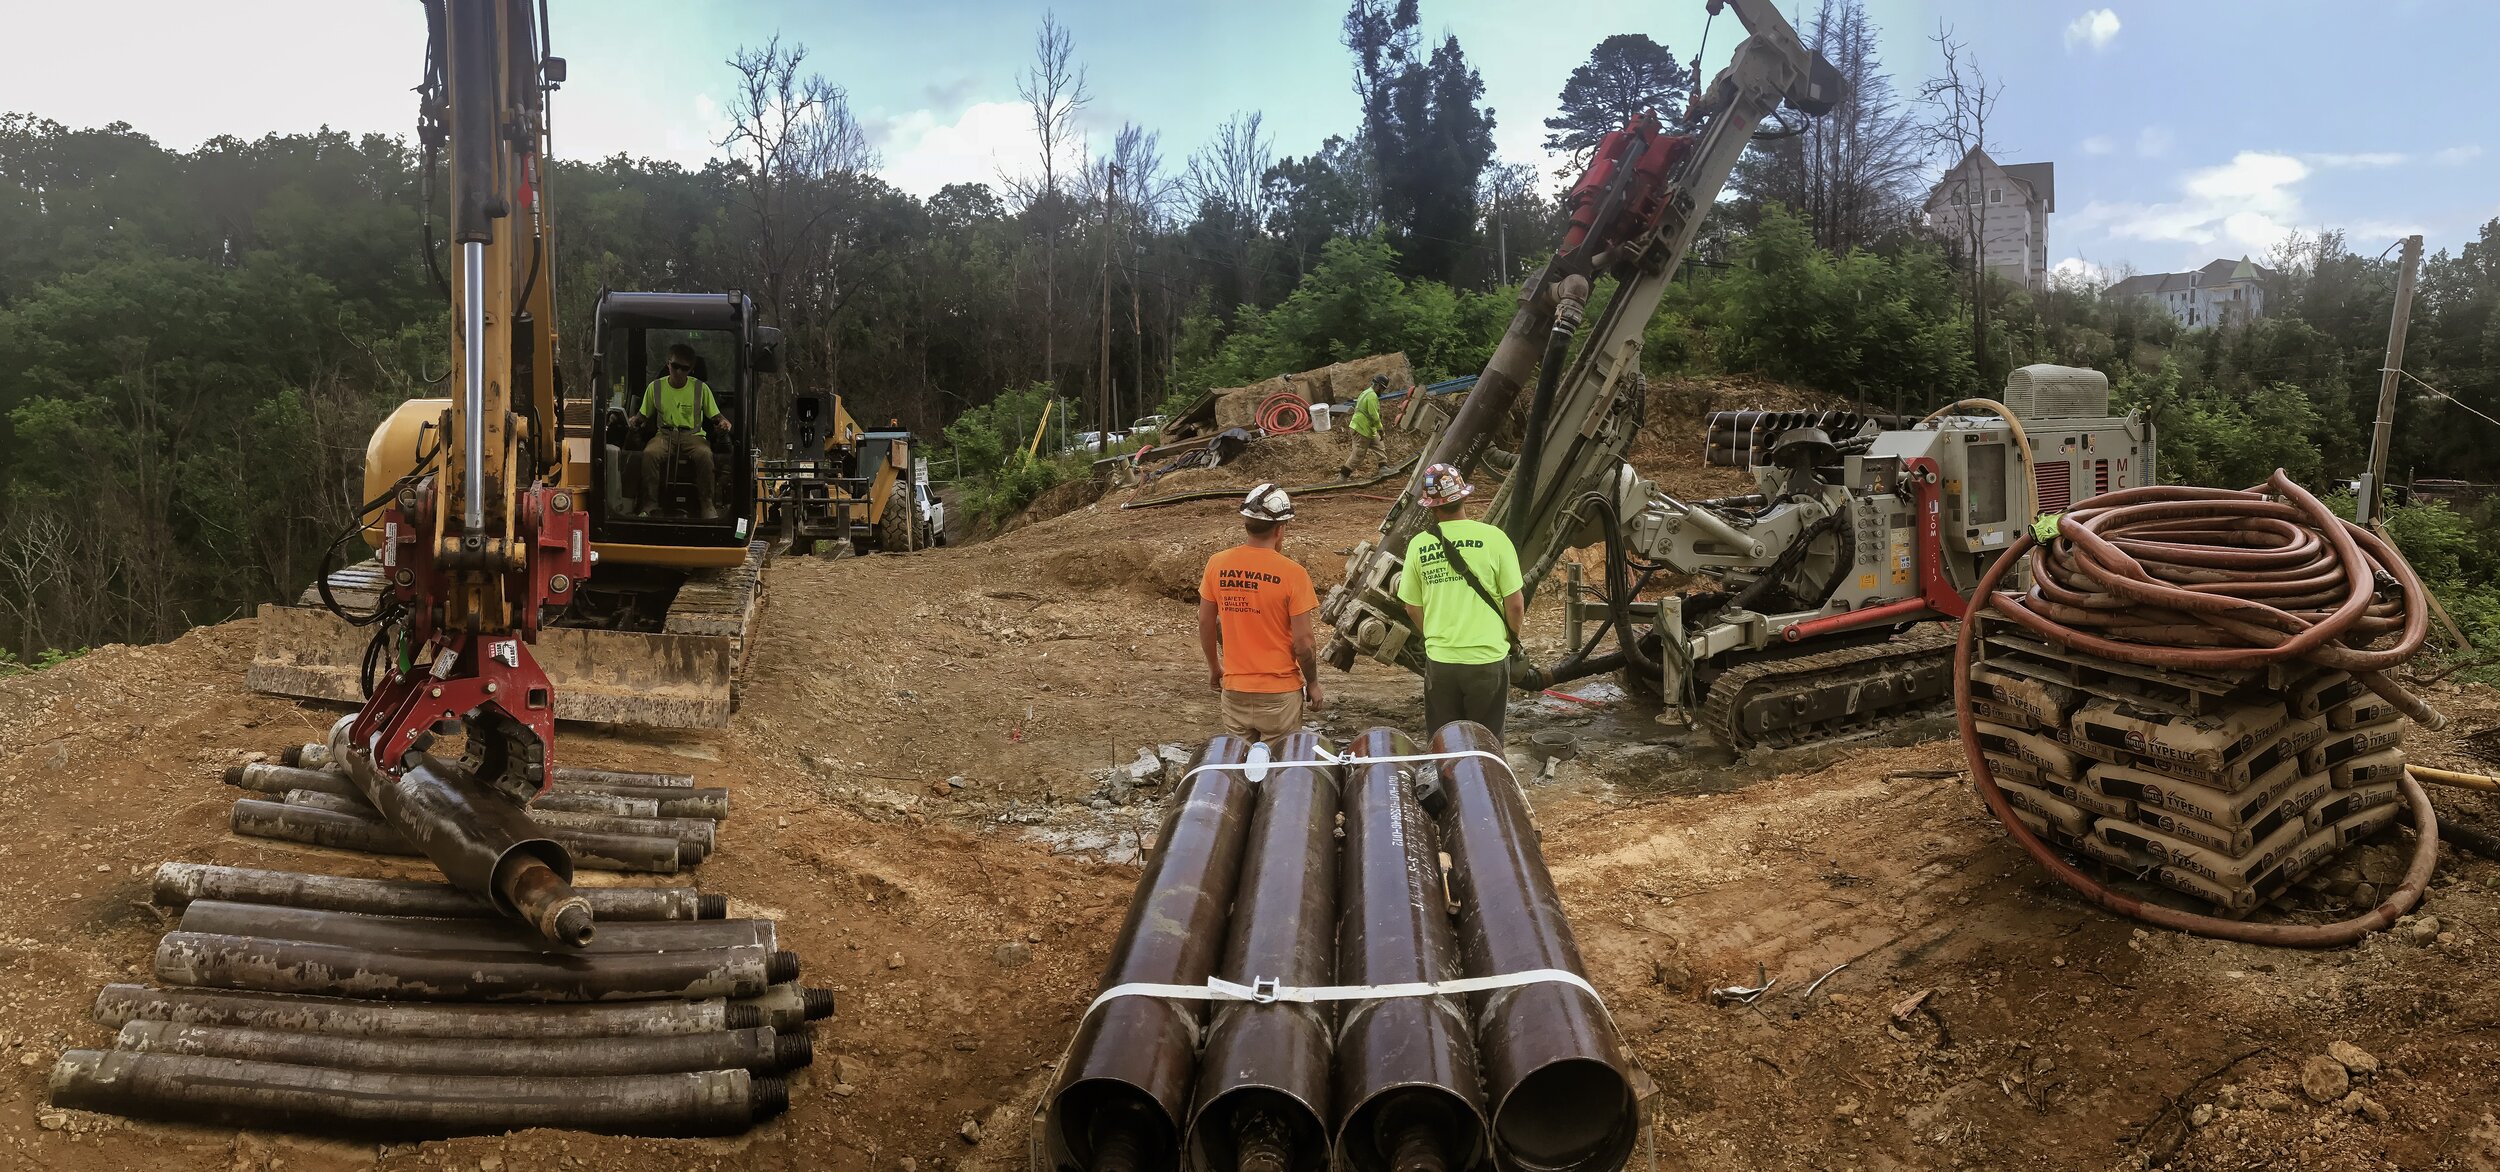
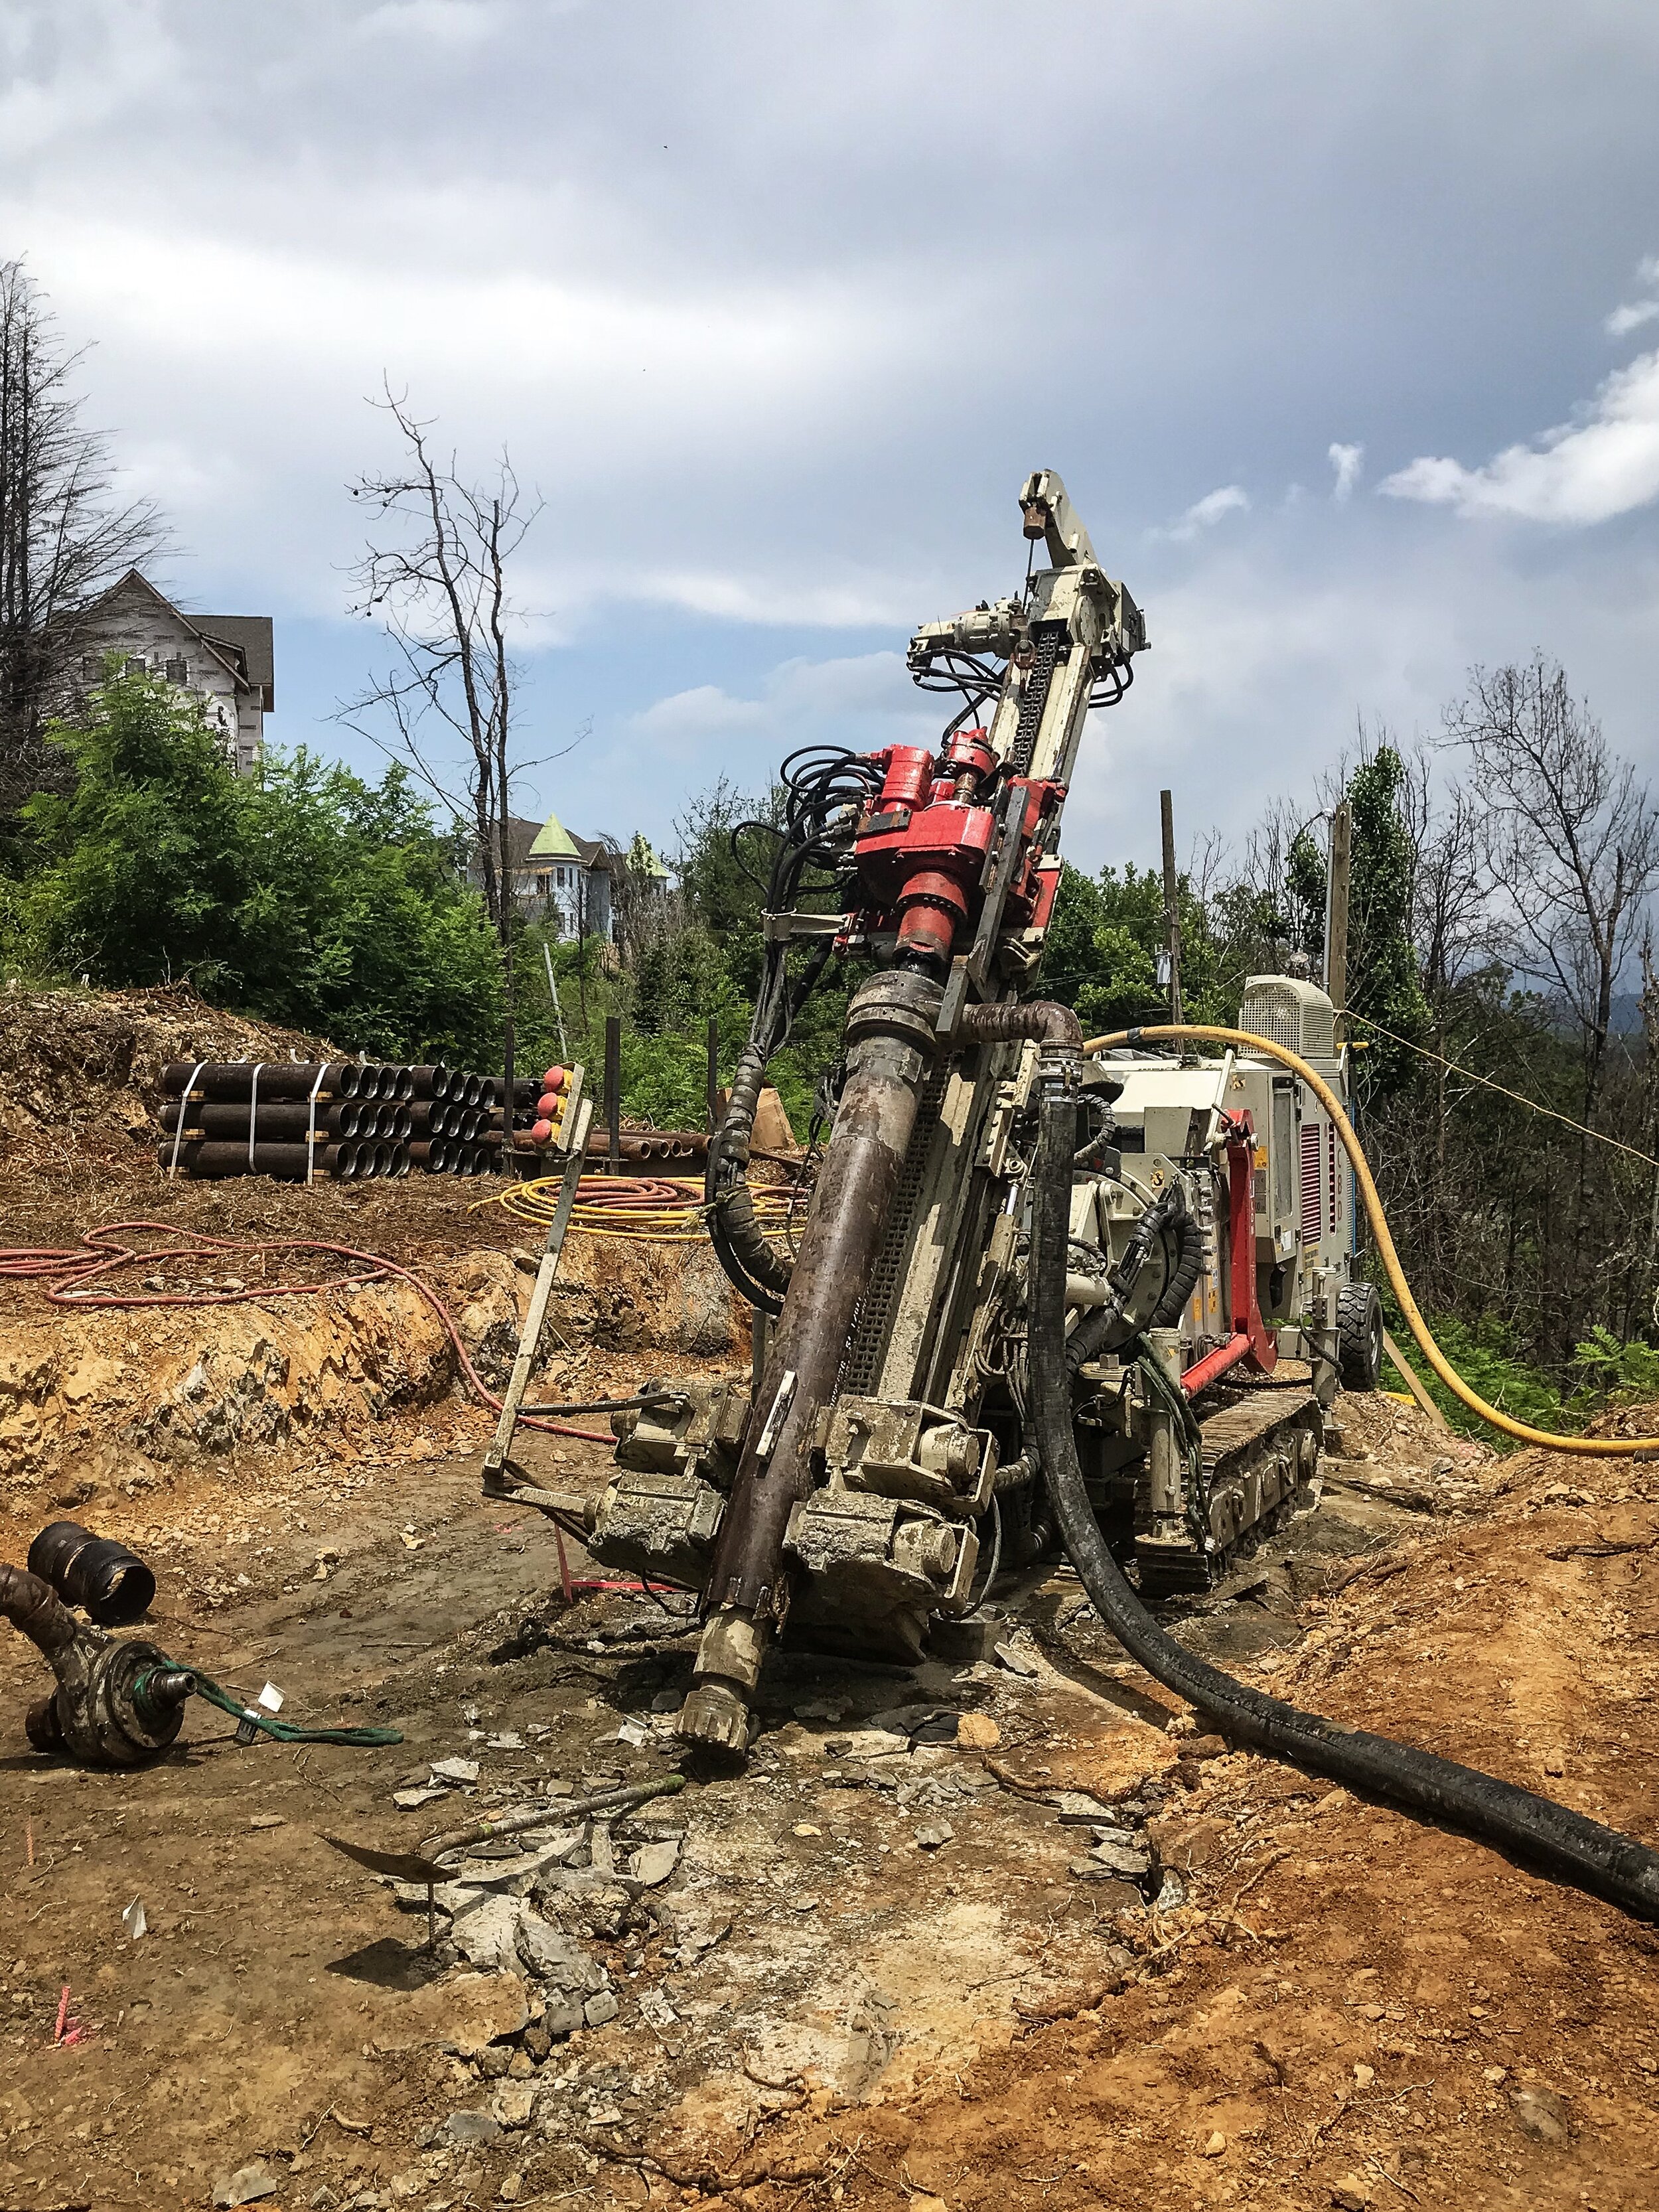
The SkyBridge has deep foundations that go as far as 94 feet/25.5 meters into the mountainside. The micropiles were designed and installed by Hayward Baker (now Keller North America). We installed one “sacrificial micropile” whose sole purpose was to be installed then load tested to the tune of over 750,000 pounds/340,194 kilograms. After the micropile design was tested and proved to be doing its job, sixteen (16) micropiles were installed for the main bridge foundations, eight (8) on the east side and eight(8) on the west side. Four (4) additional micropiles were also installed, one (1) per wind guy anchor.
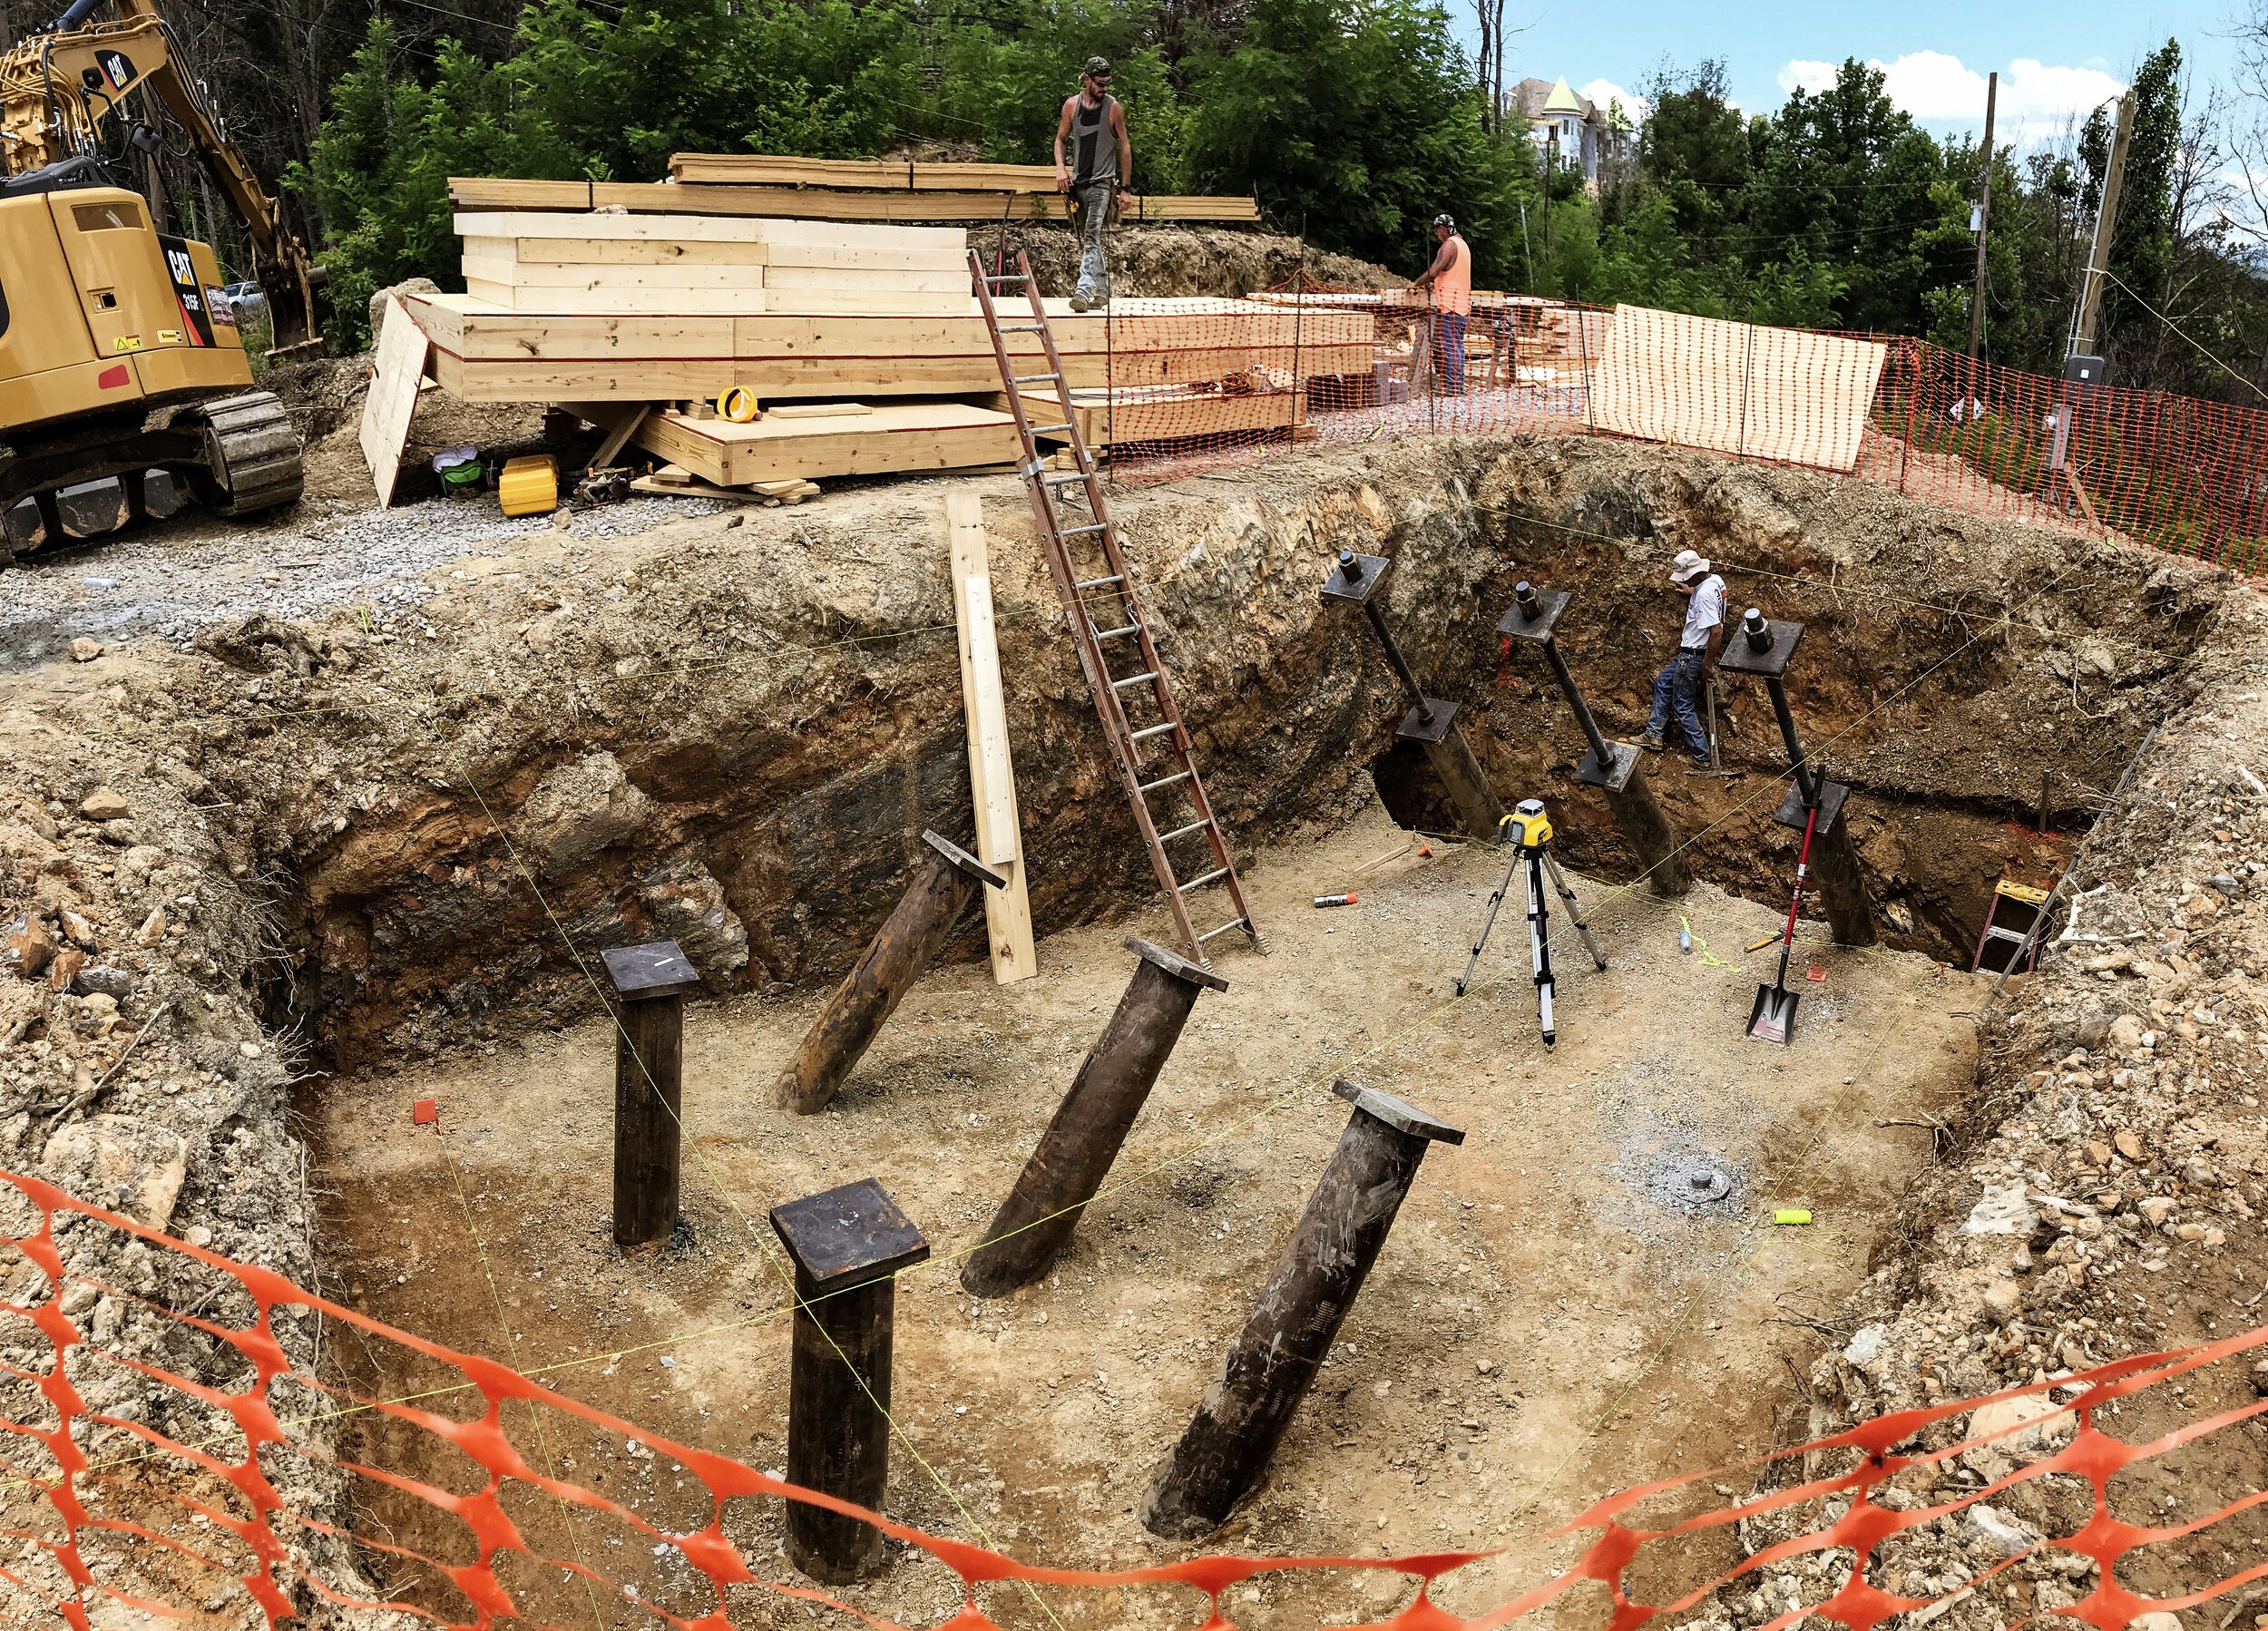
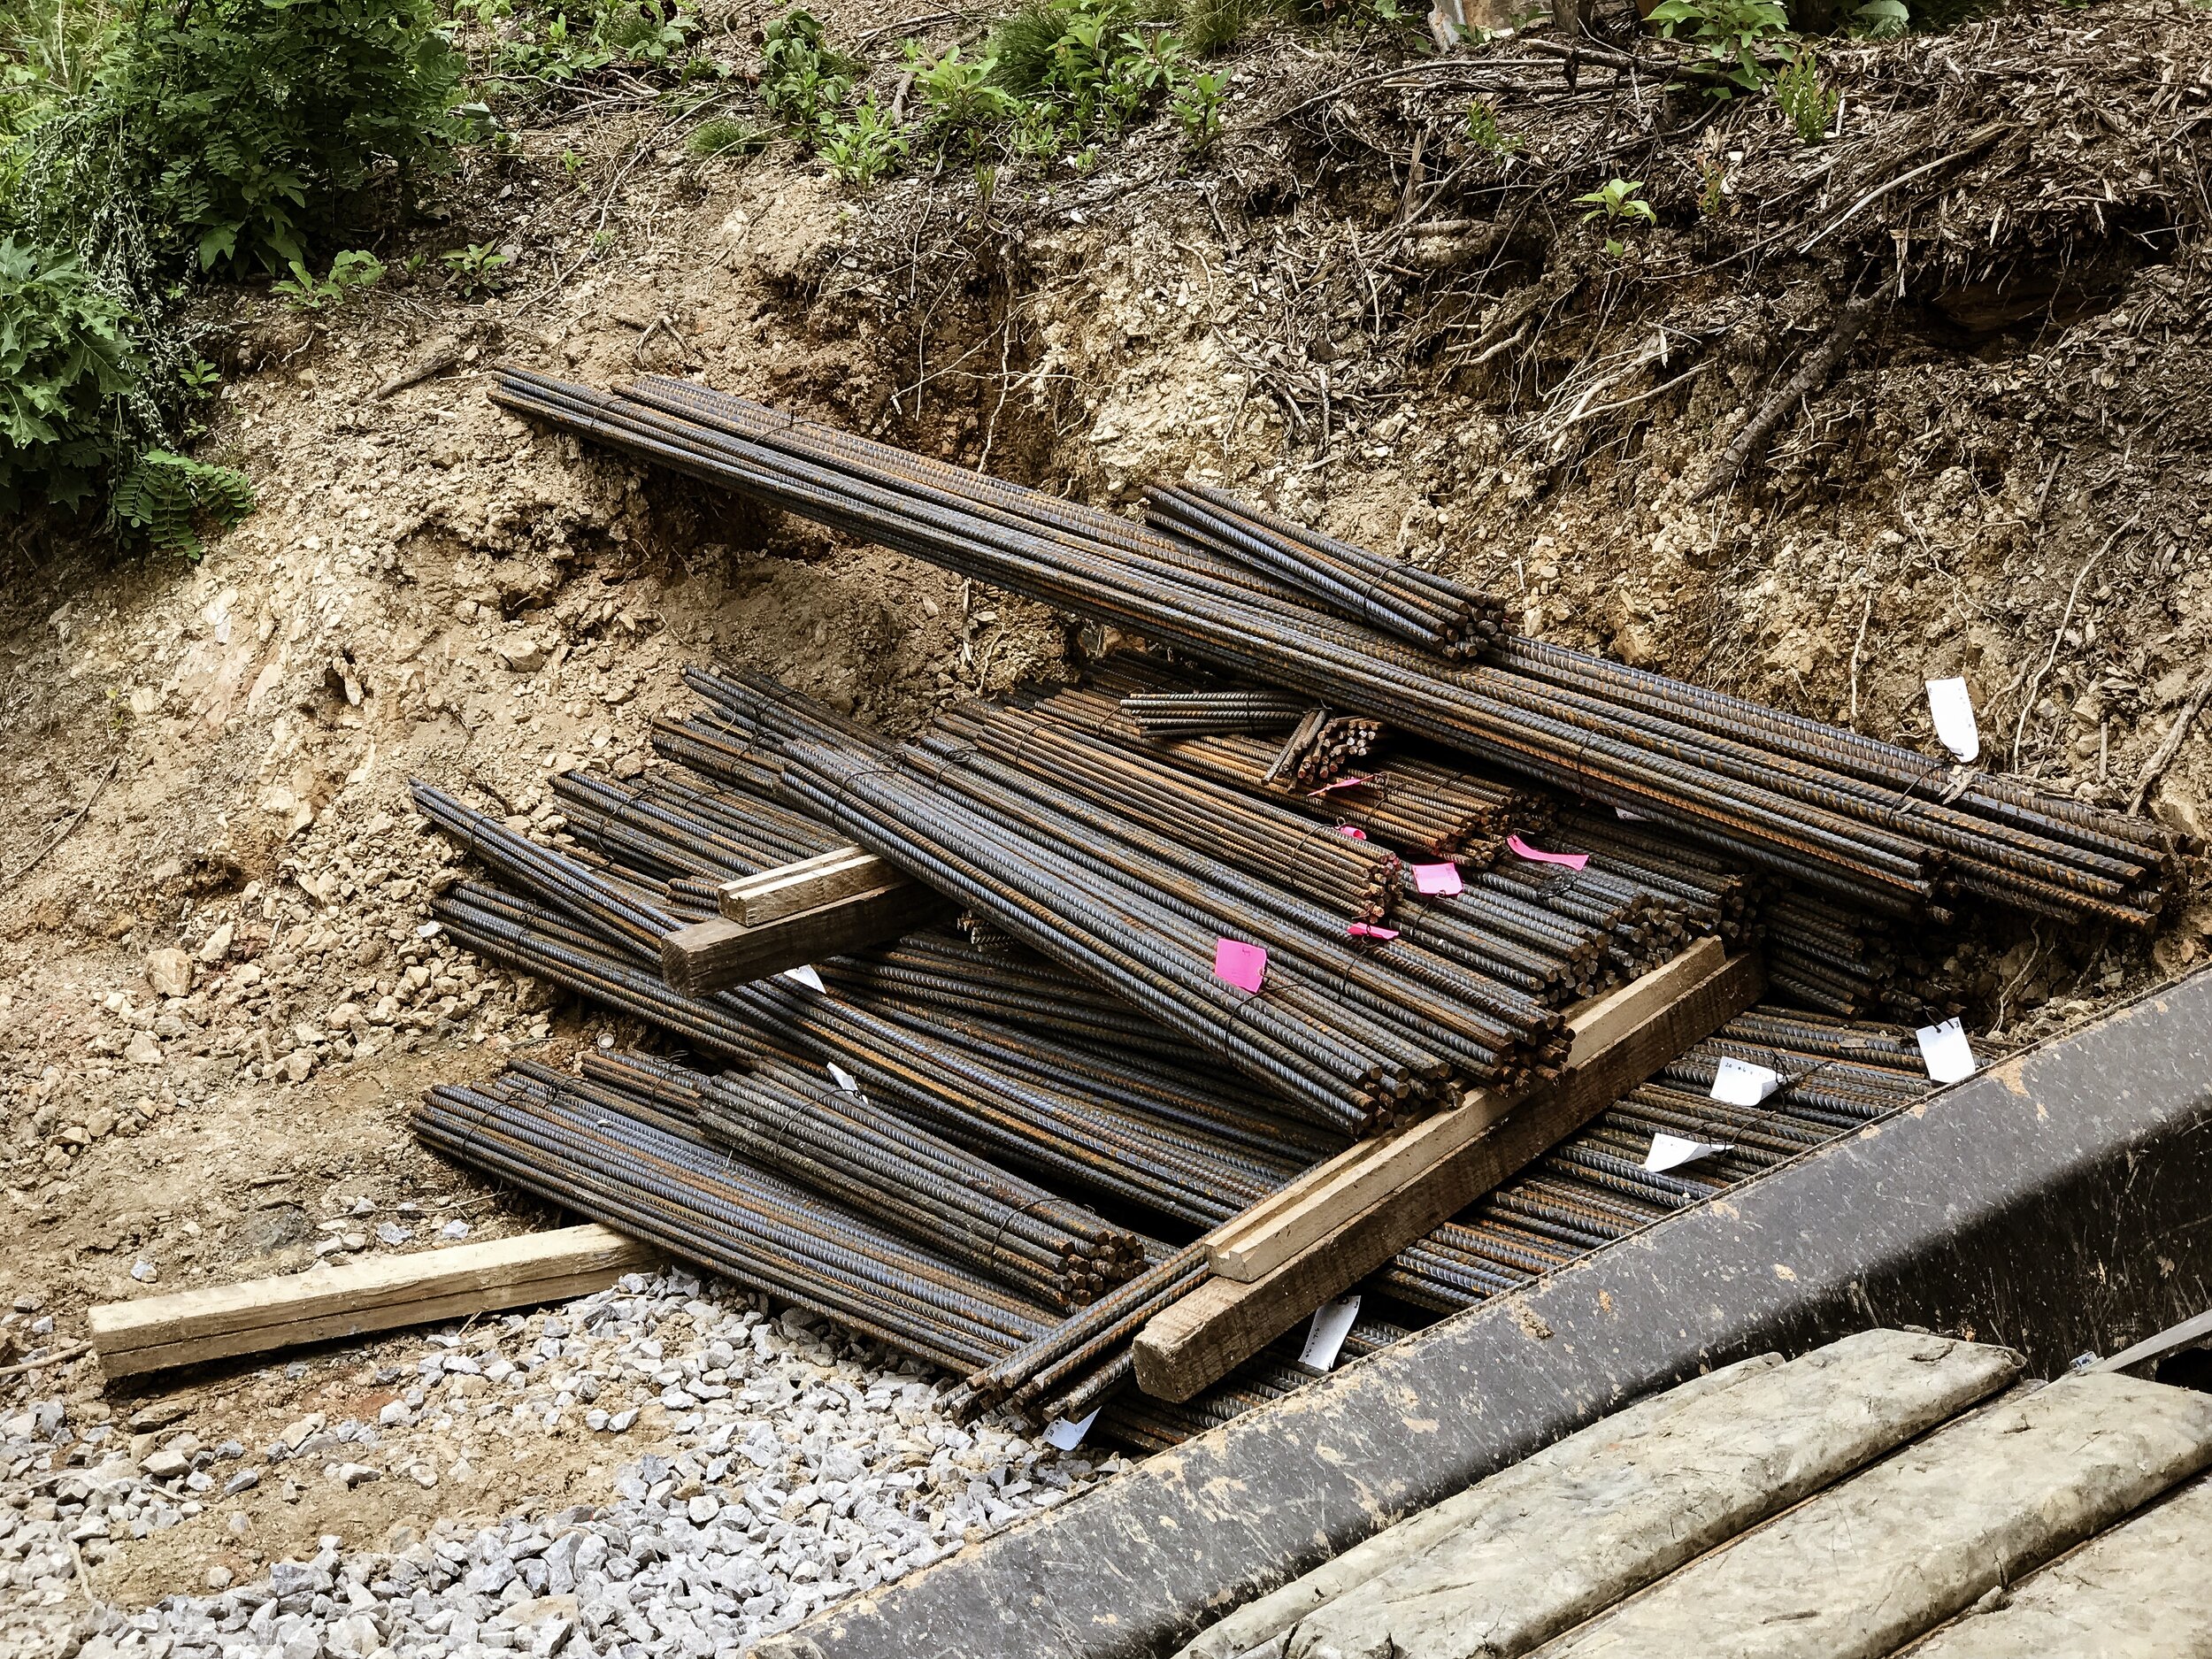
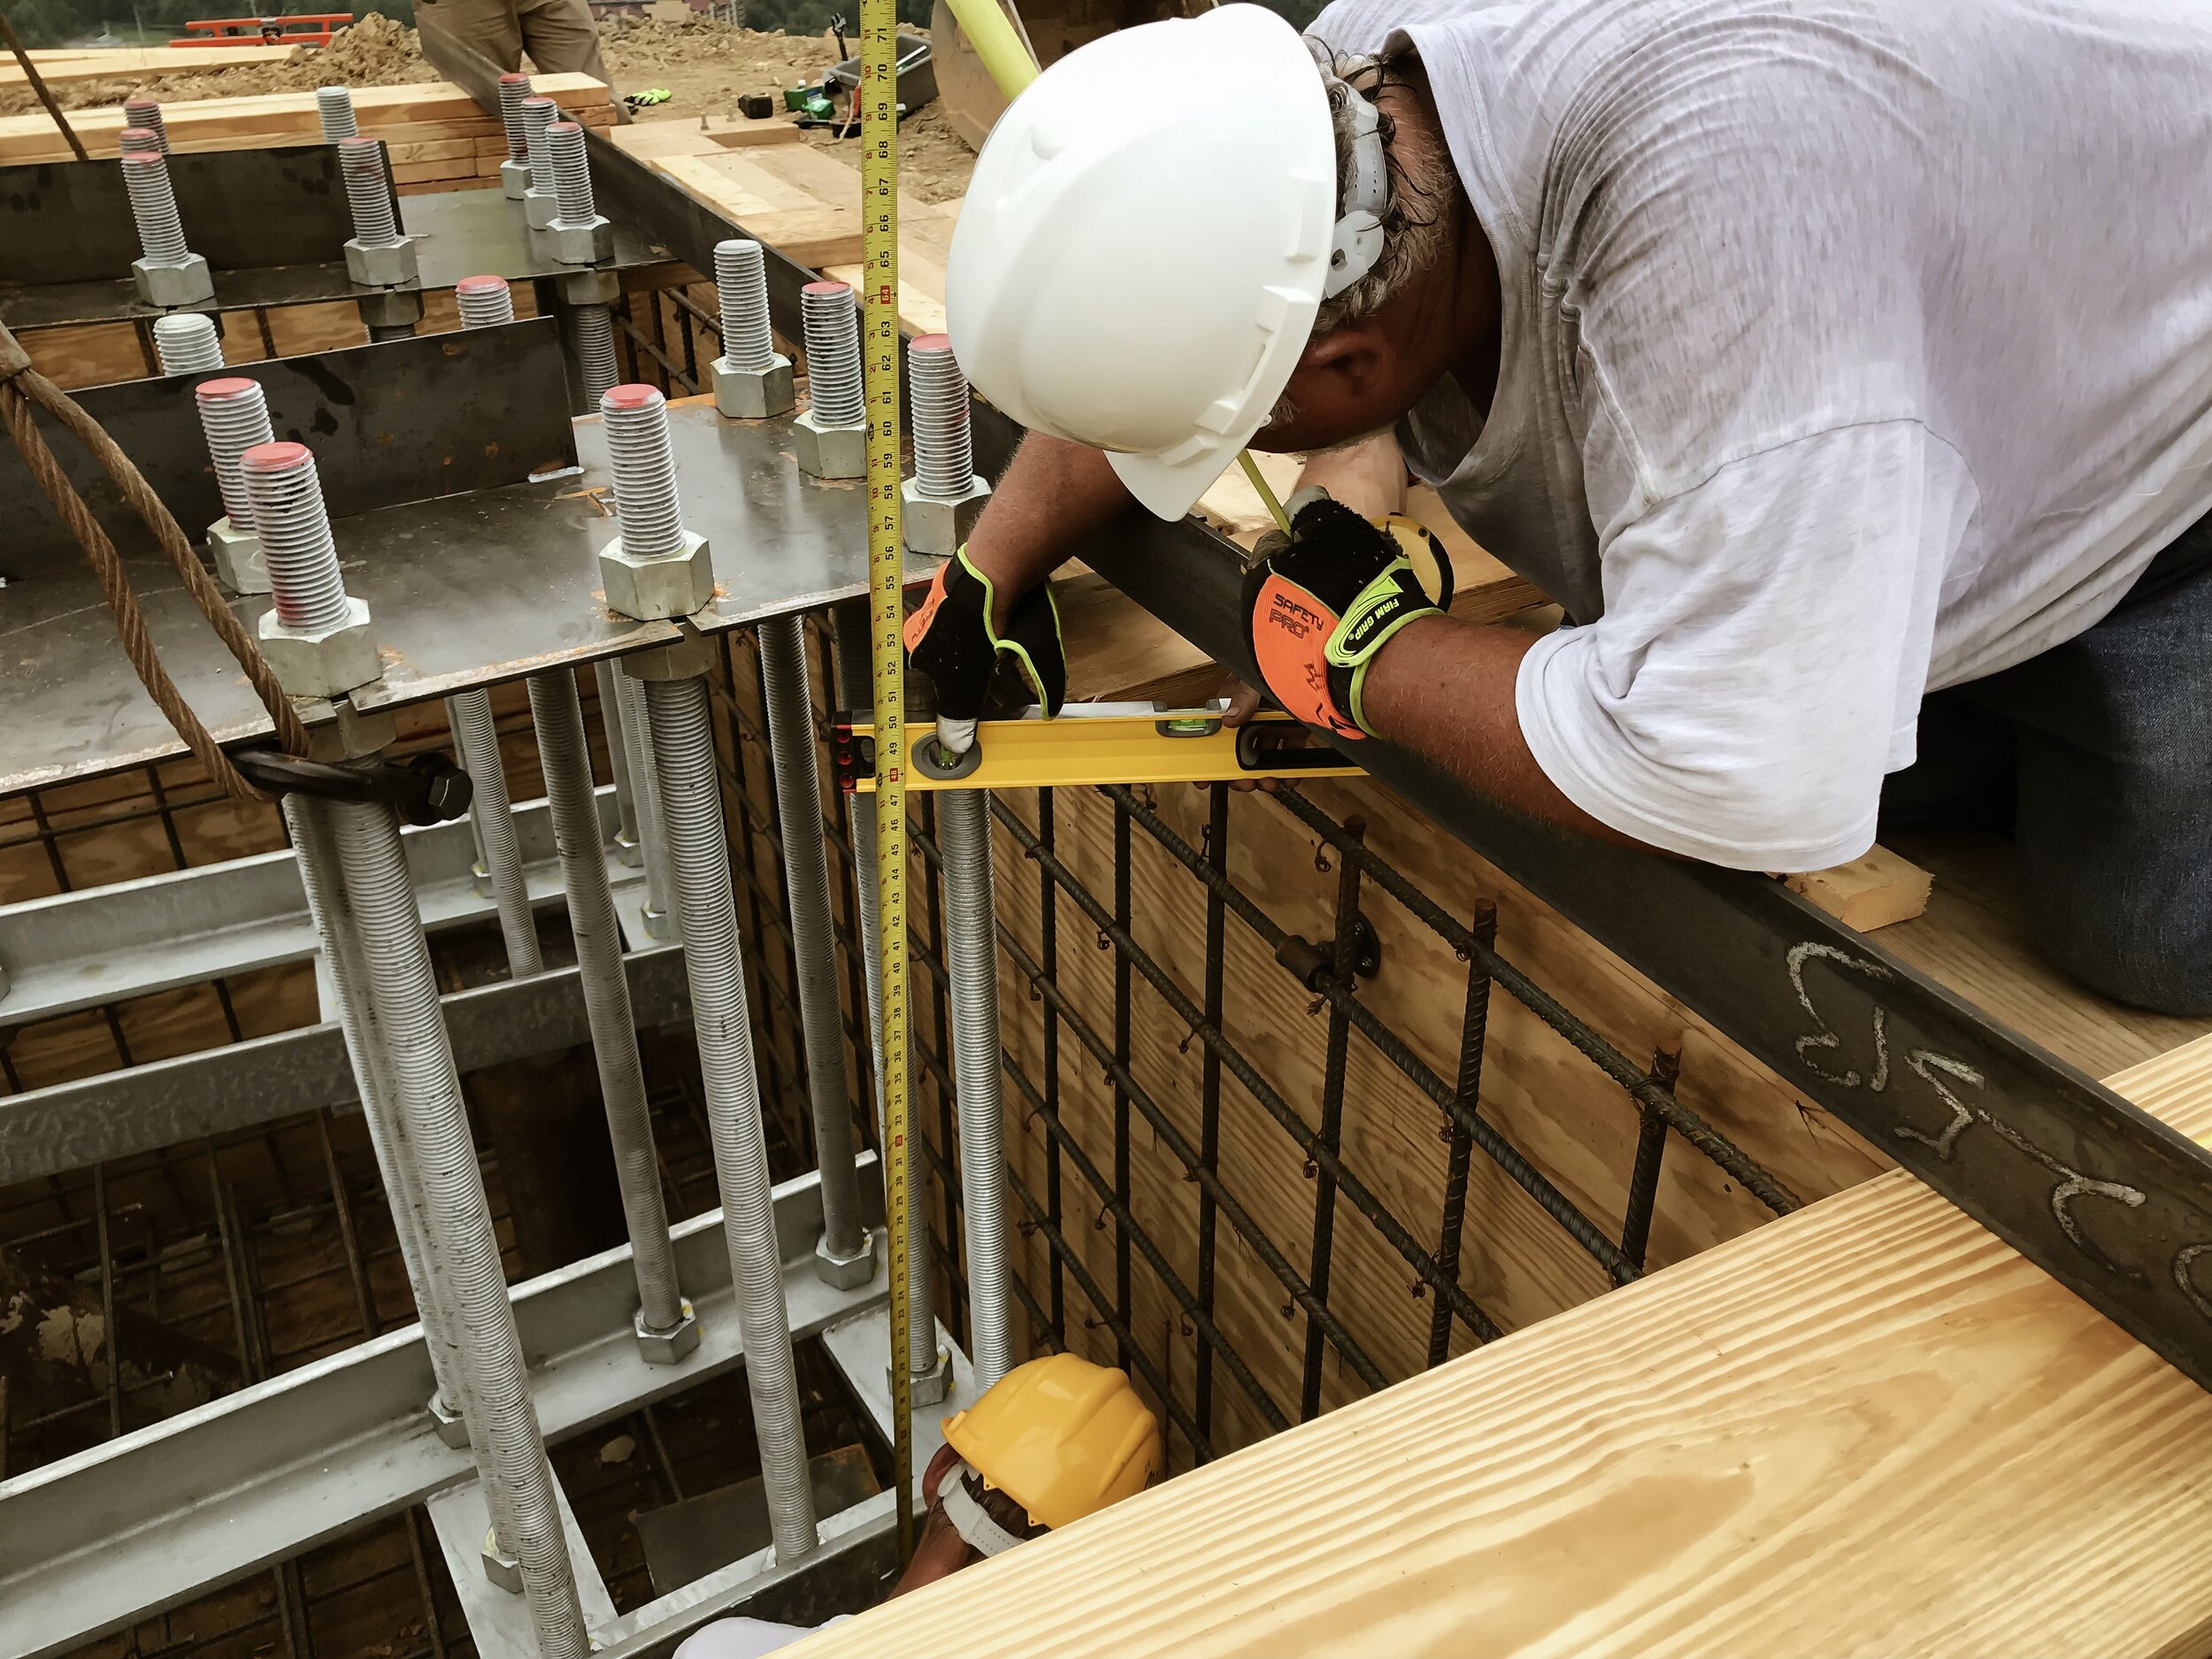
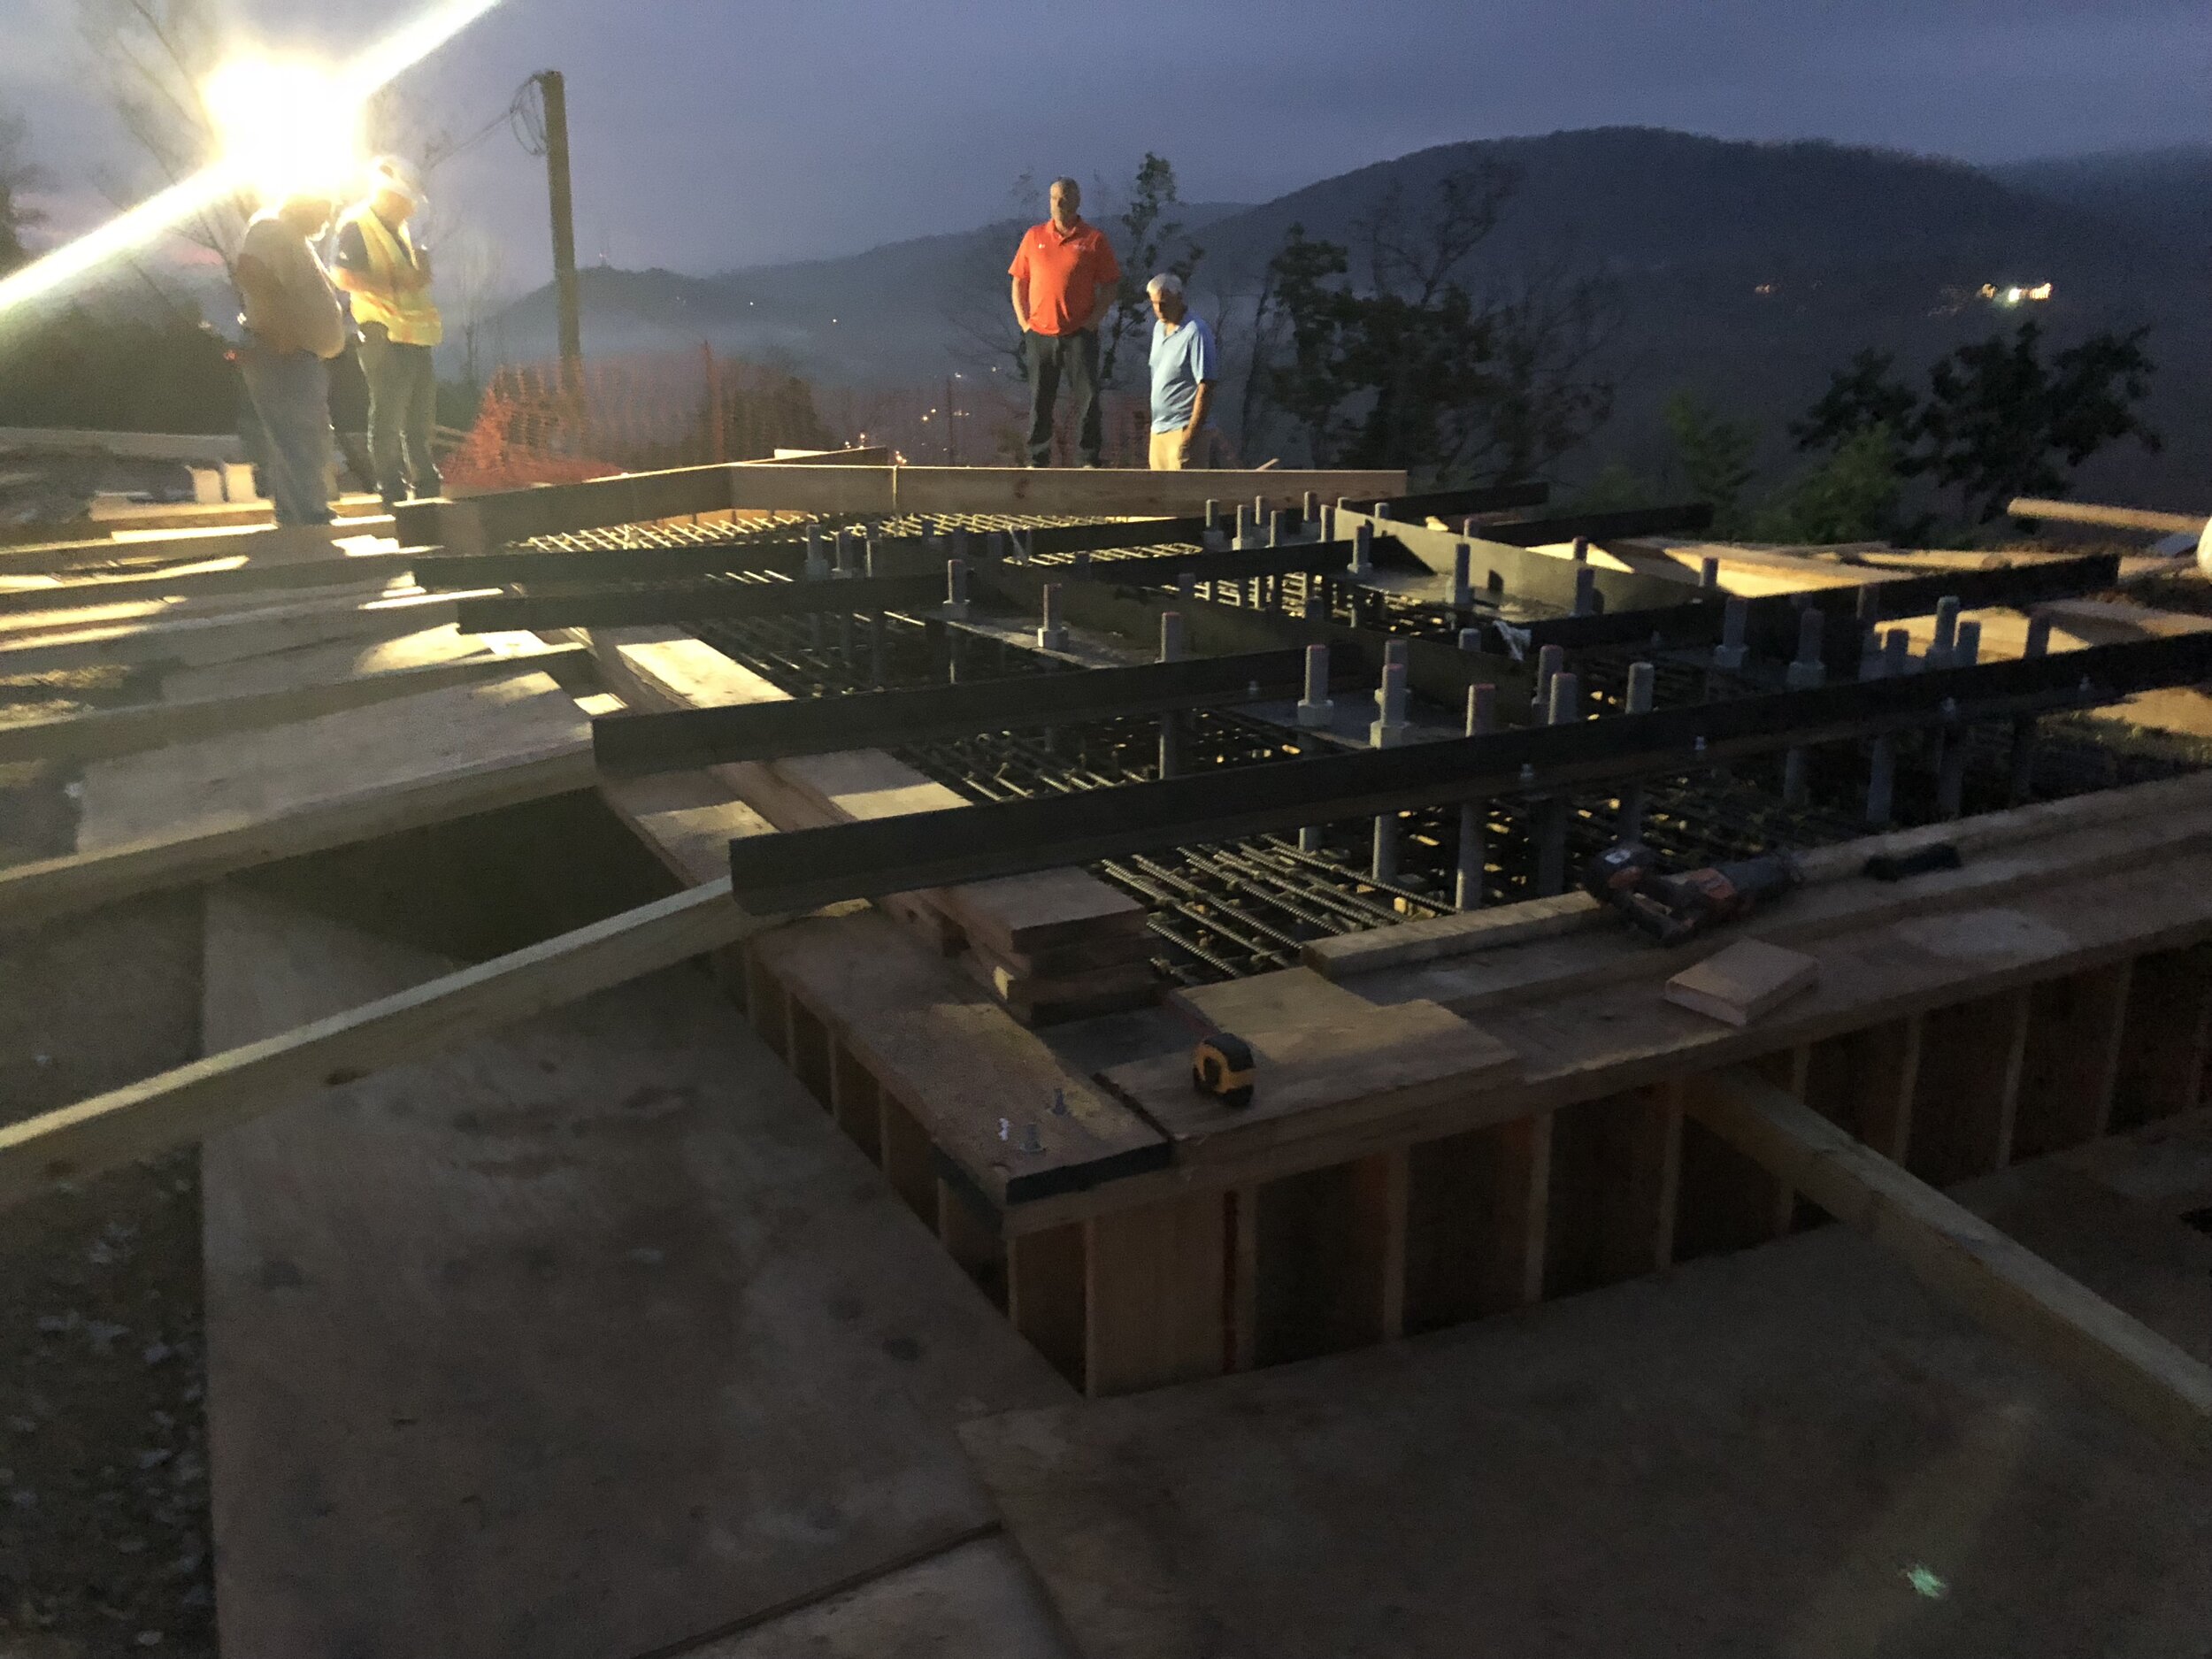
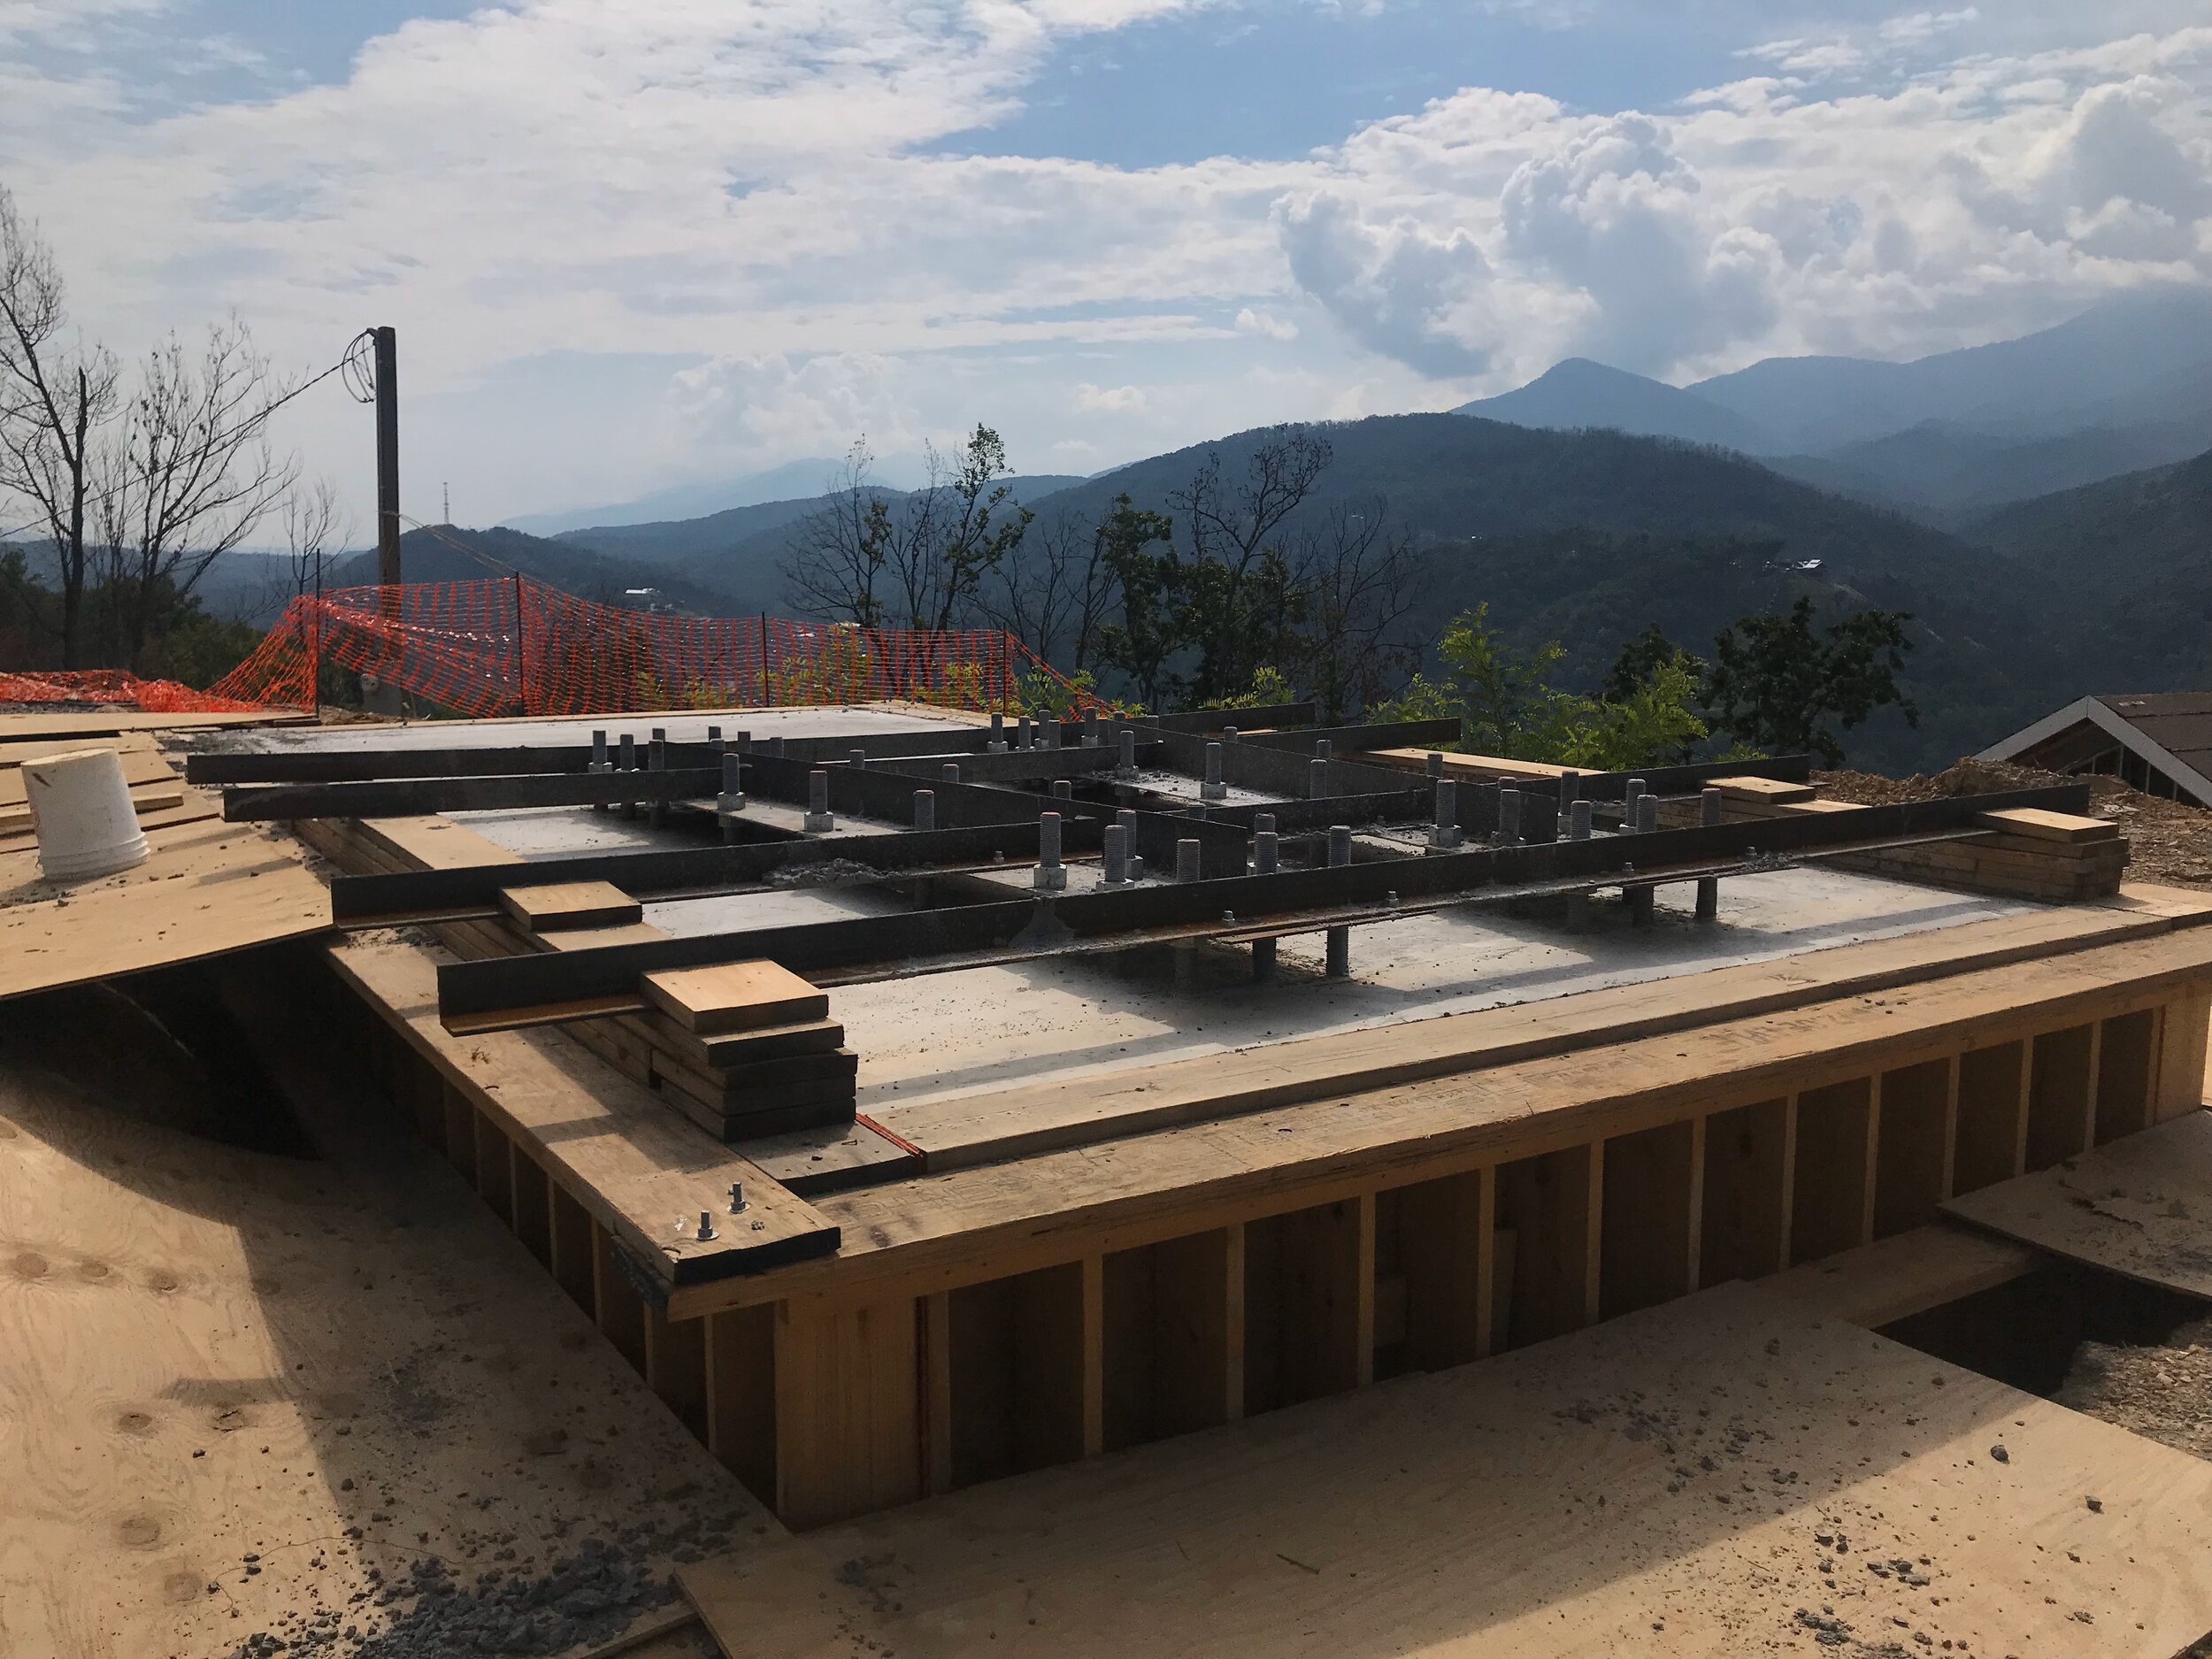
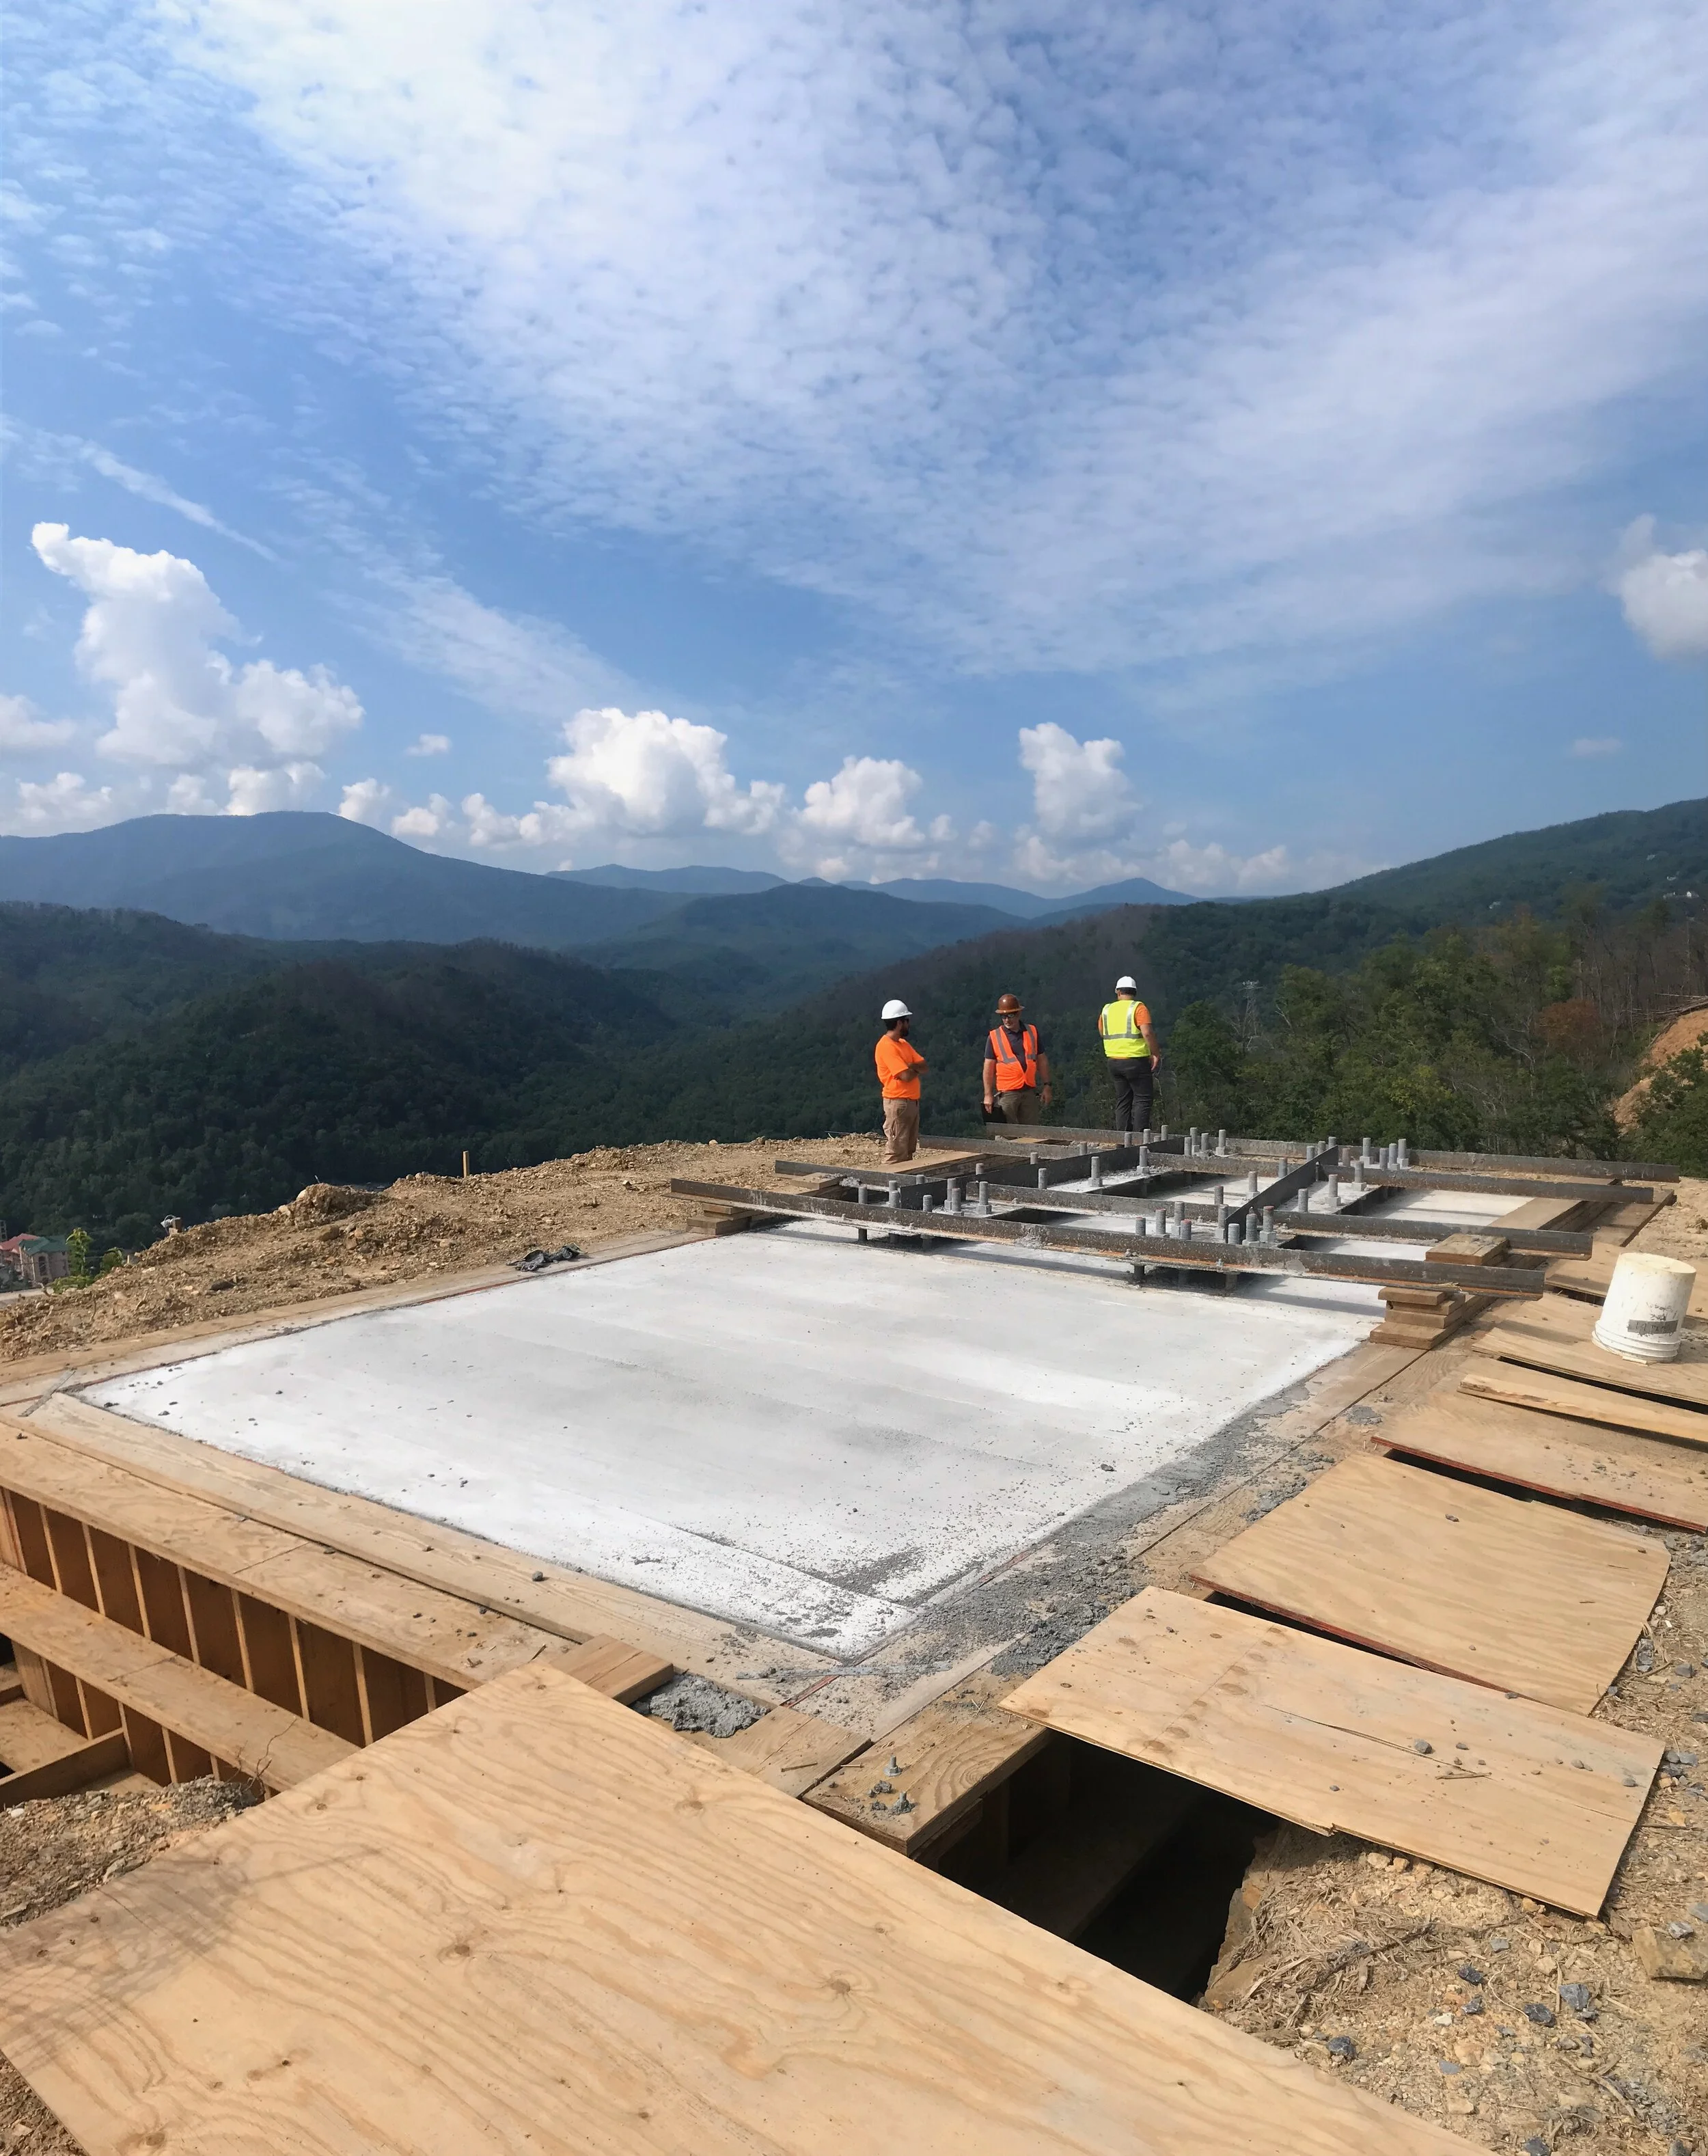
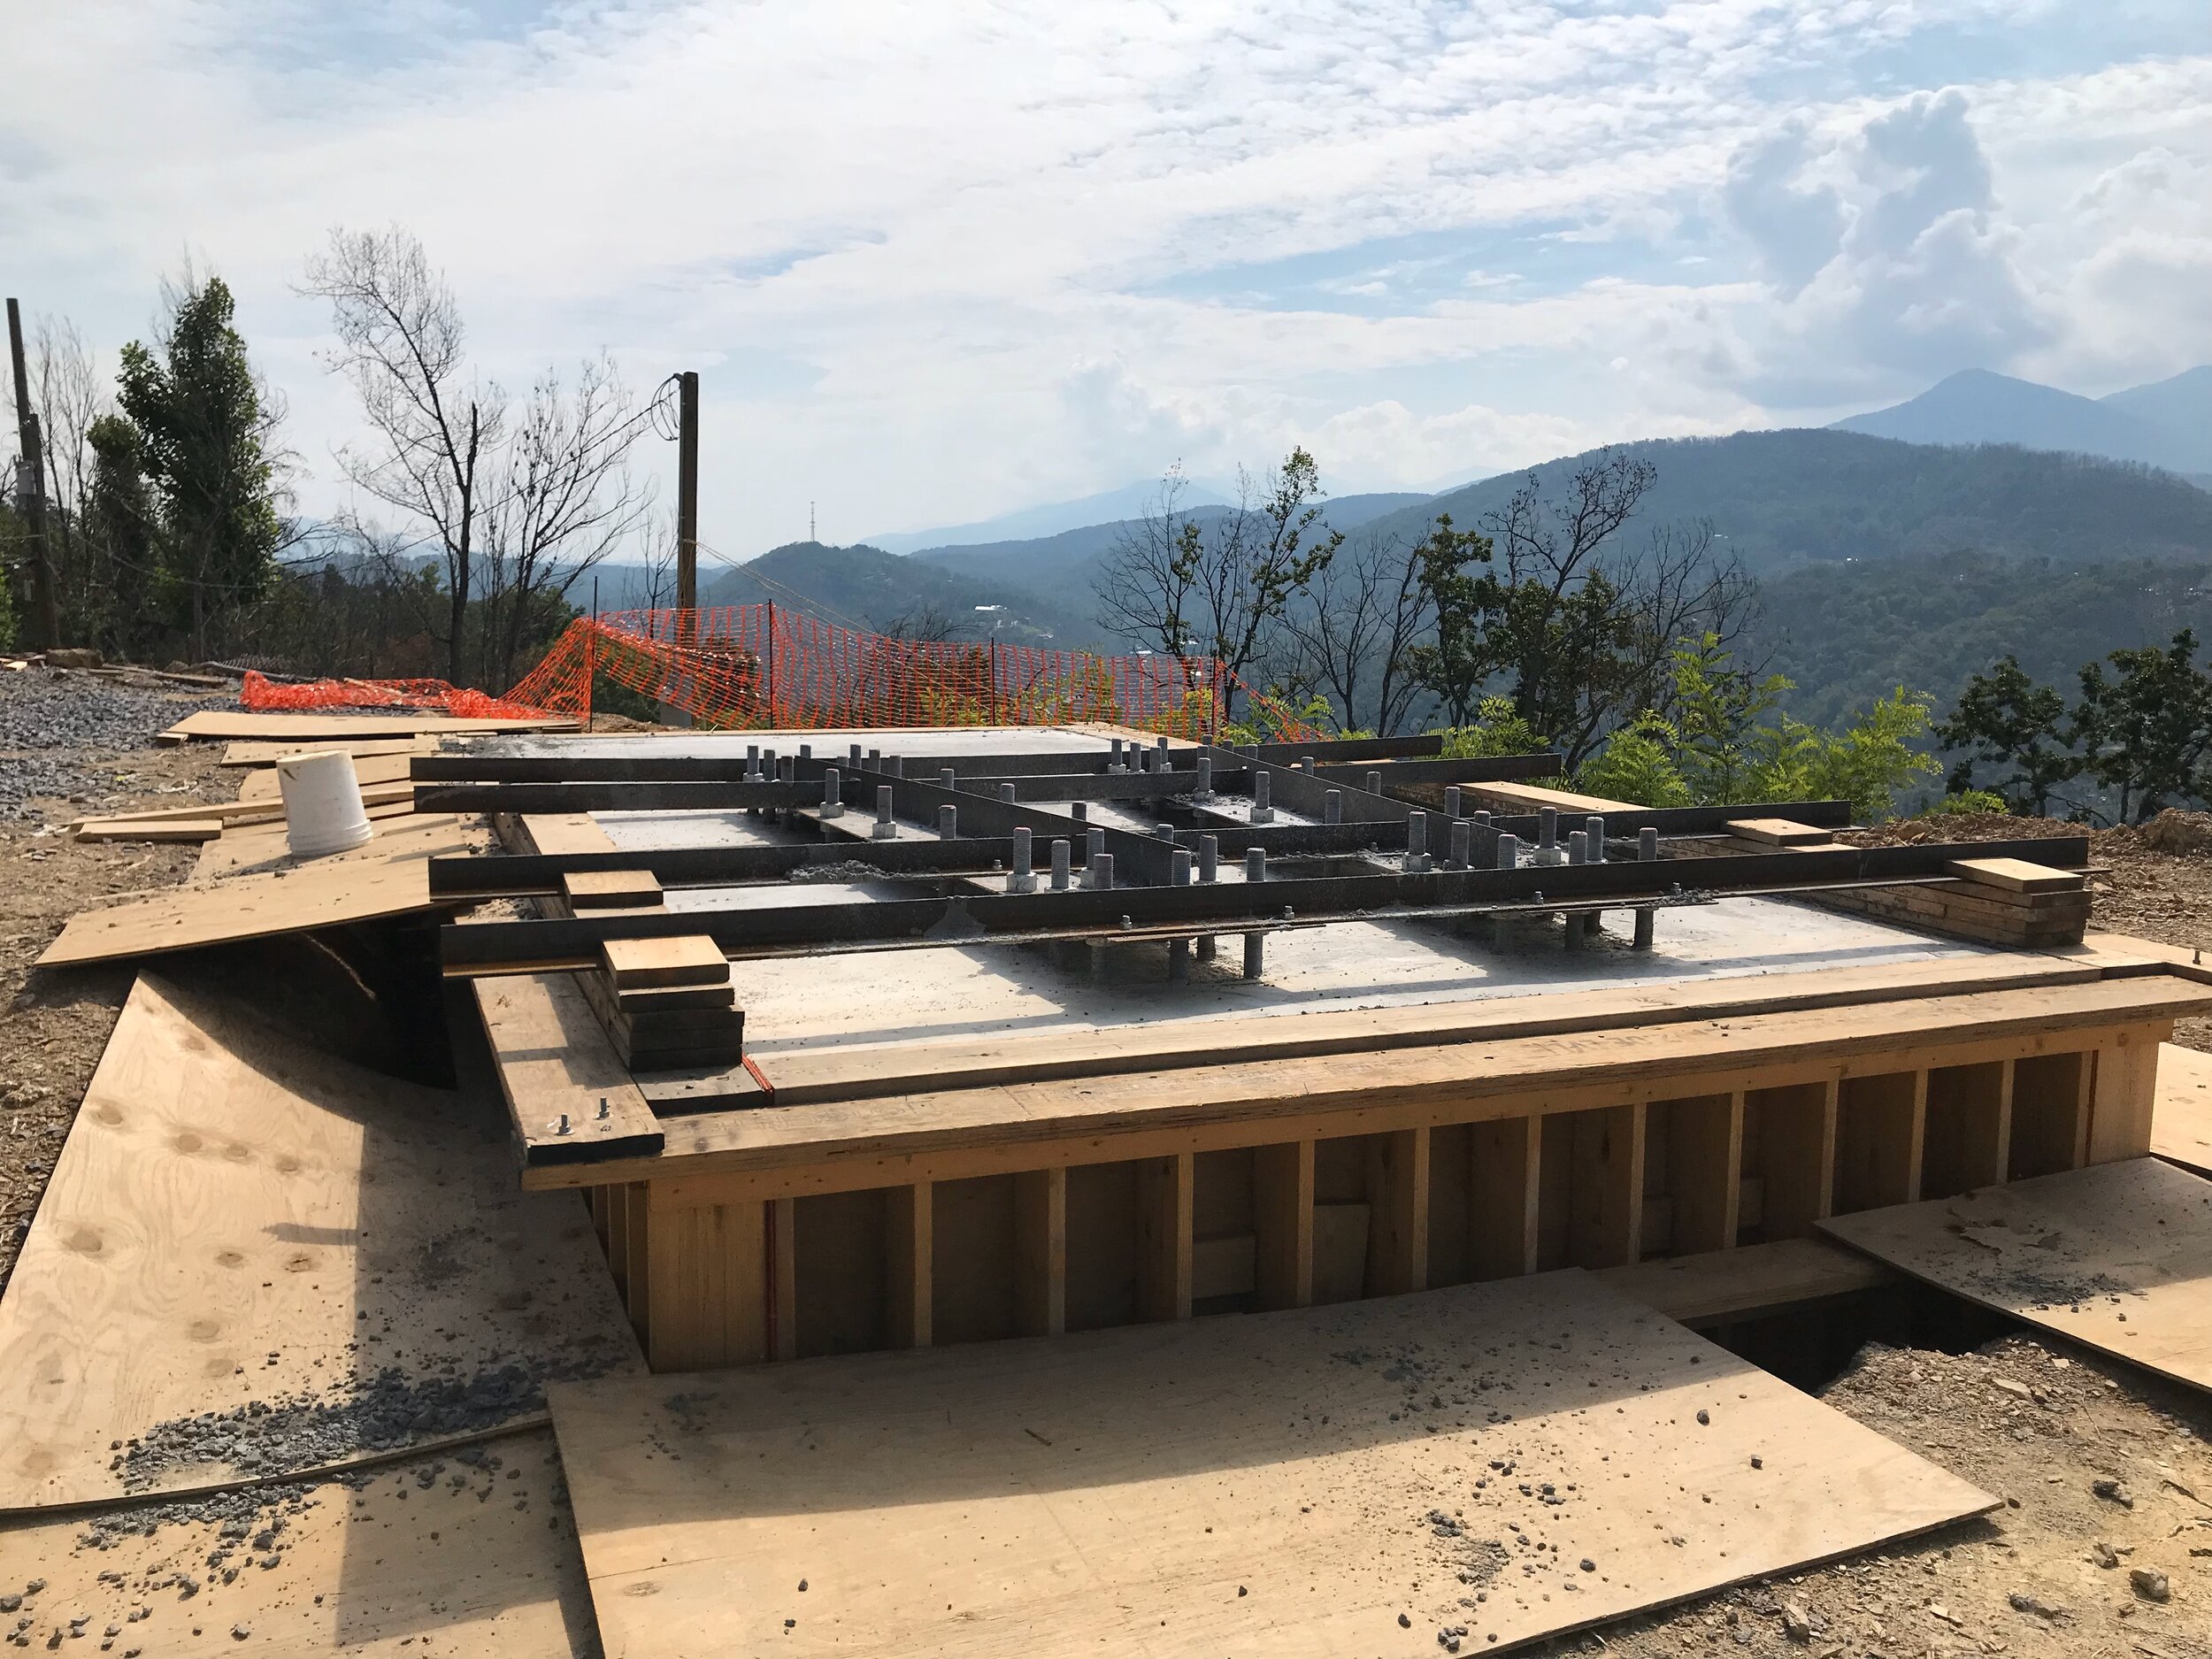
Concrete Forms
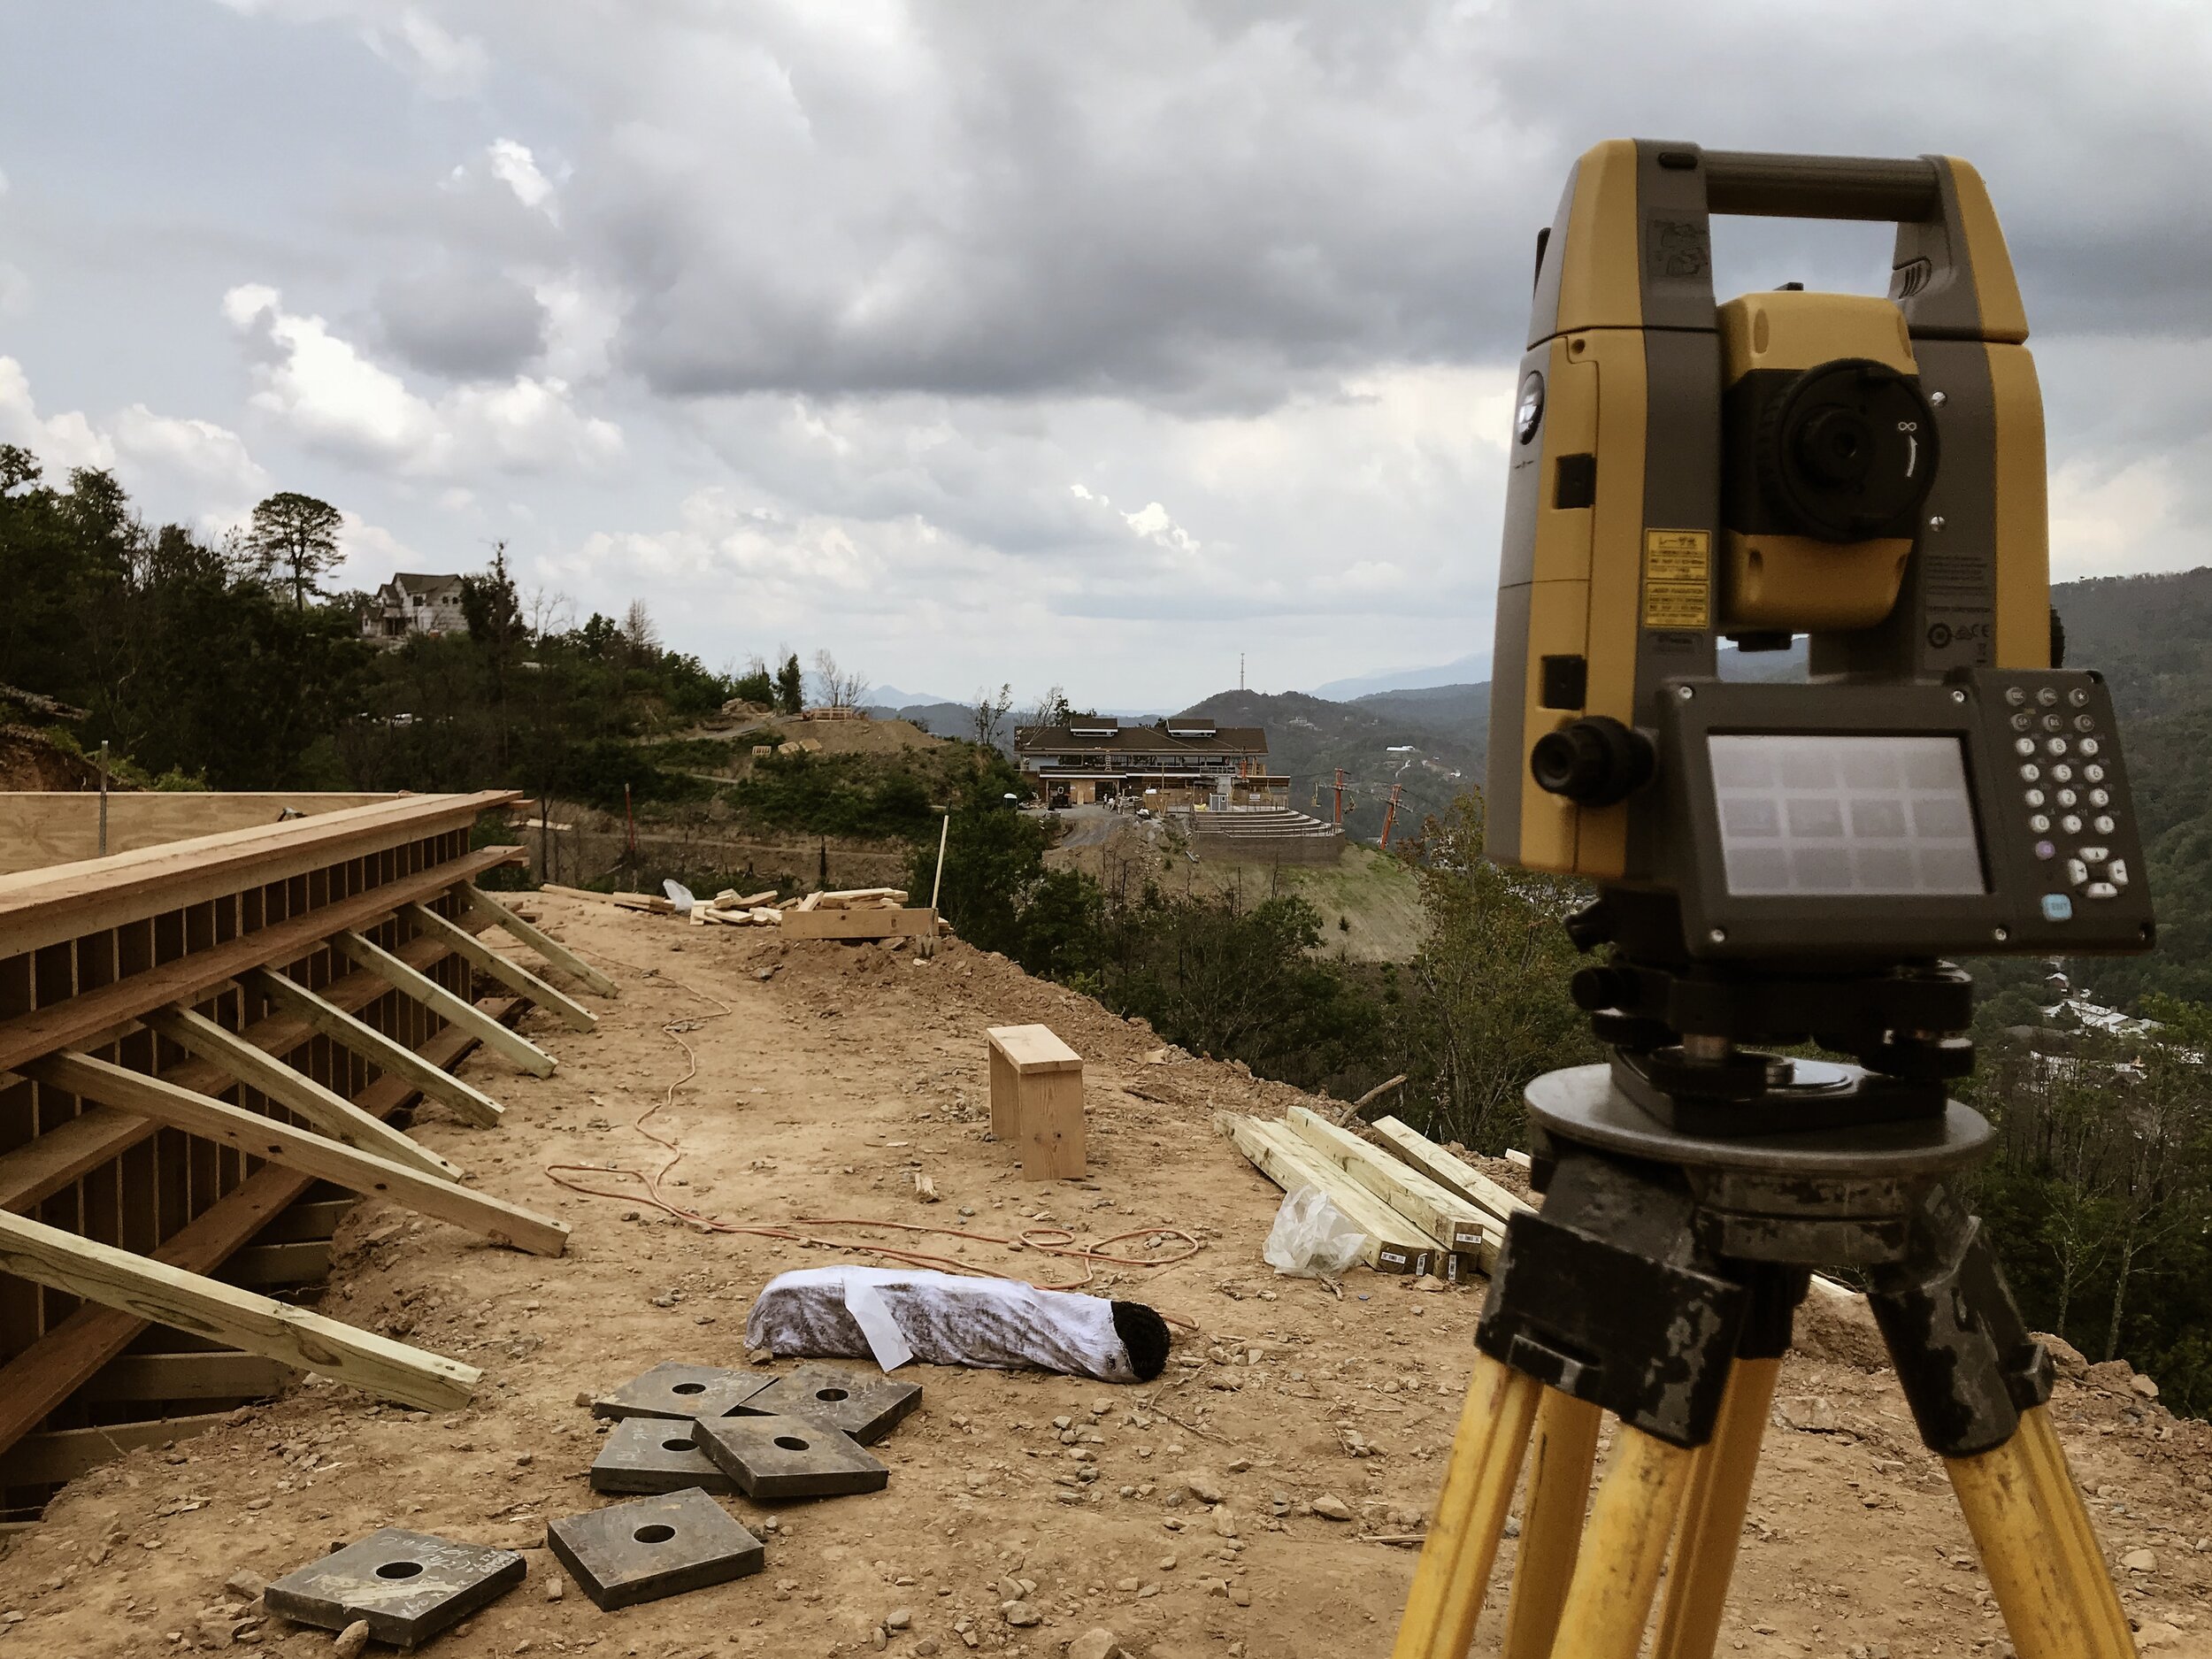
After the micropiles were installed, the foundations were excavated down to their final depth. Concrete forms and rebar were installed in preparation for the installation of the subsurface steel. After the forms were installed, they got their final check by the surveyor. The two forms for the east and west abutments, which are about 680 feet/207 meters apart, were only one-half inch different in elevation. Thank you to MCW Construction for your precision, attention to detail, and pride in workmanship!

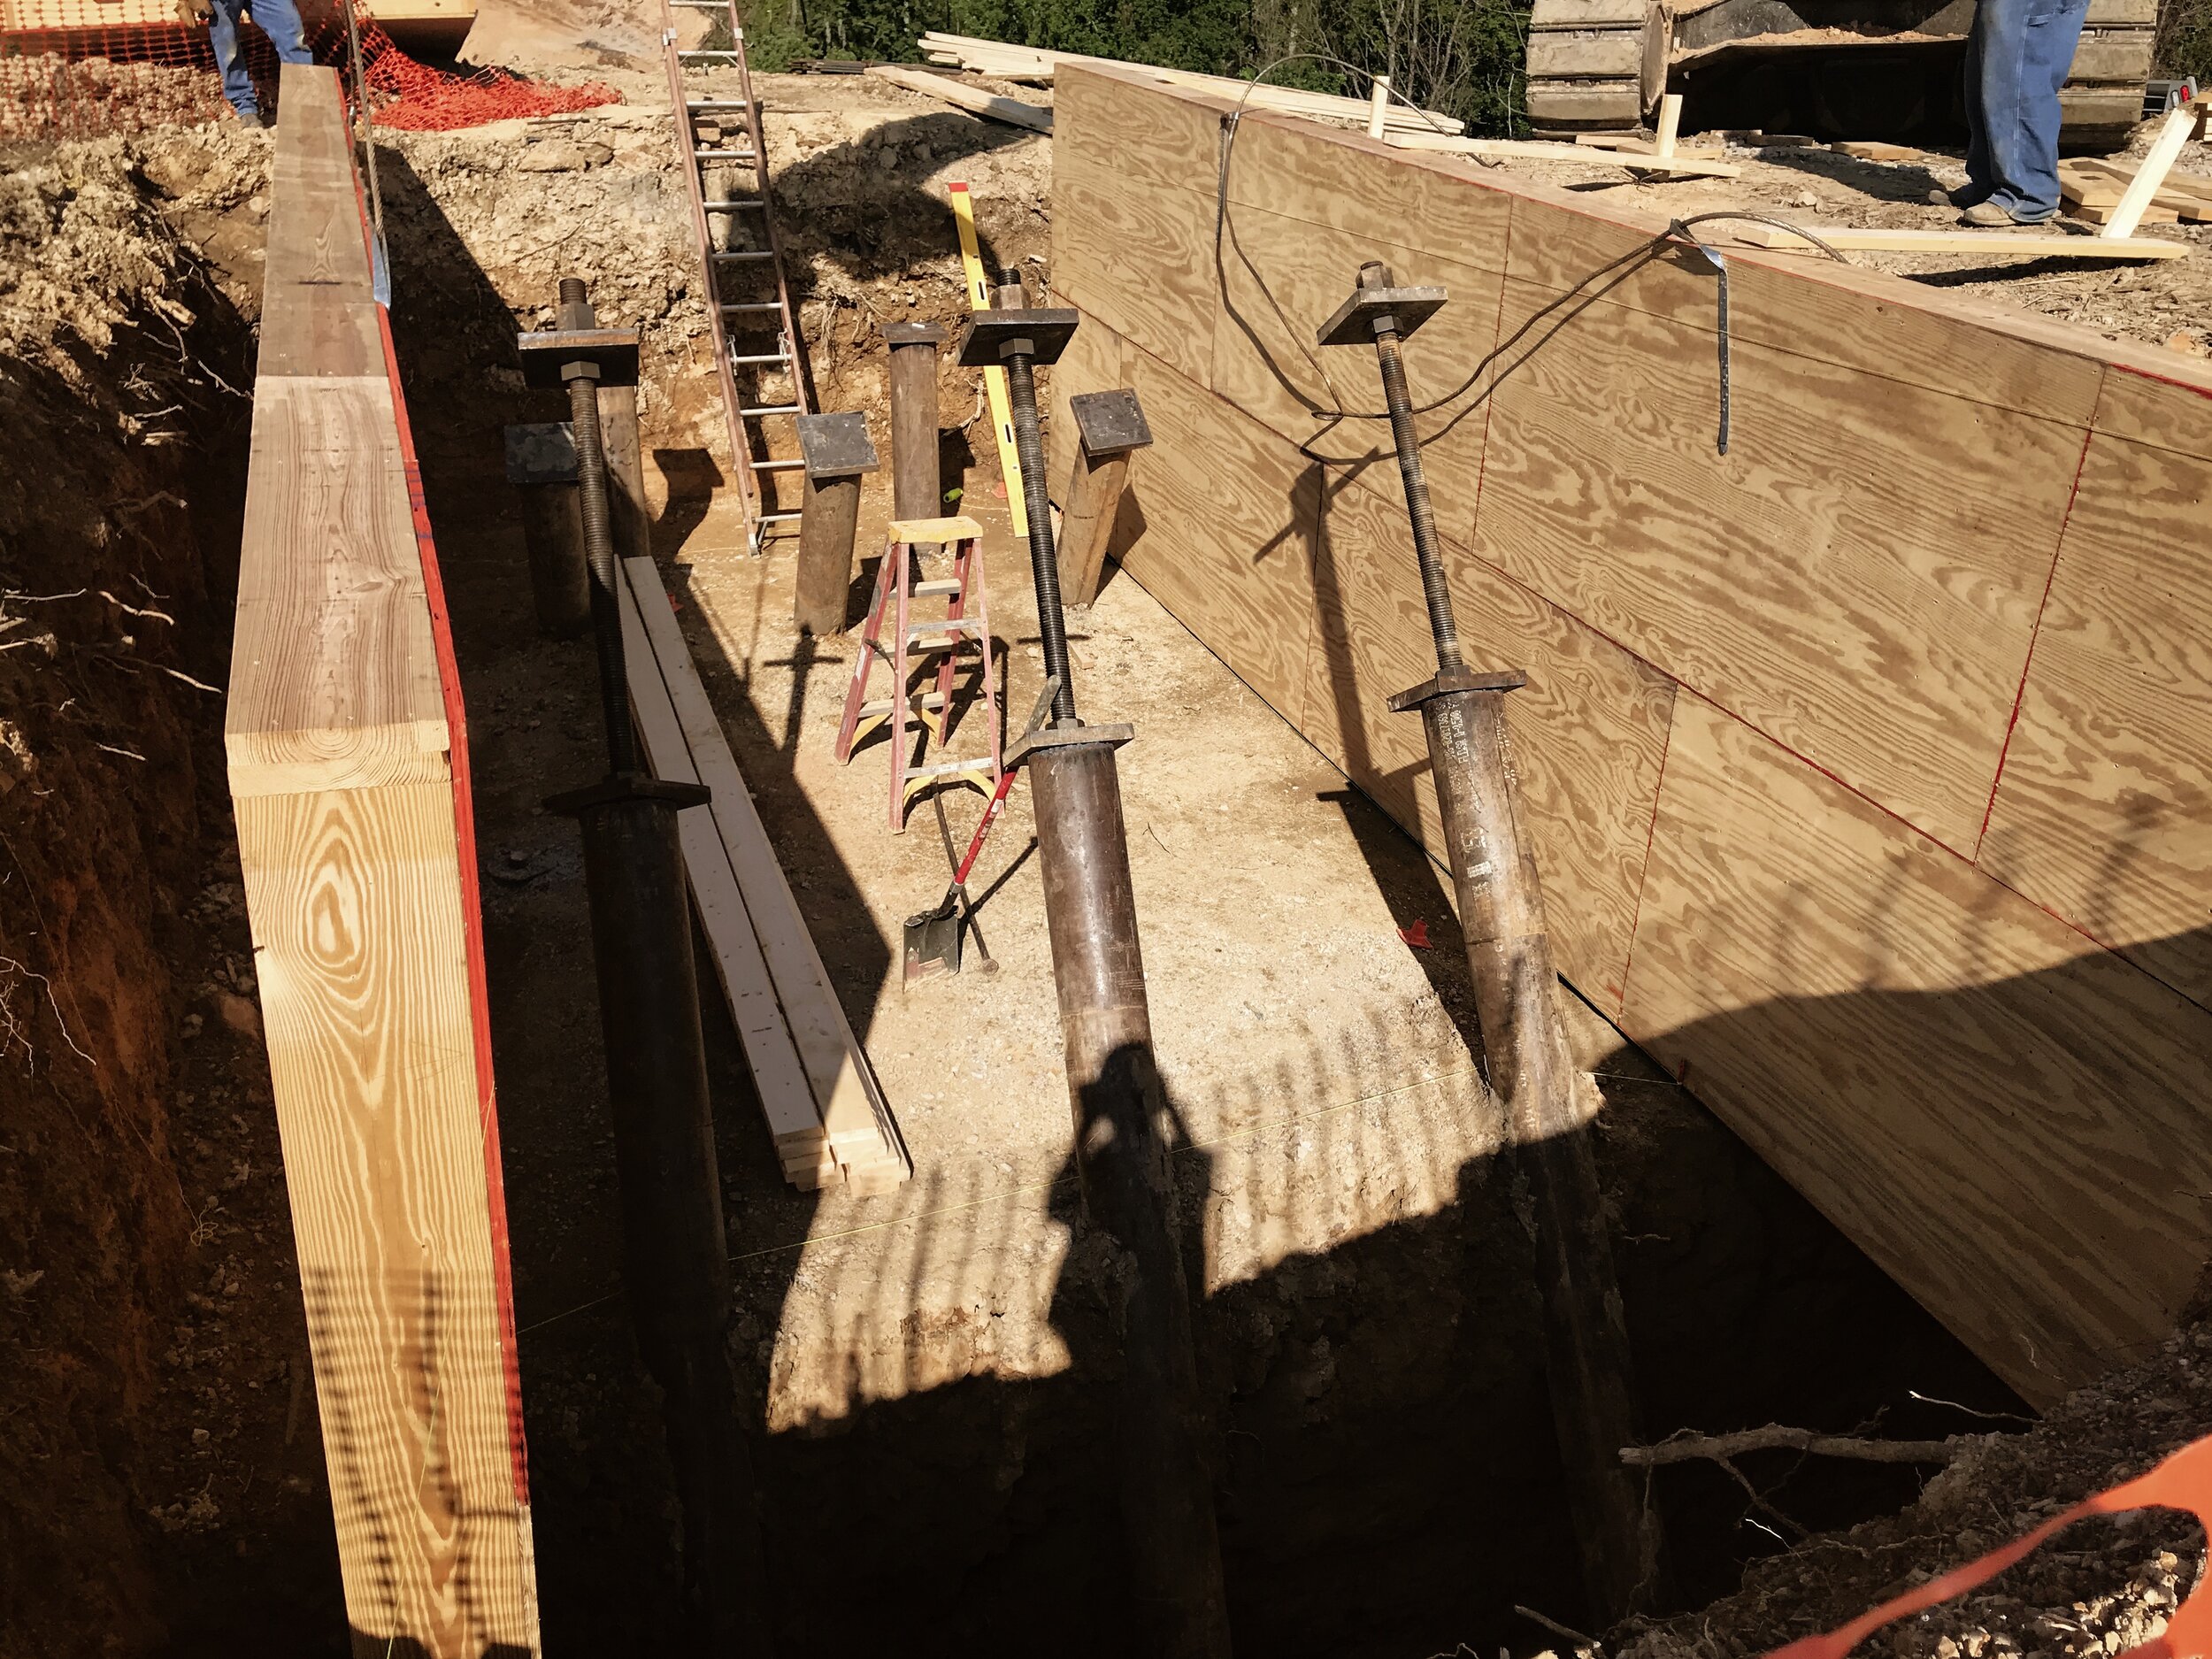
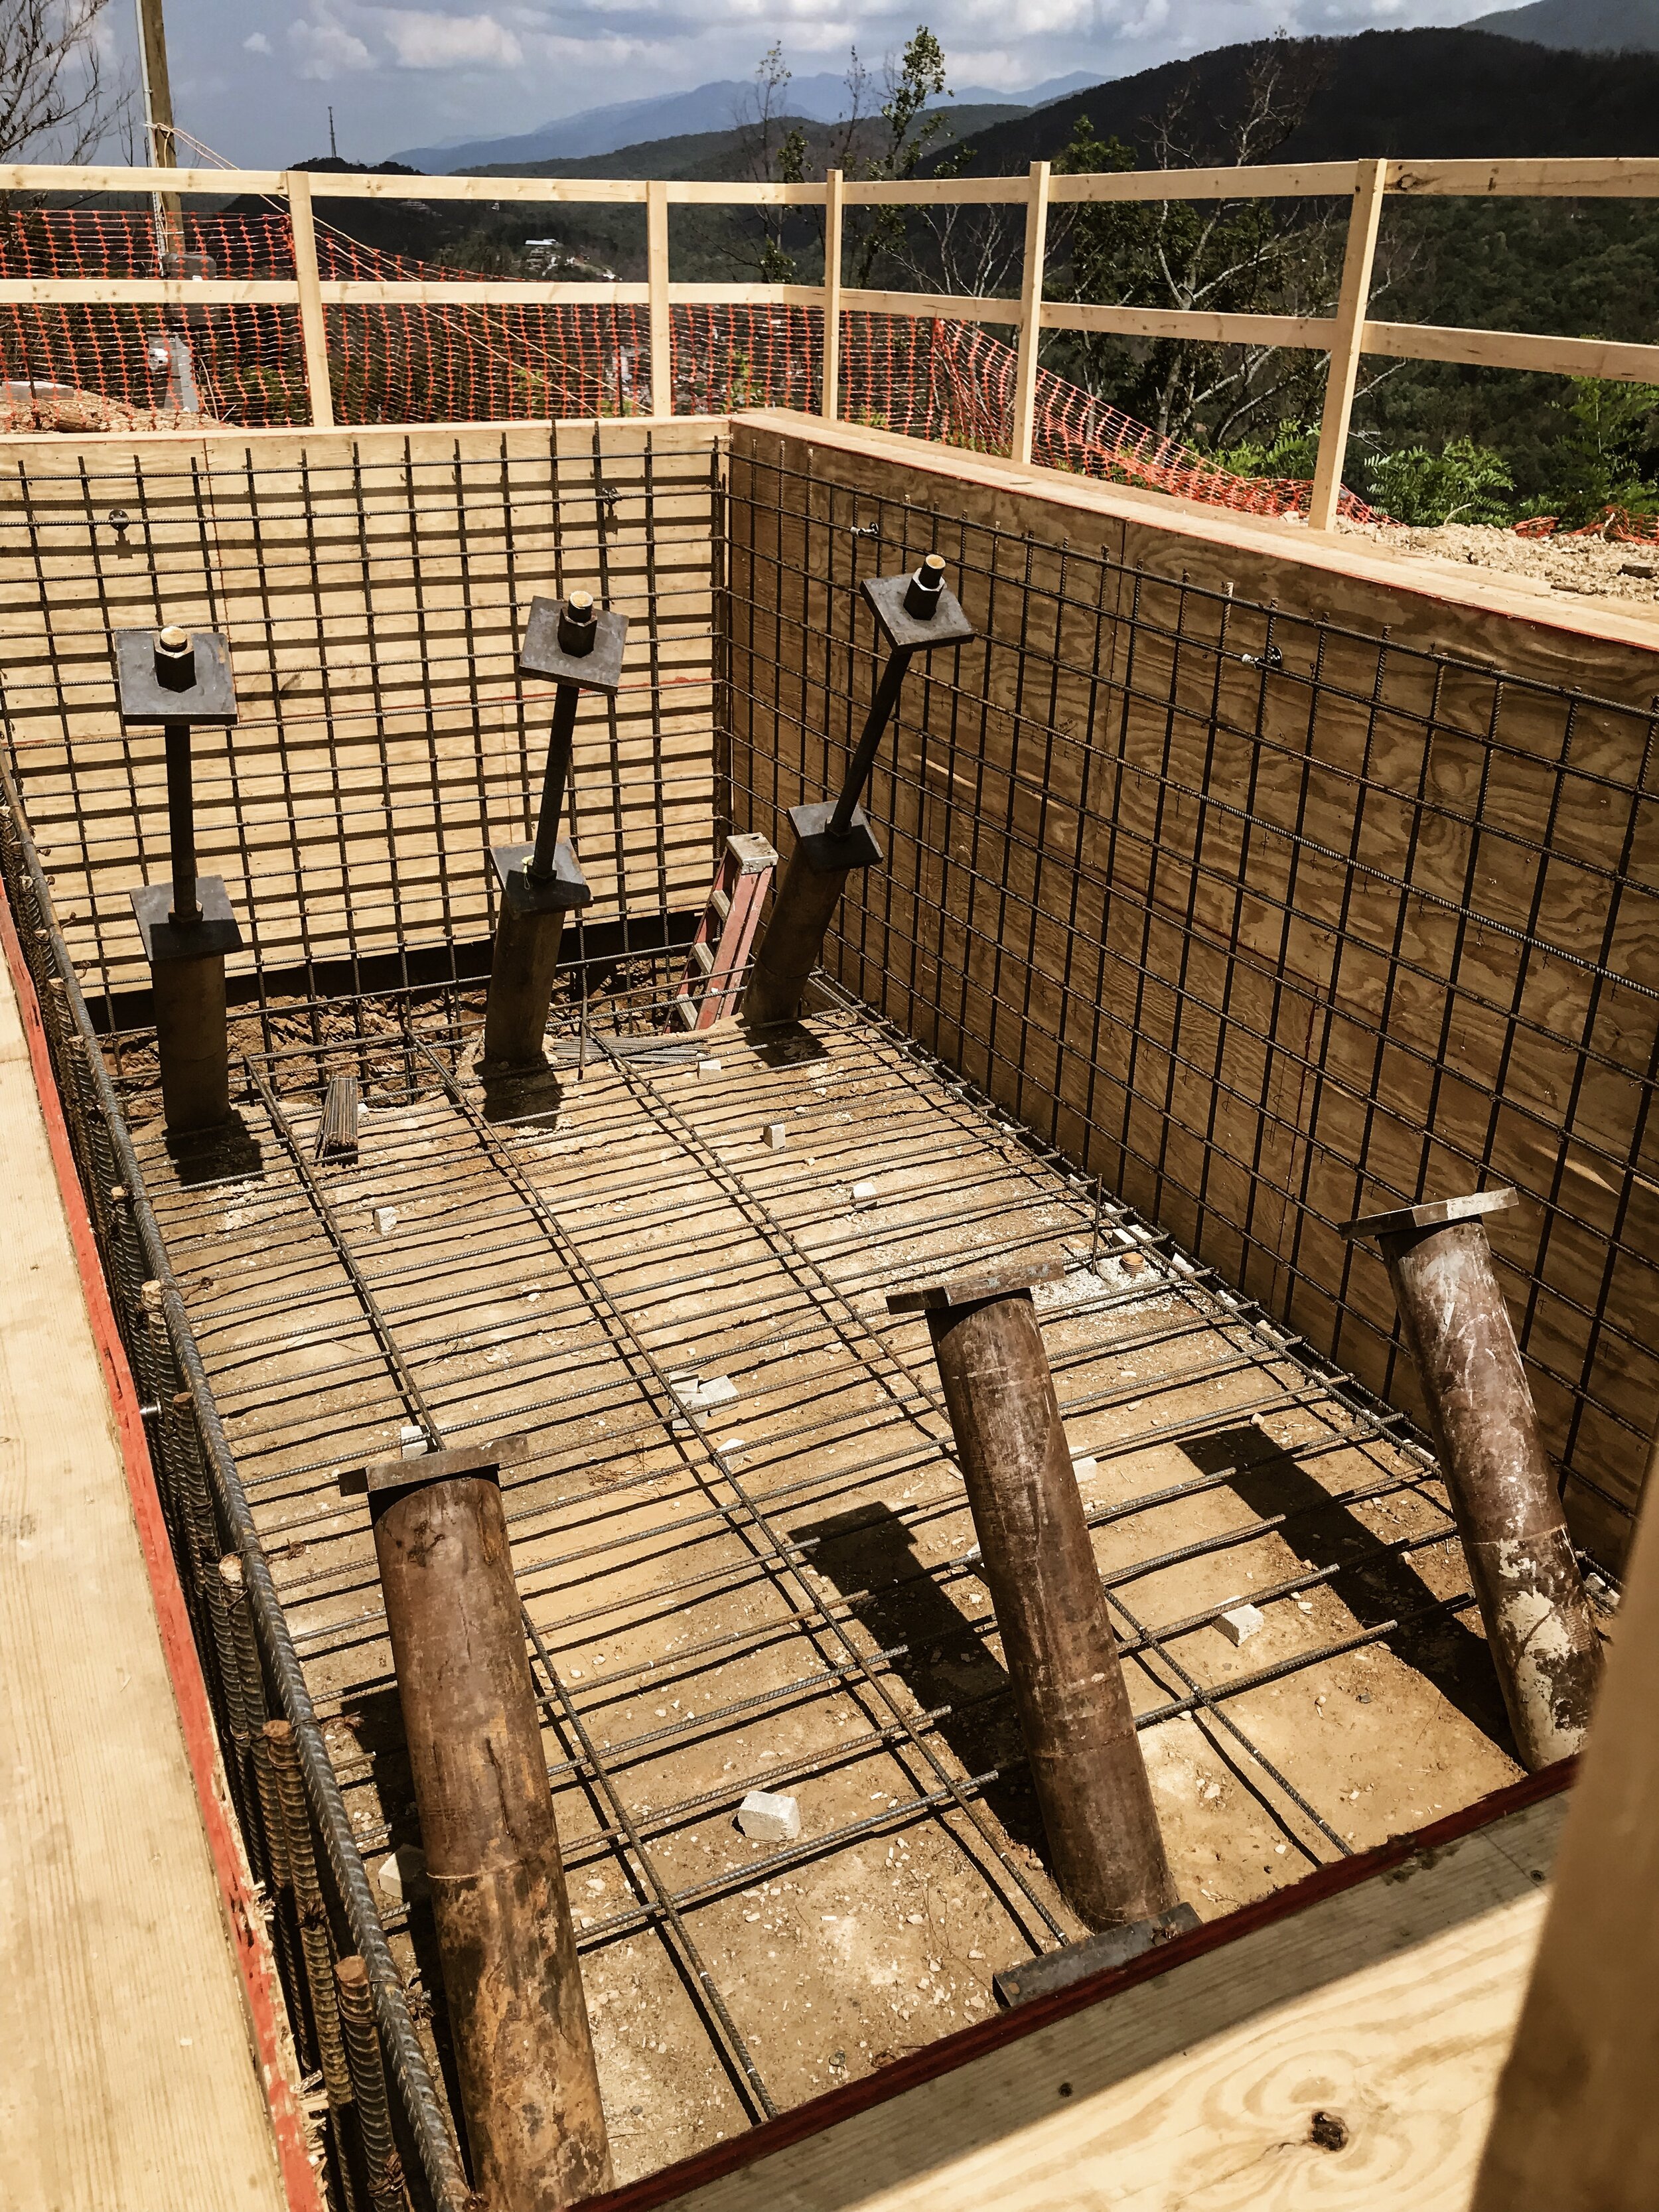


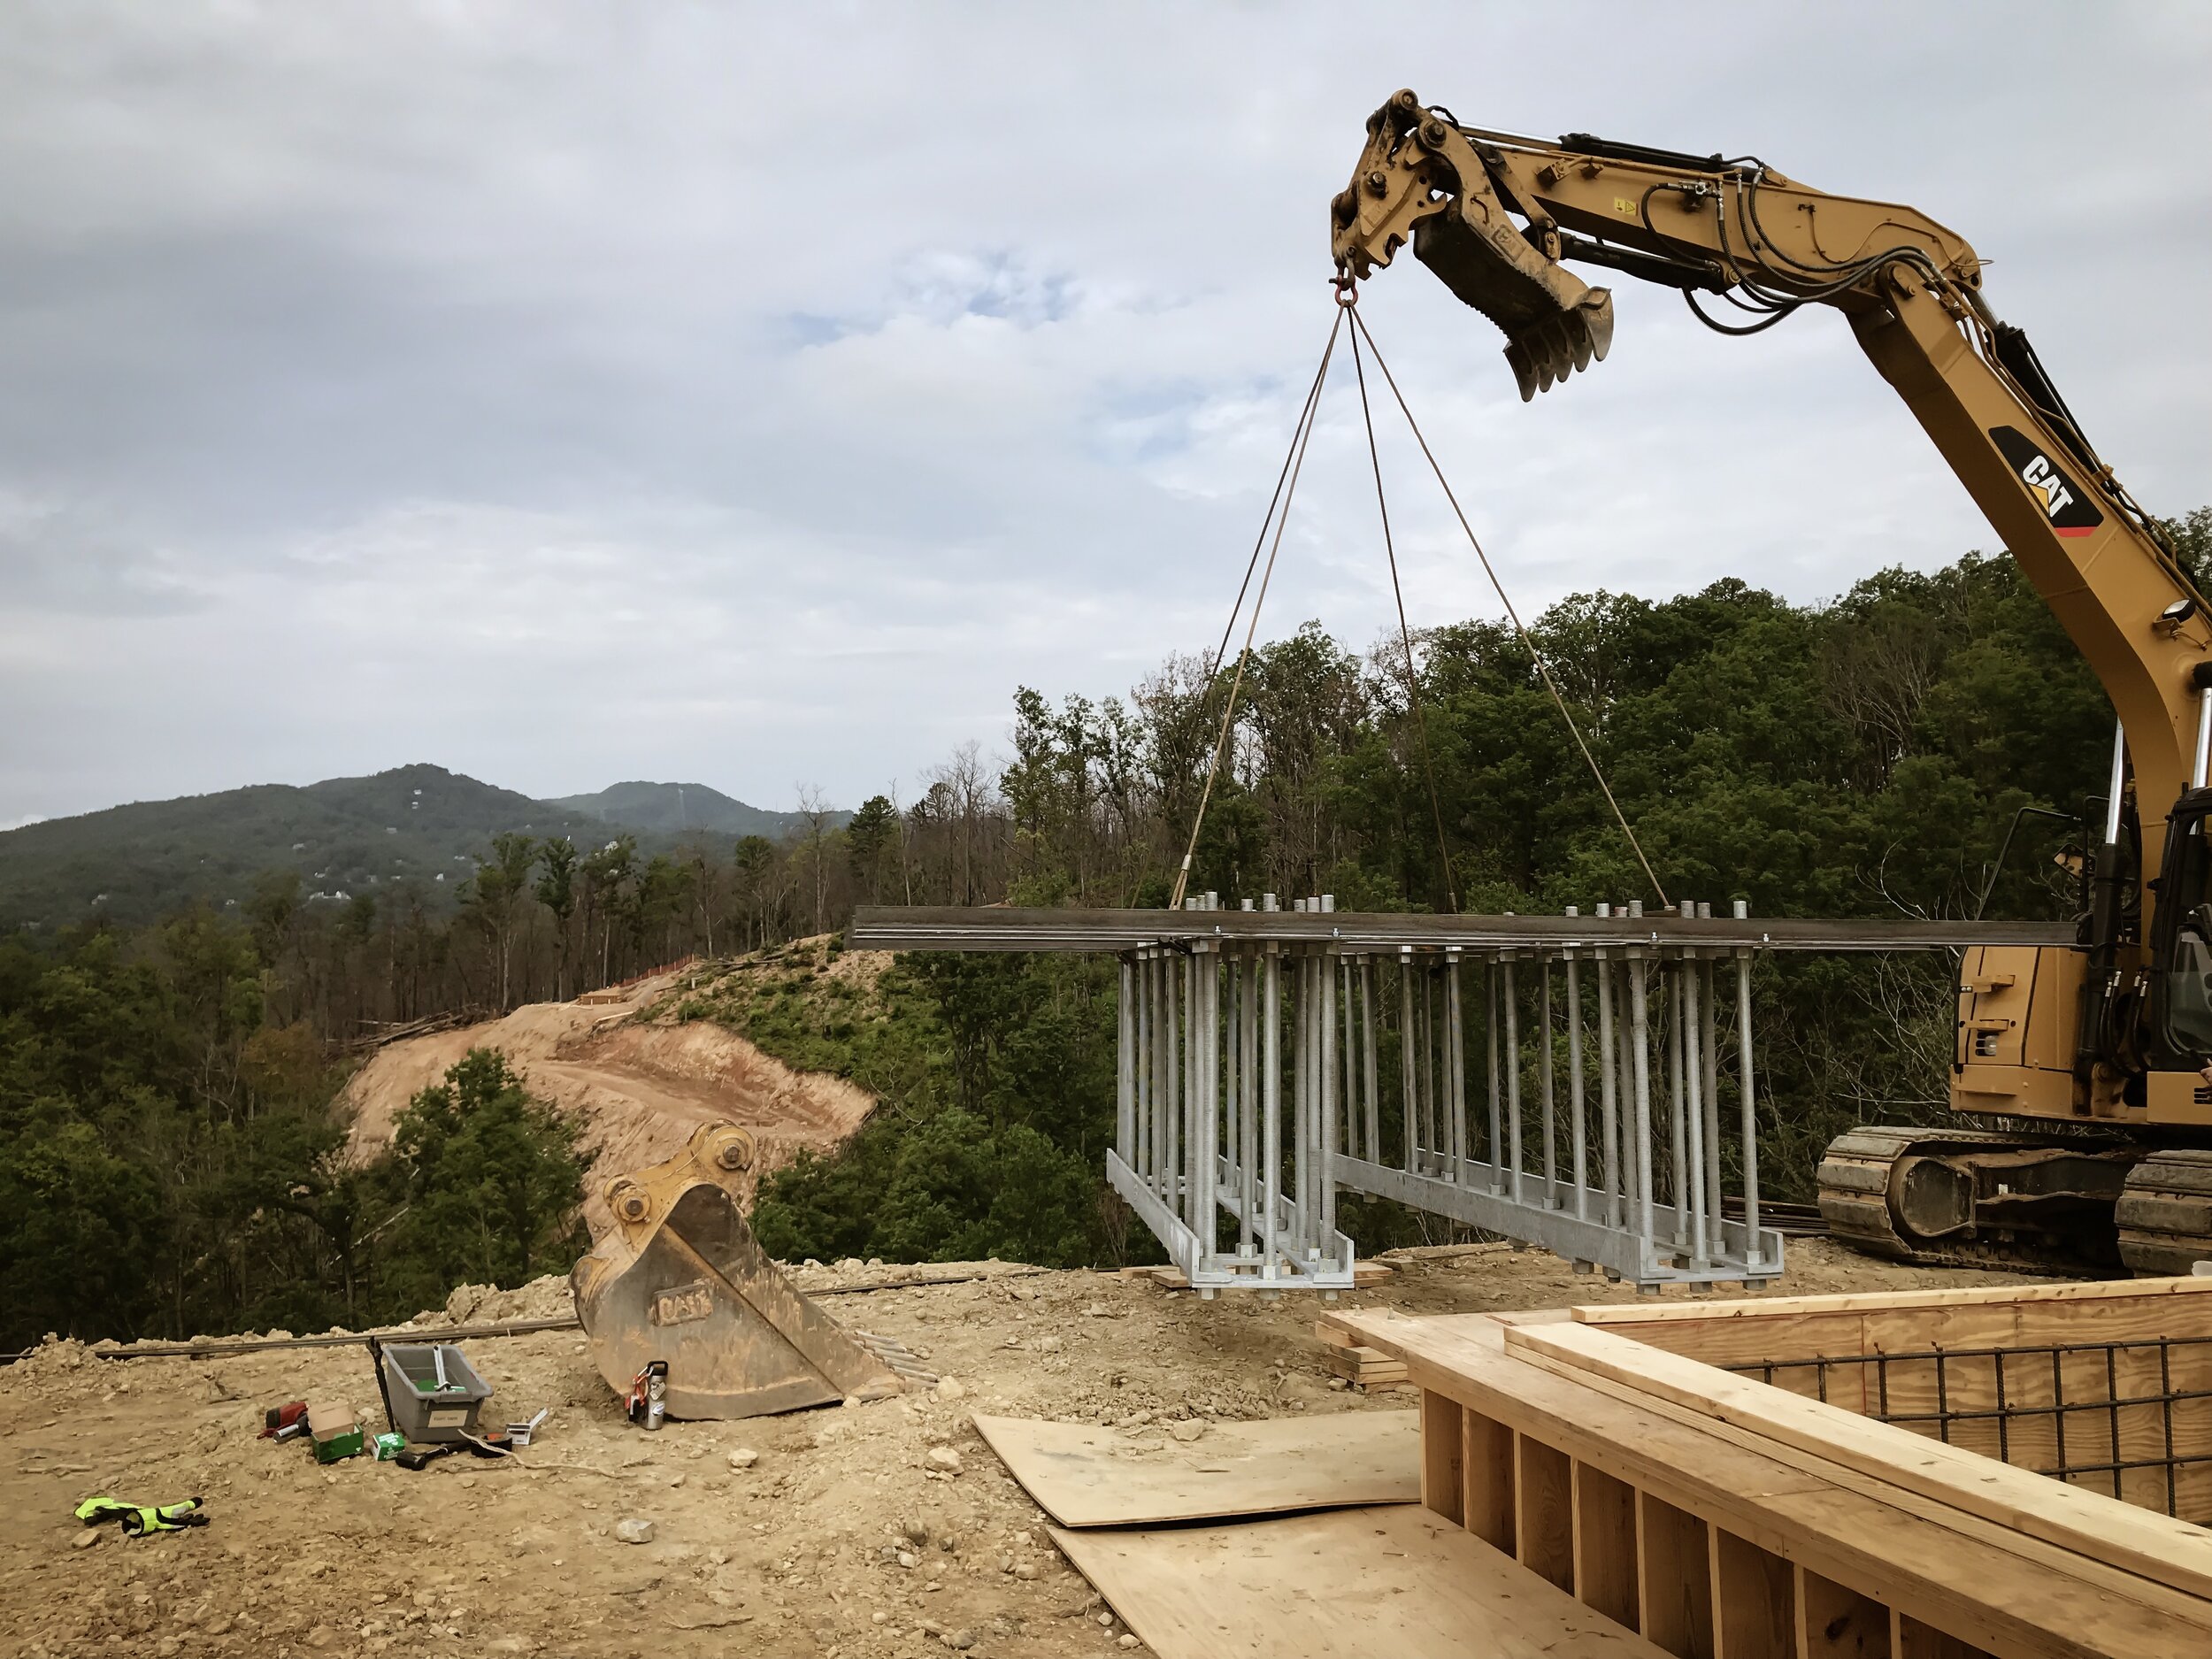
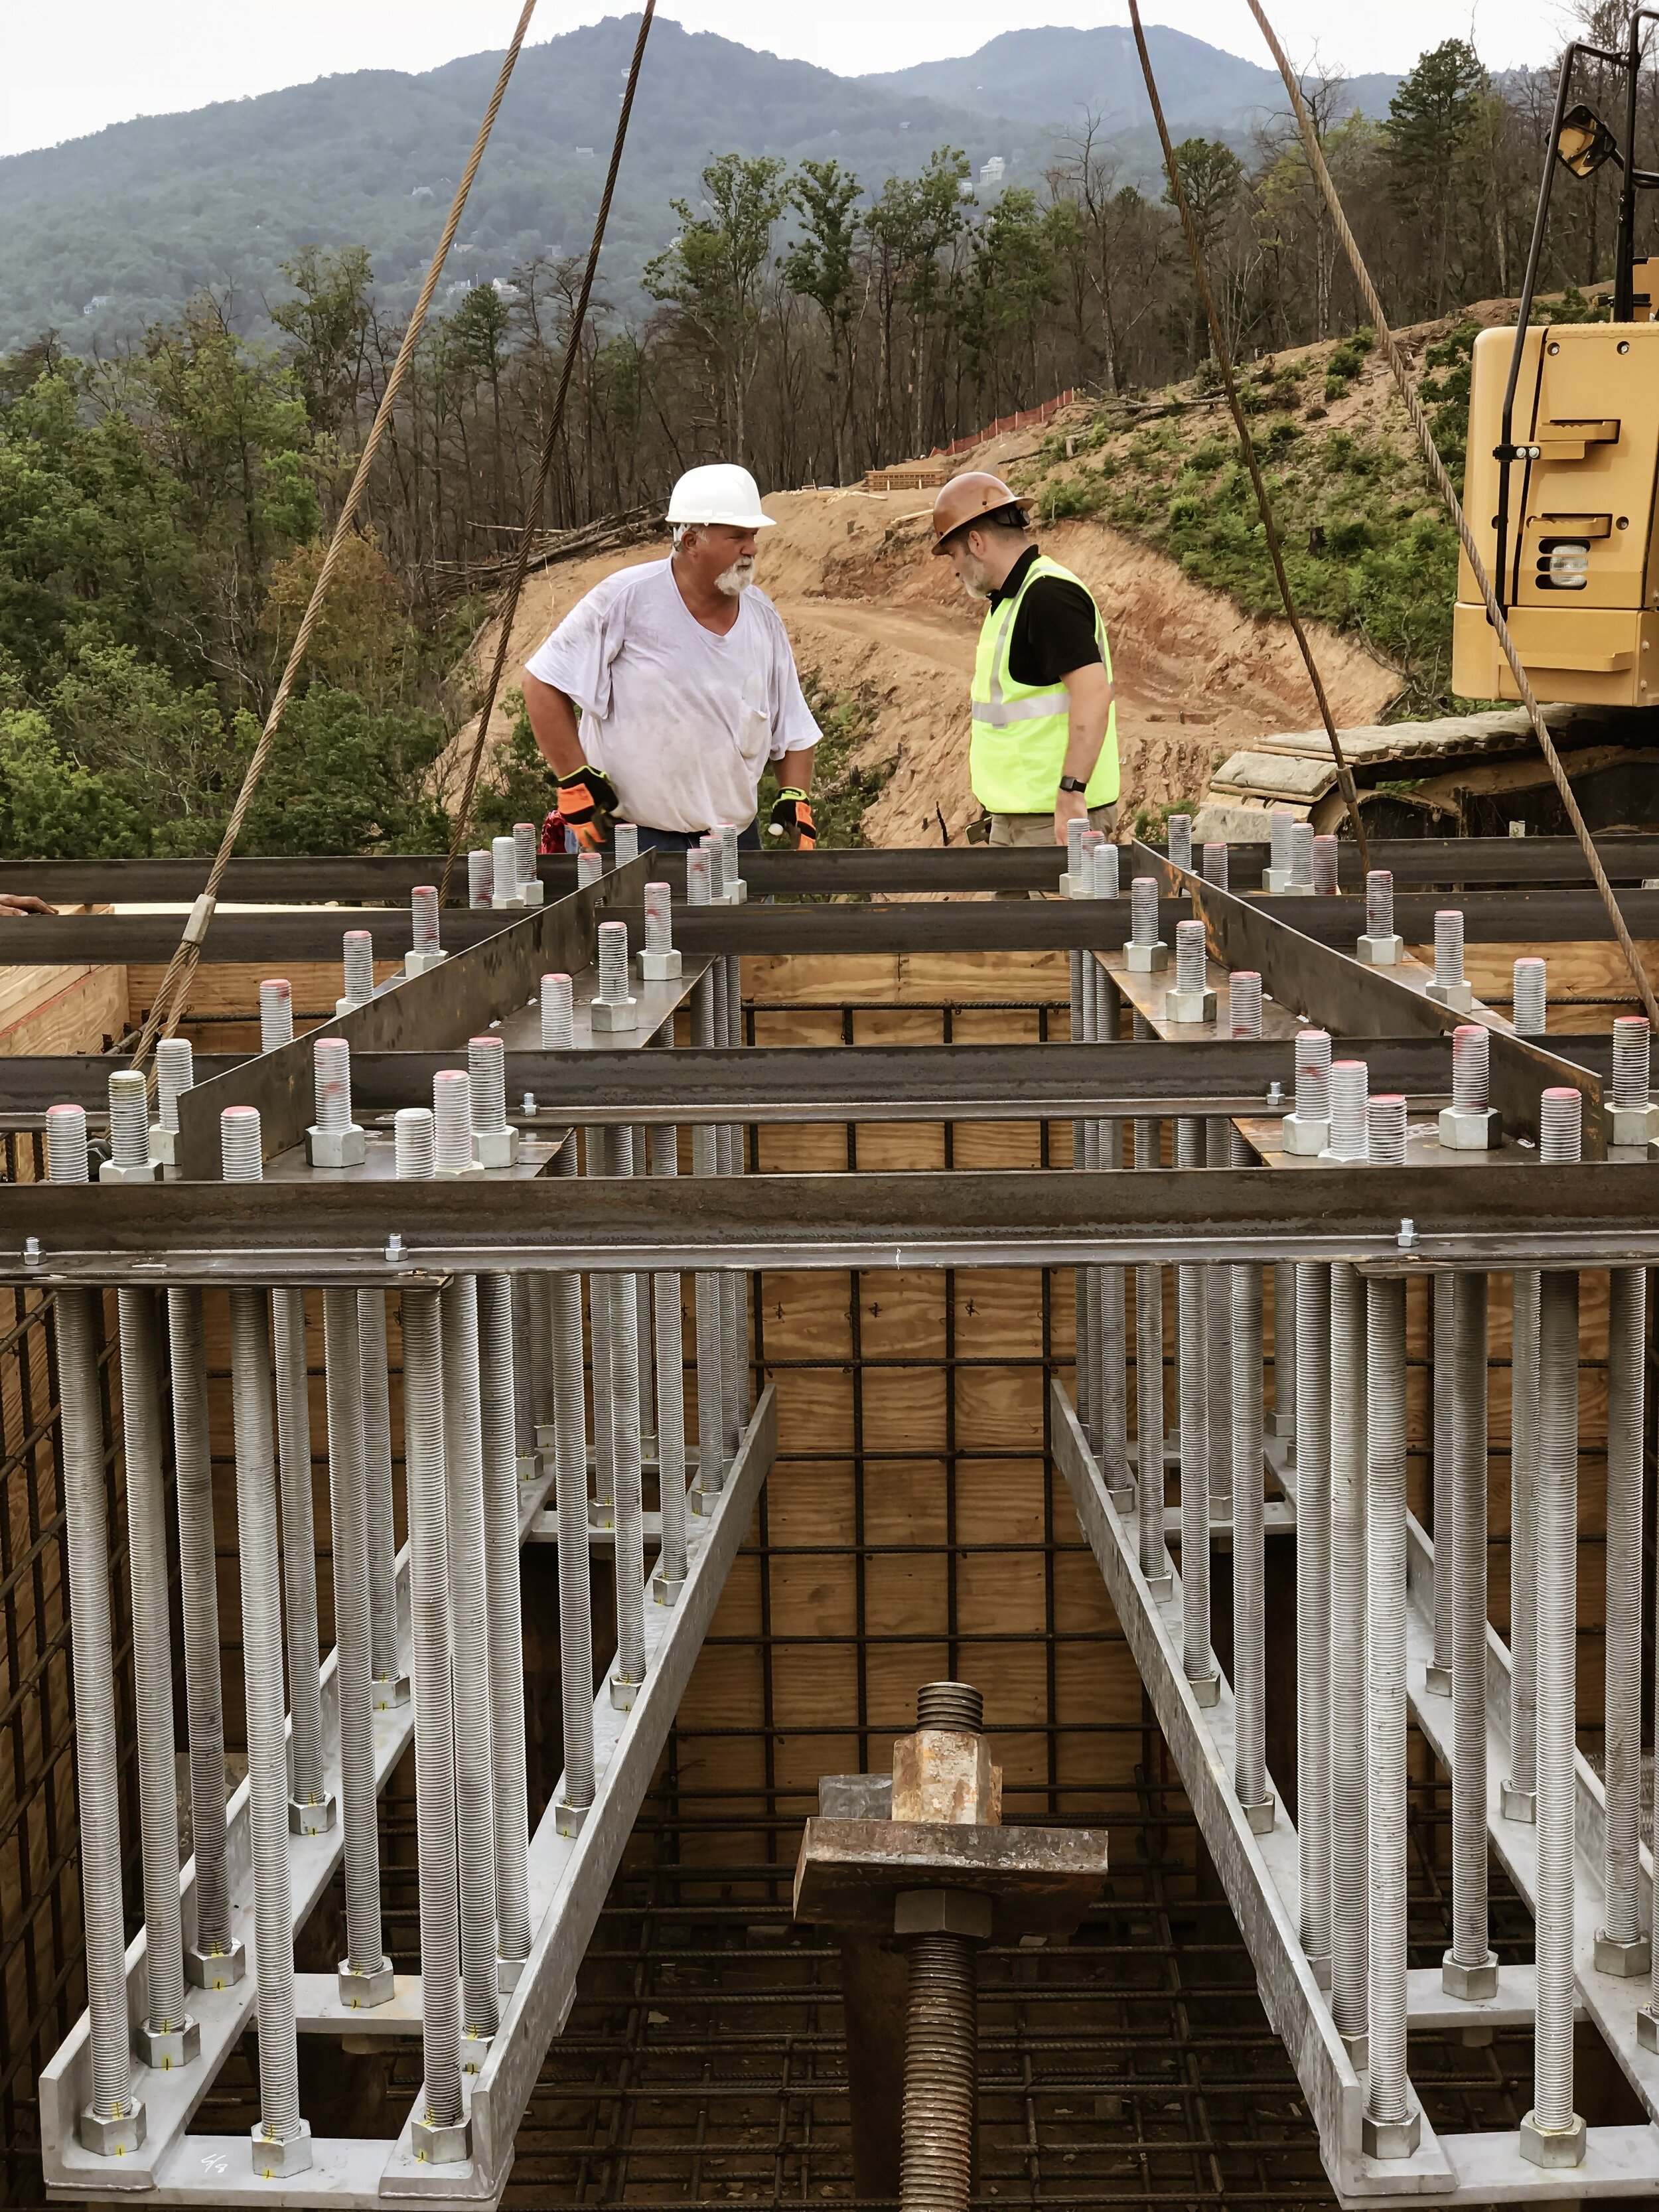
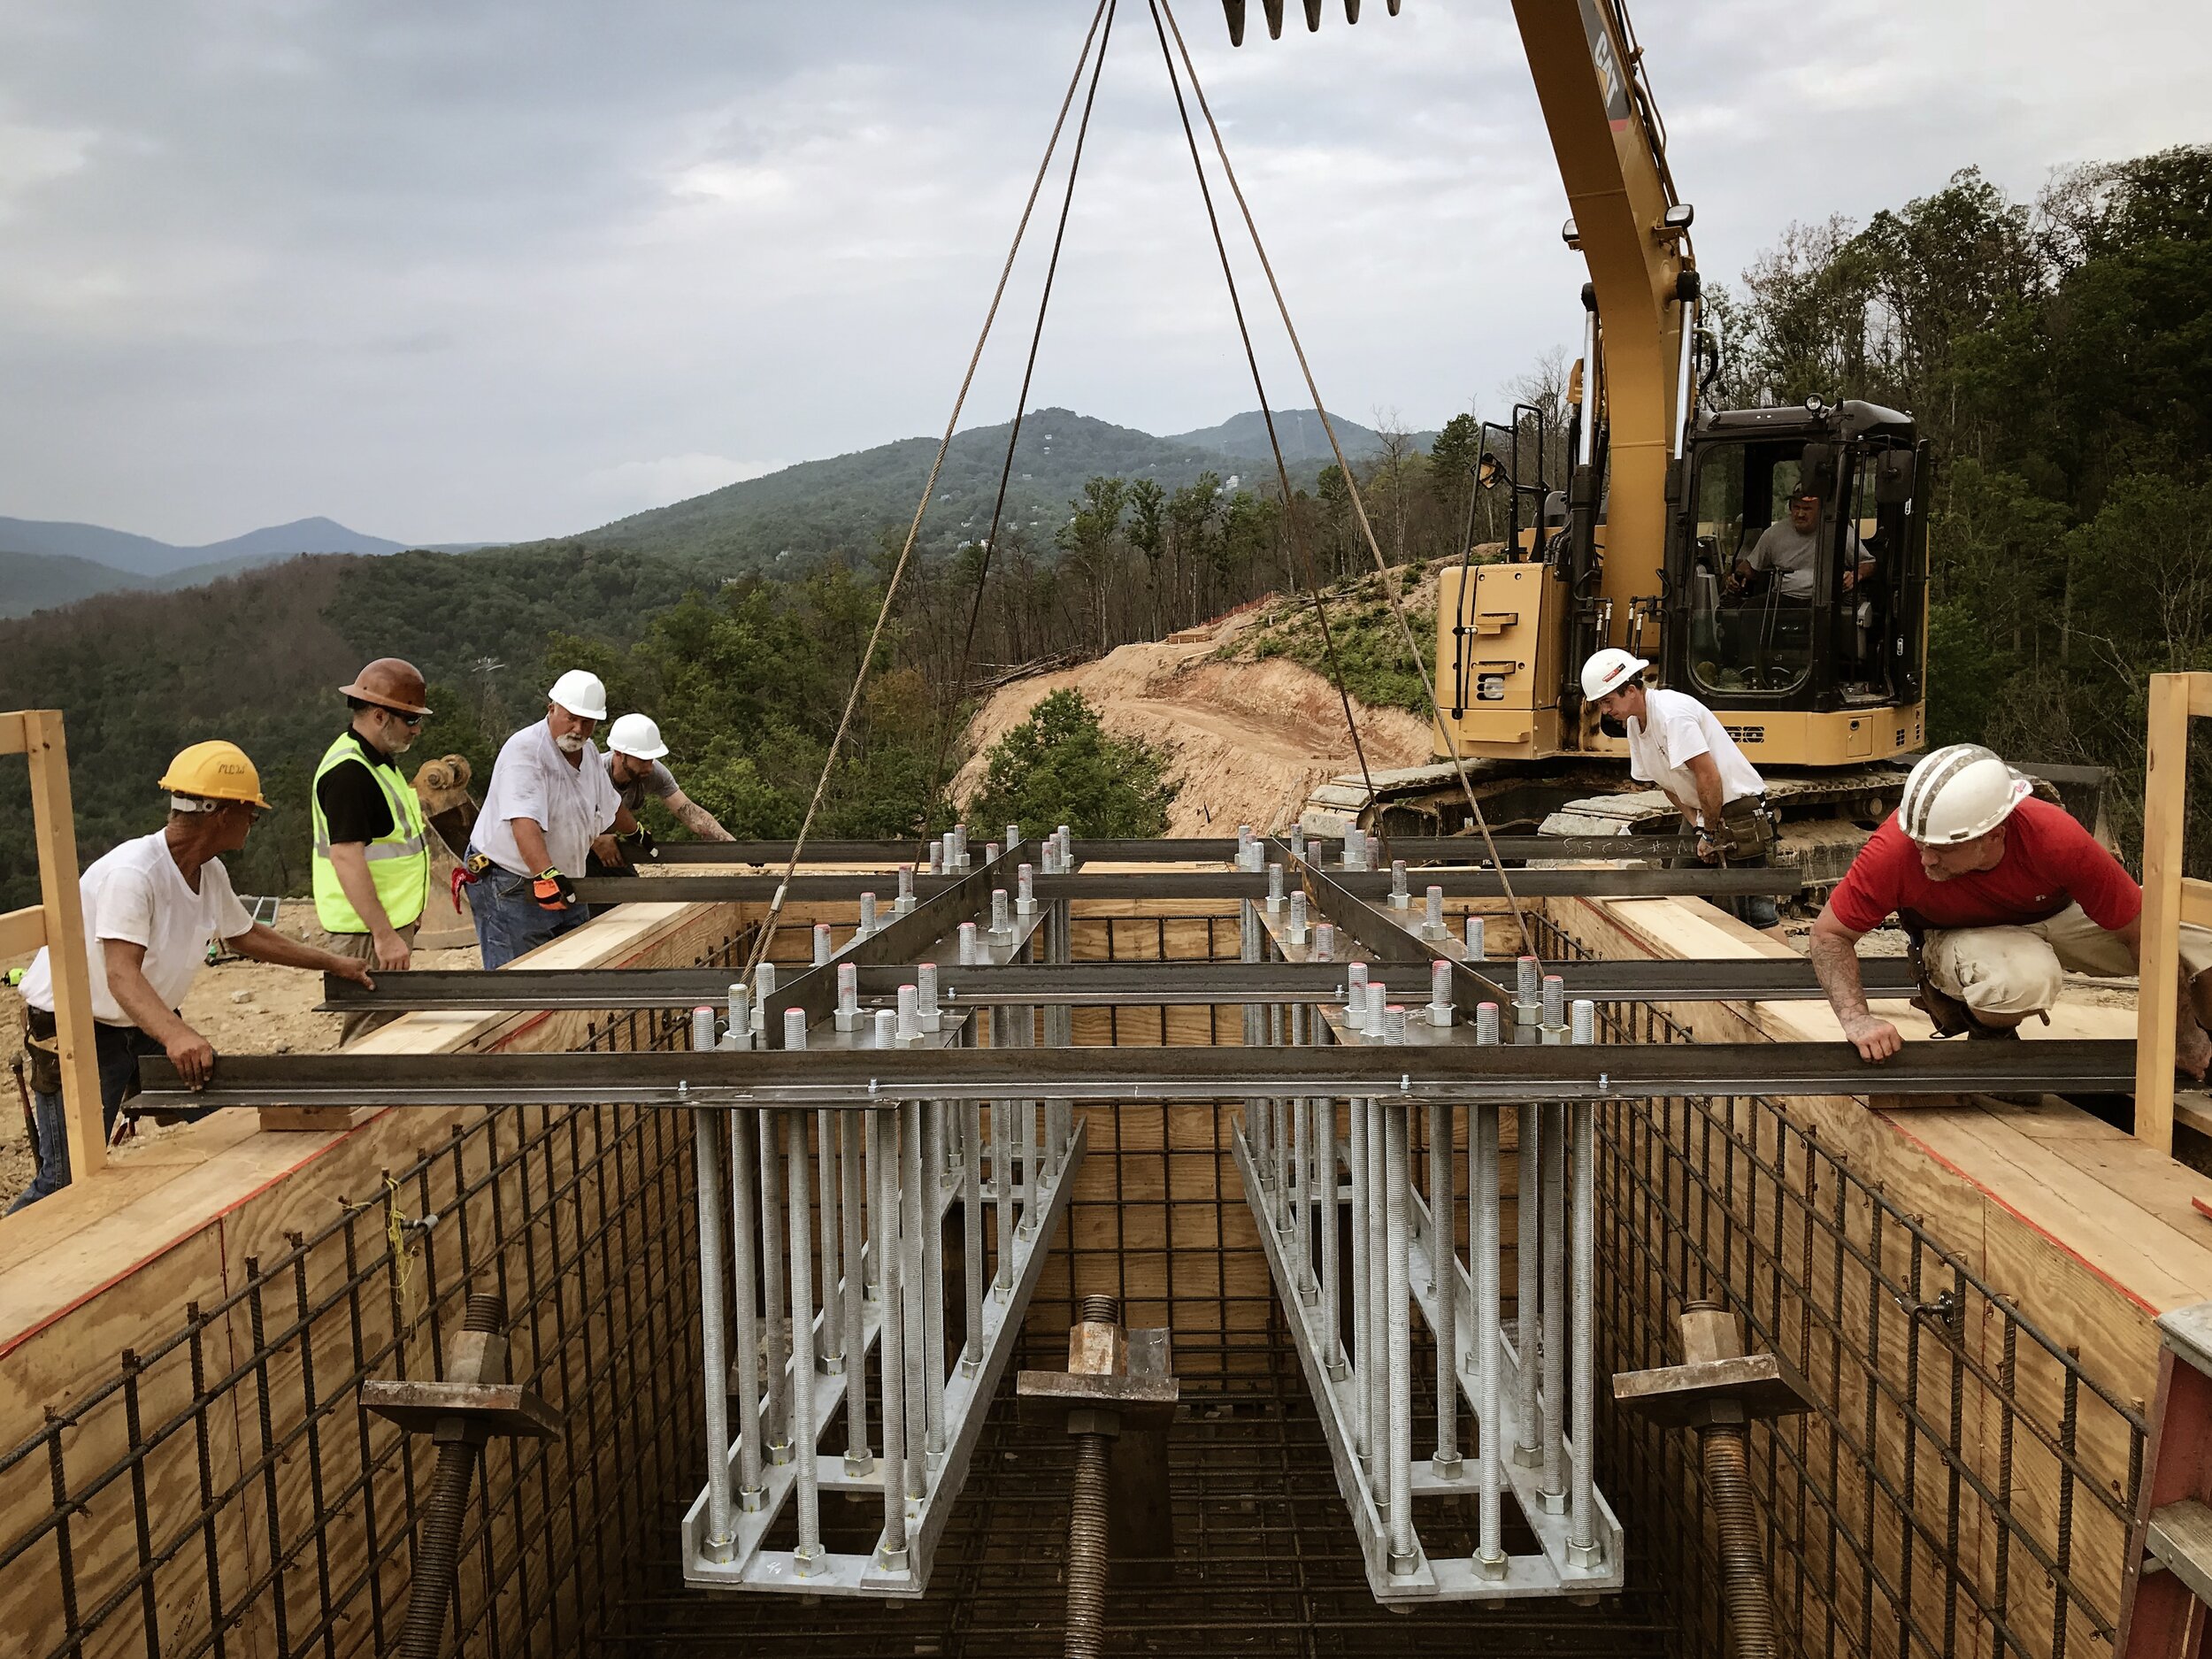
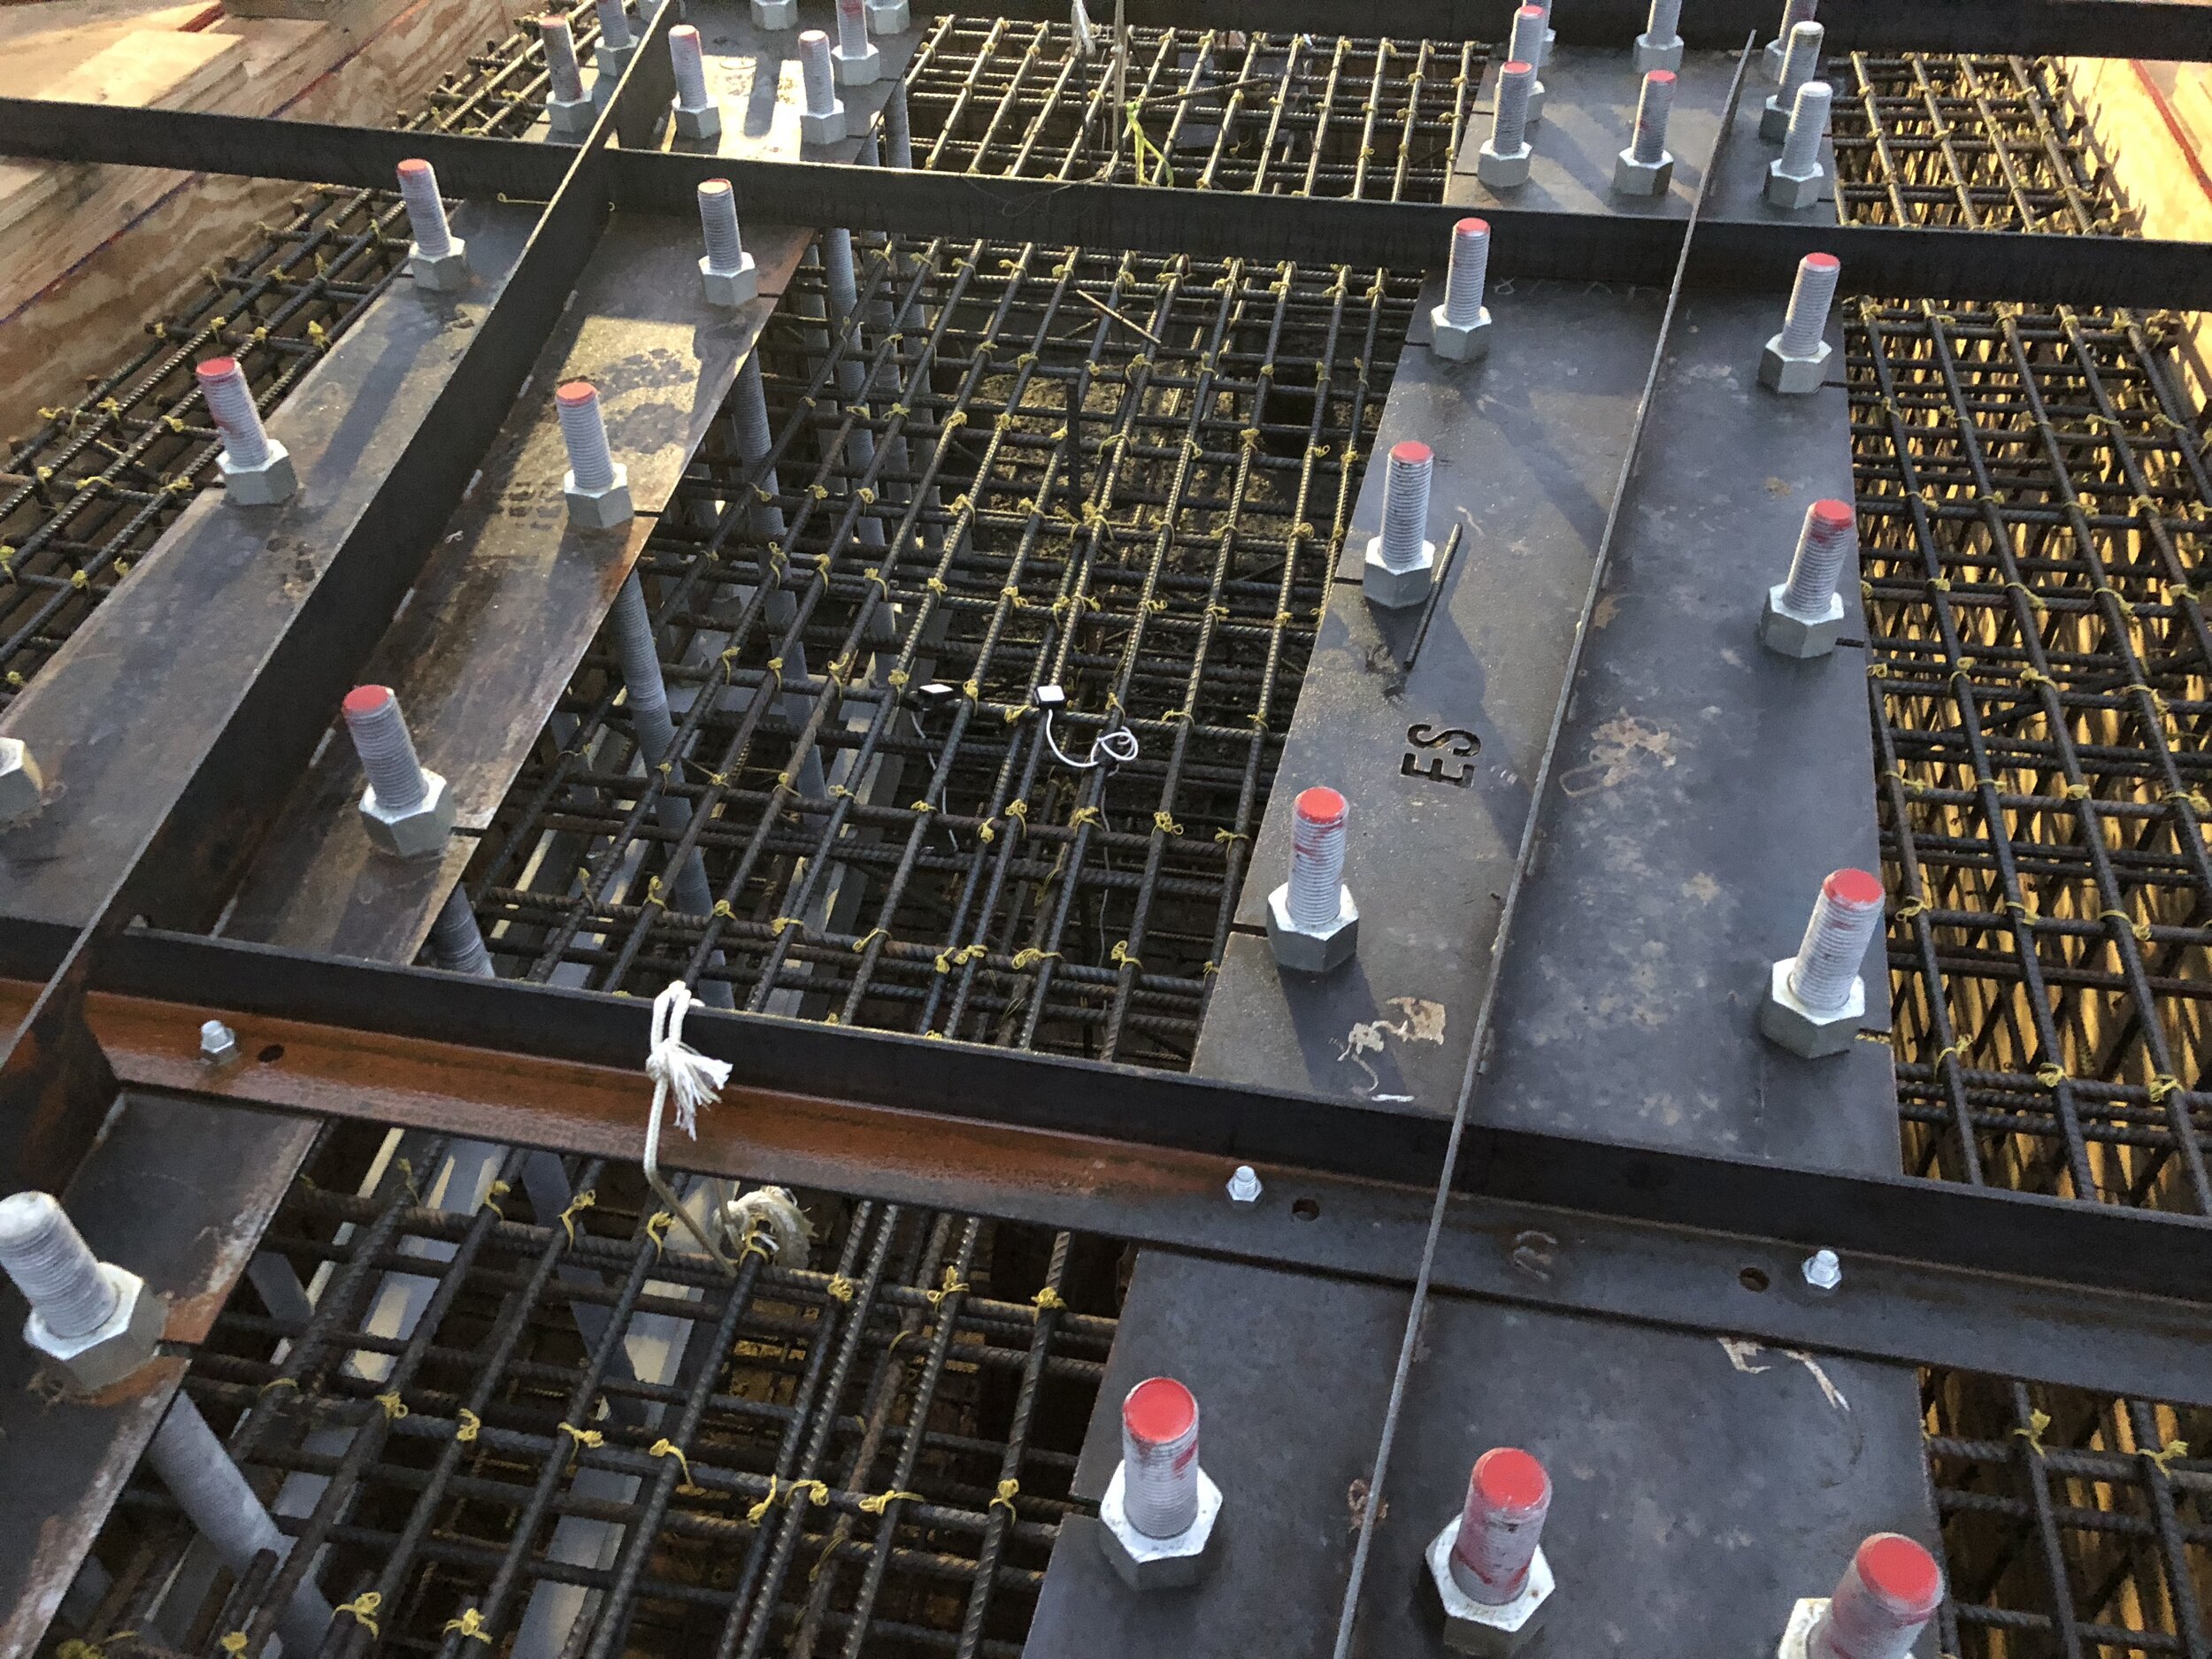
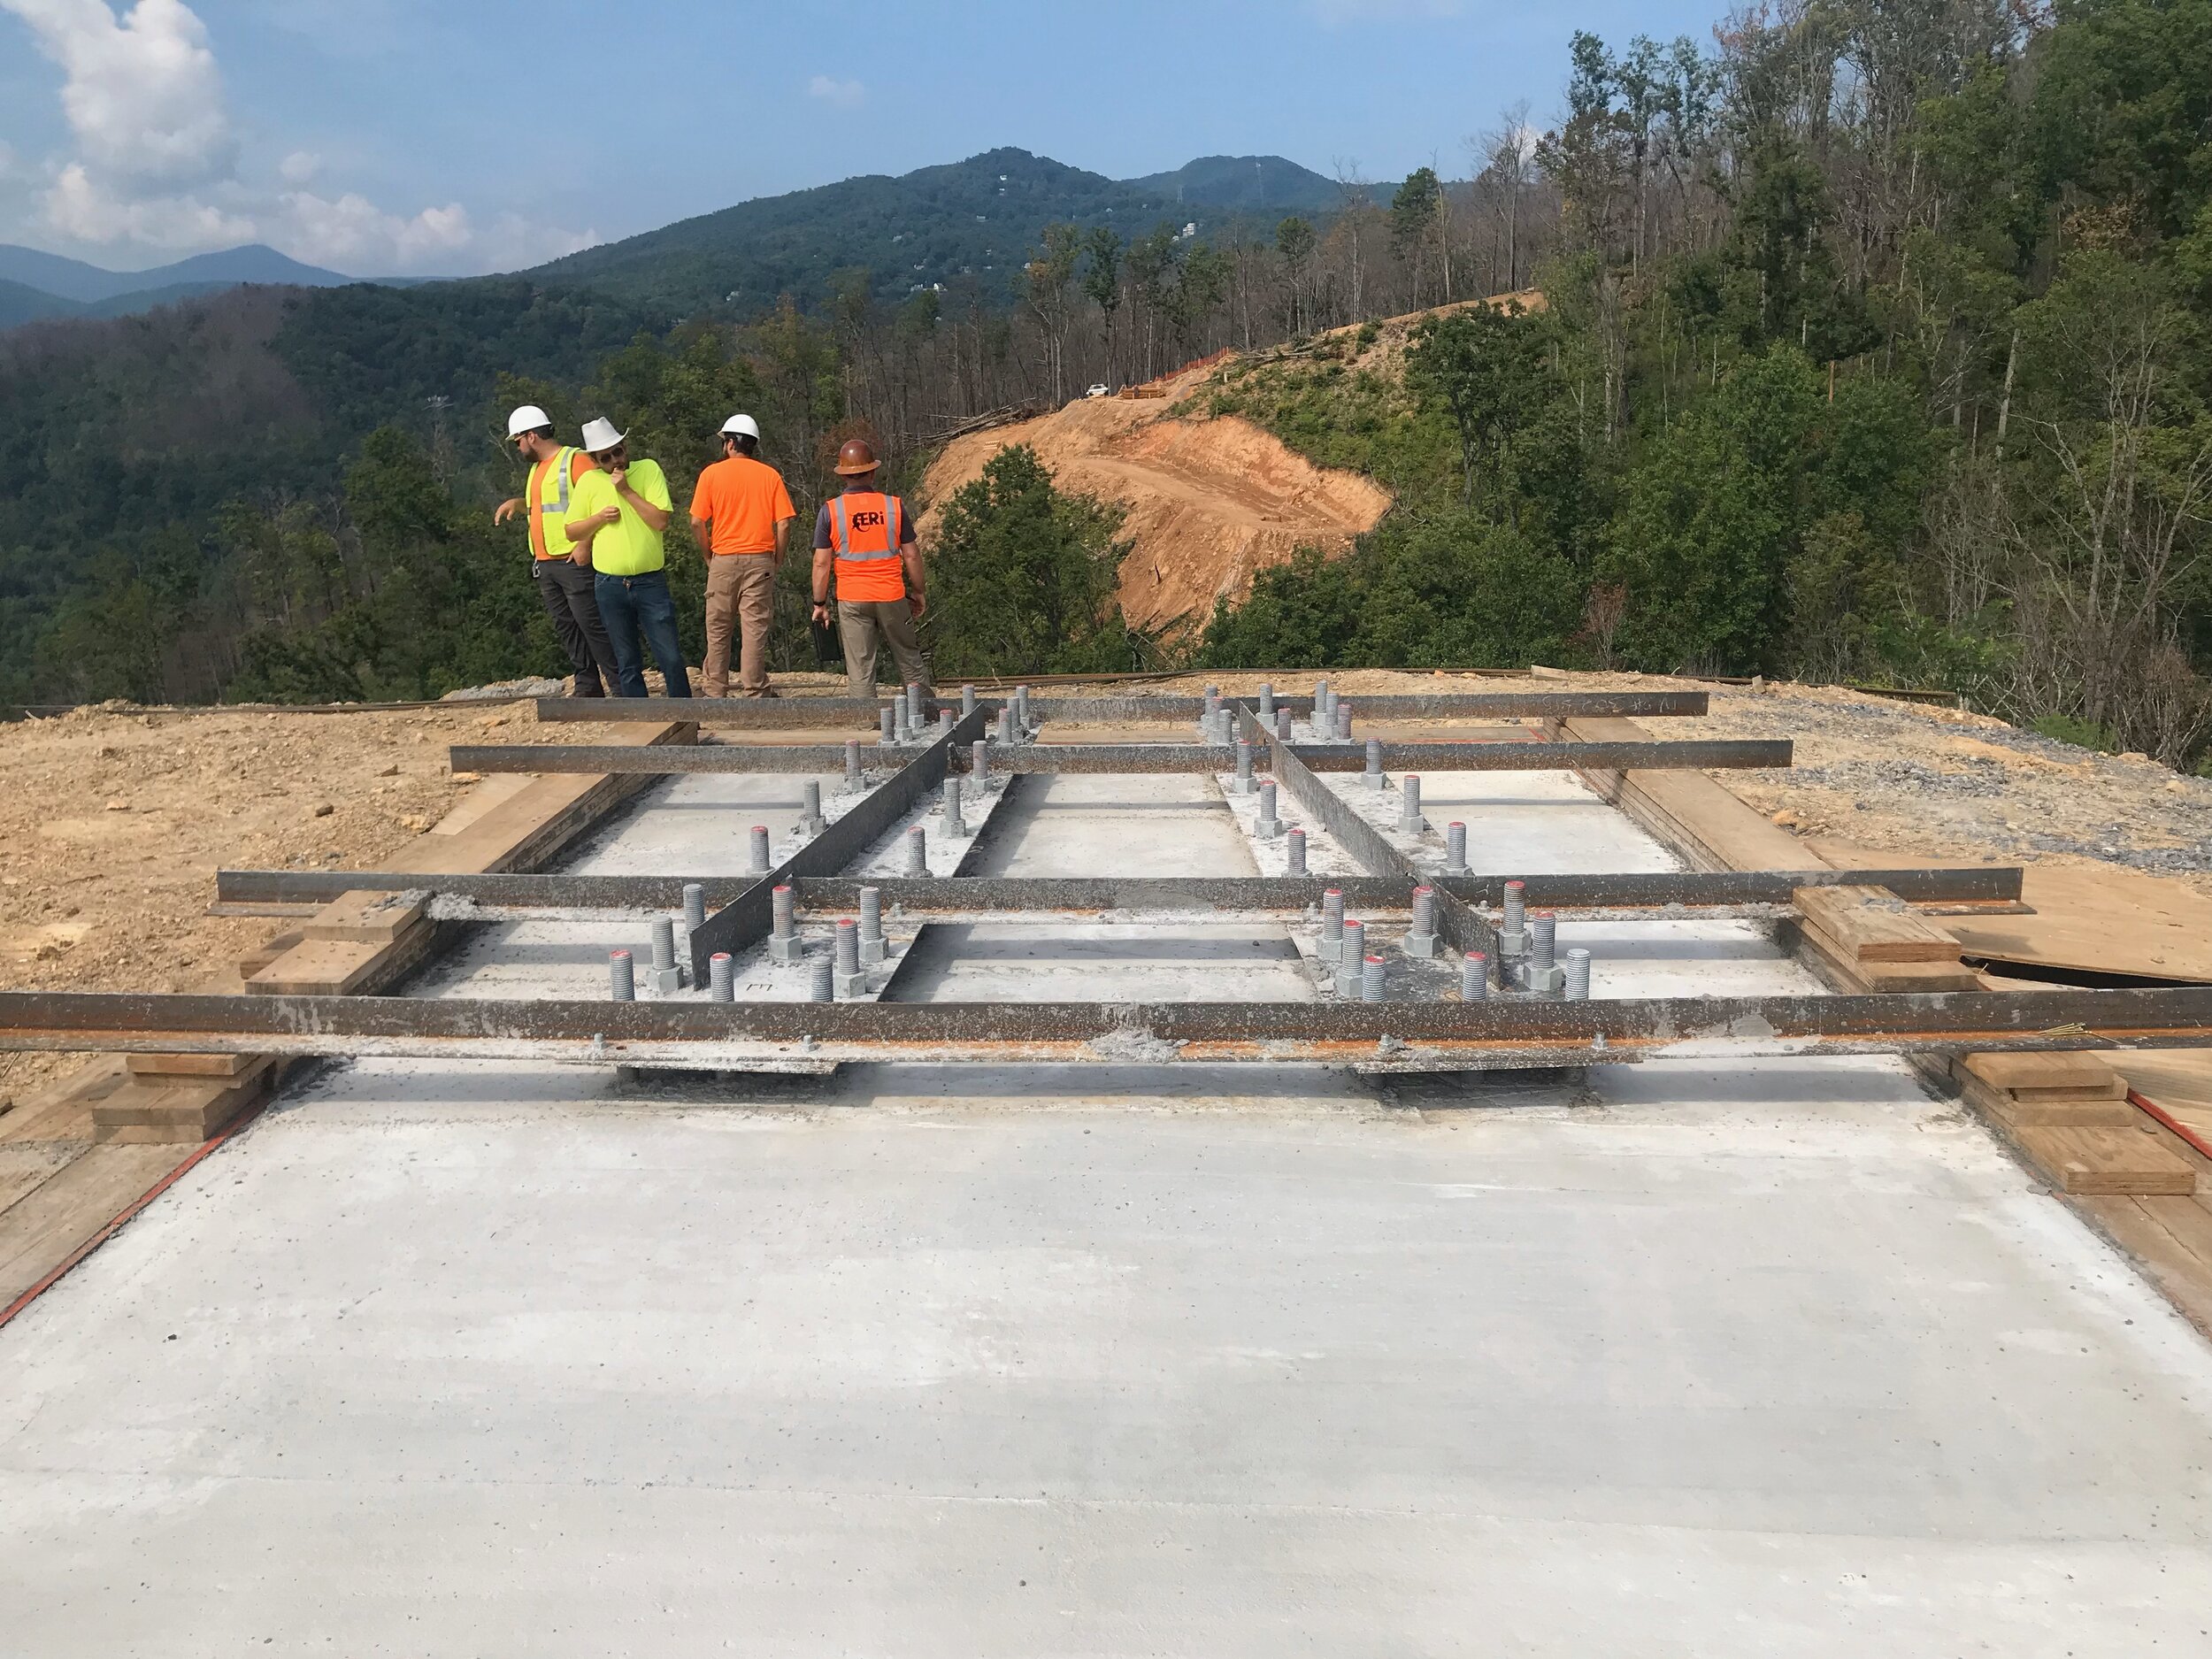
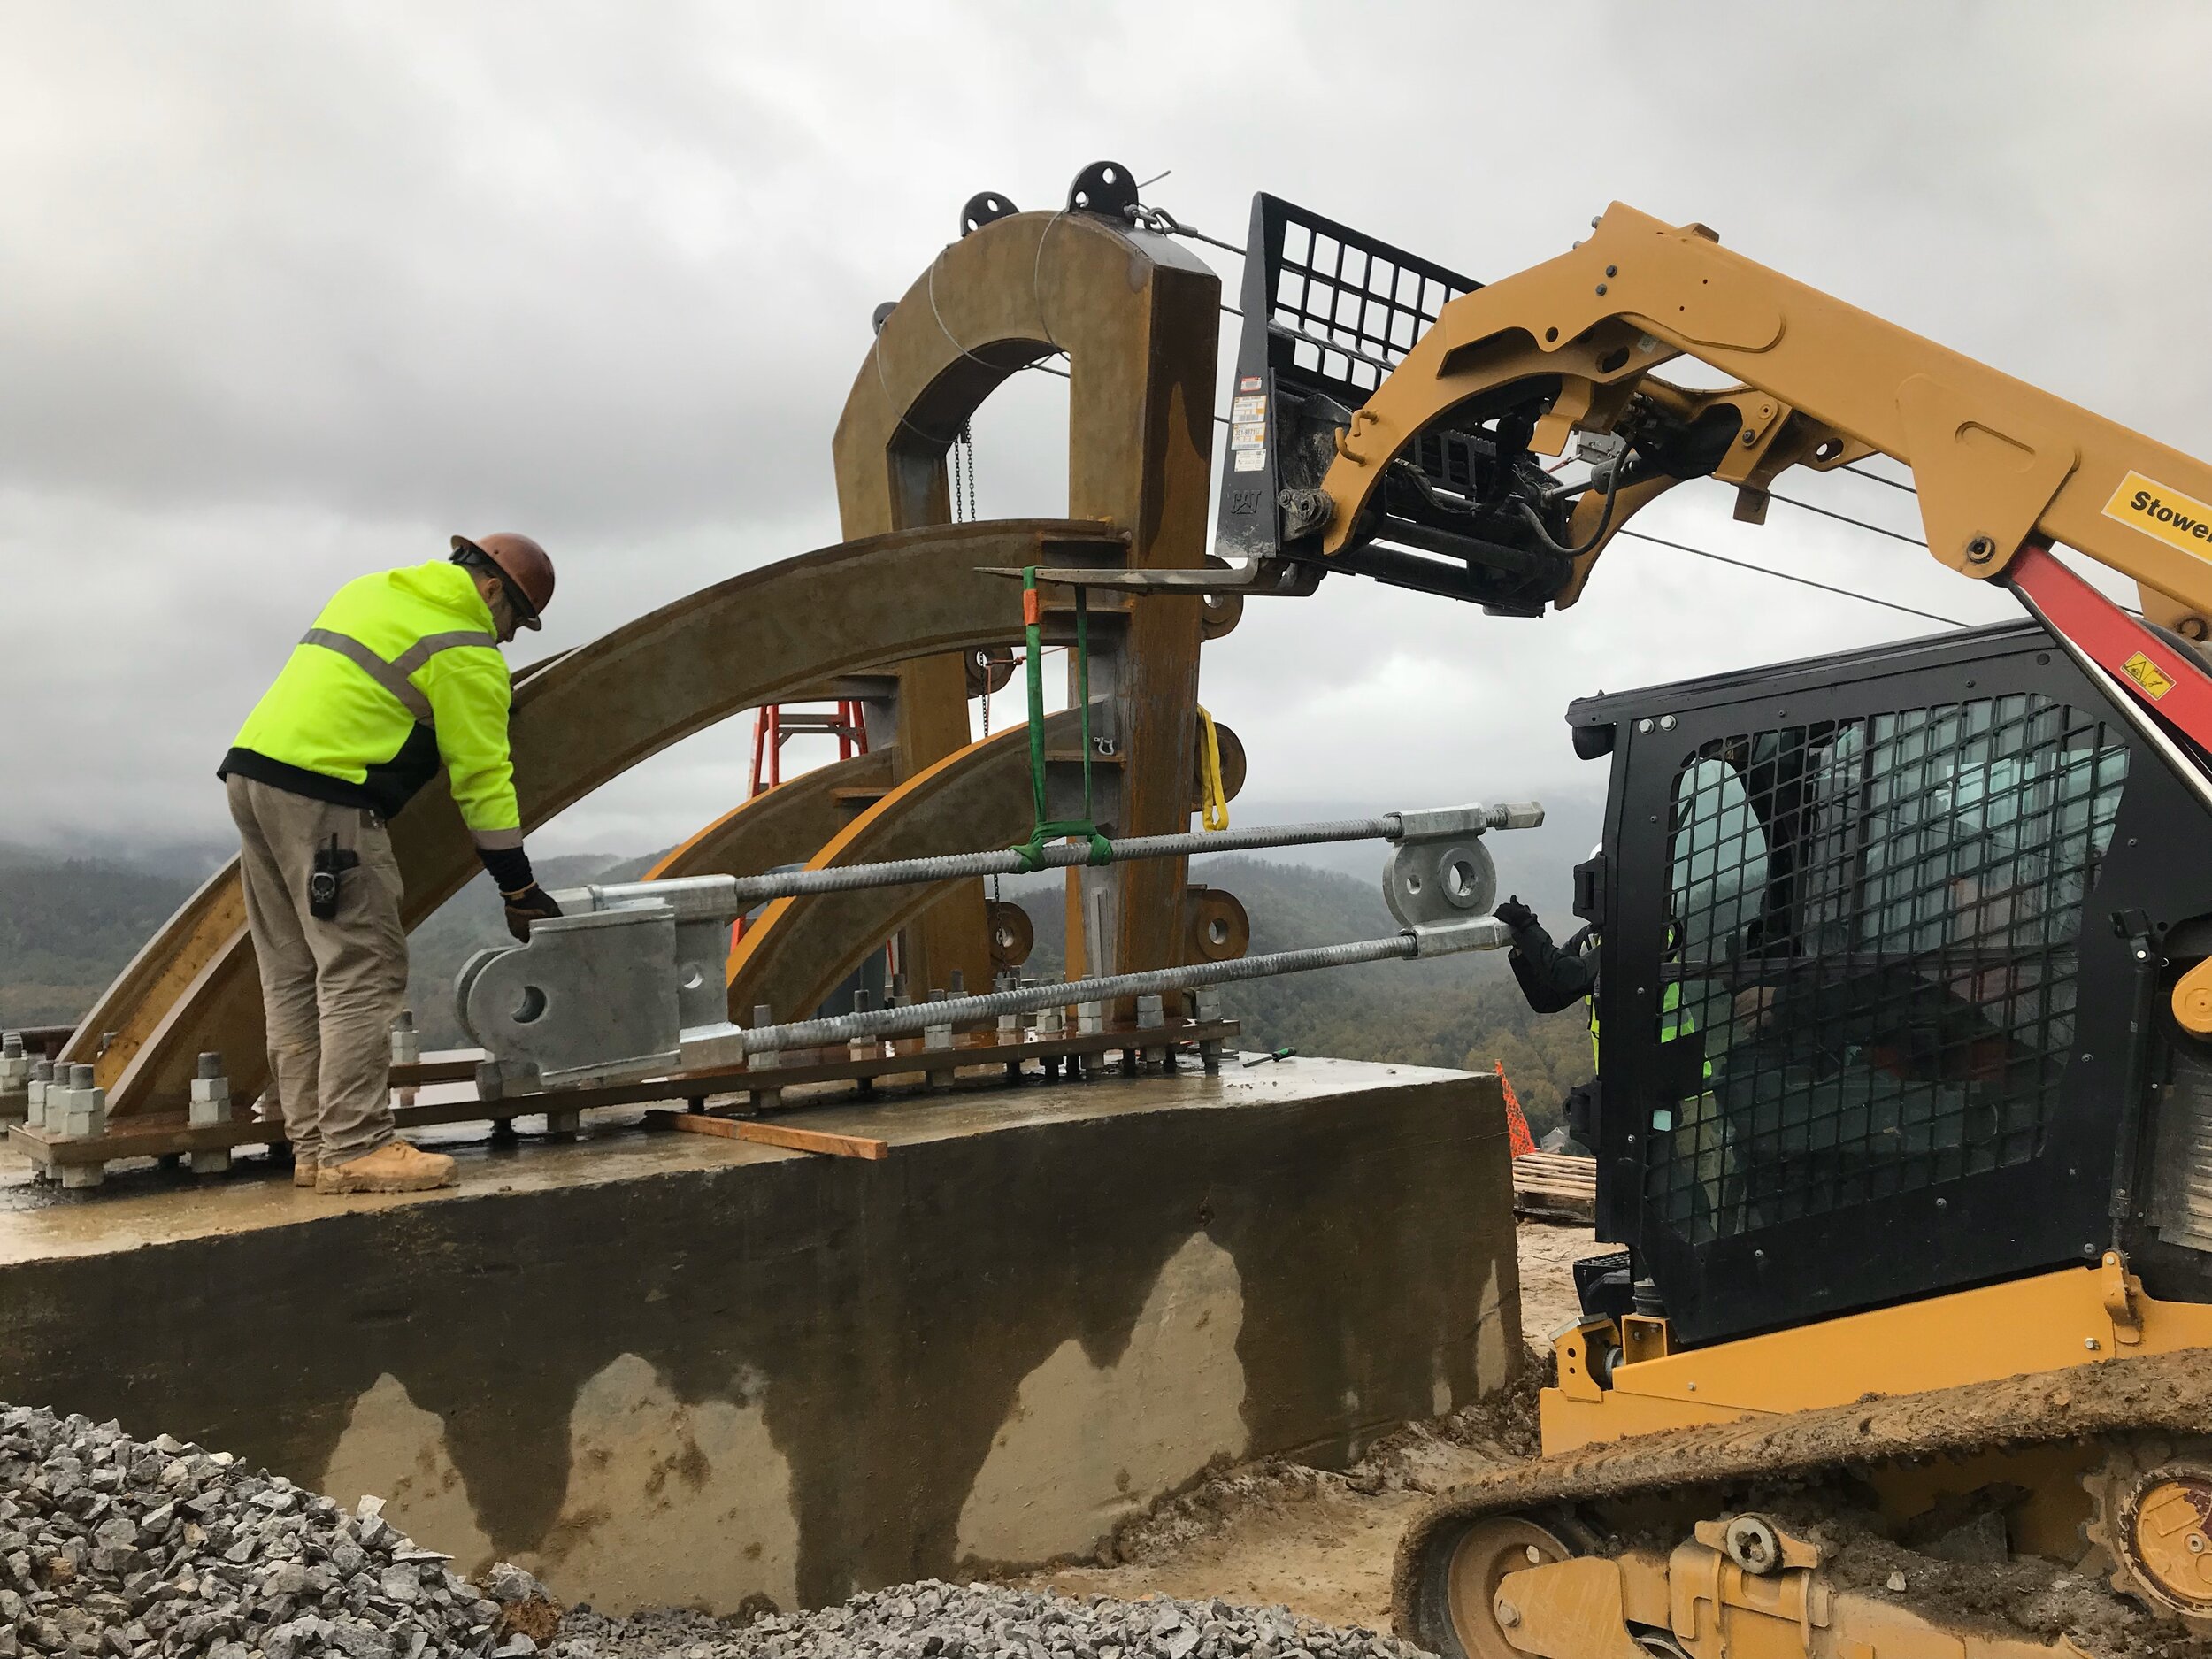
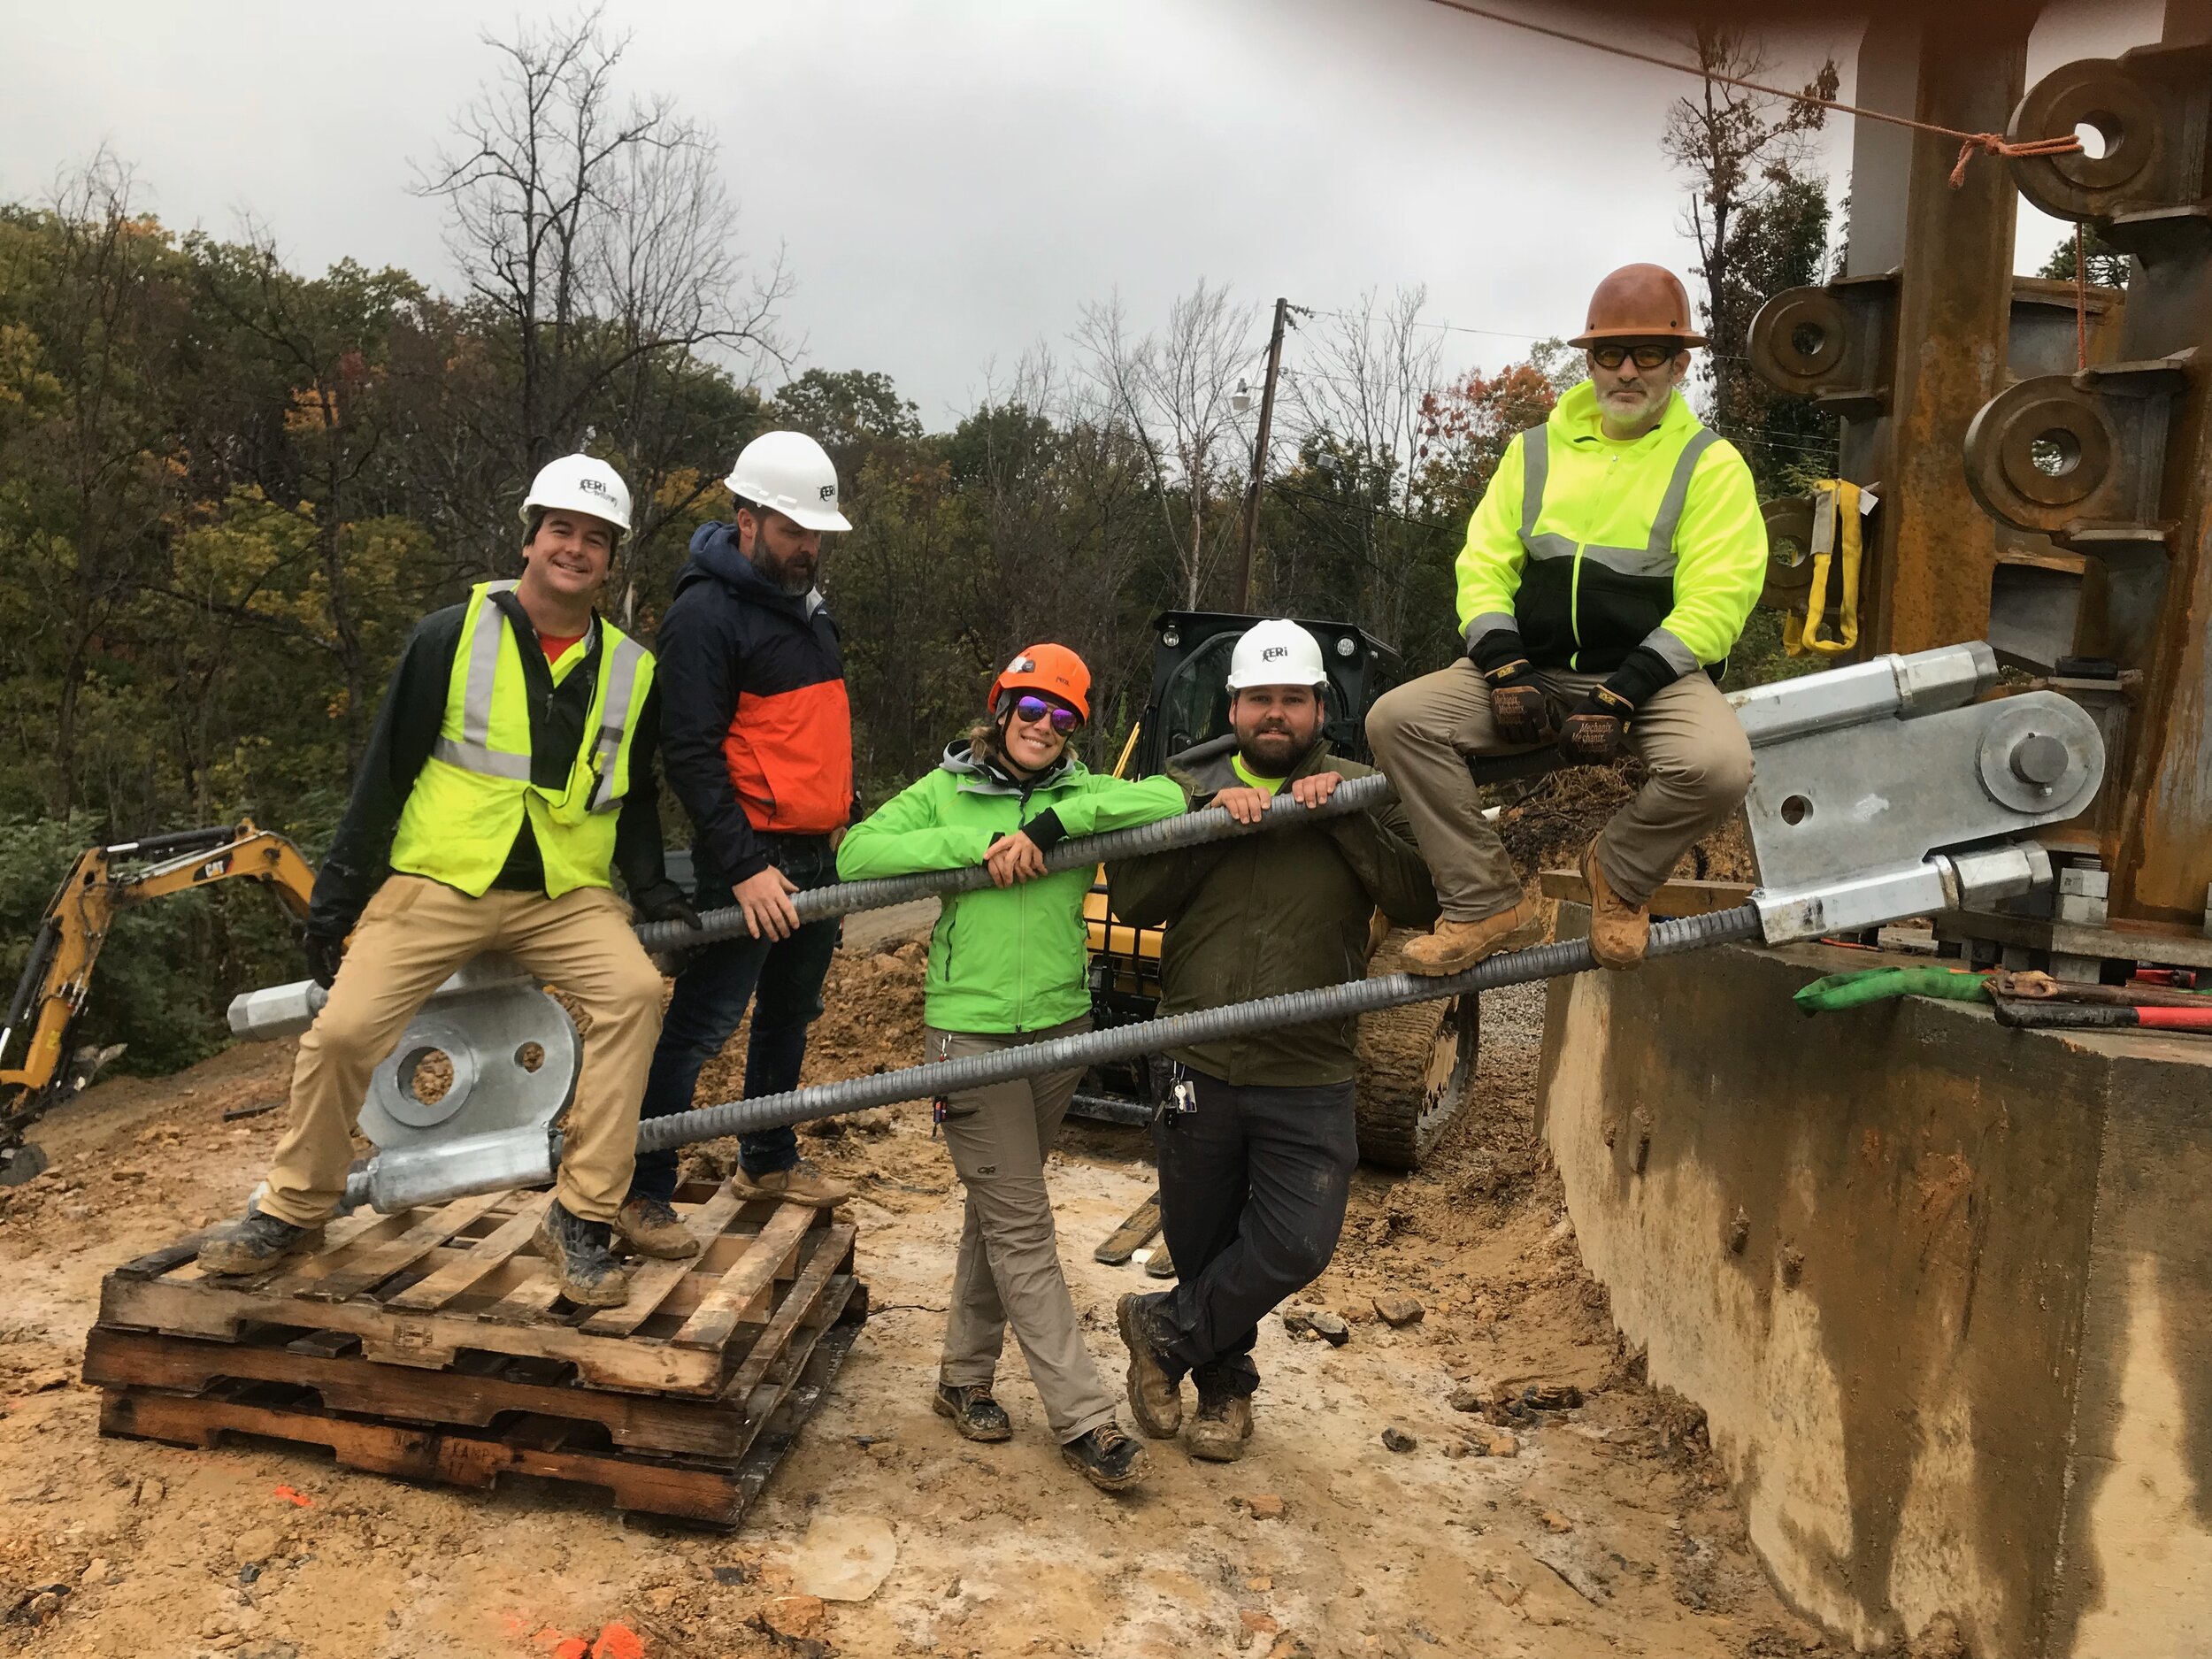
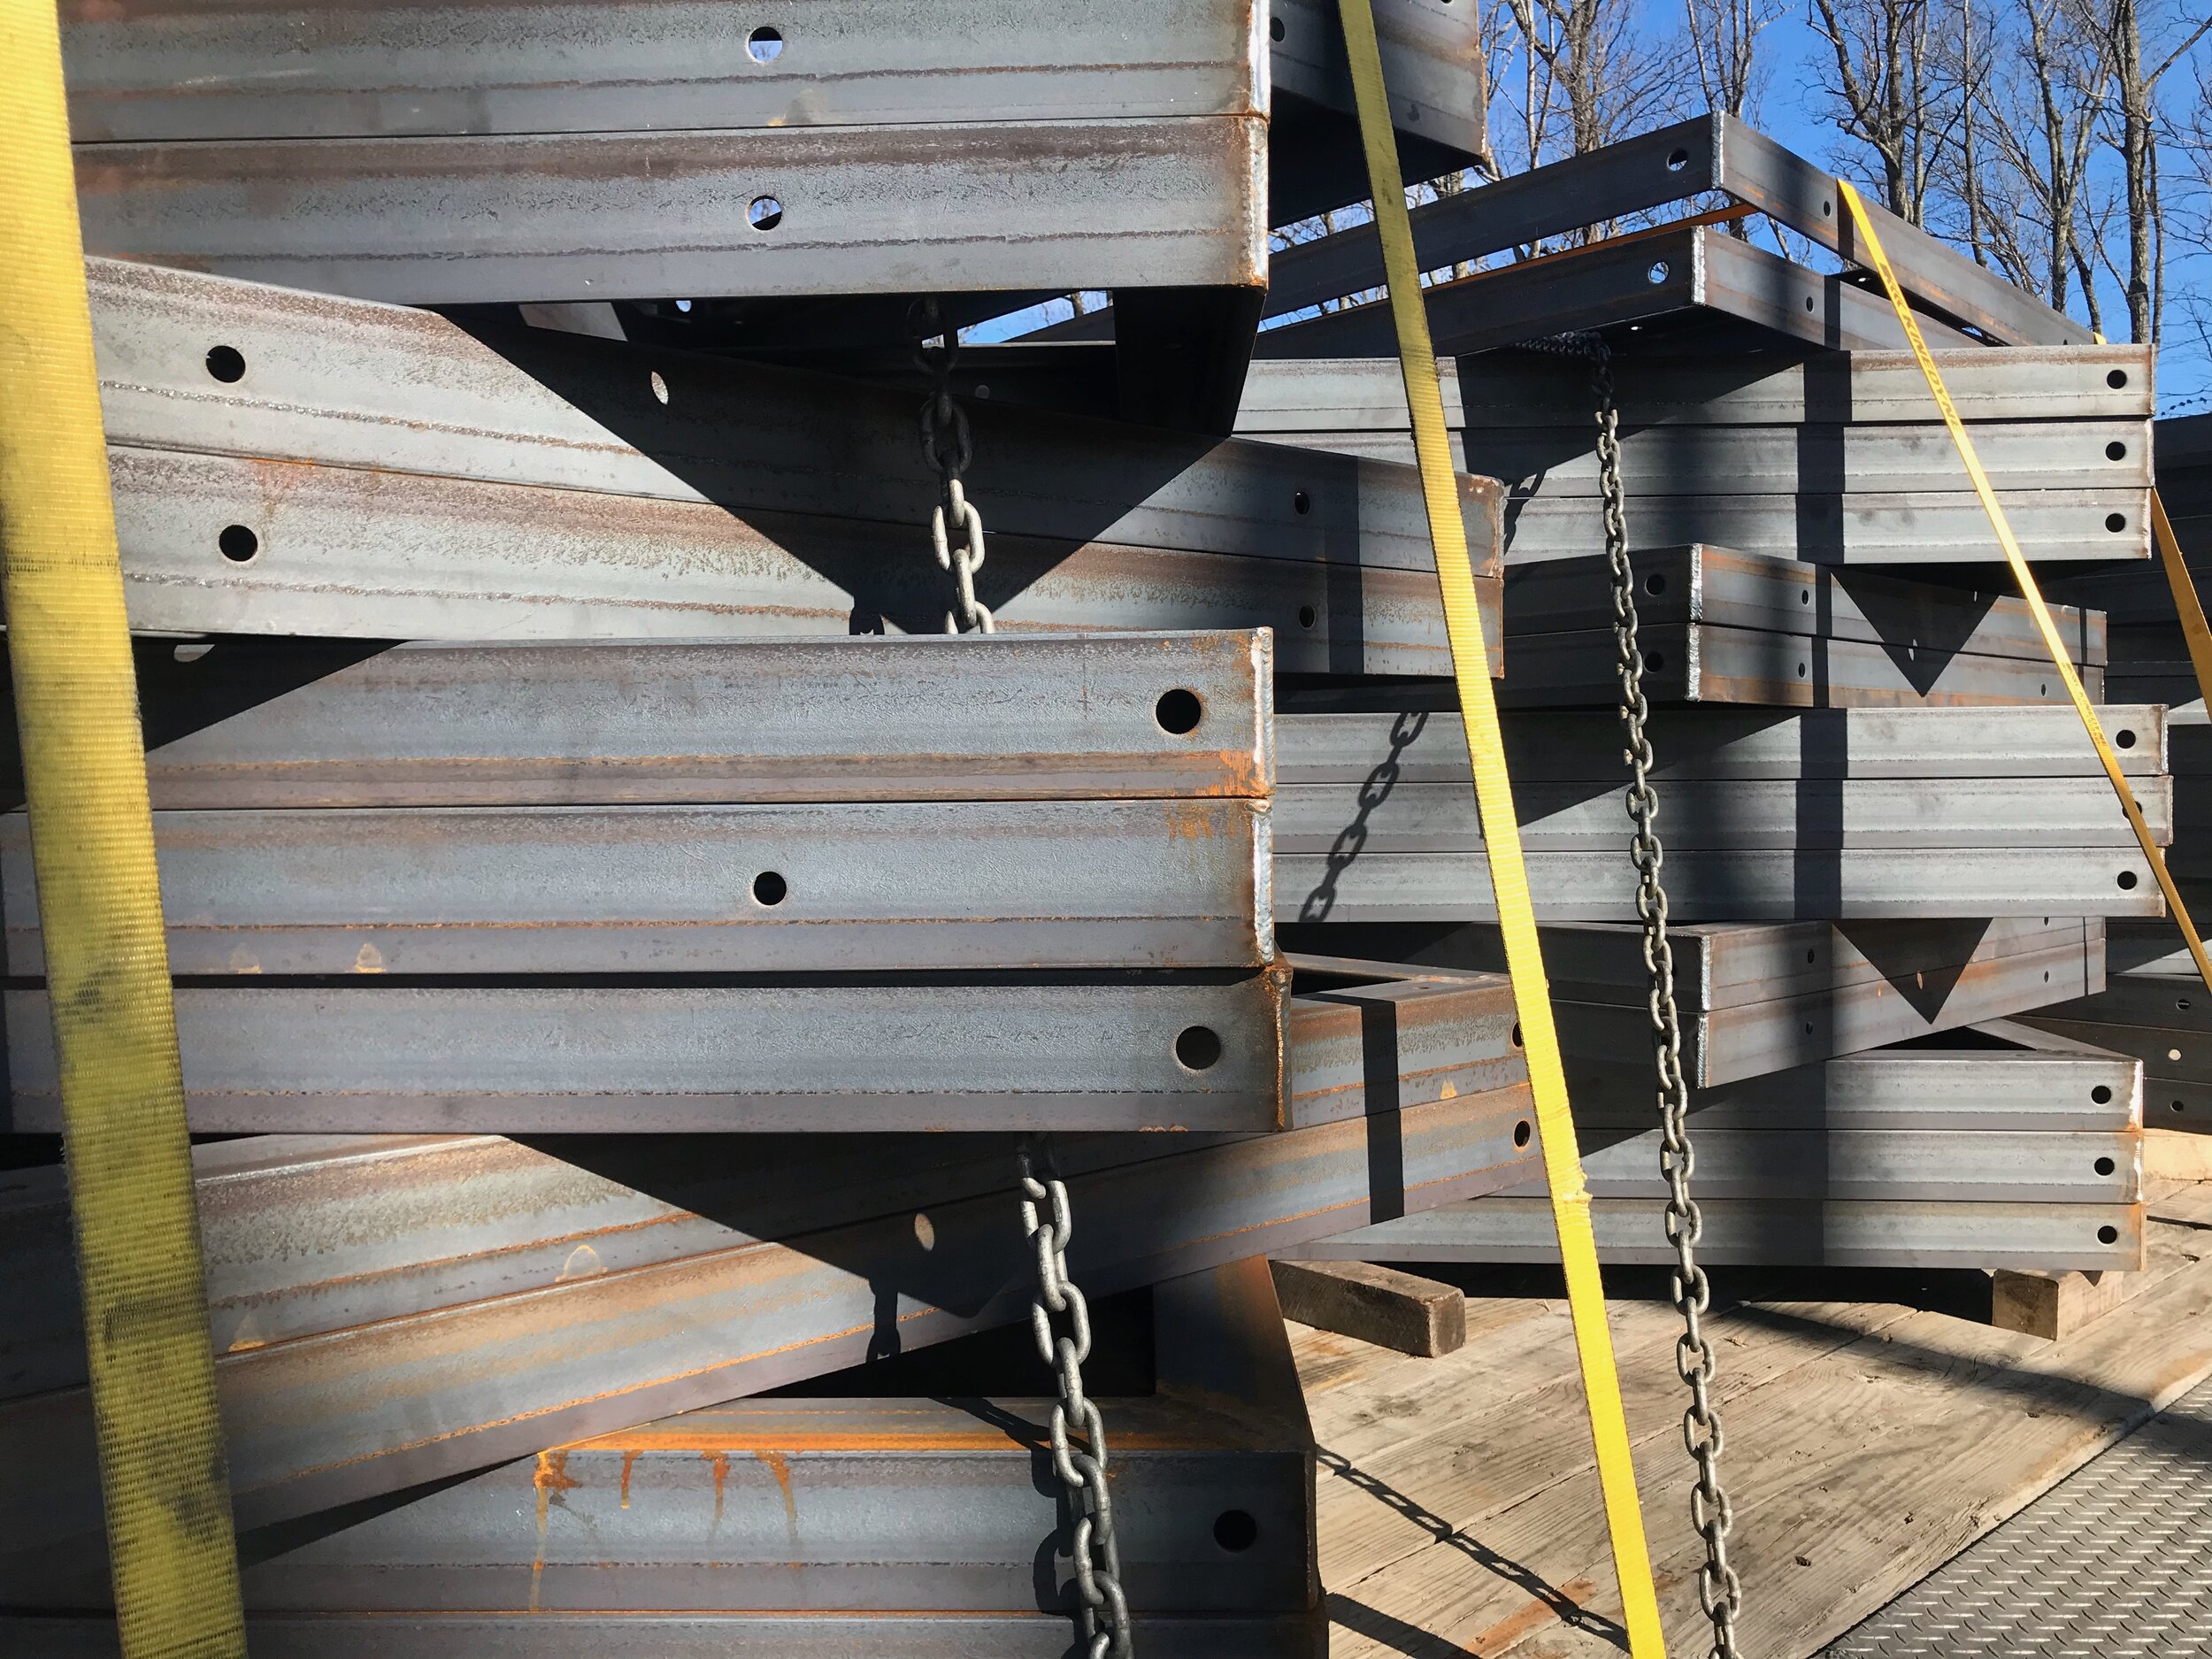
SUBSURFACE STEEL
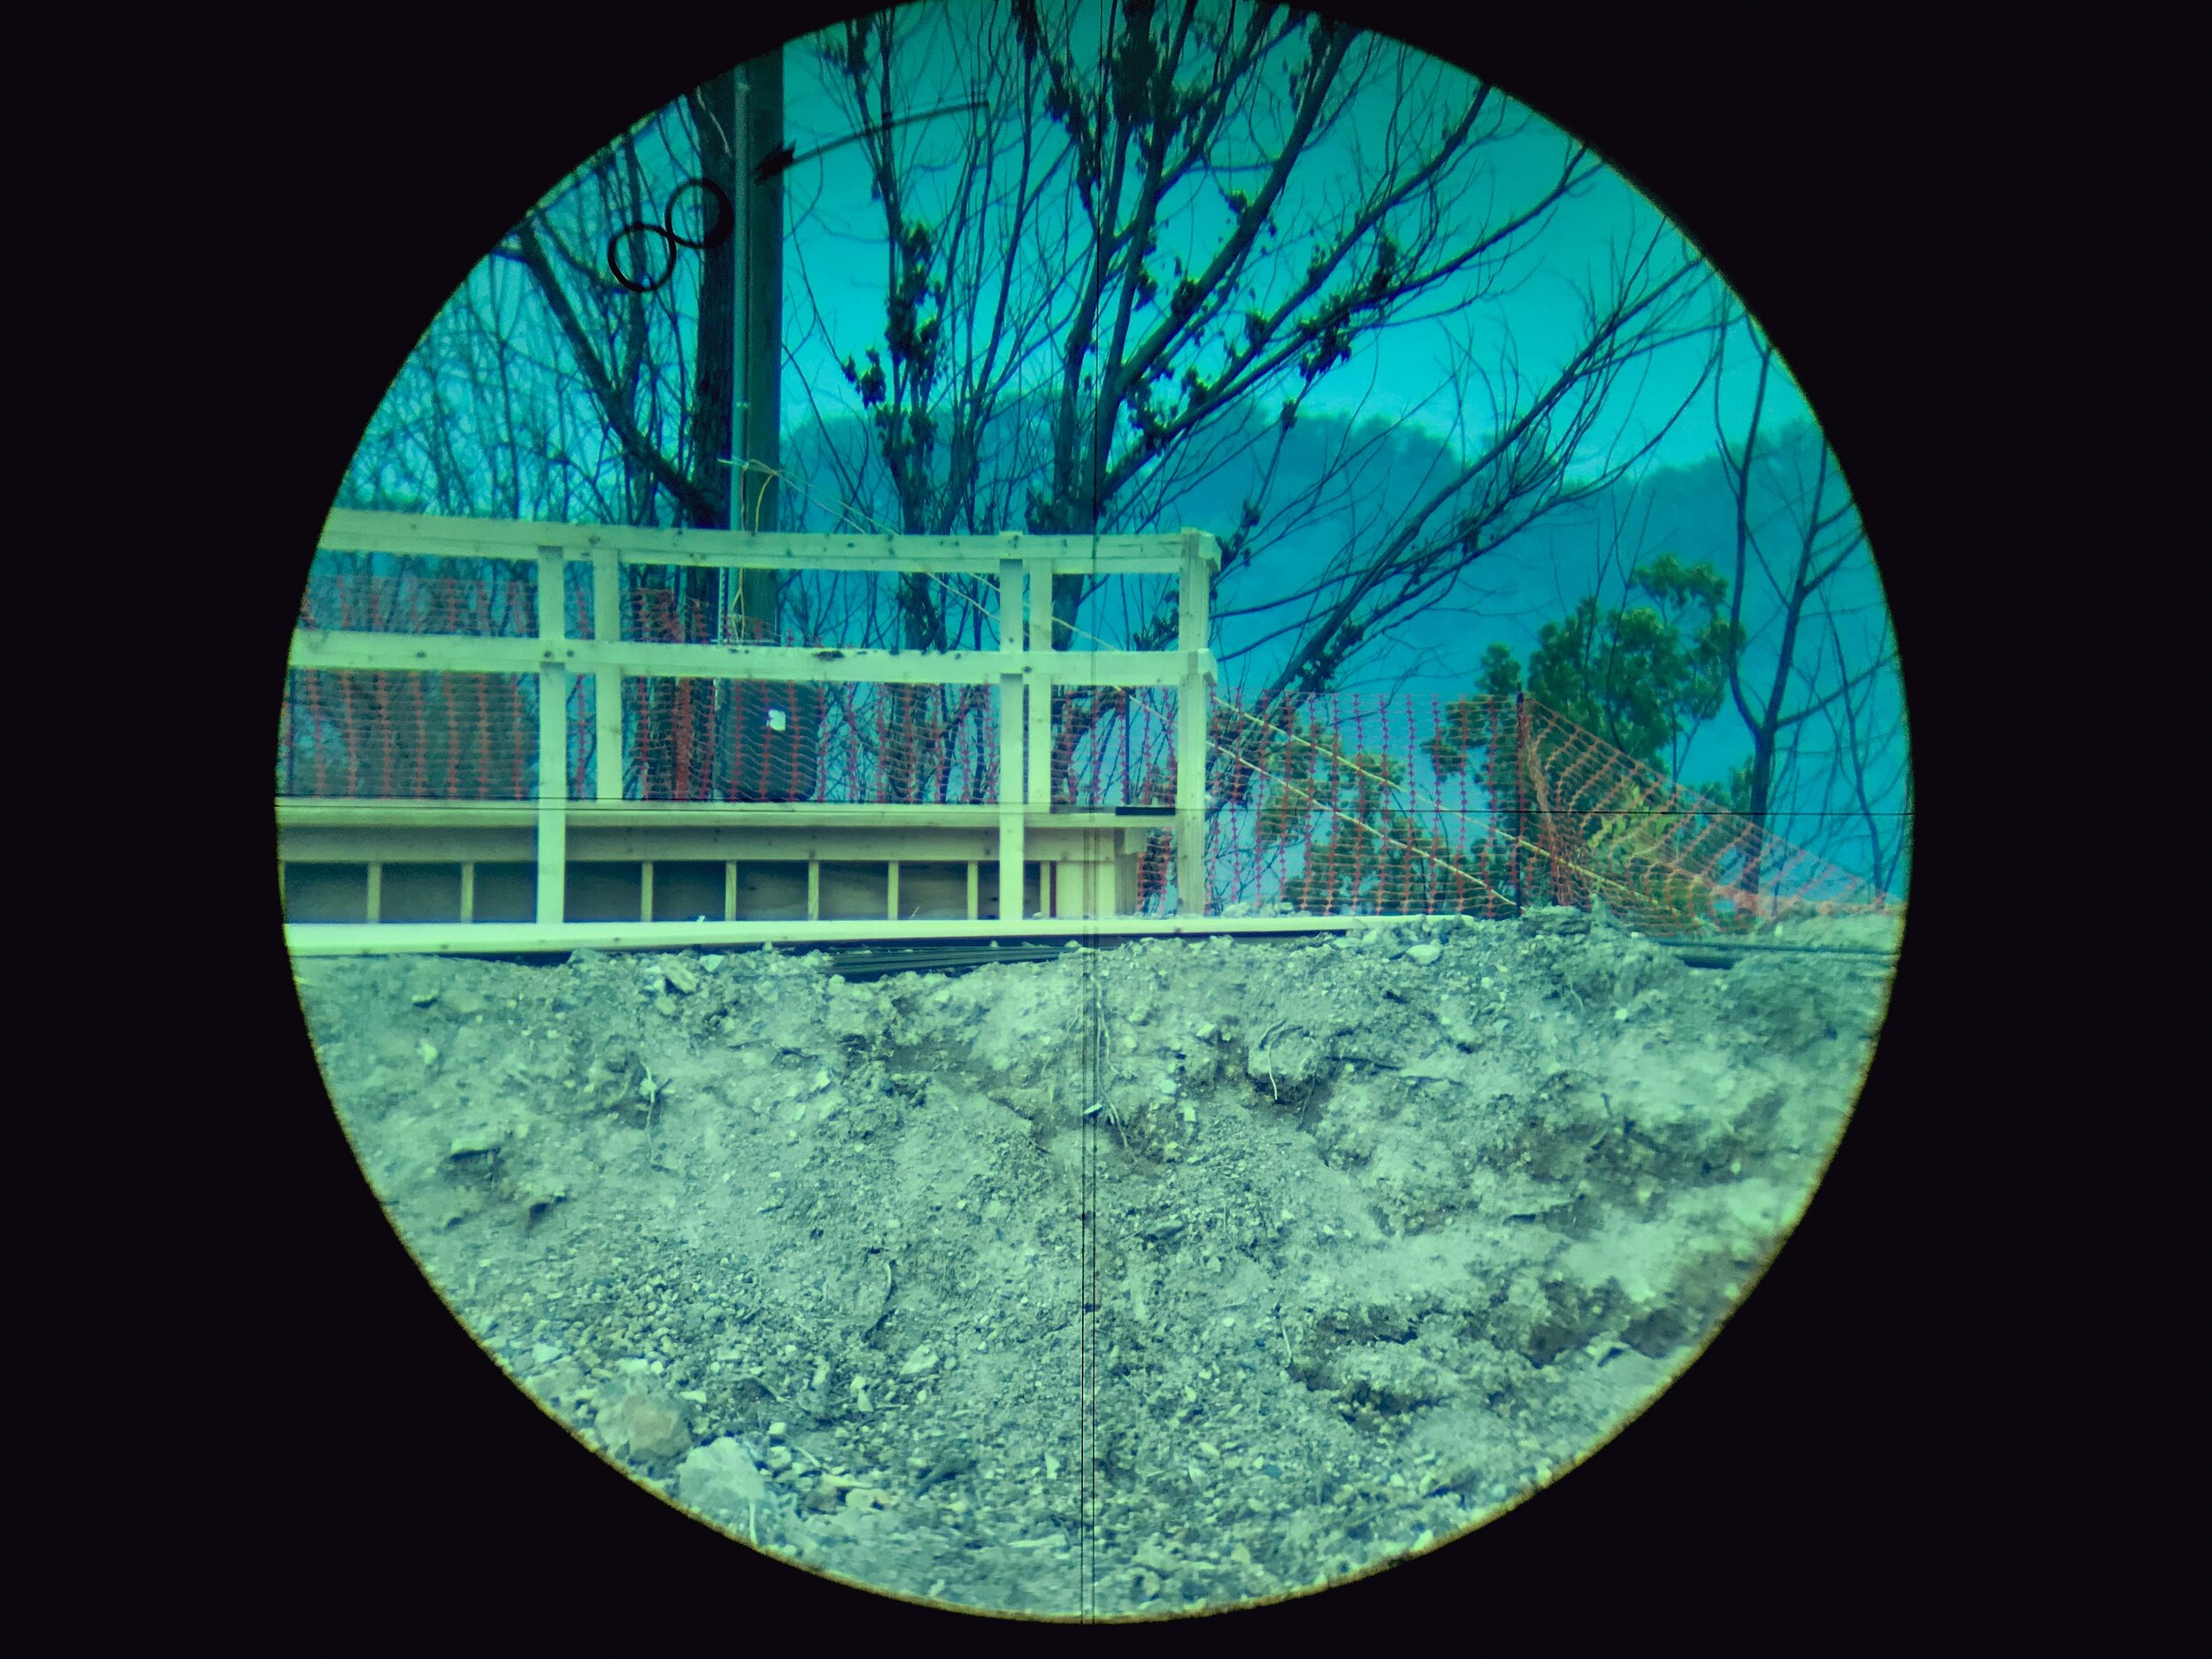
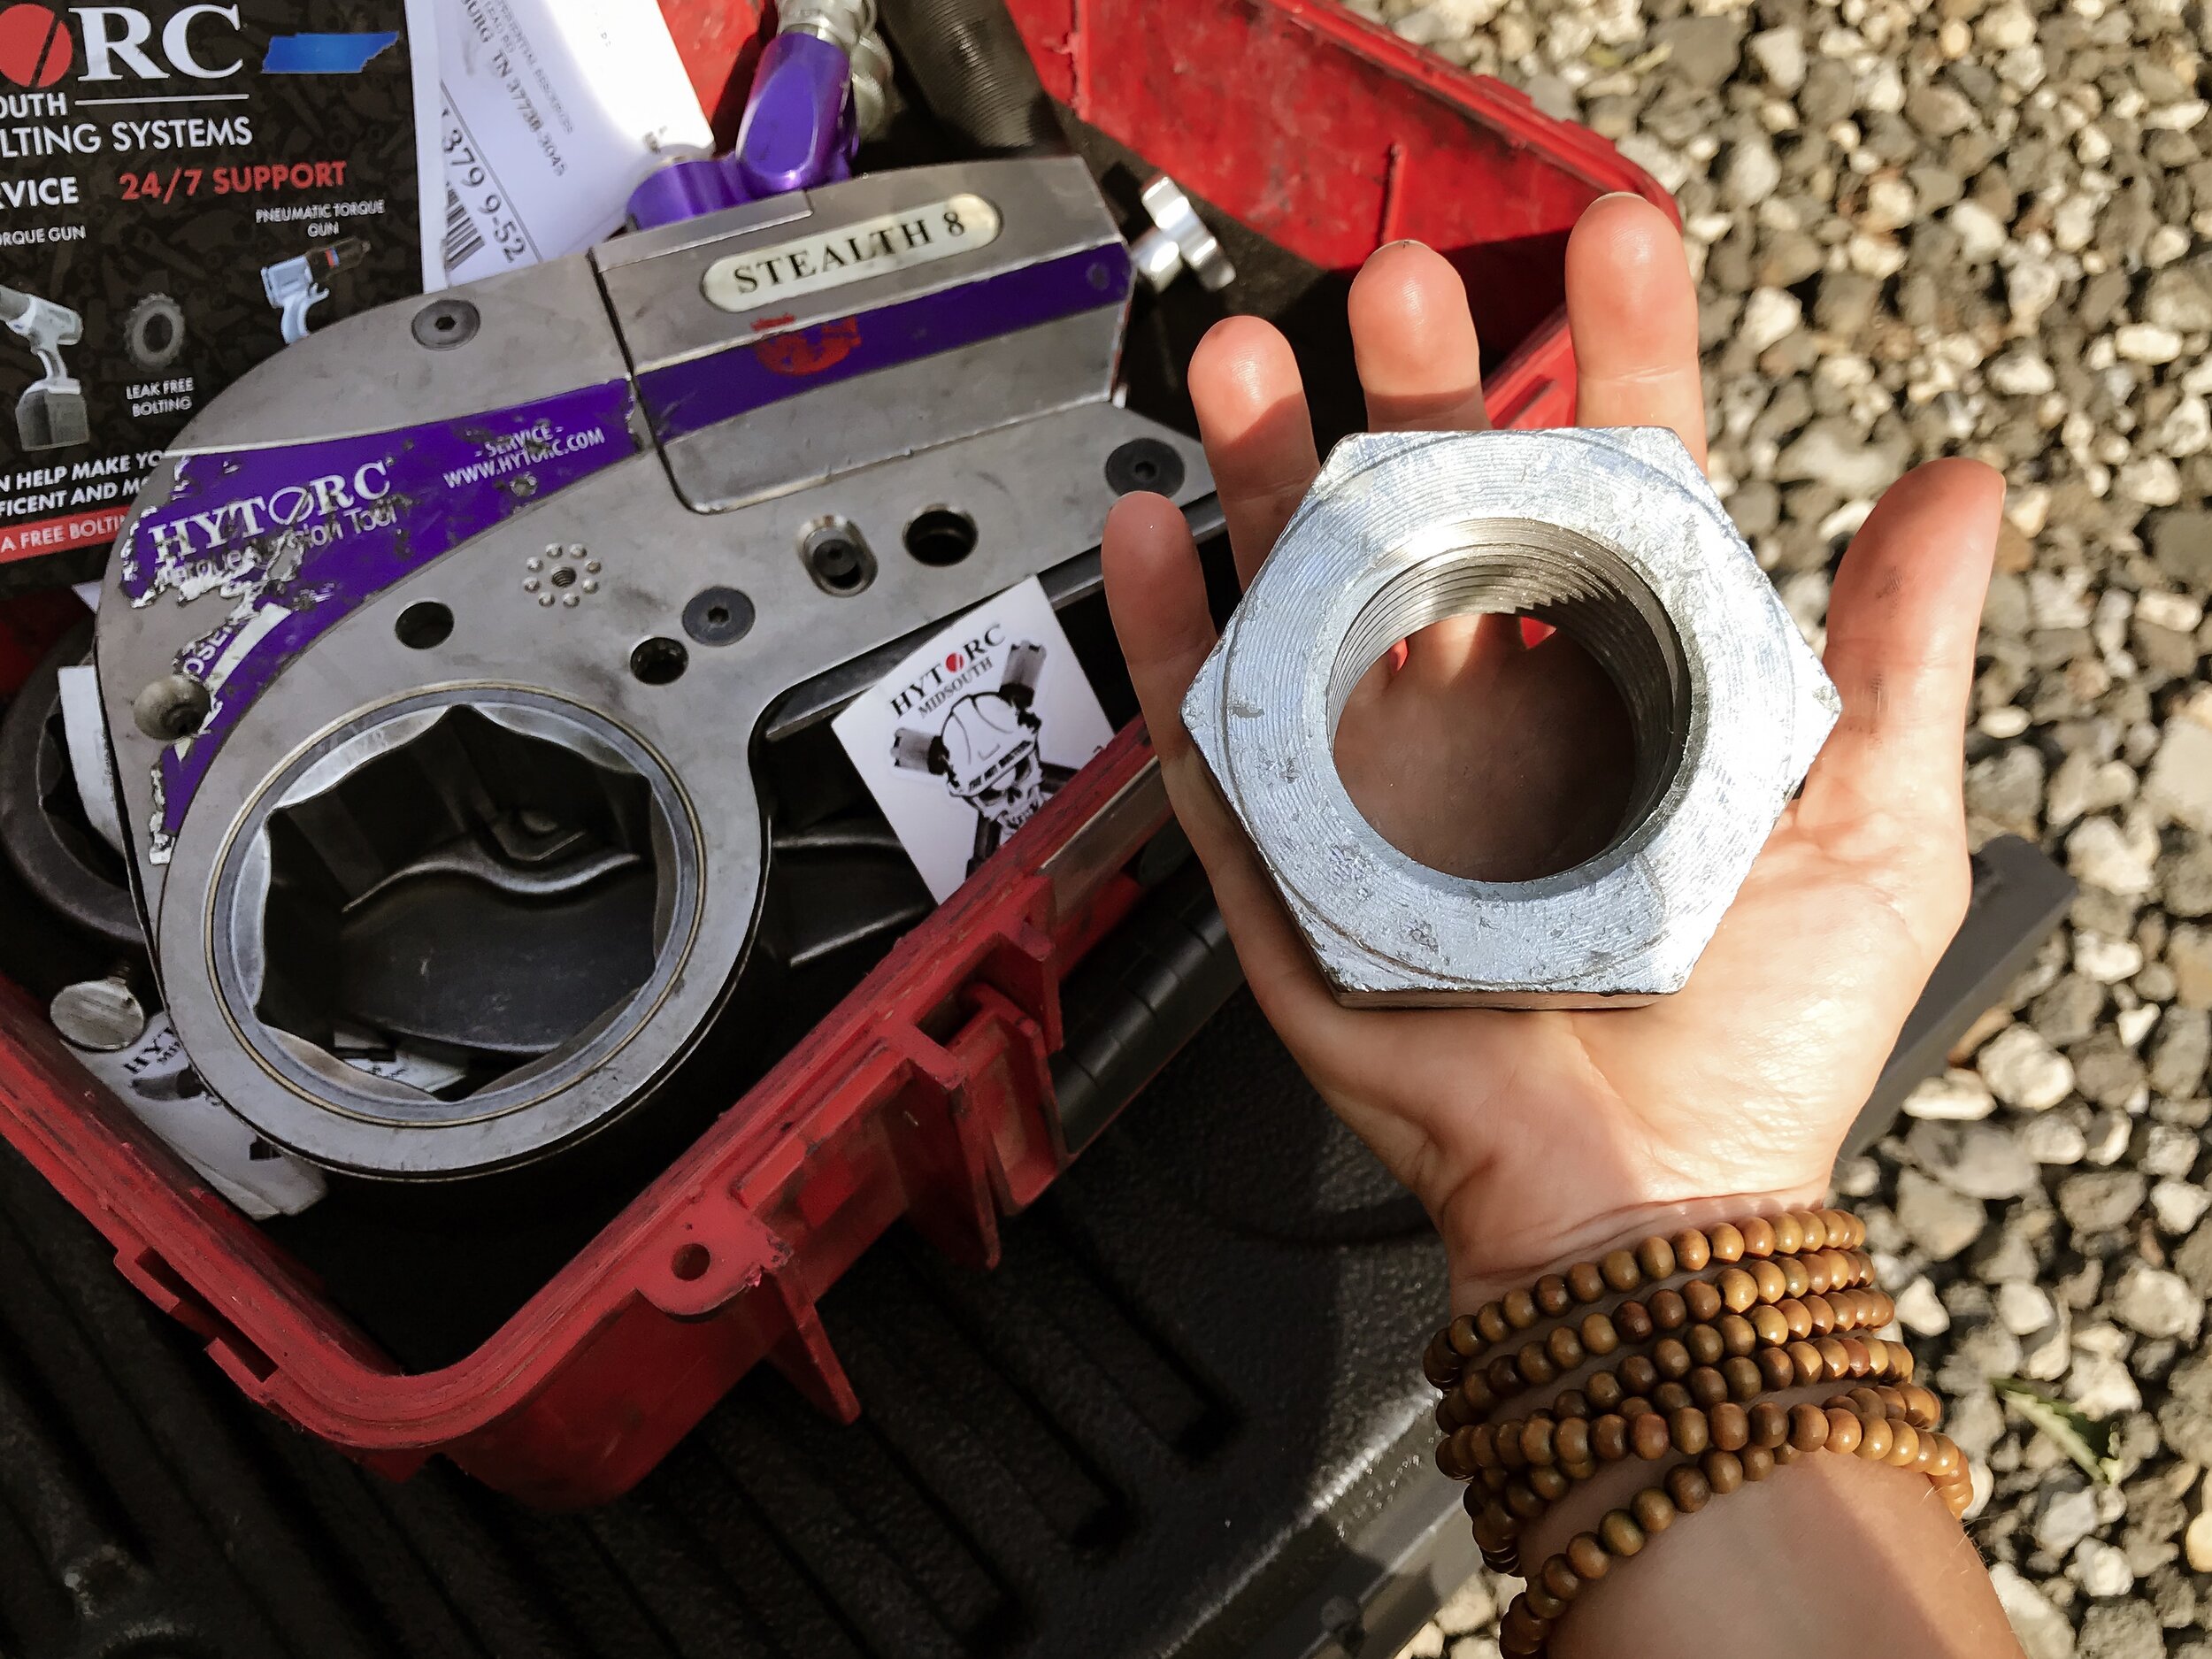
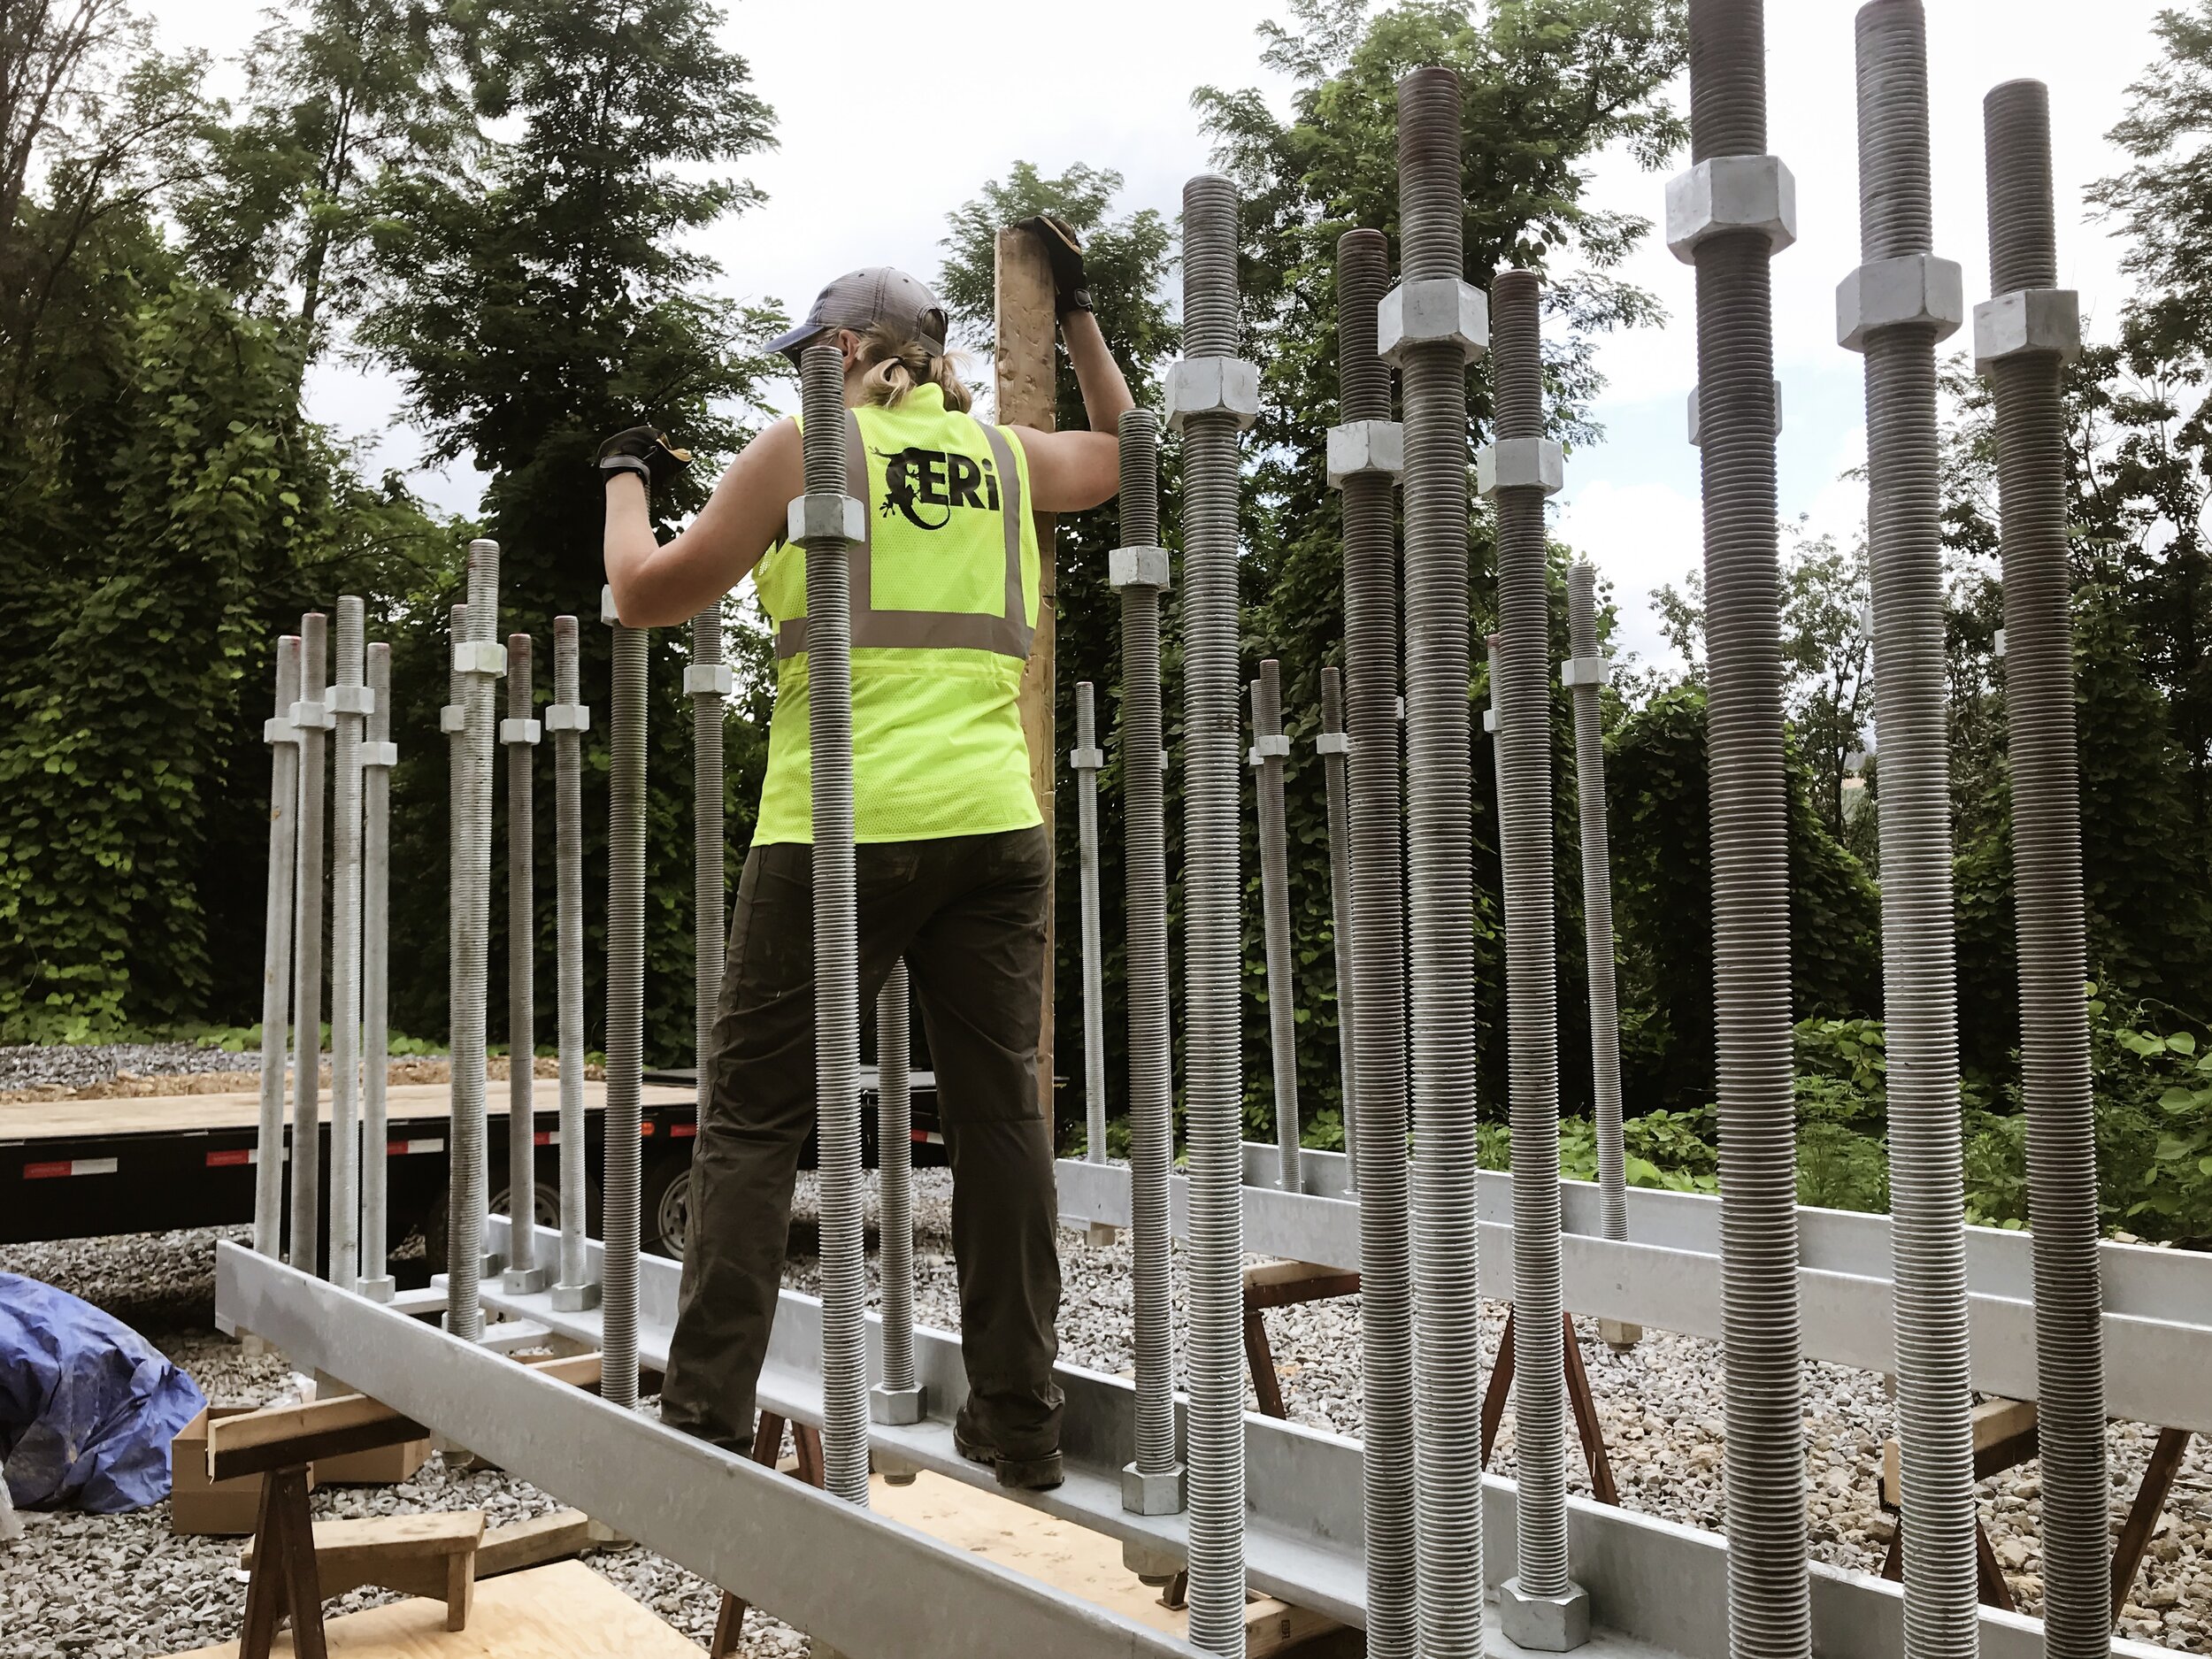
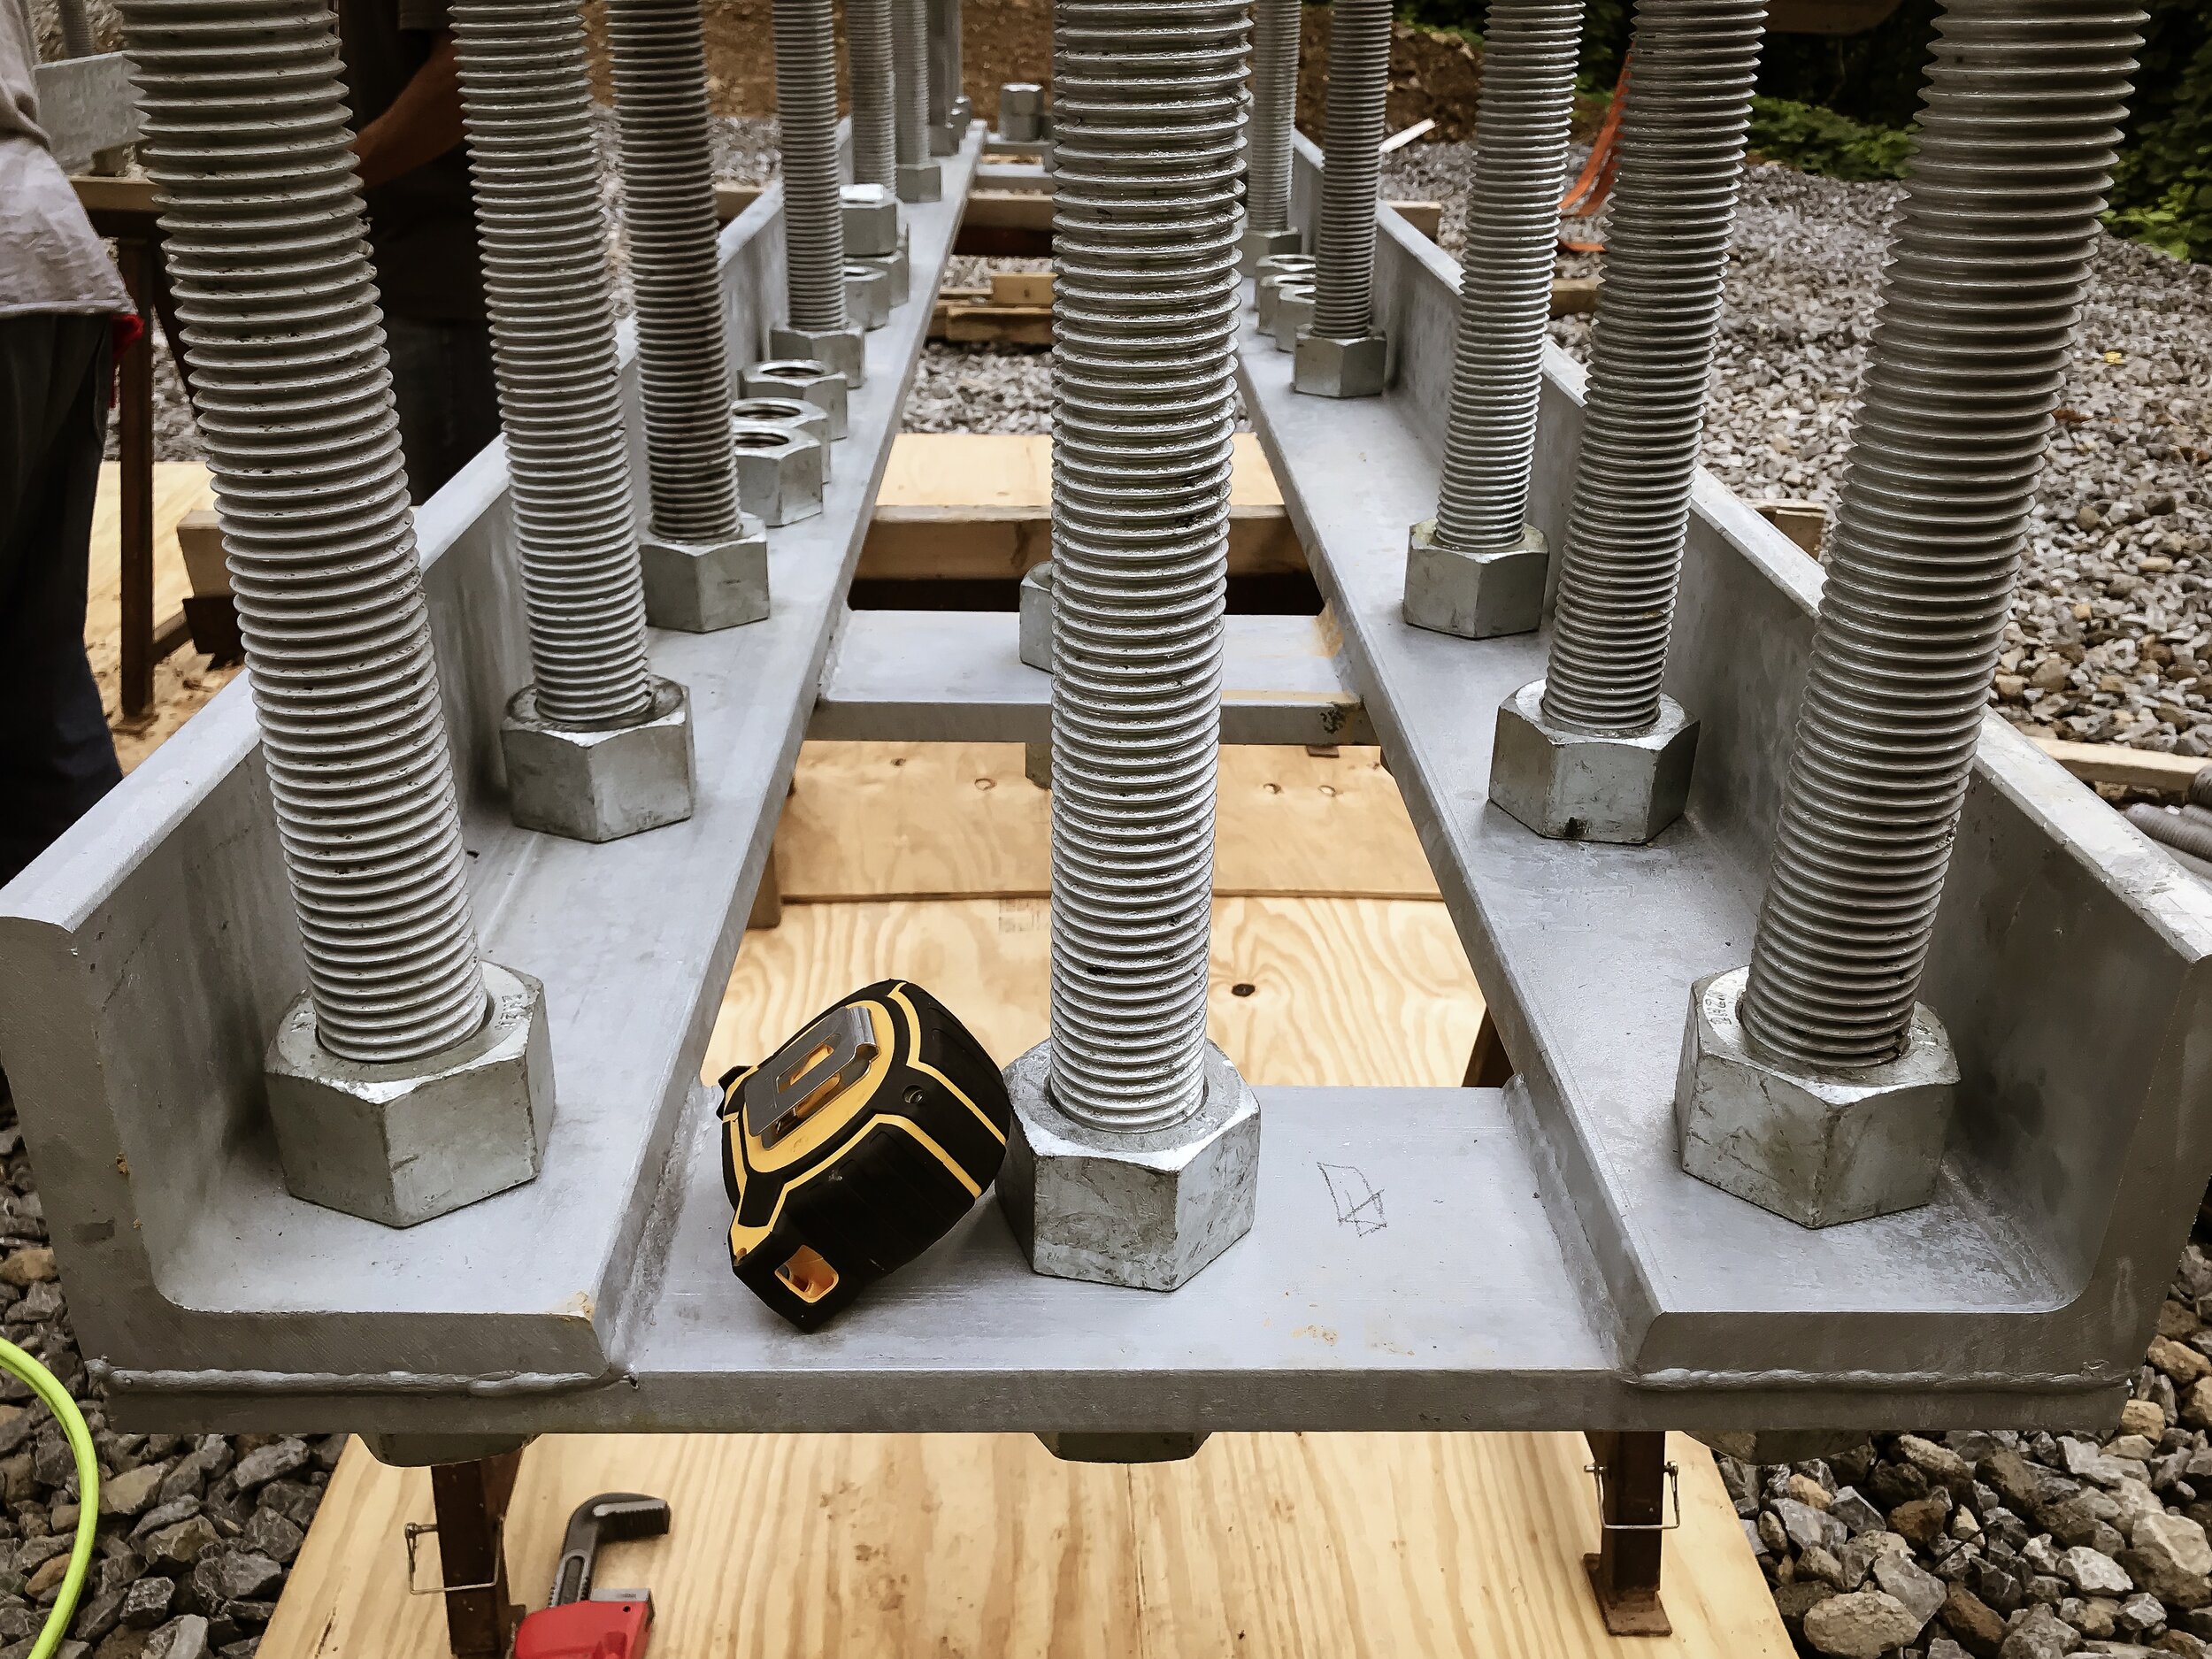
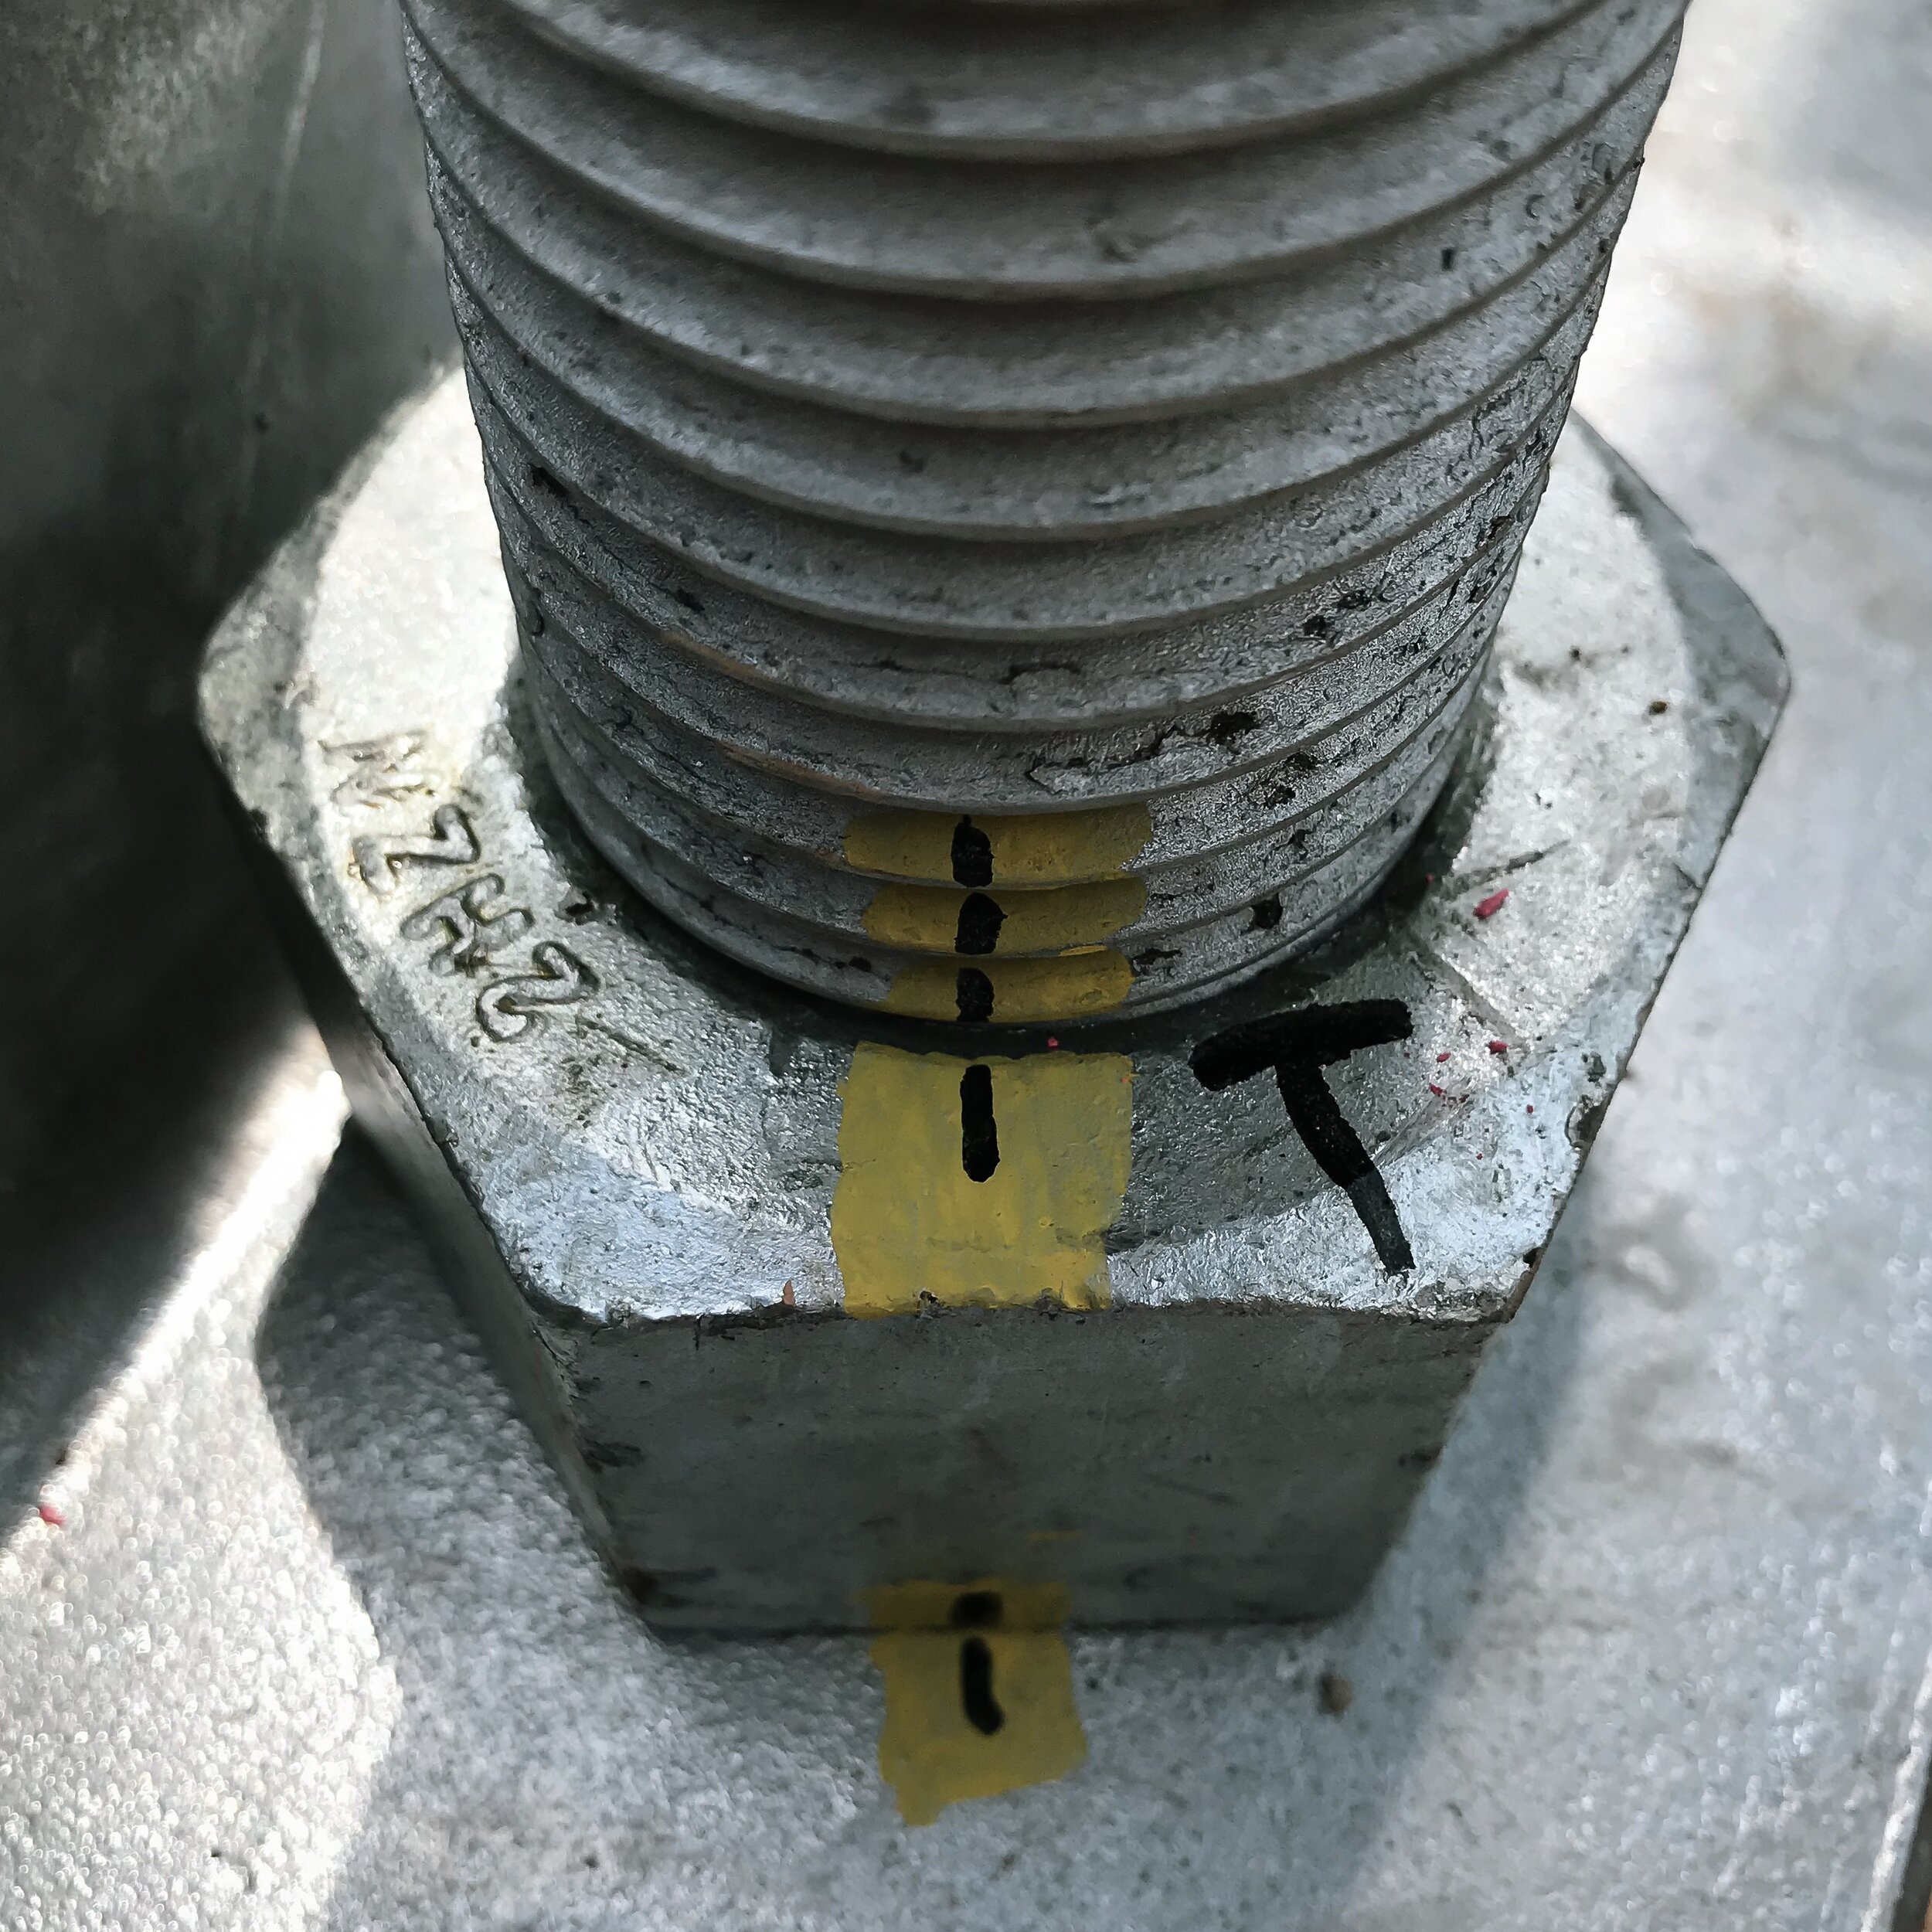
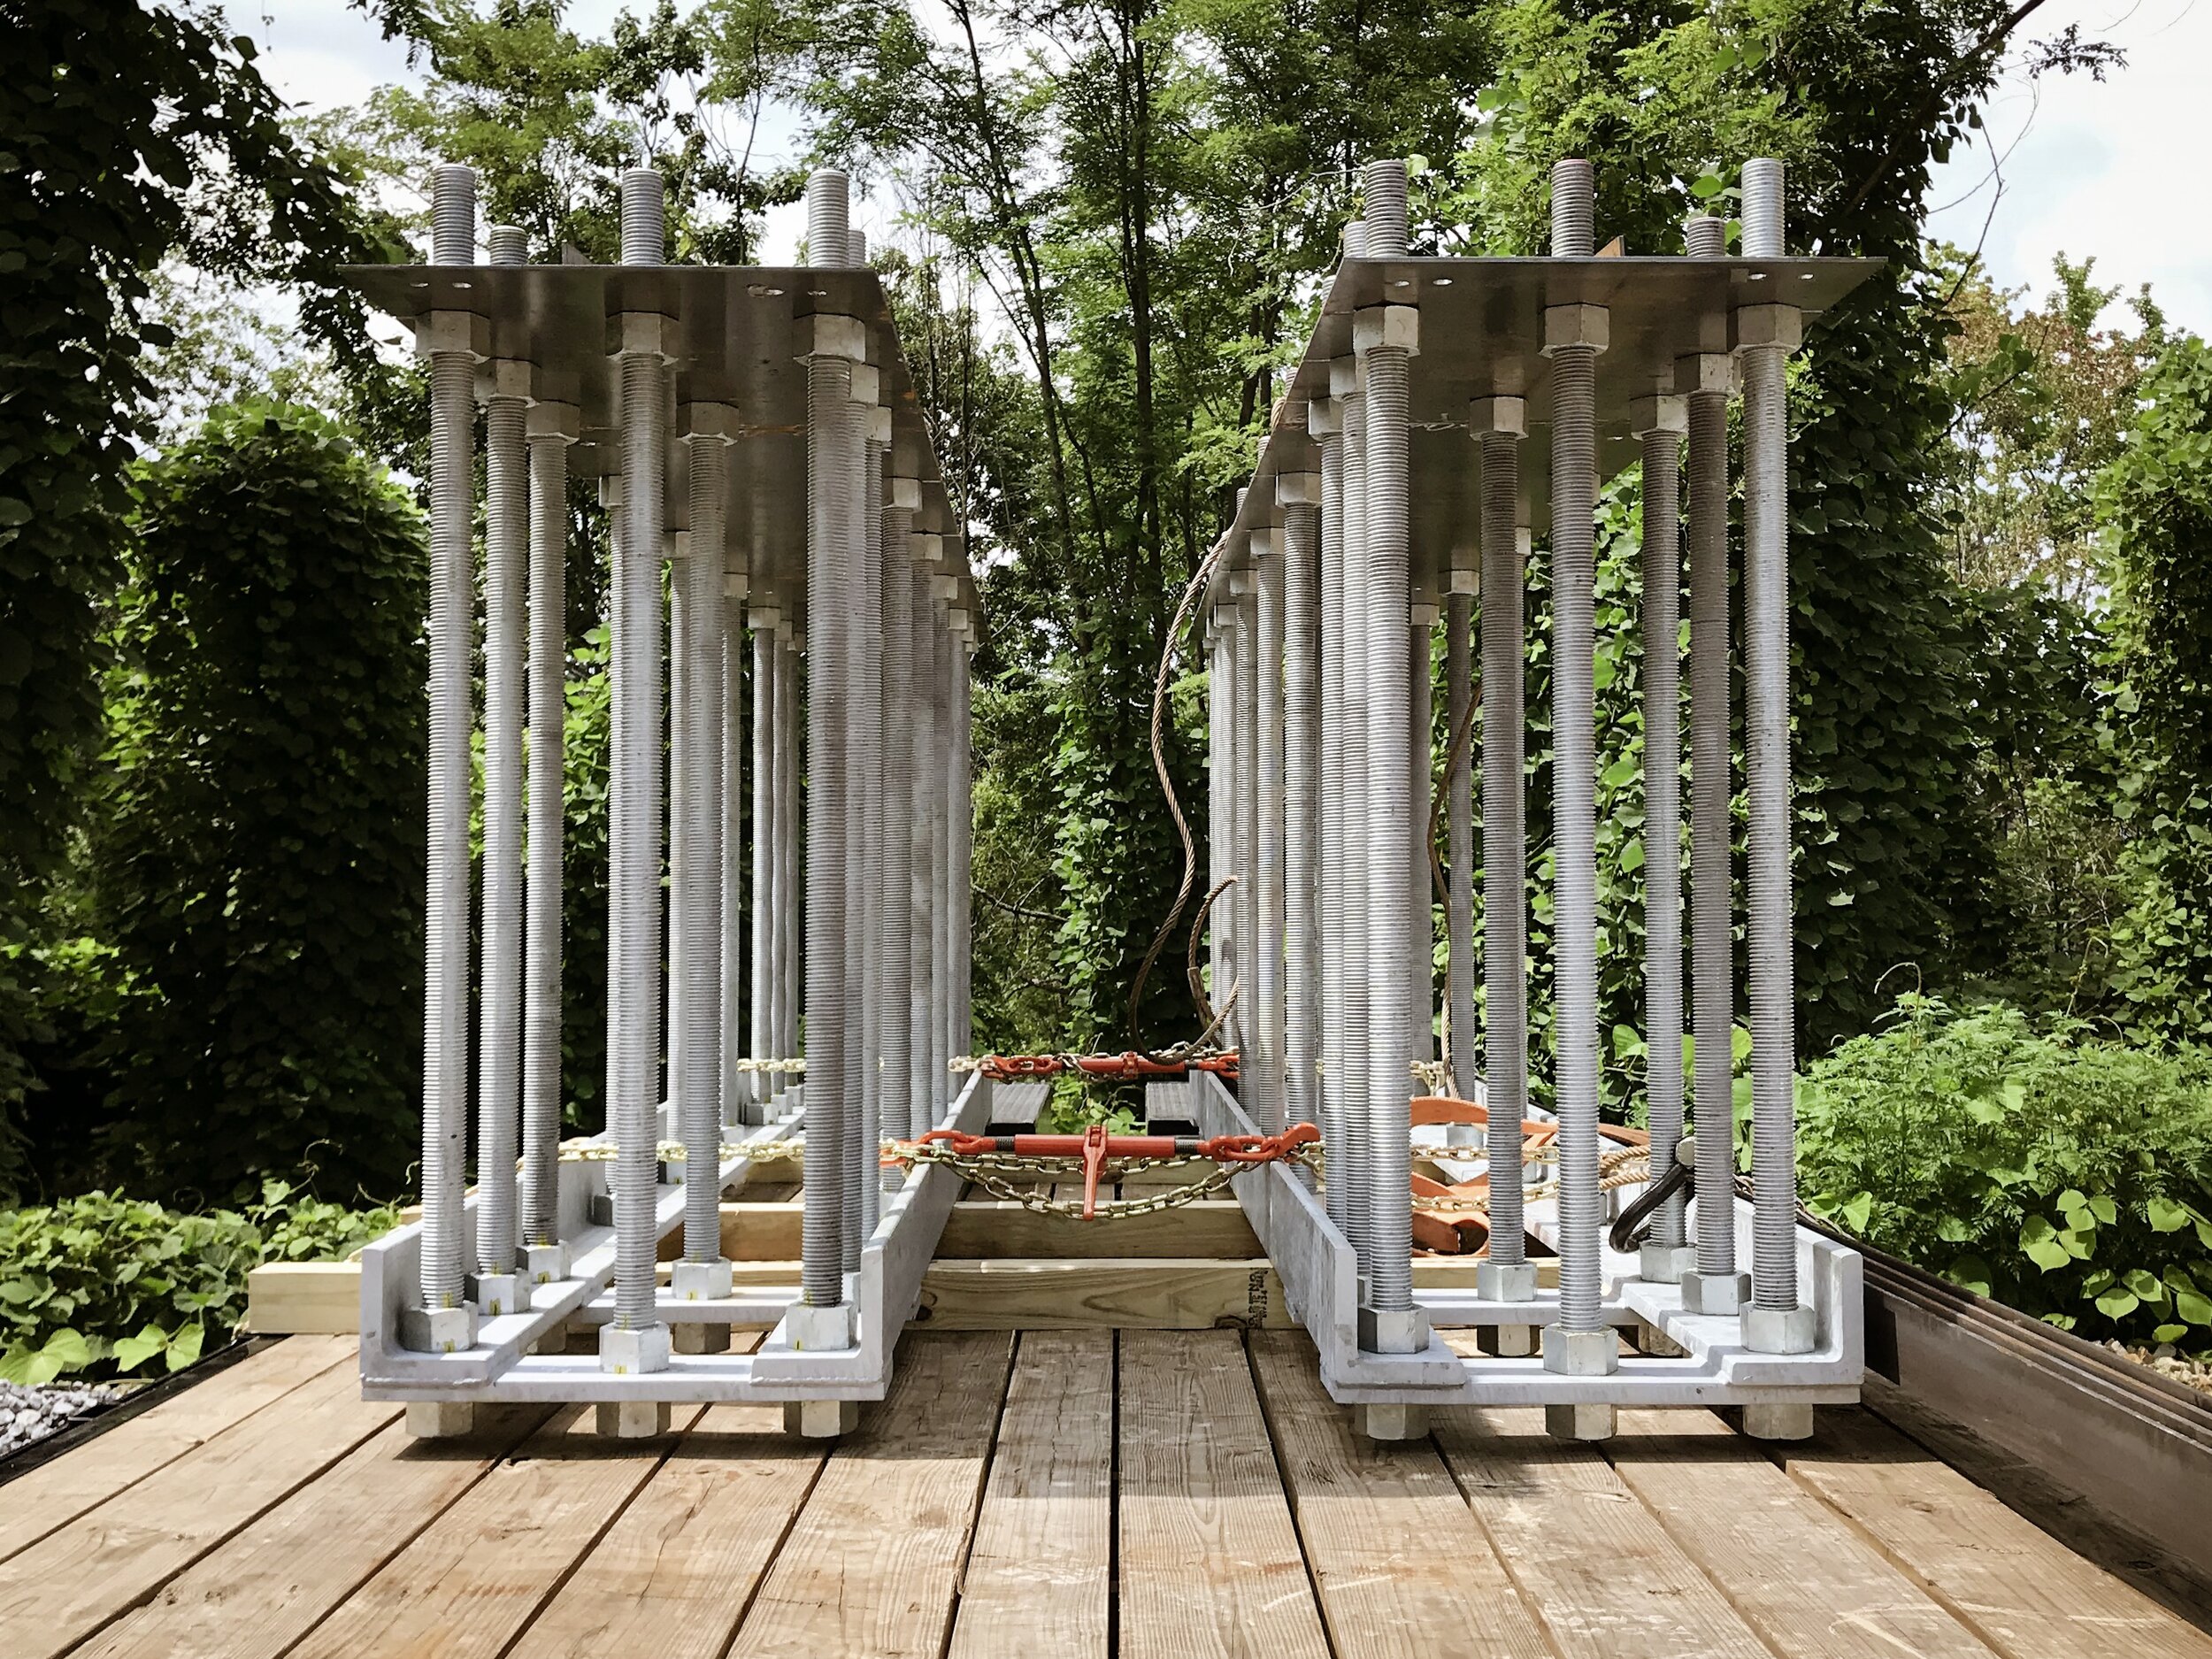
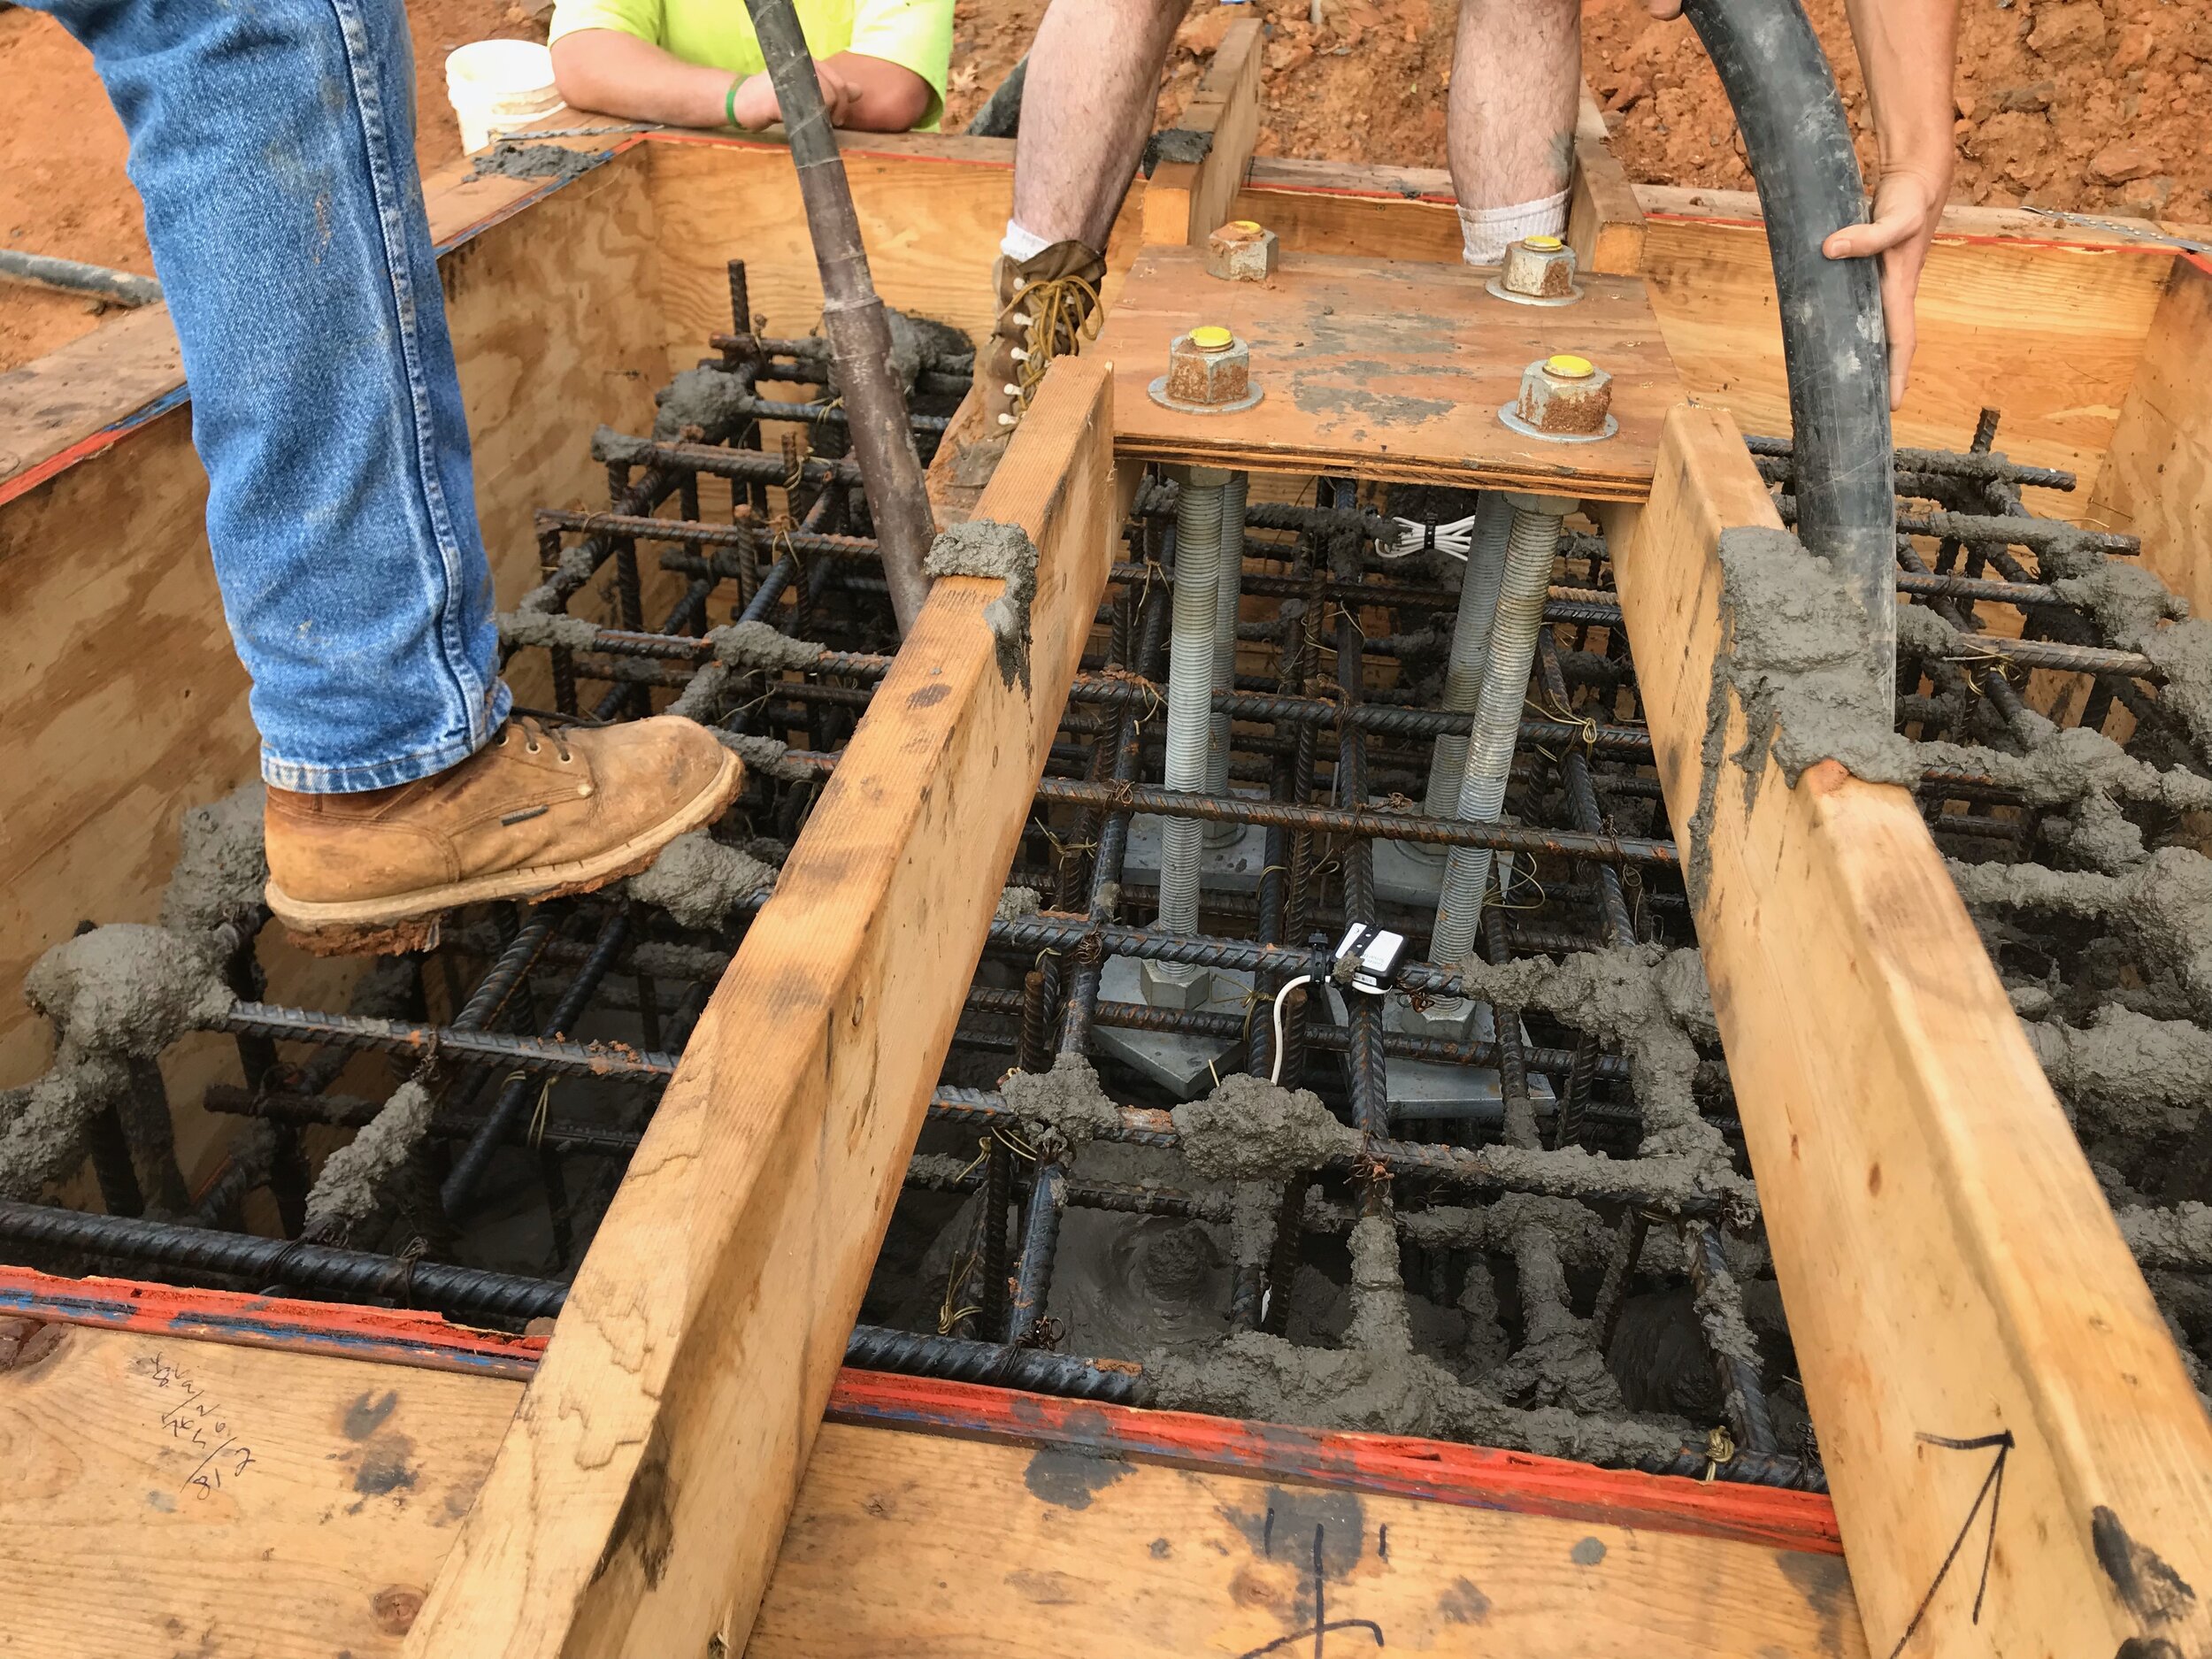
Before the rebar could be completed, the subsurface steel that would anchor the bridge portals needed to be assembled and installed. The steel to be embedded was fitted with anchor rods, and the nuts were torqued with a hydraulic torque wrench and marked for QA. Each subsurface steel assembly weighed over 3,600 pounds/1633 kilograms. These assemblies had a template affixed to the top to hold the rods in place, and angle iron was fastened to the top to stabilize the assemblies for relocation into the holes and to ensure everything was kept in its proper place for the upcoming pour. These anchor rods would eventually have the bridge portals set onto them.


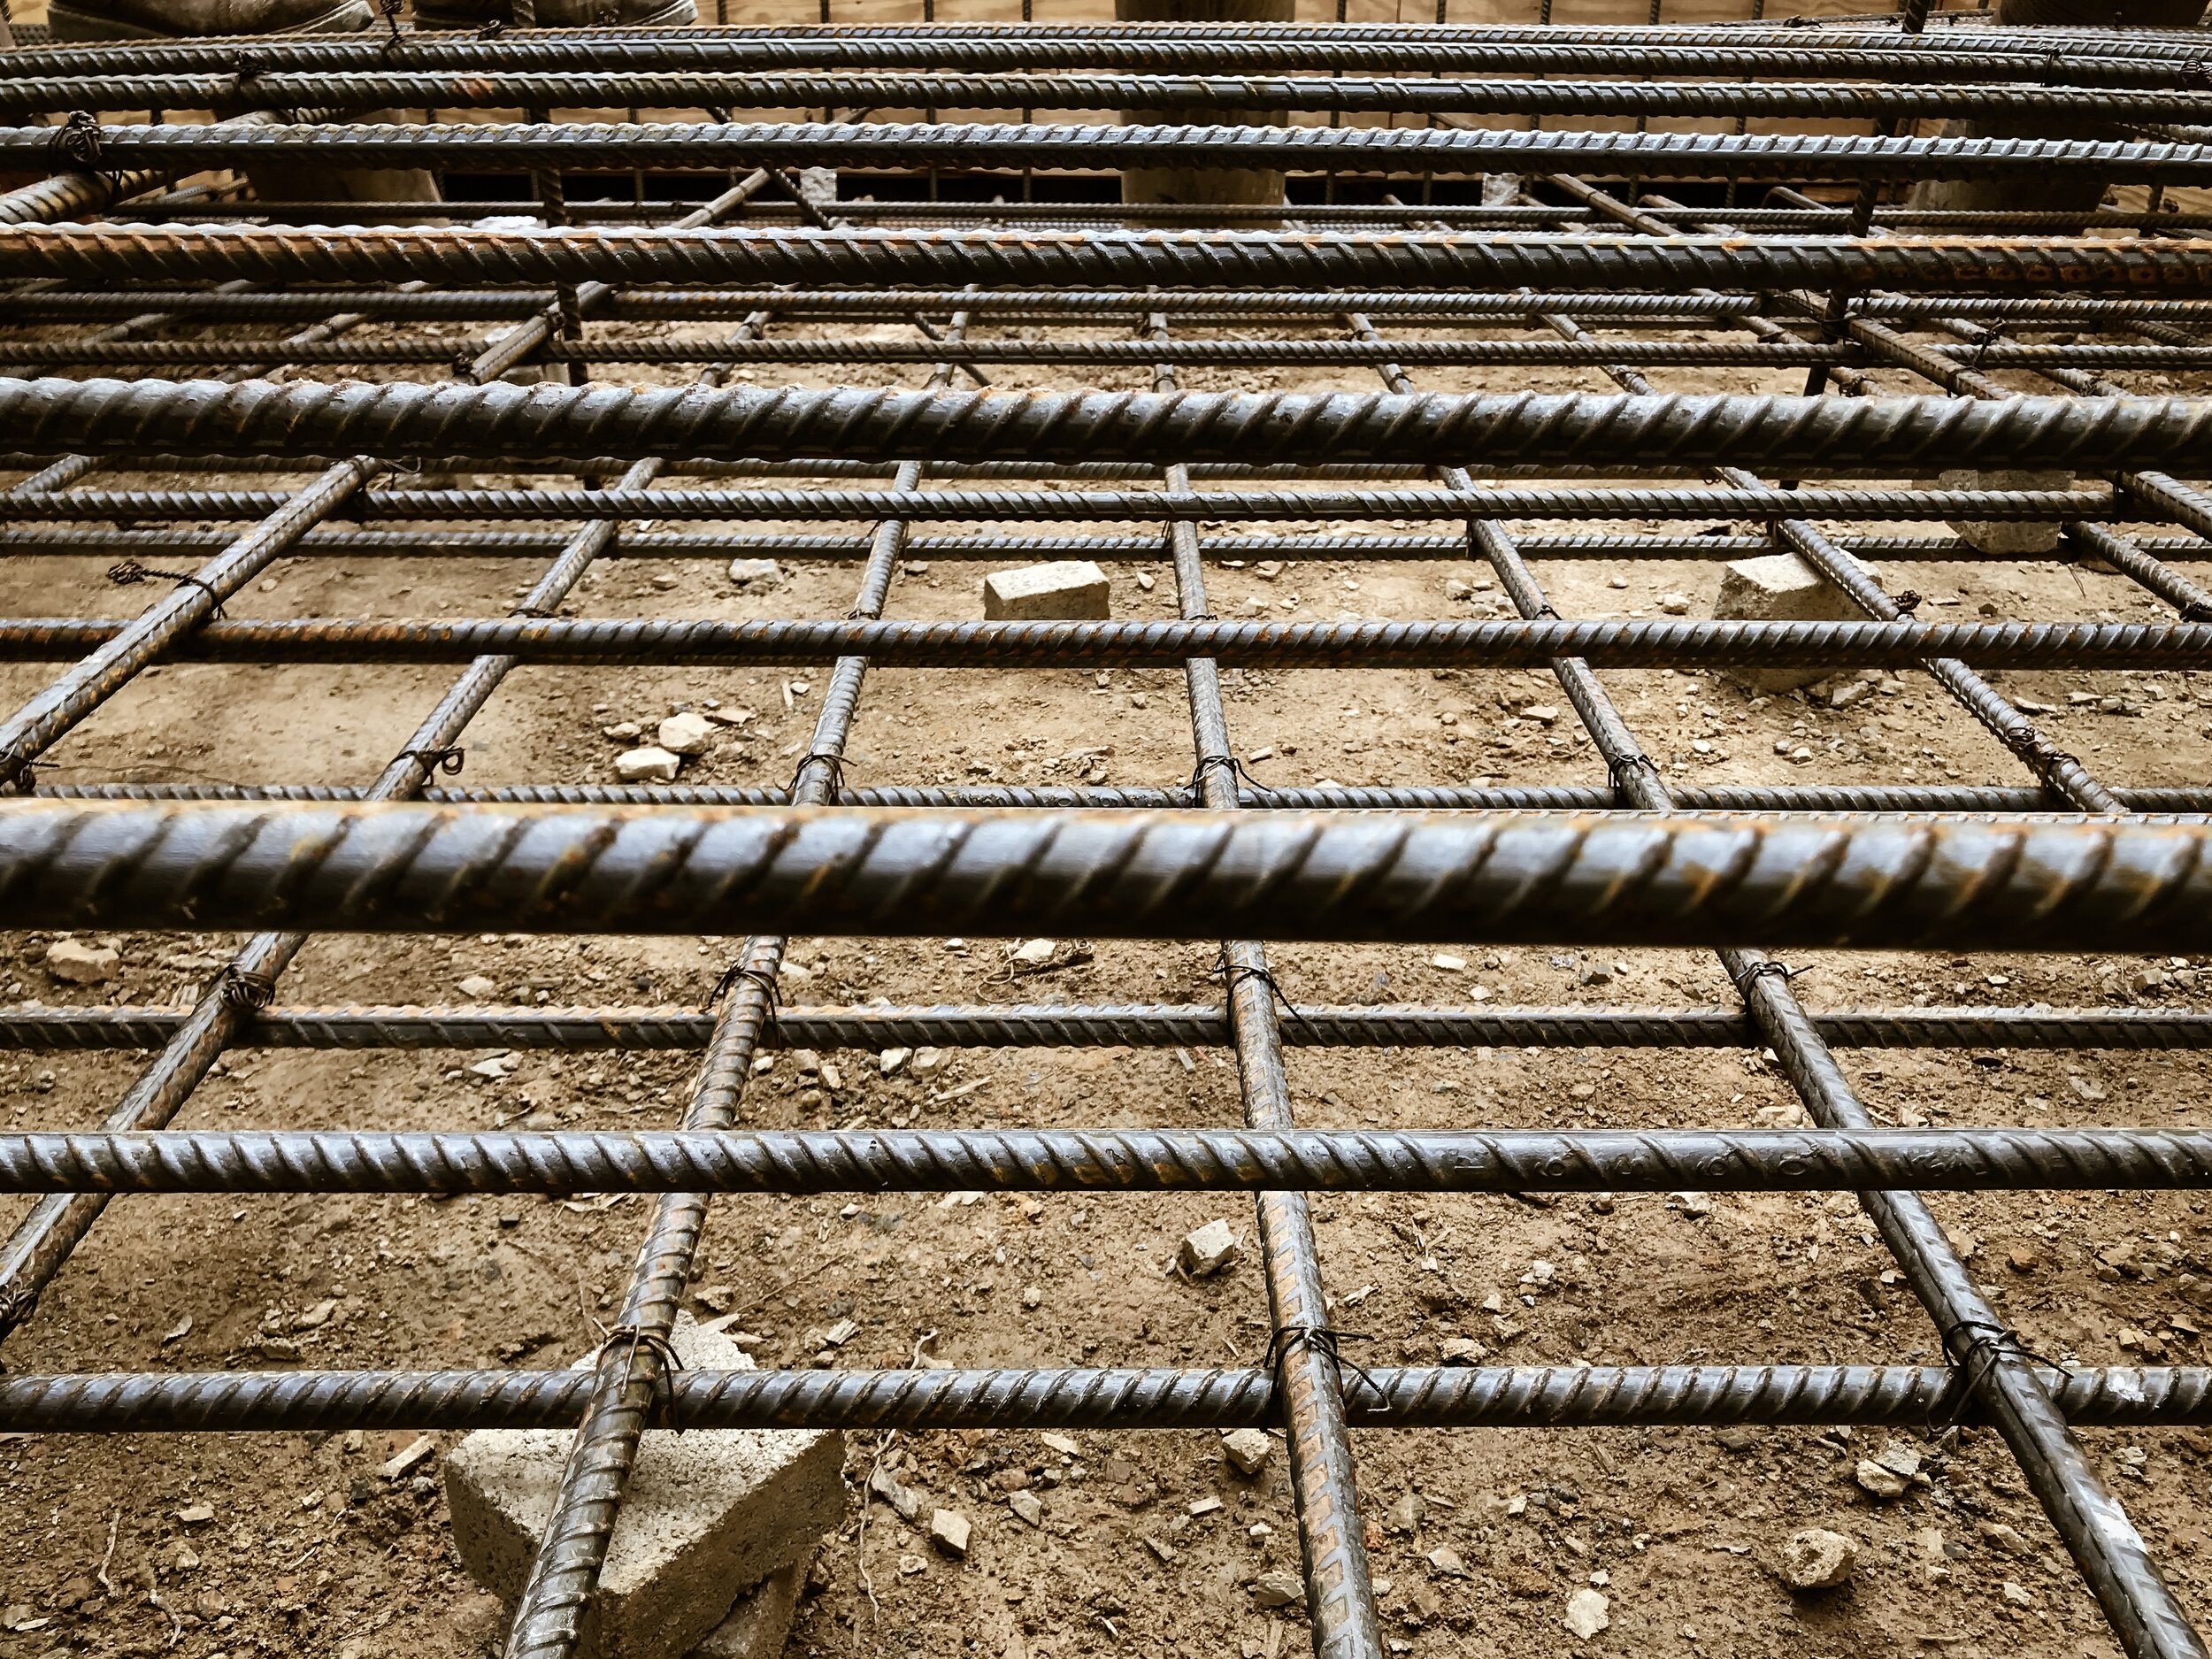
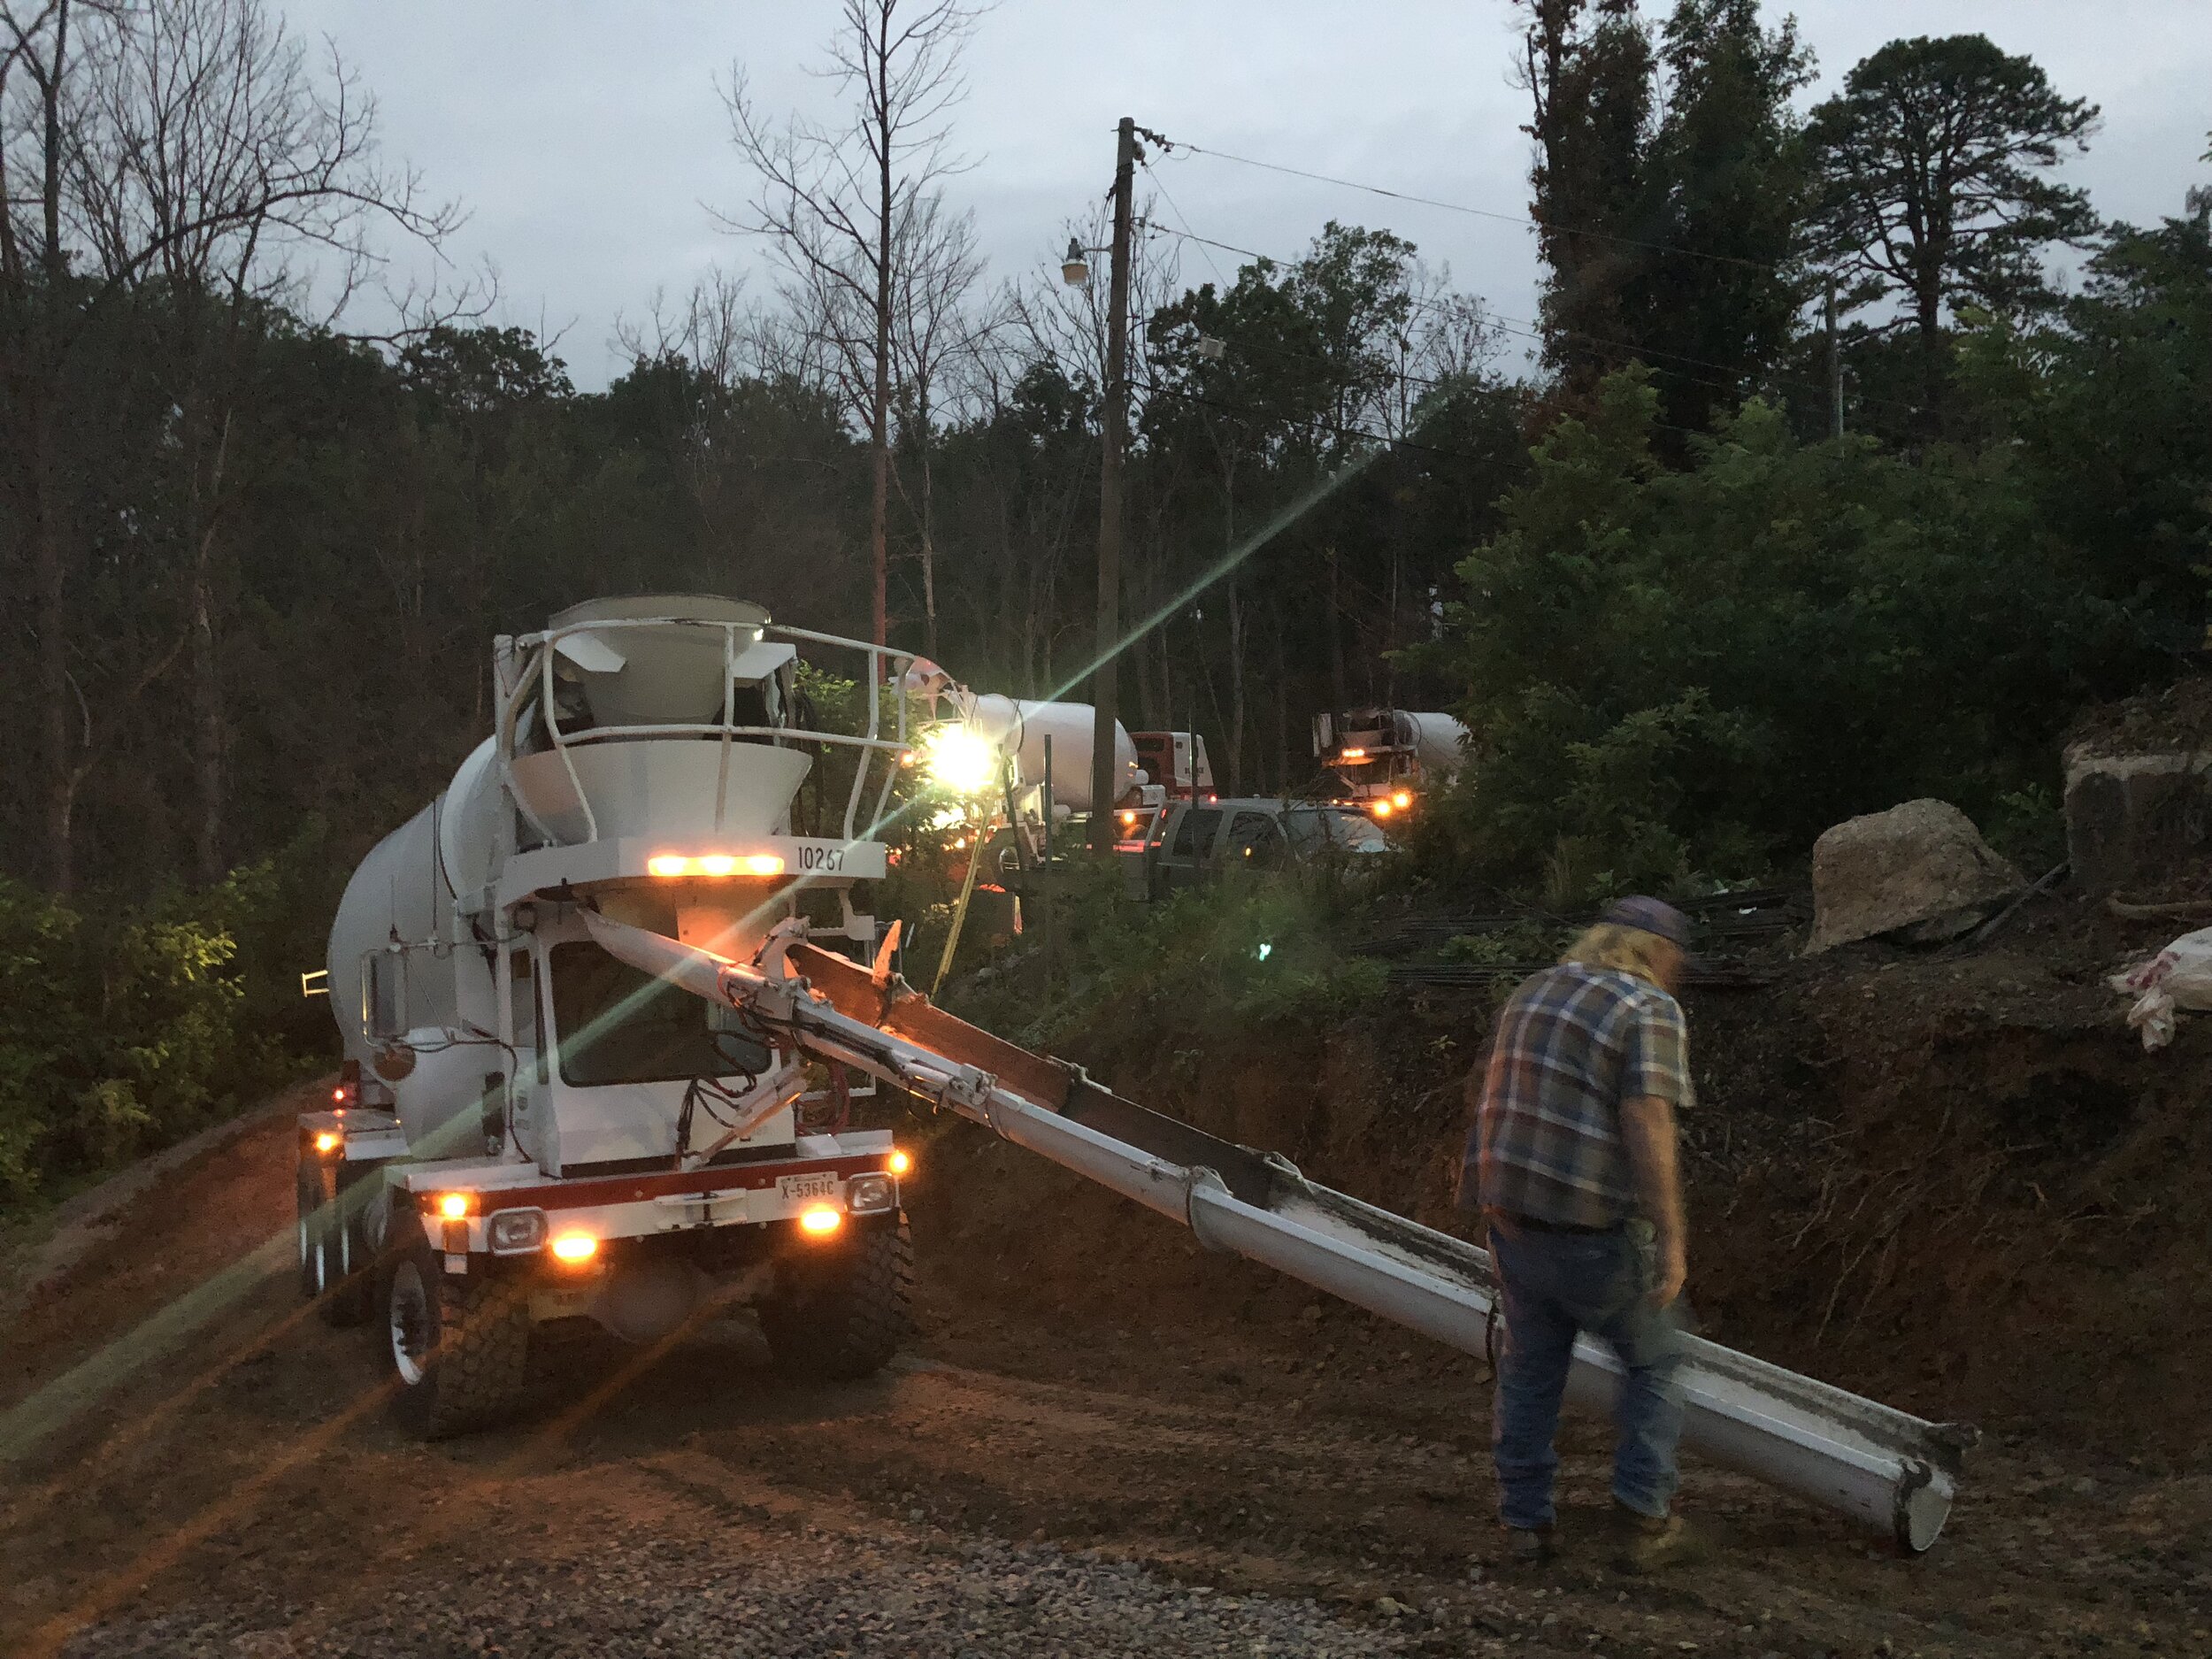
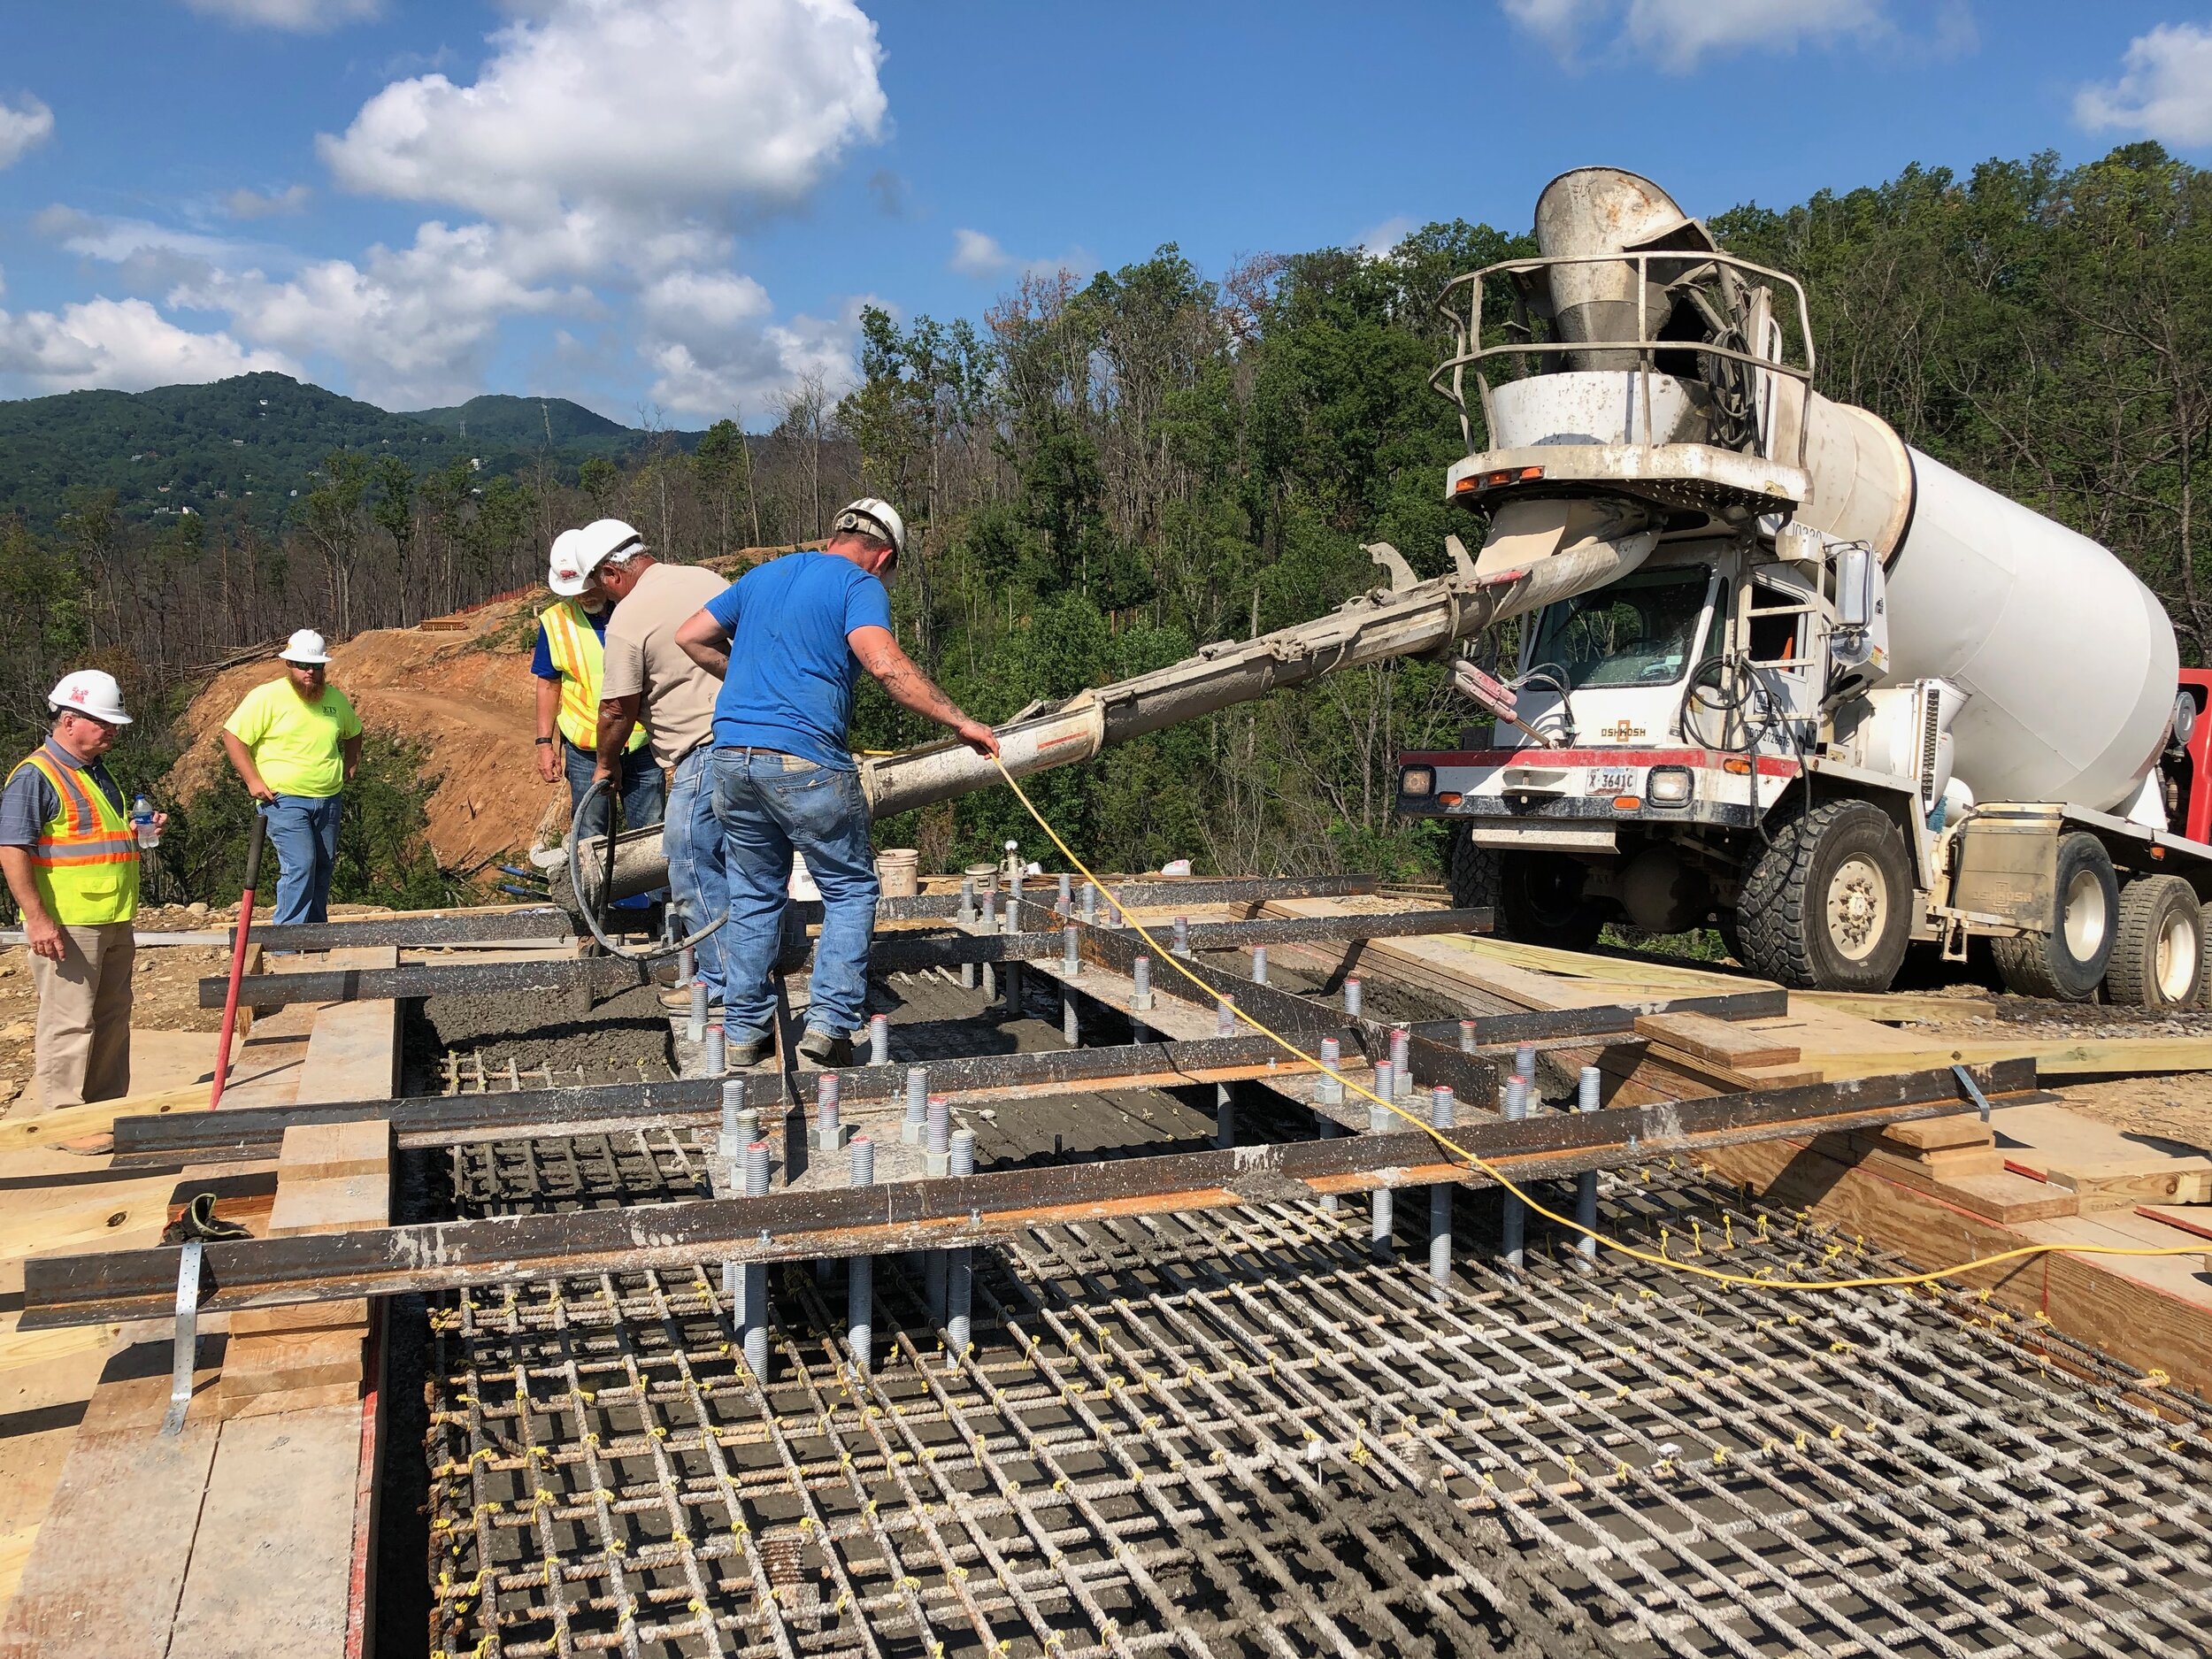
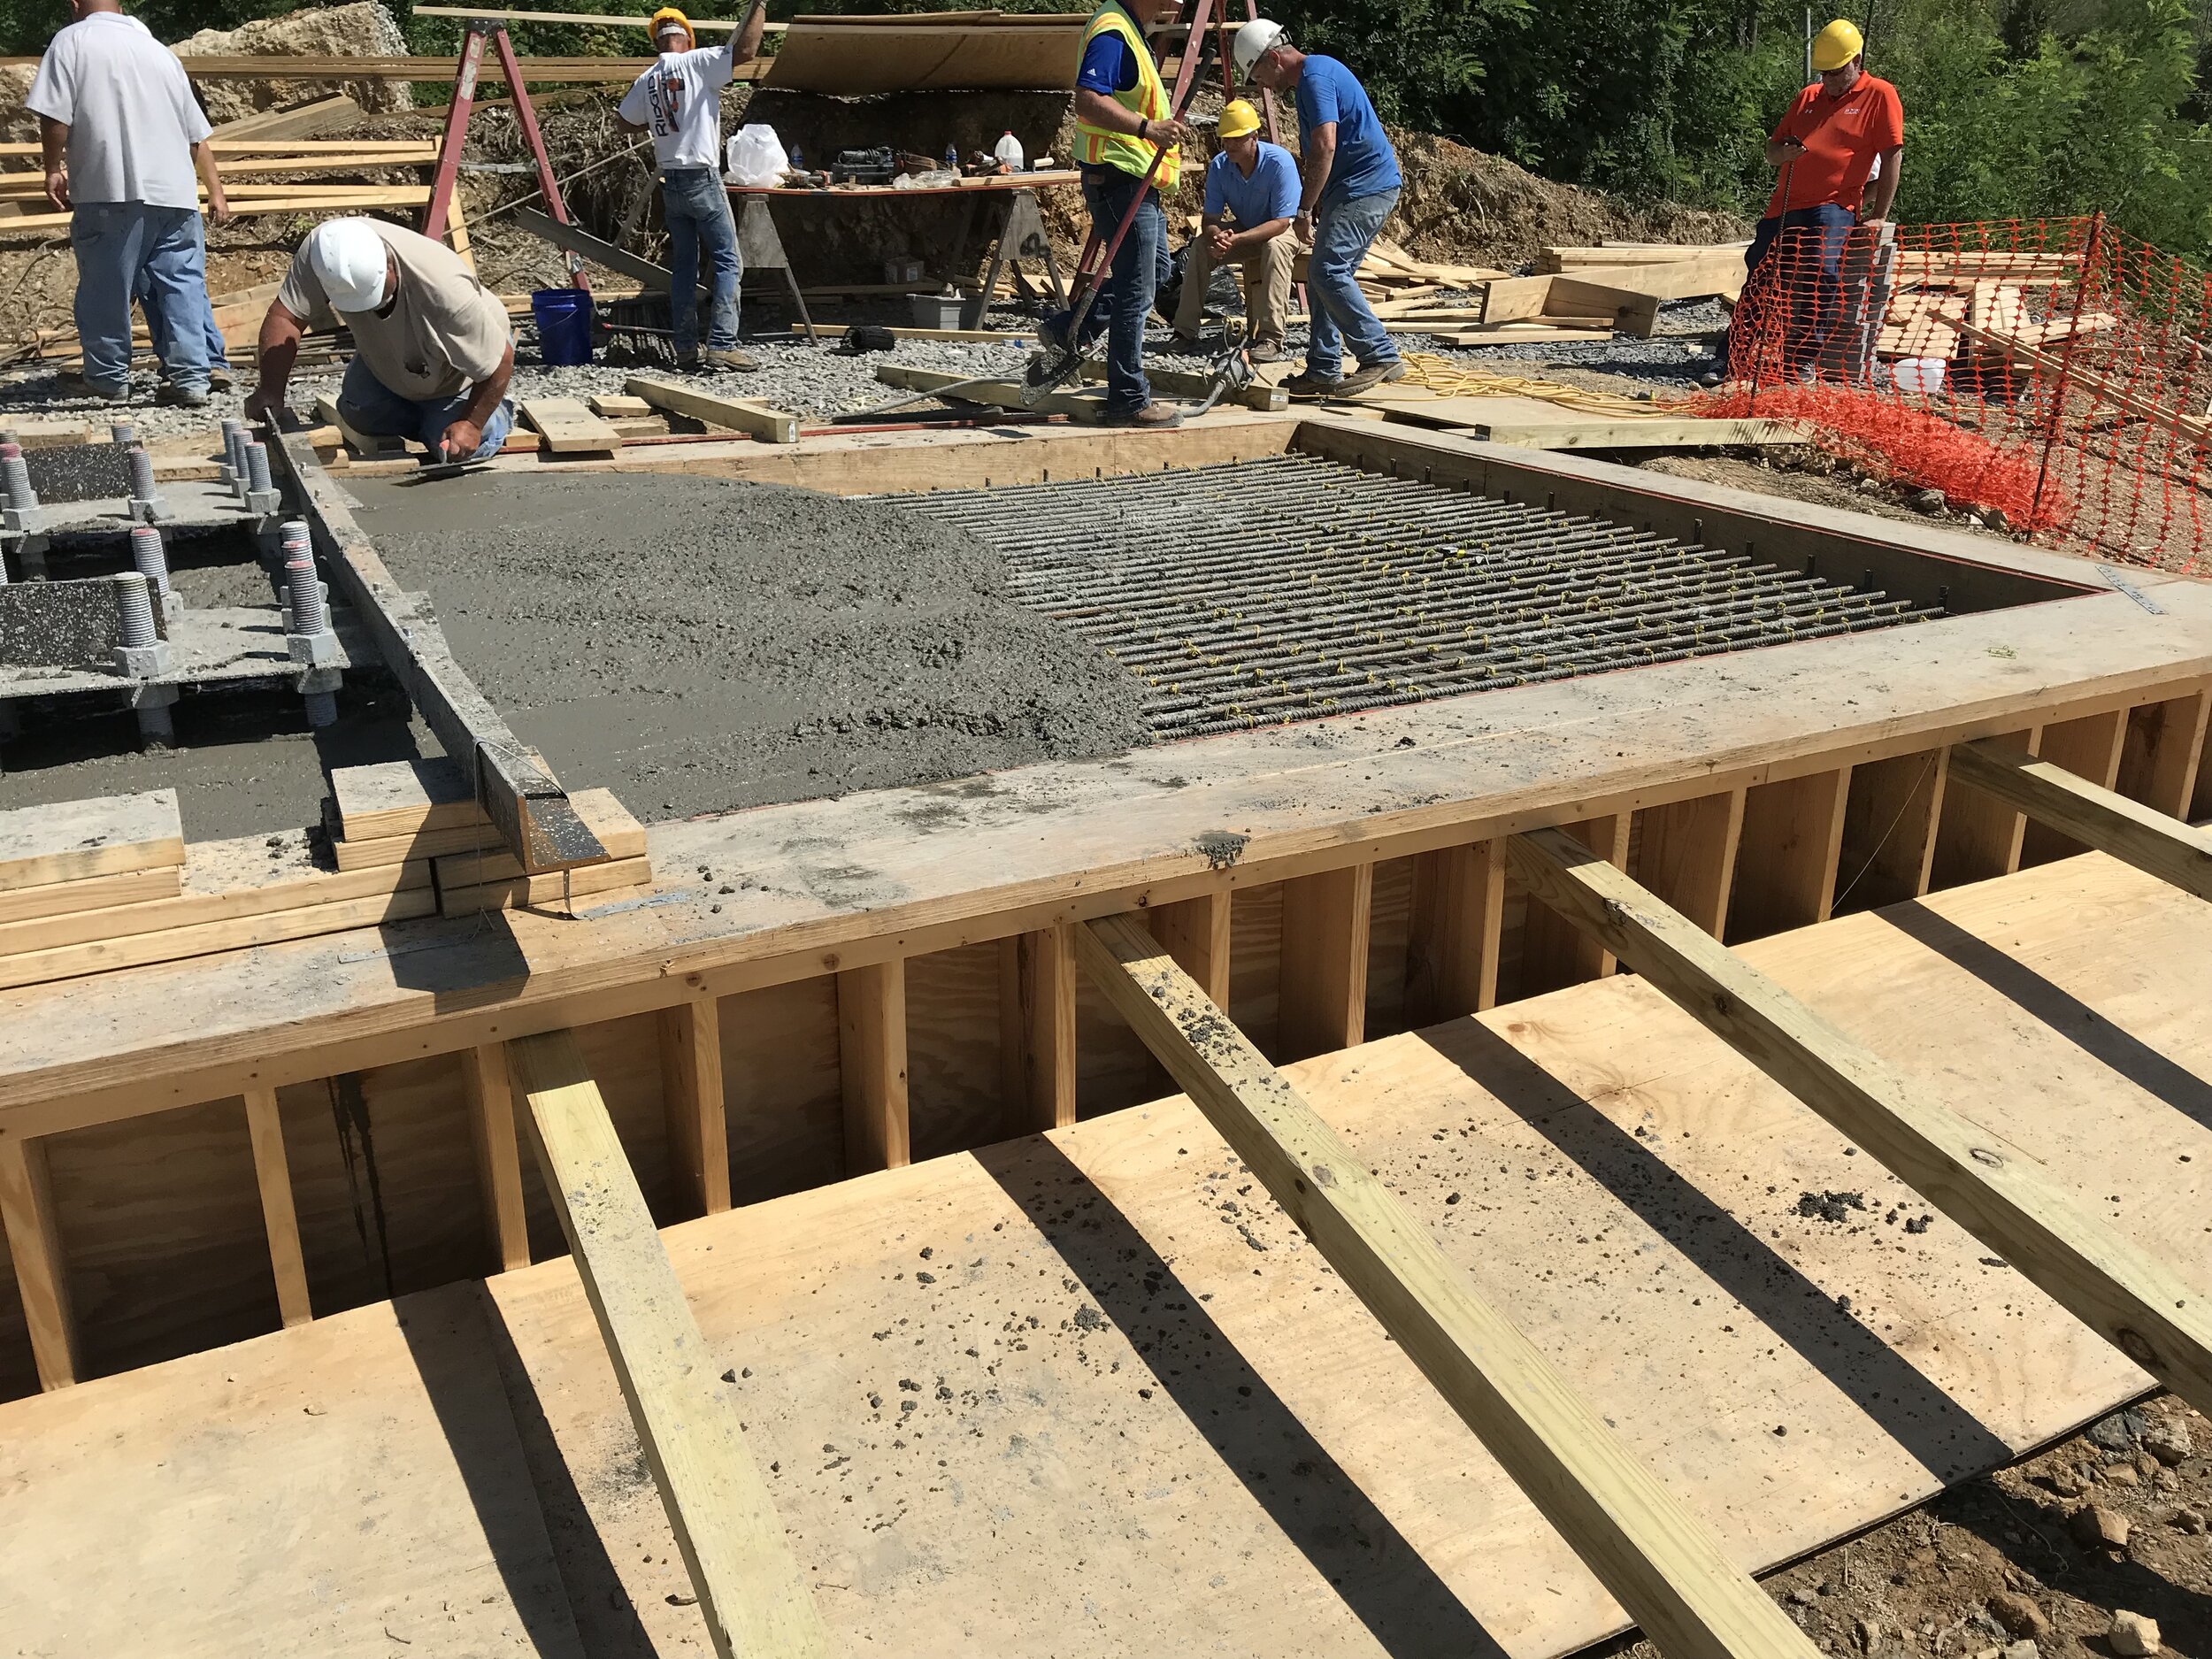
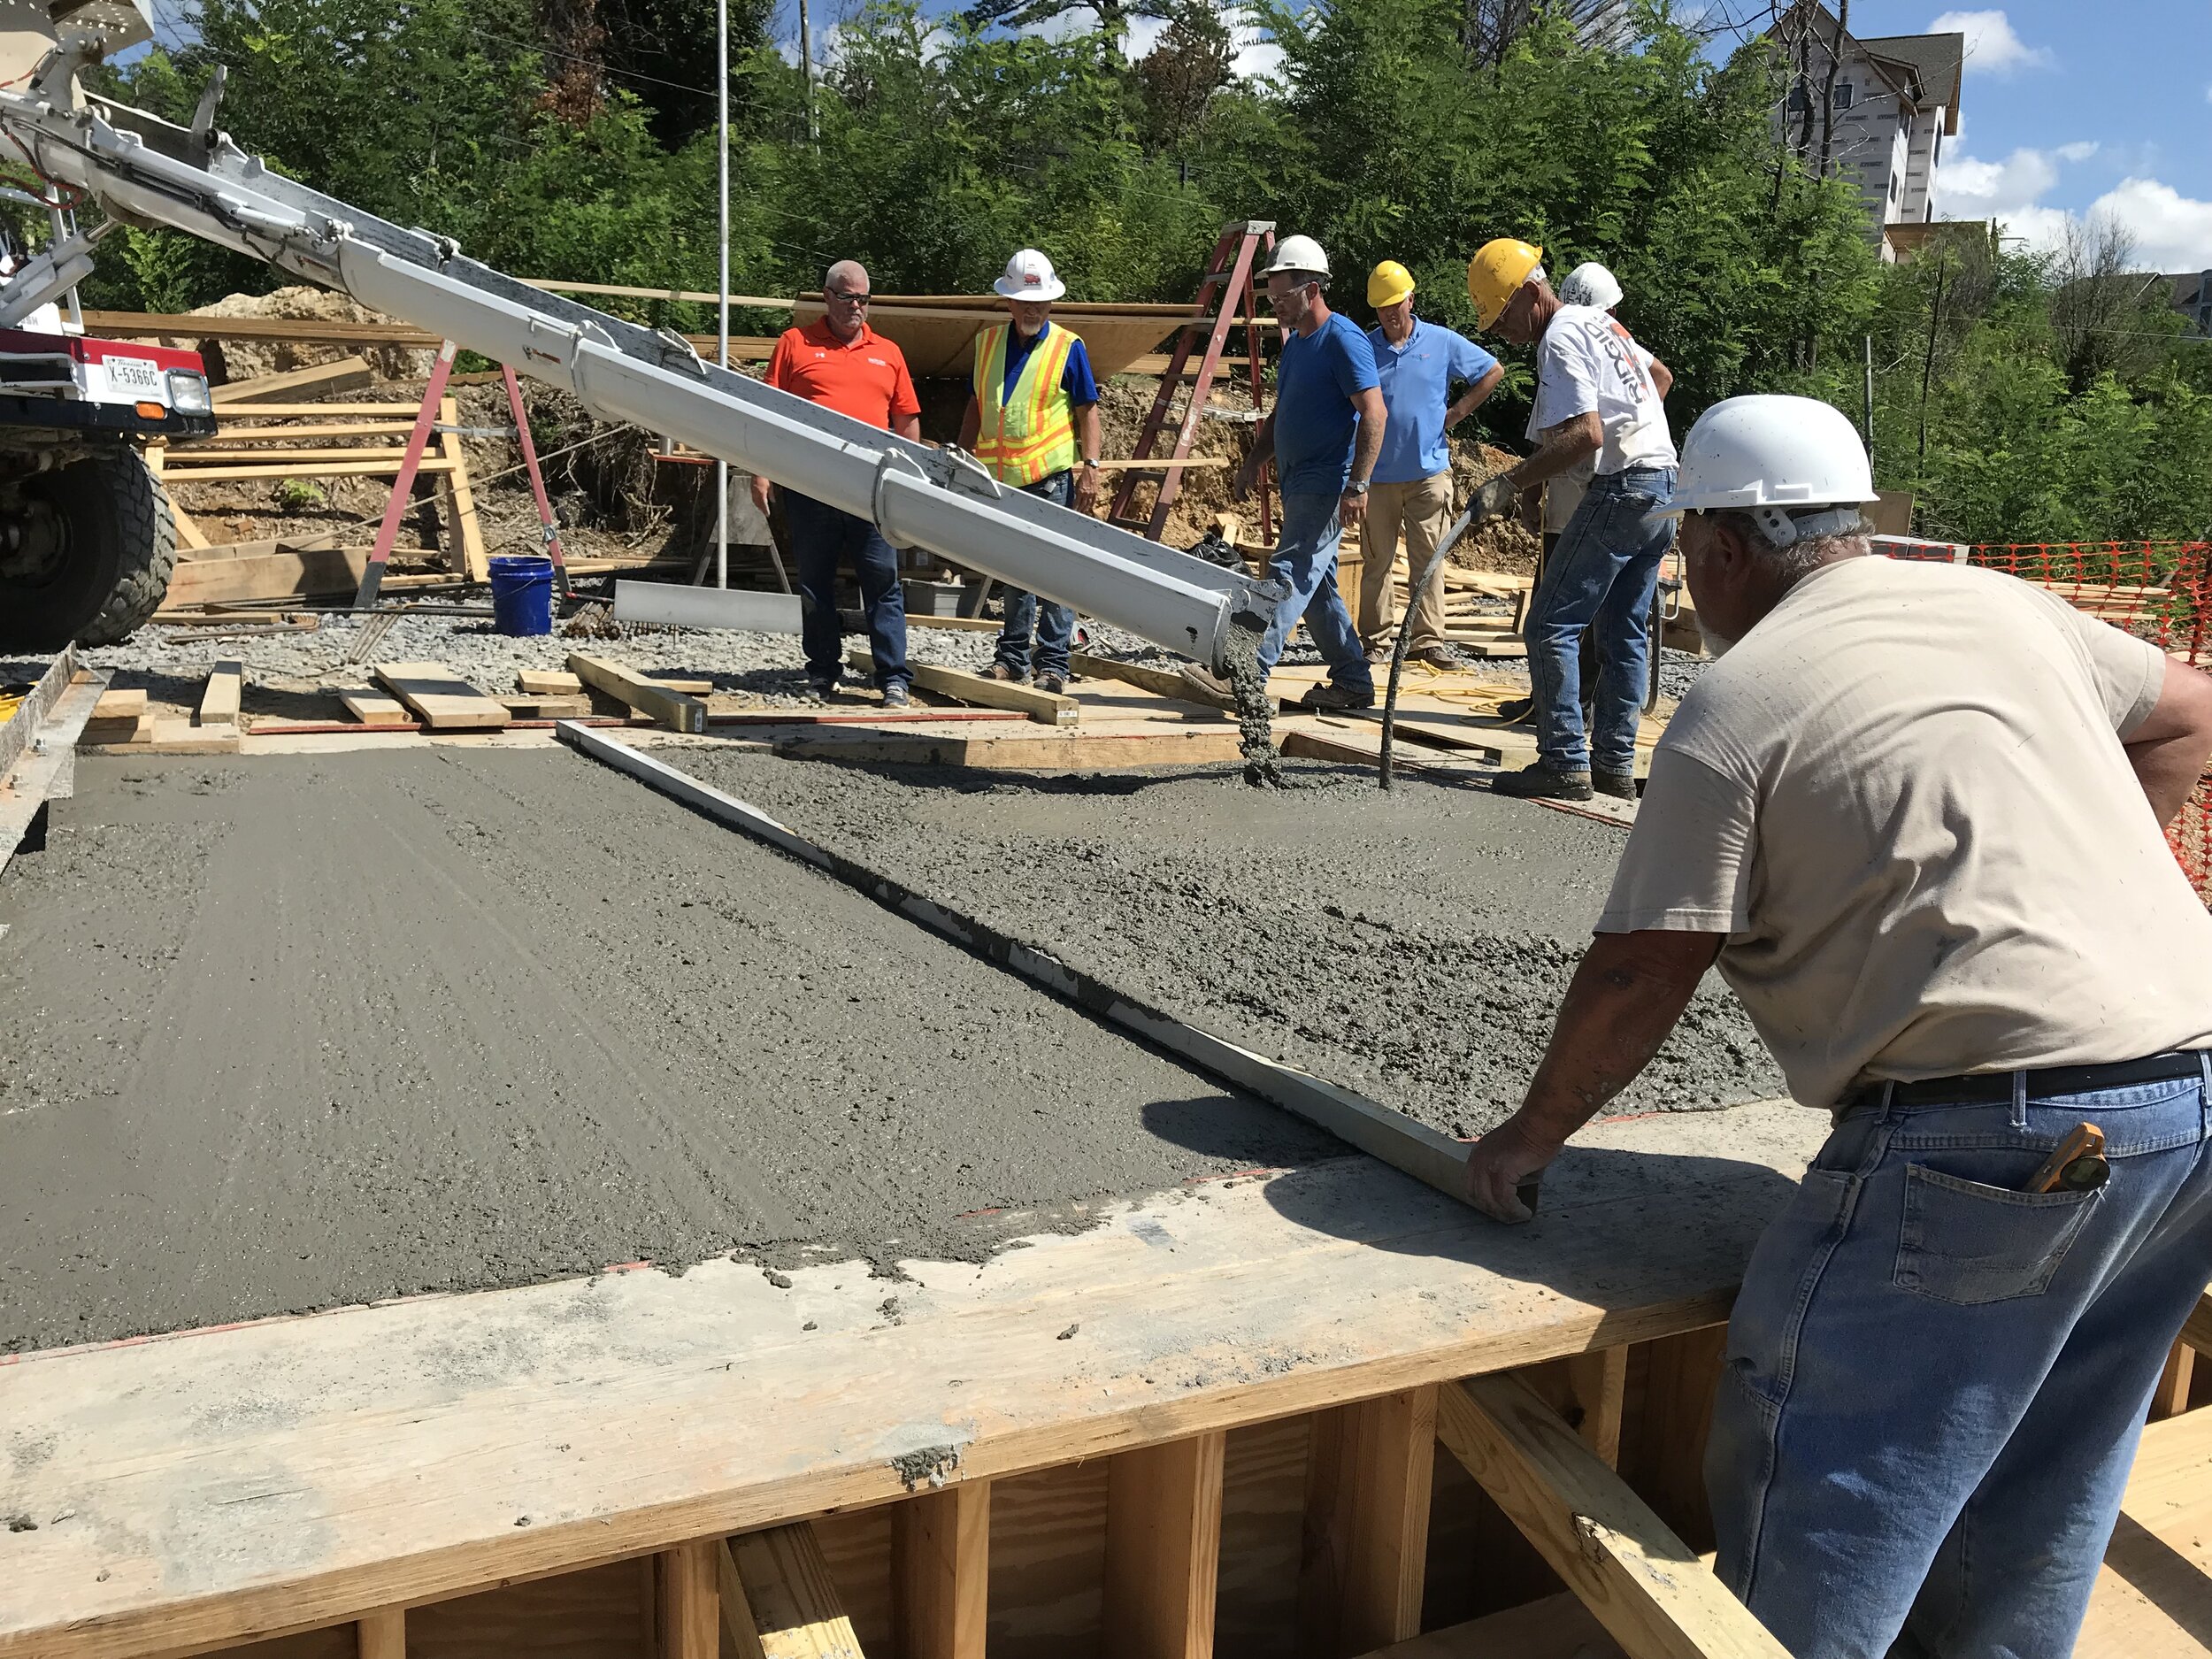
Concrete
Once the subsurface steel was in place, the rebar could be finished up. And it was a LOT of rebar! The day had finally arrived to pour the concrete for the first abutment. The bridge would eventually have more than a million pounds of concrete in its foundations: about 262 yards of concrete totaling 1,063,125 pounds/482,225 kilograms. The concrete for all the foundations would be poured over the course of multiple days. In addition to traditional break tests performed by a special inspector, we also embedded concrete sensors throughout the foundations so we could monitor the concrete cure in real time.

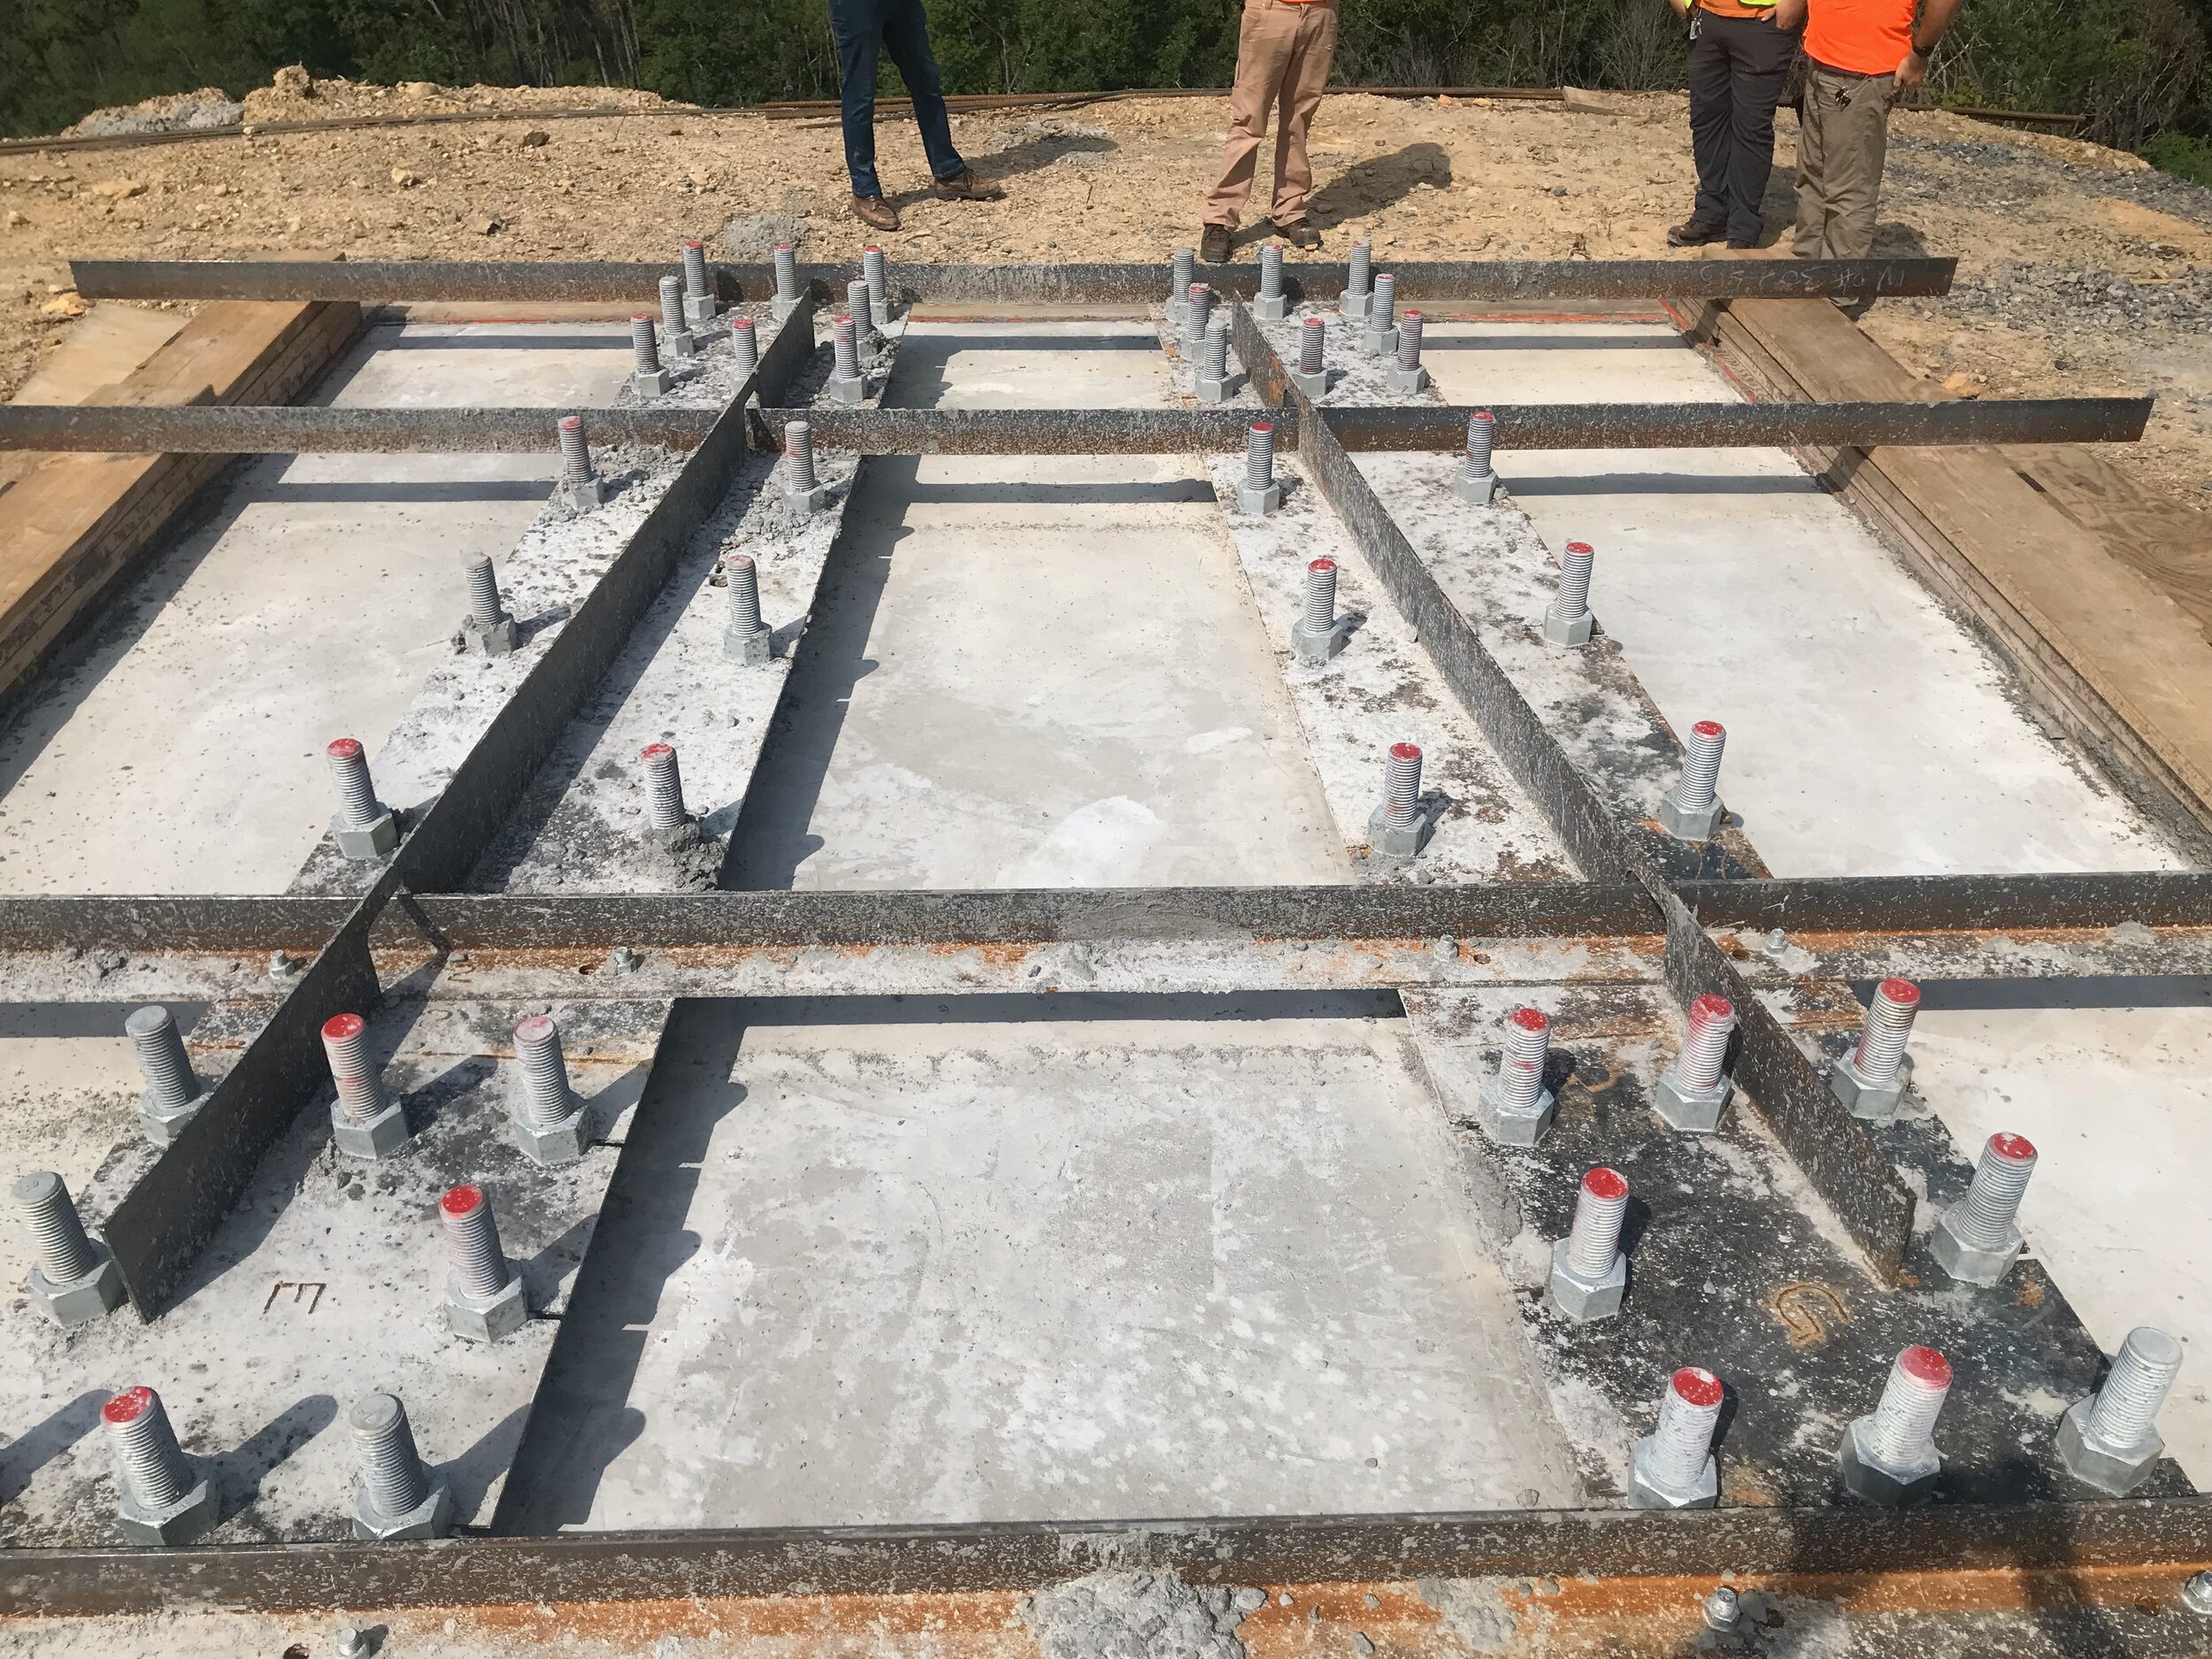
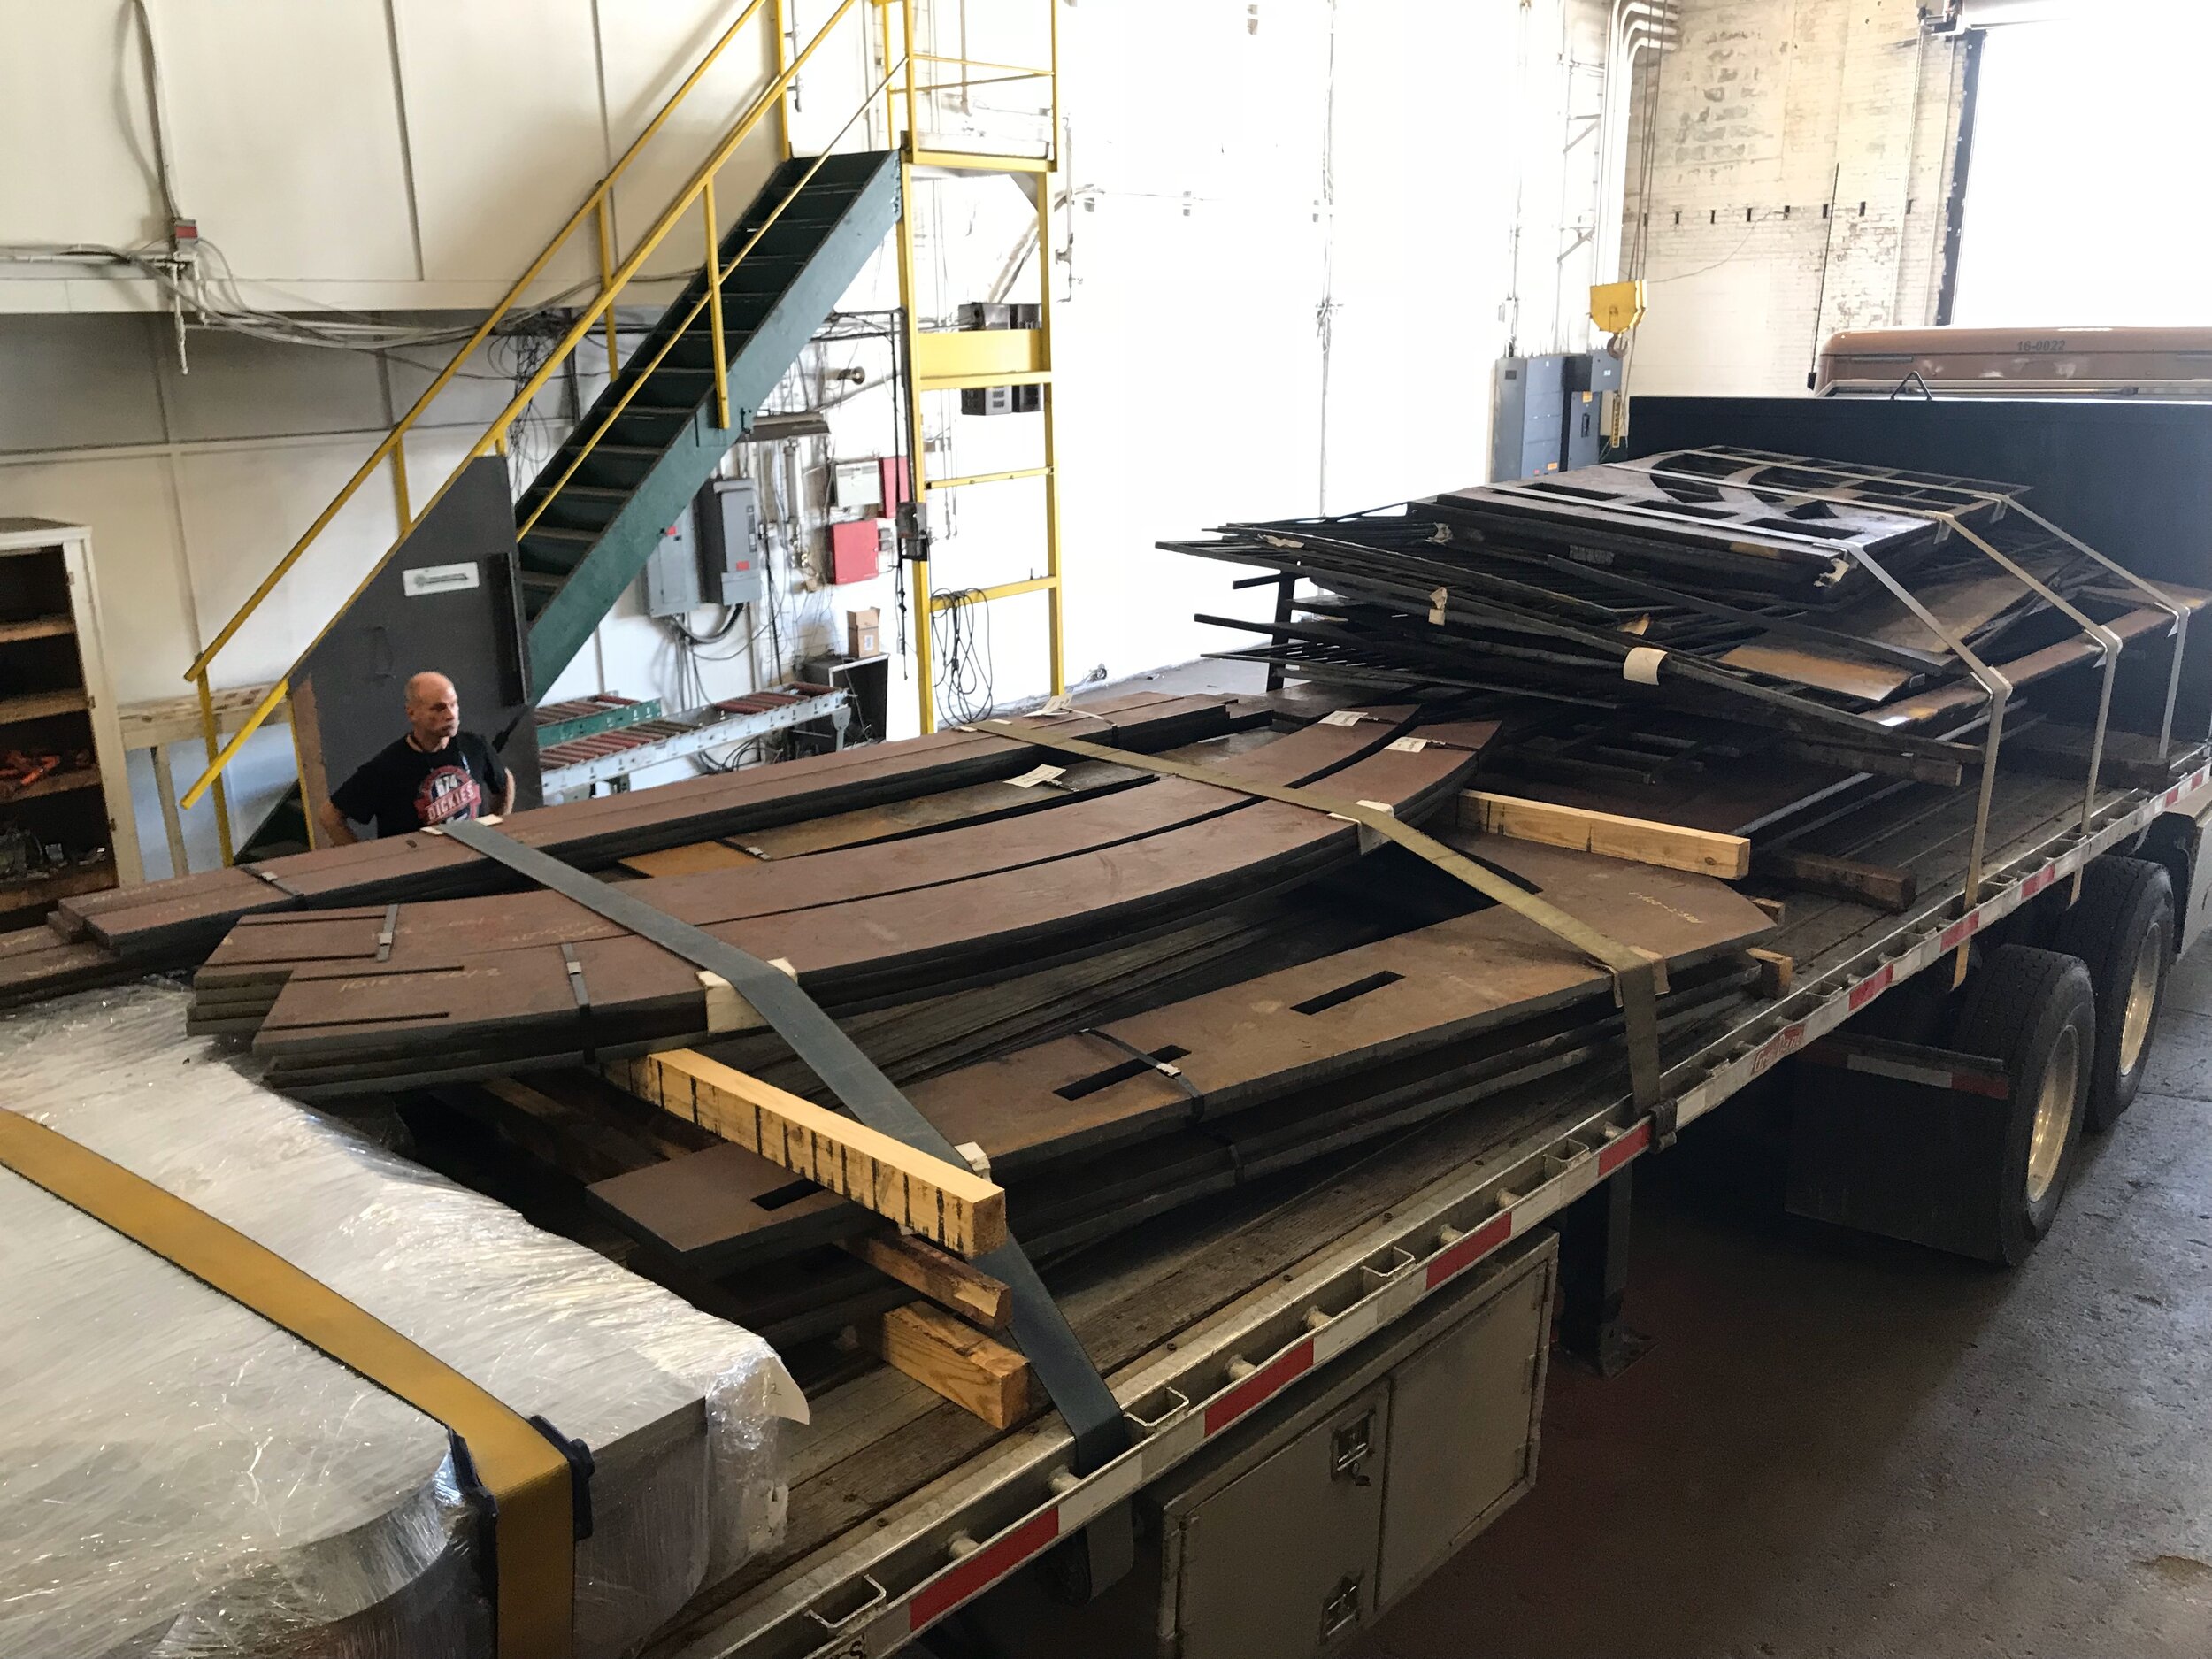
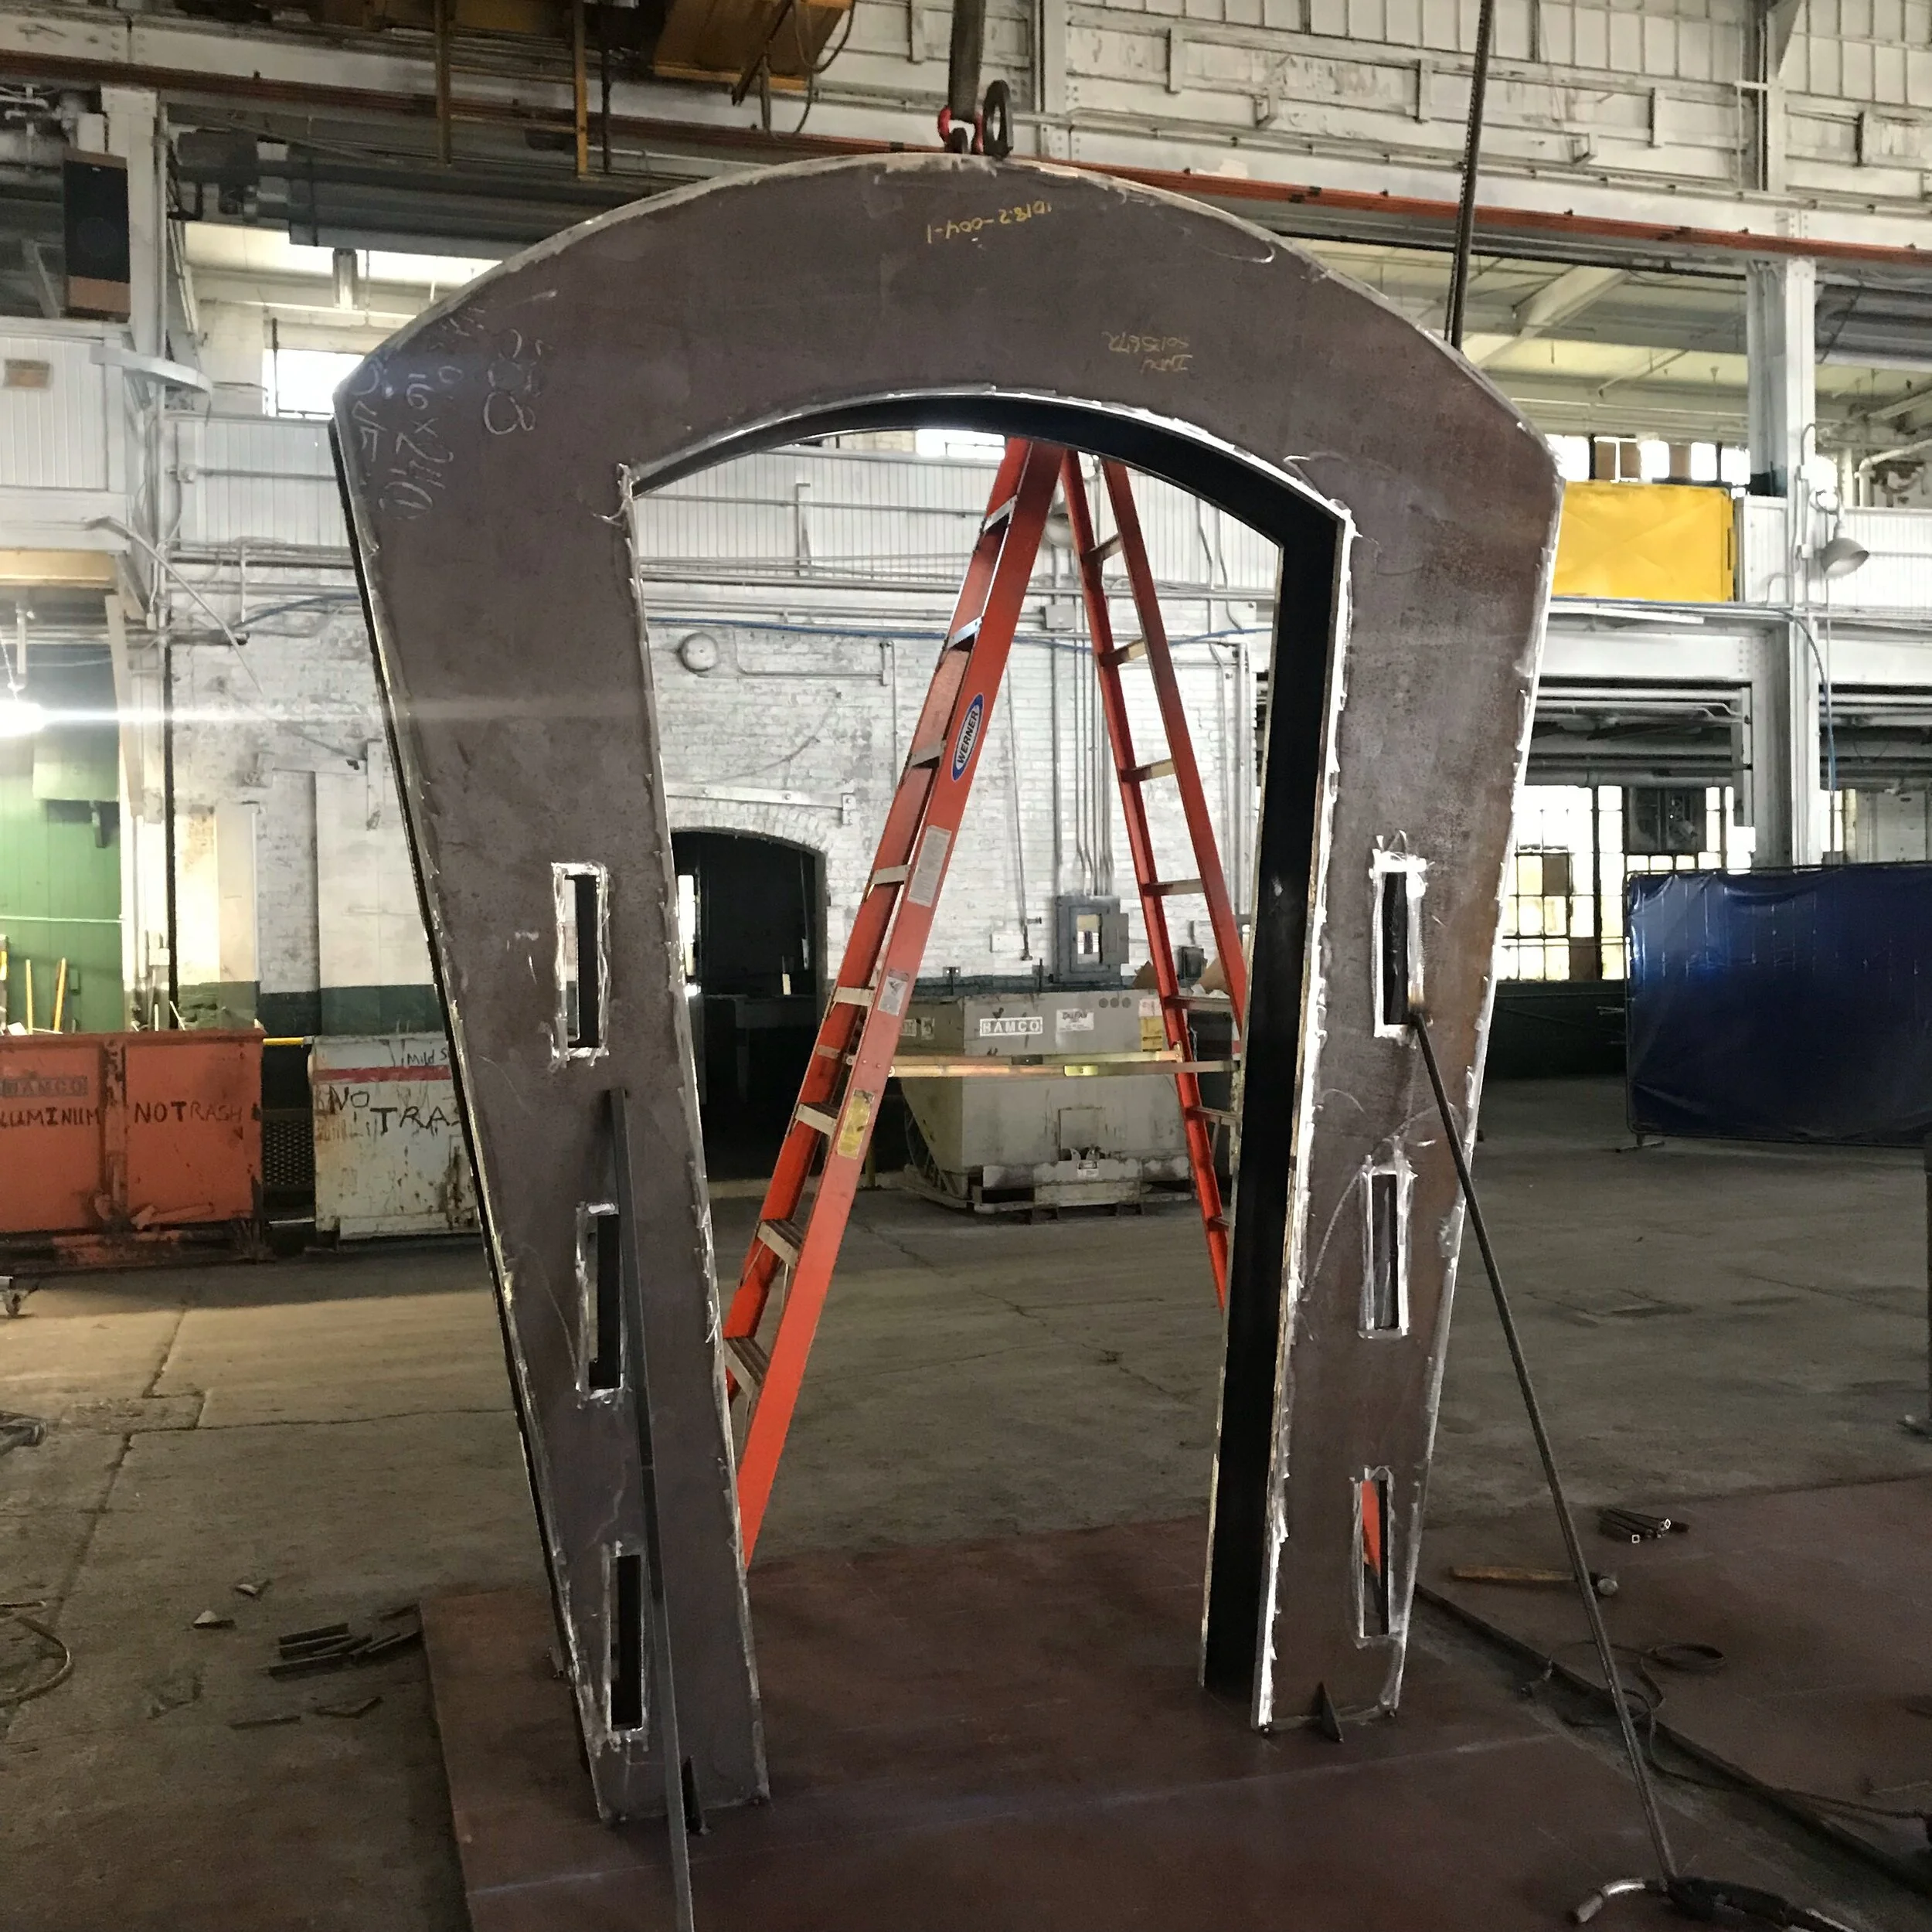
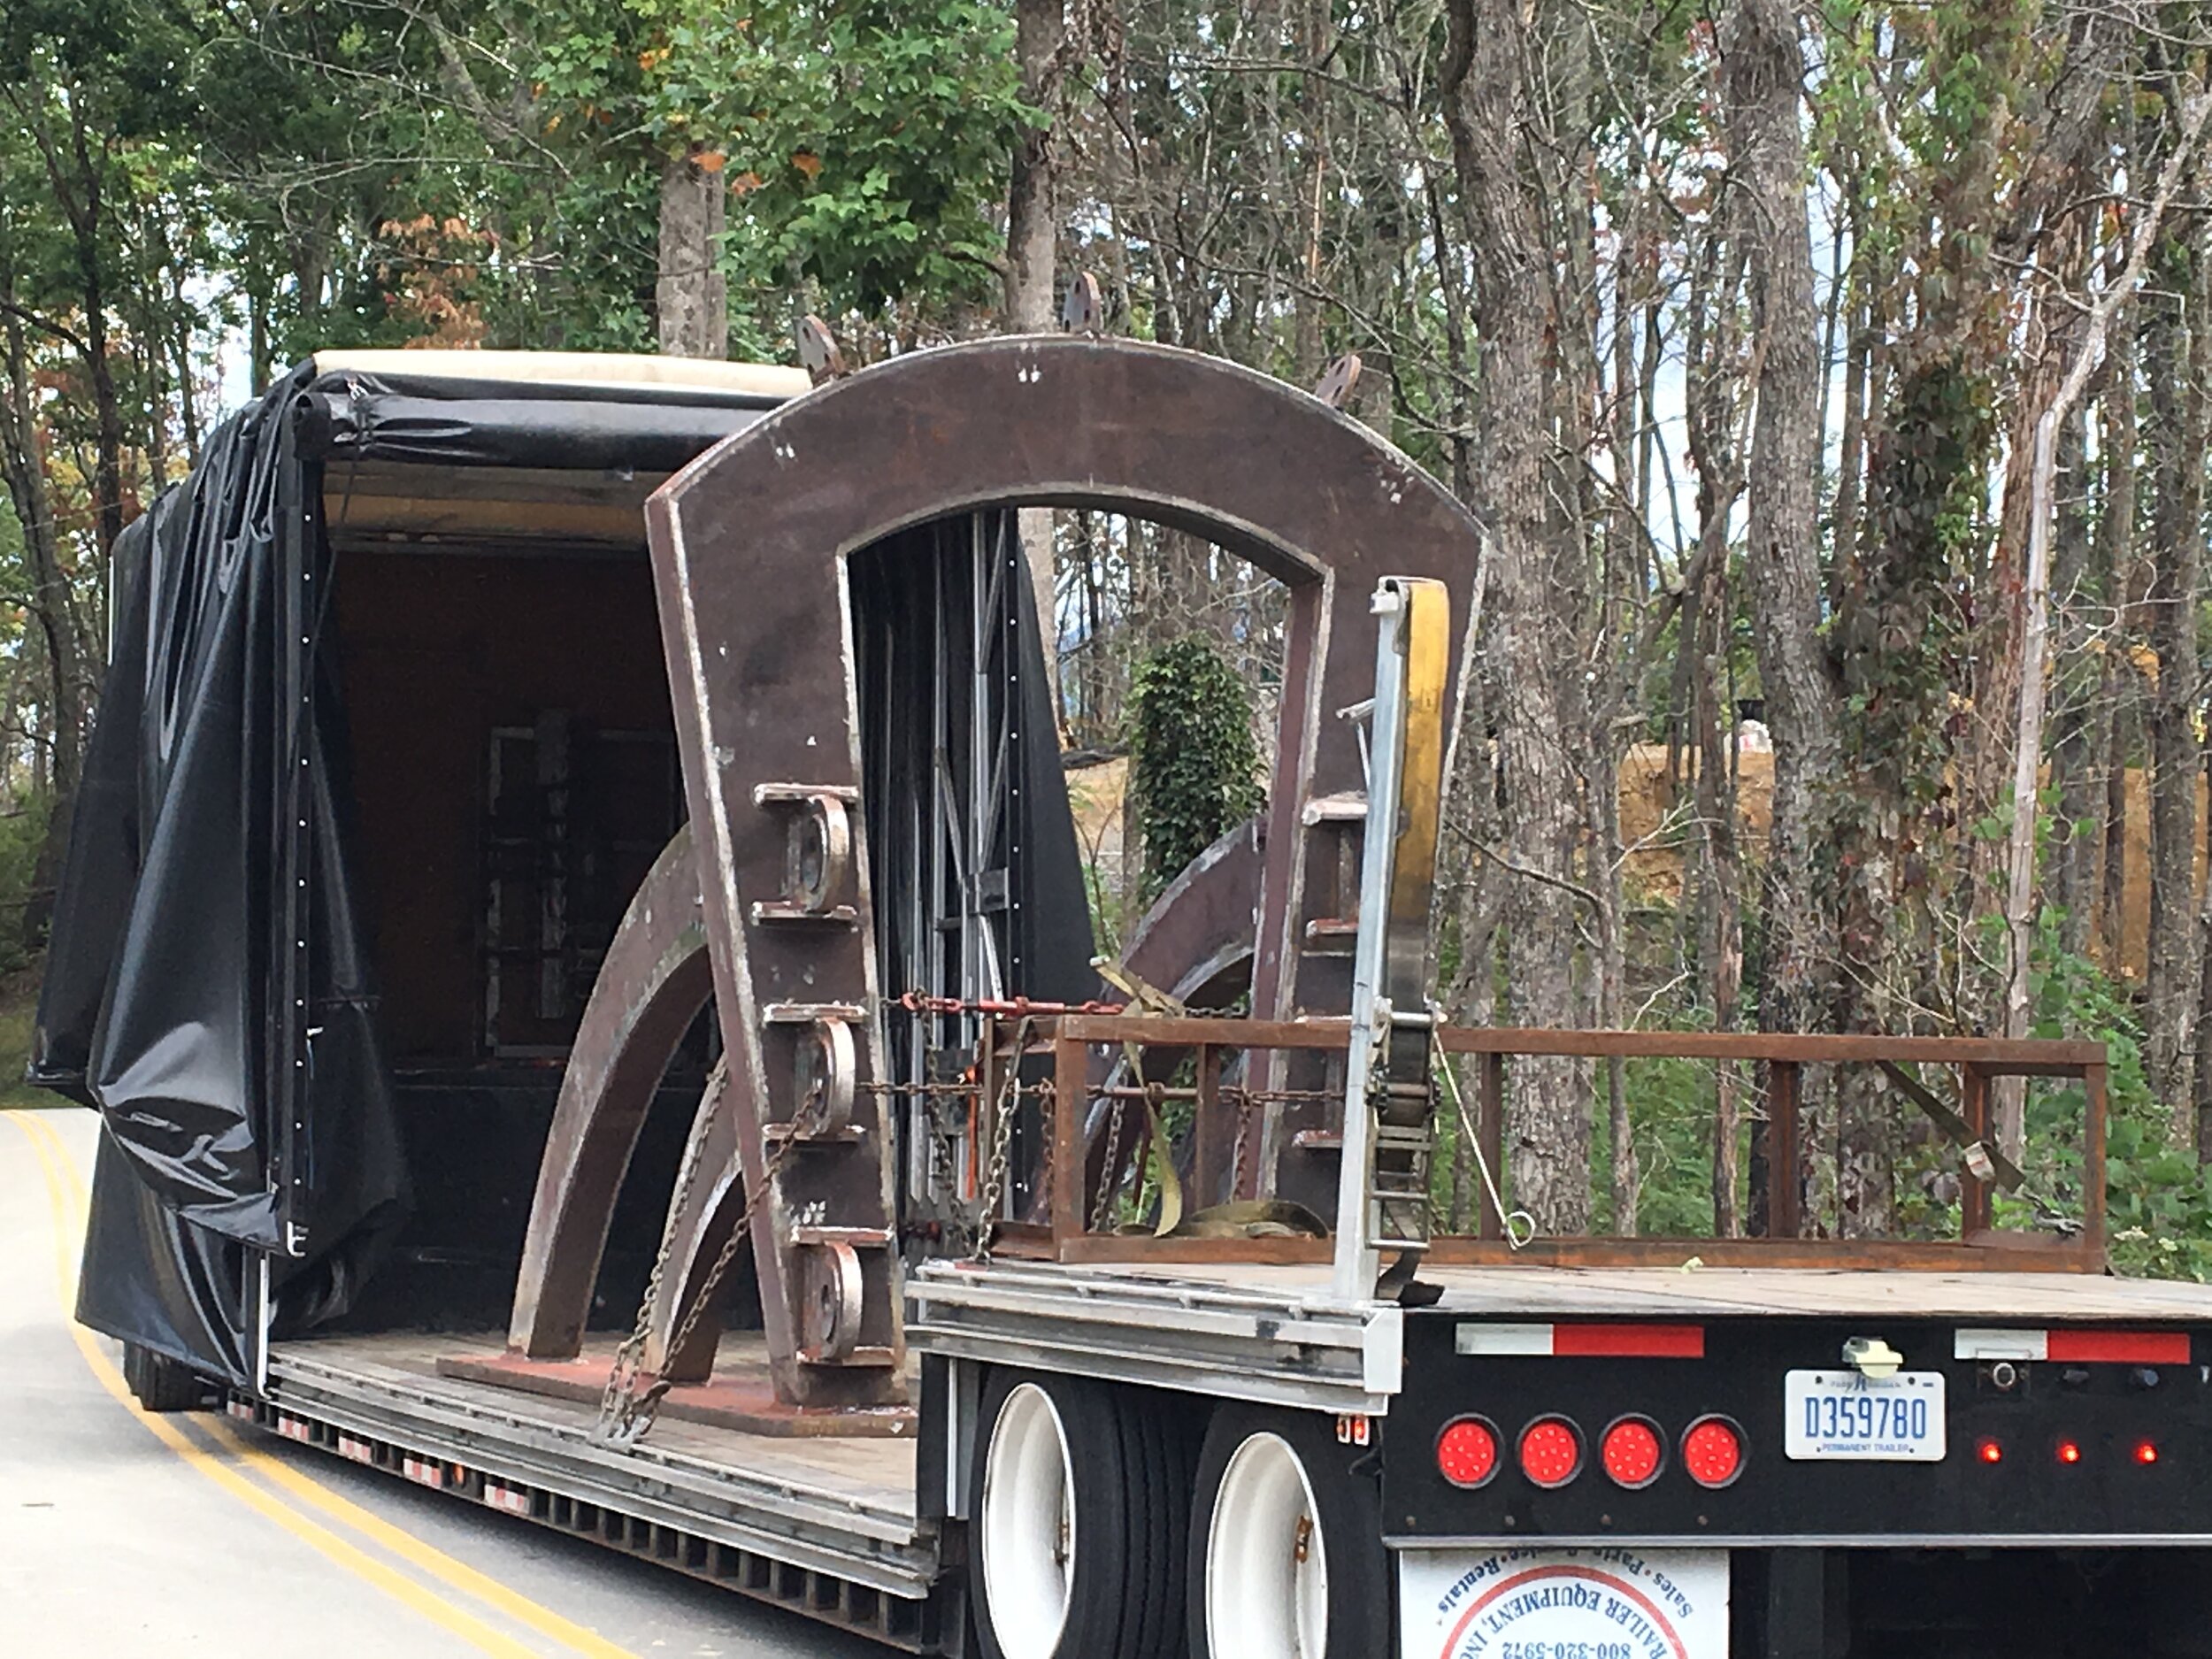
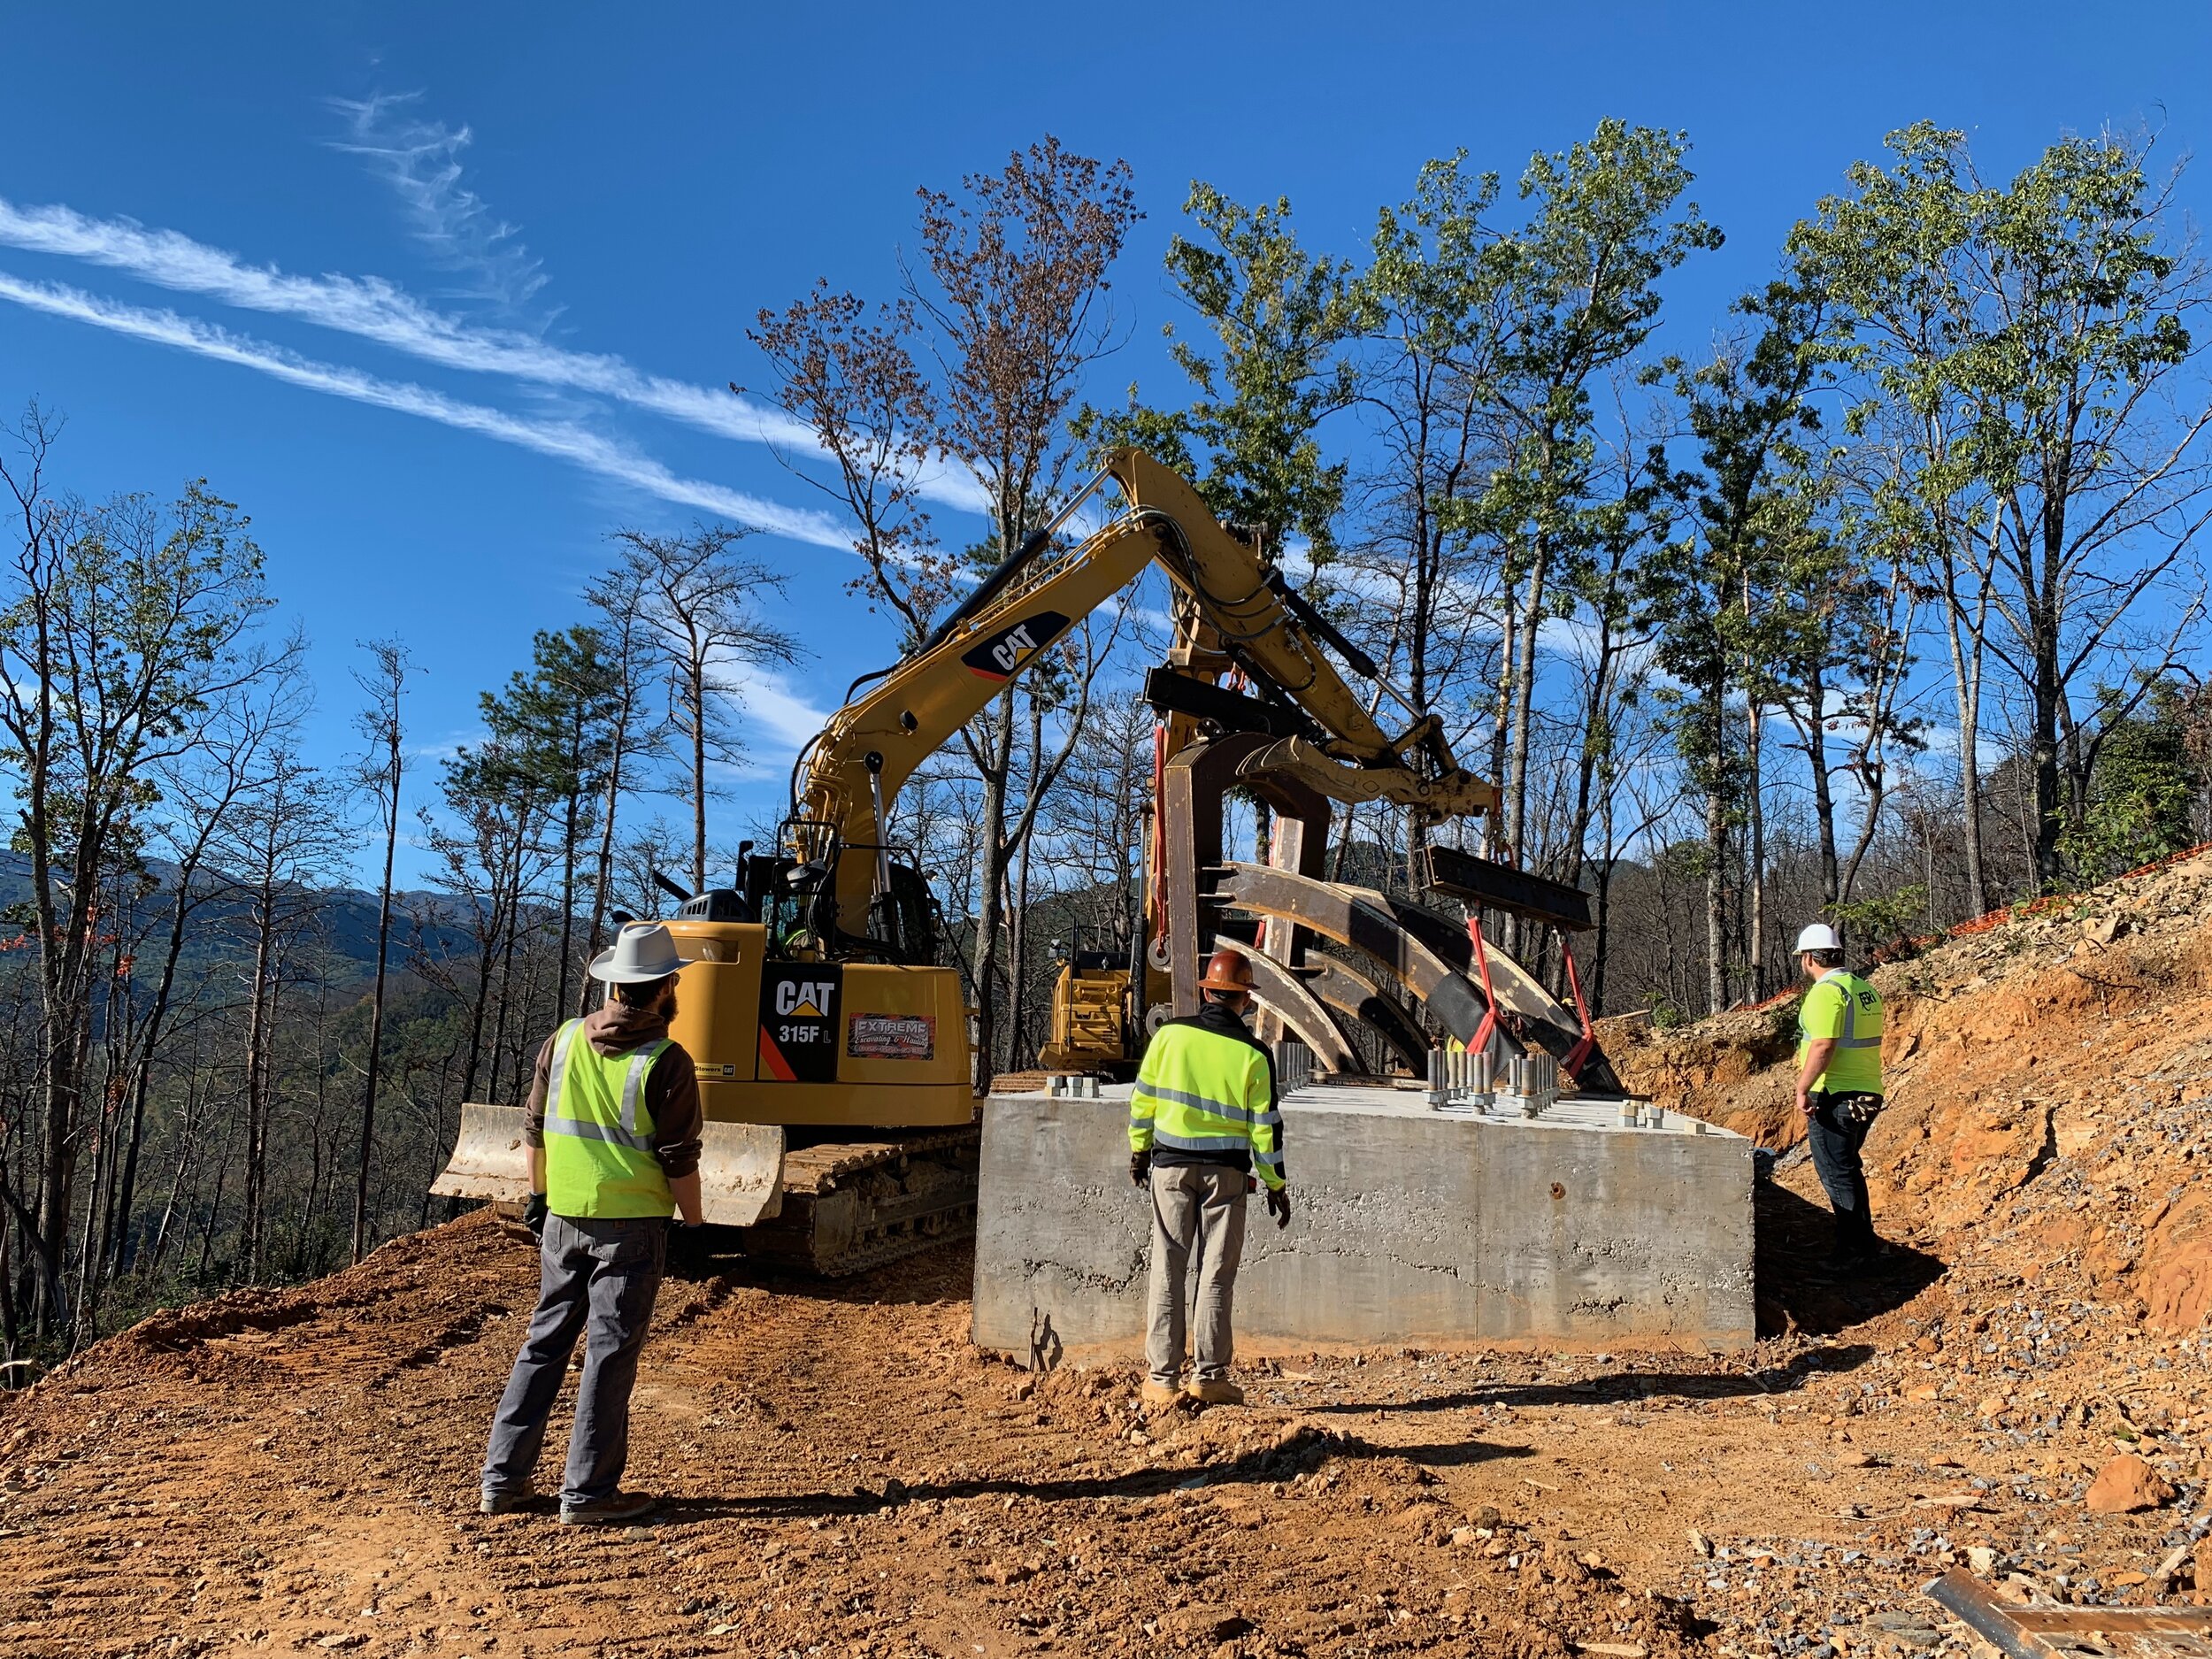
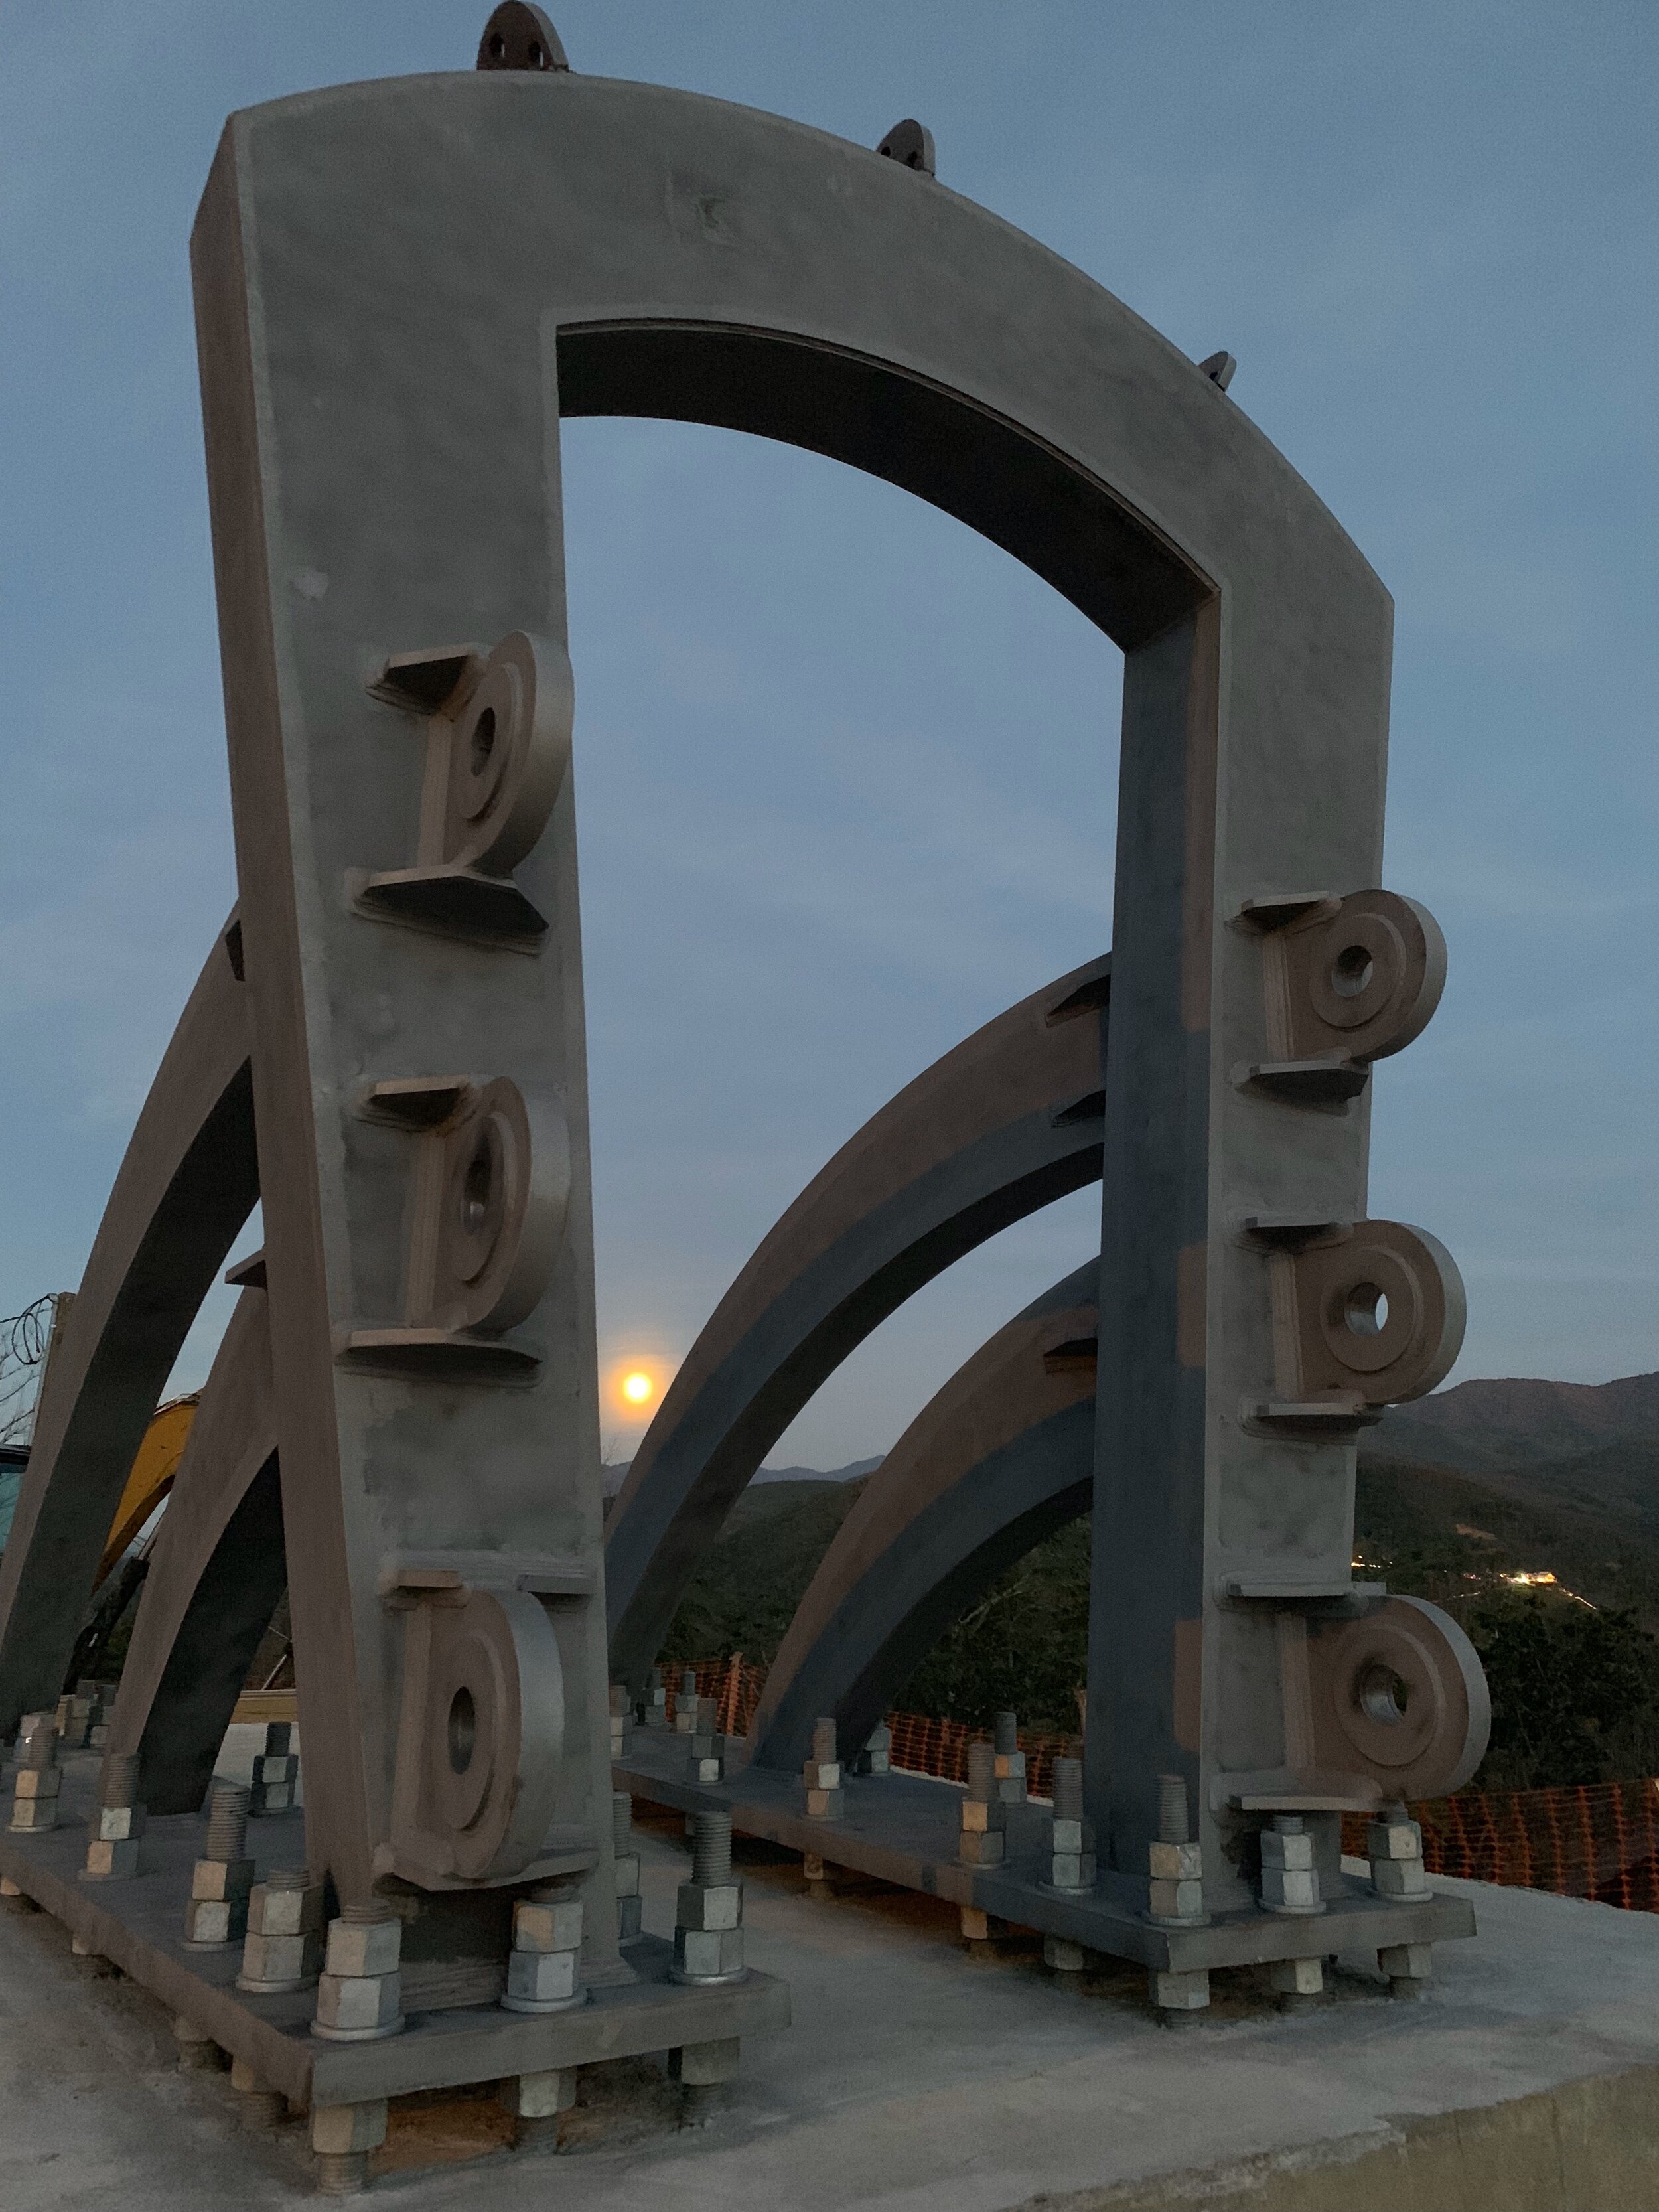
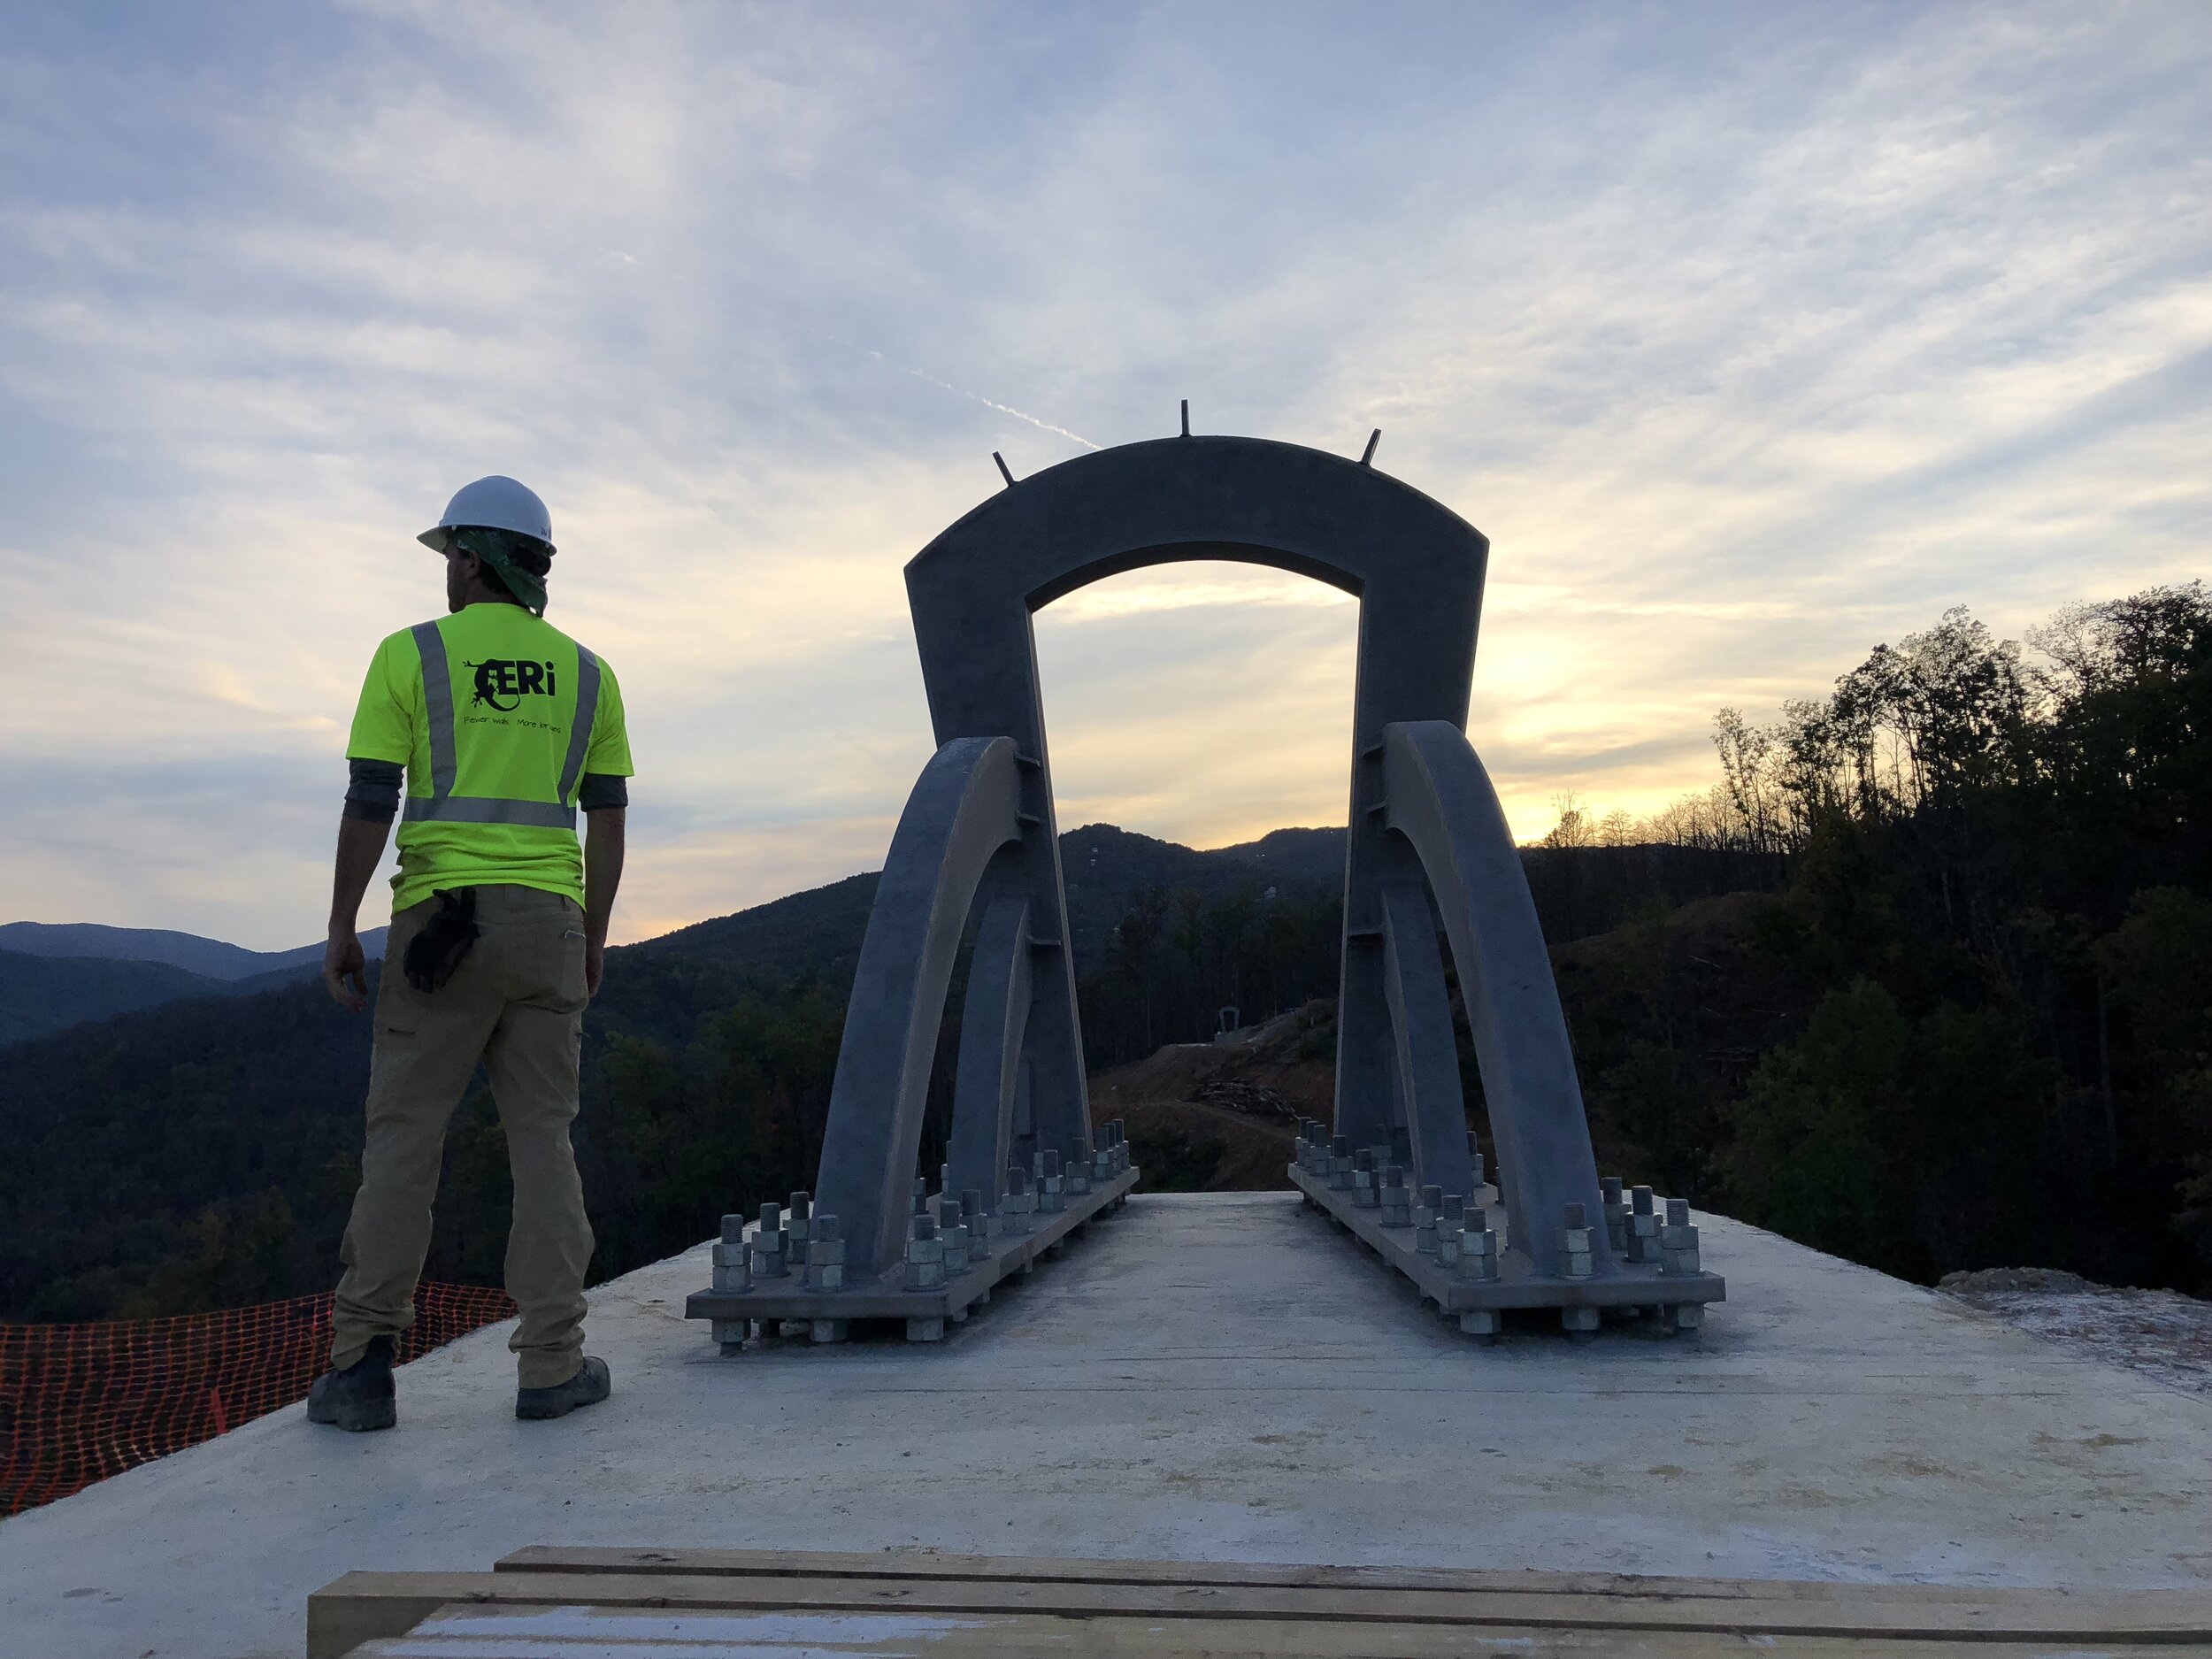
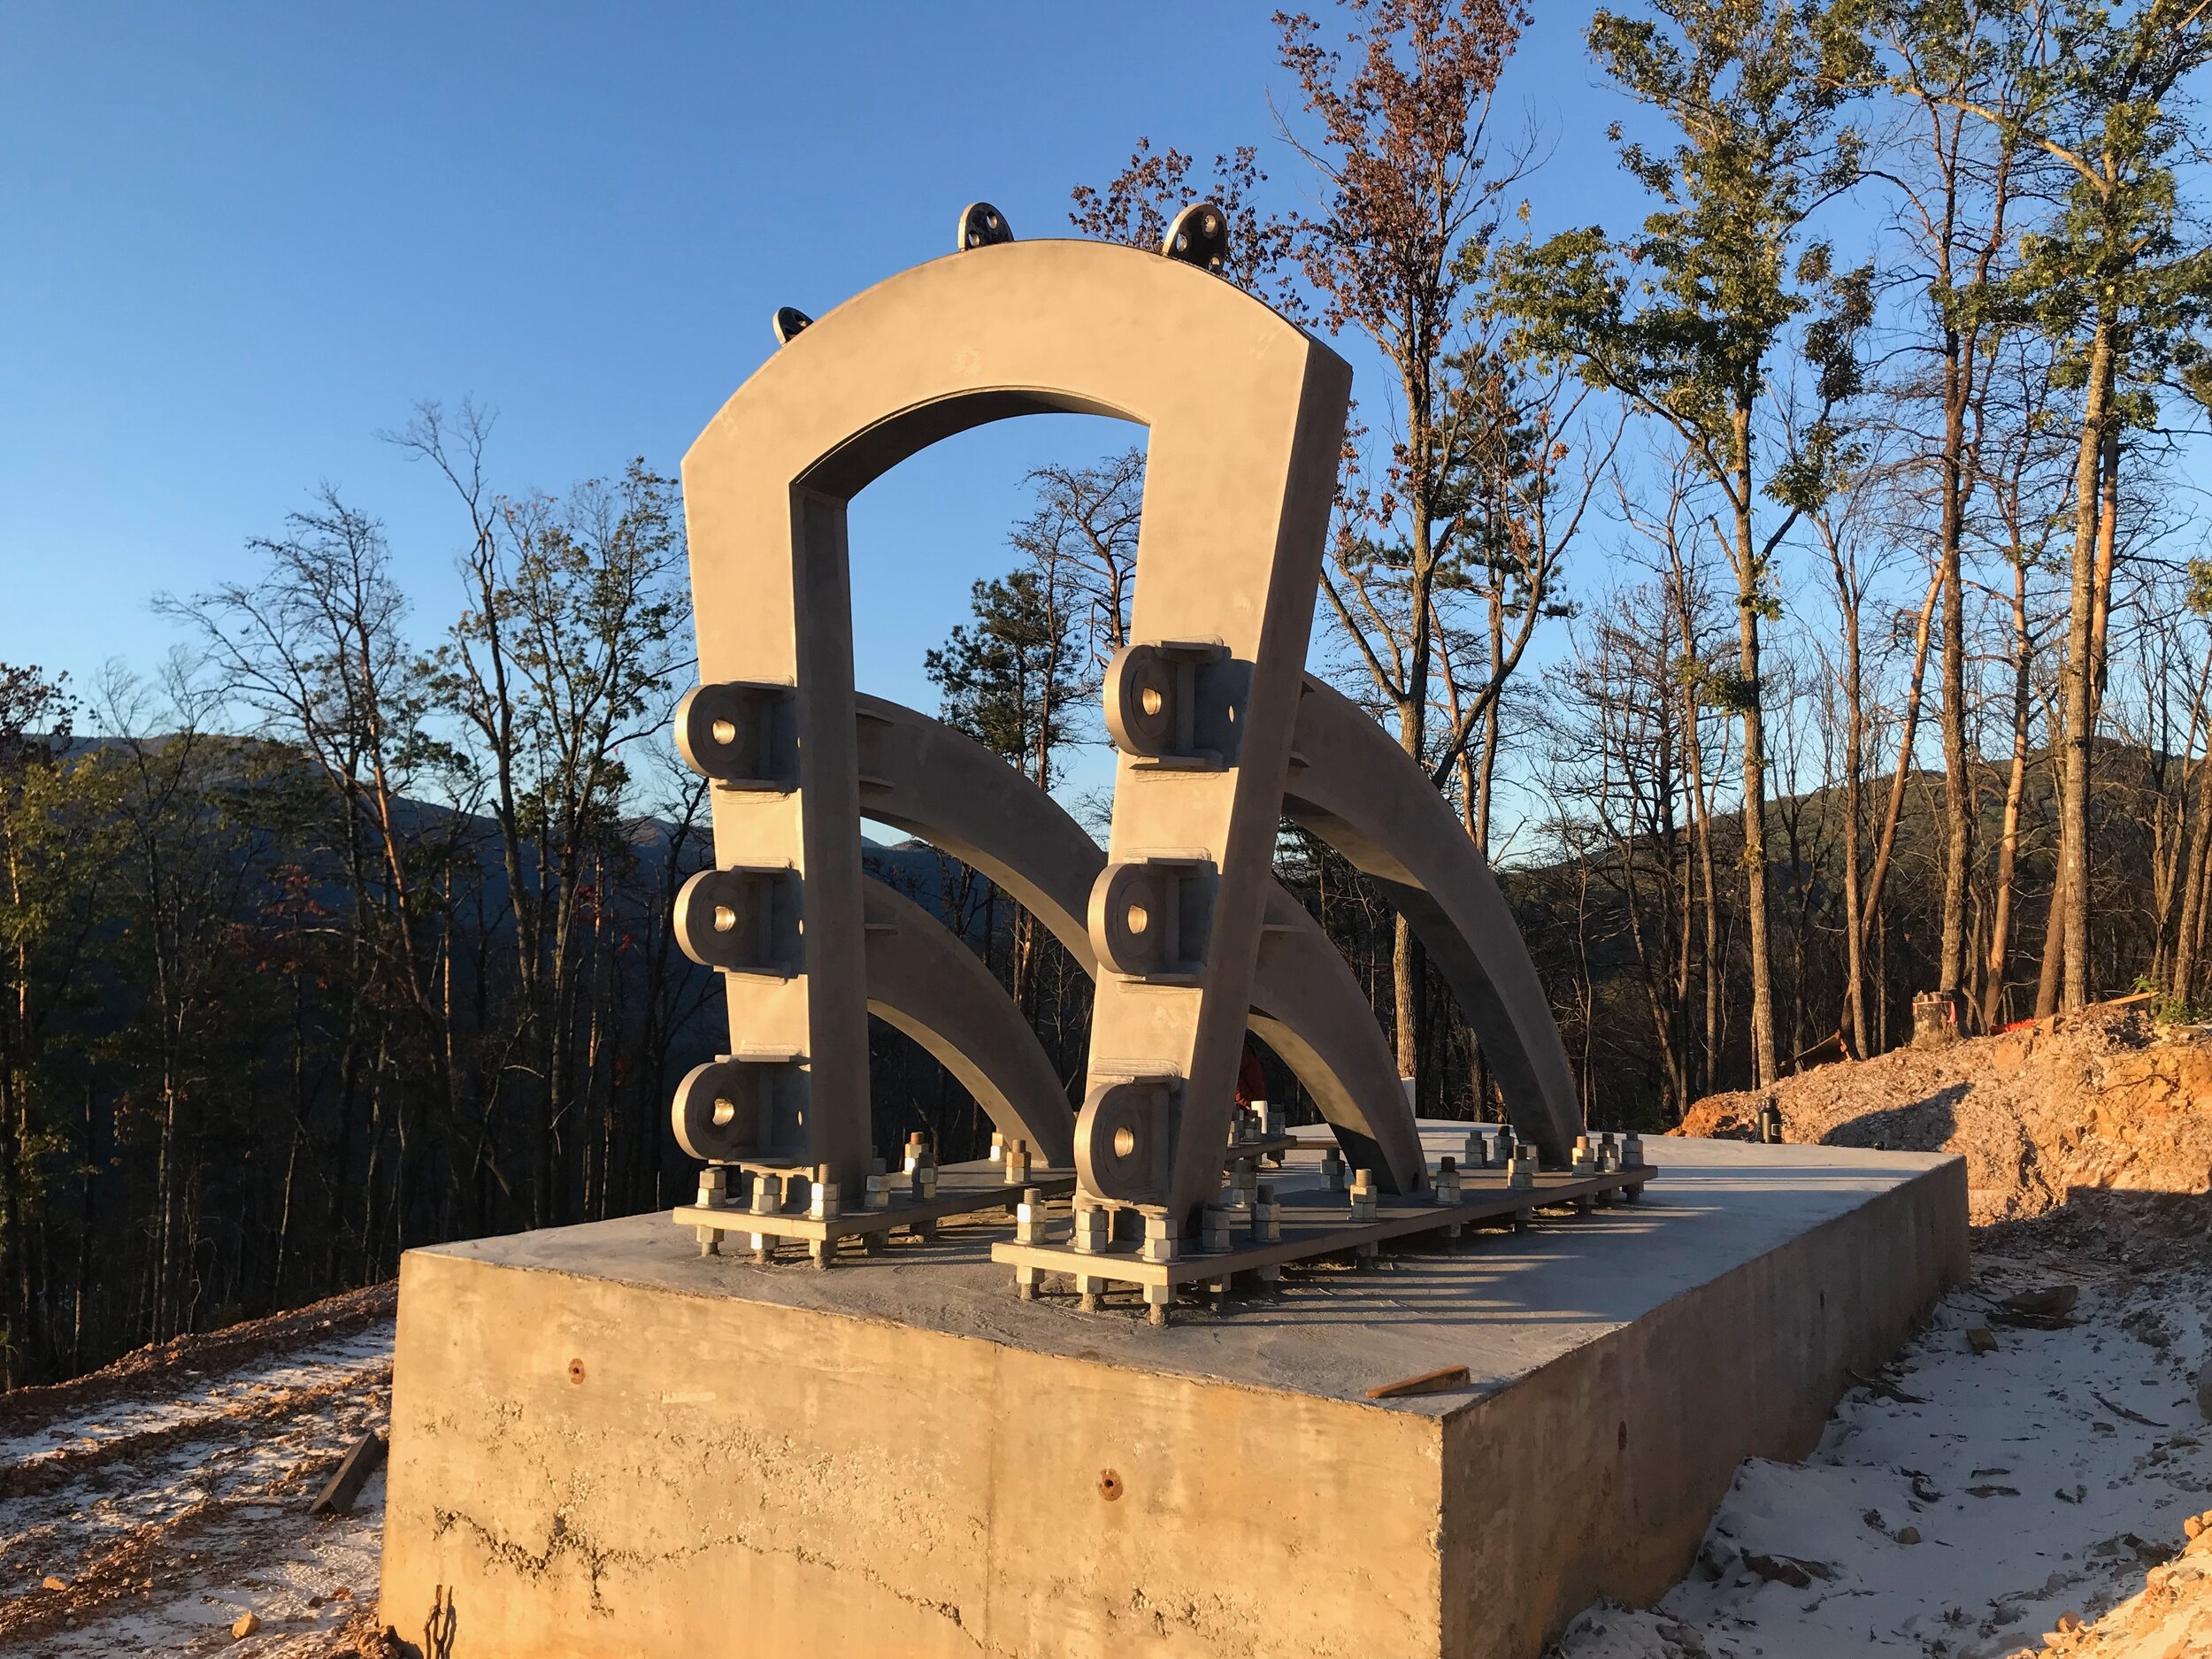
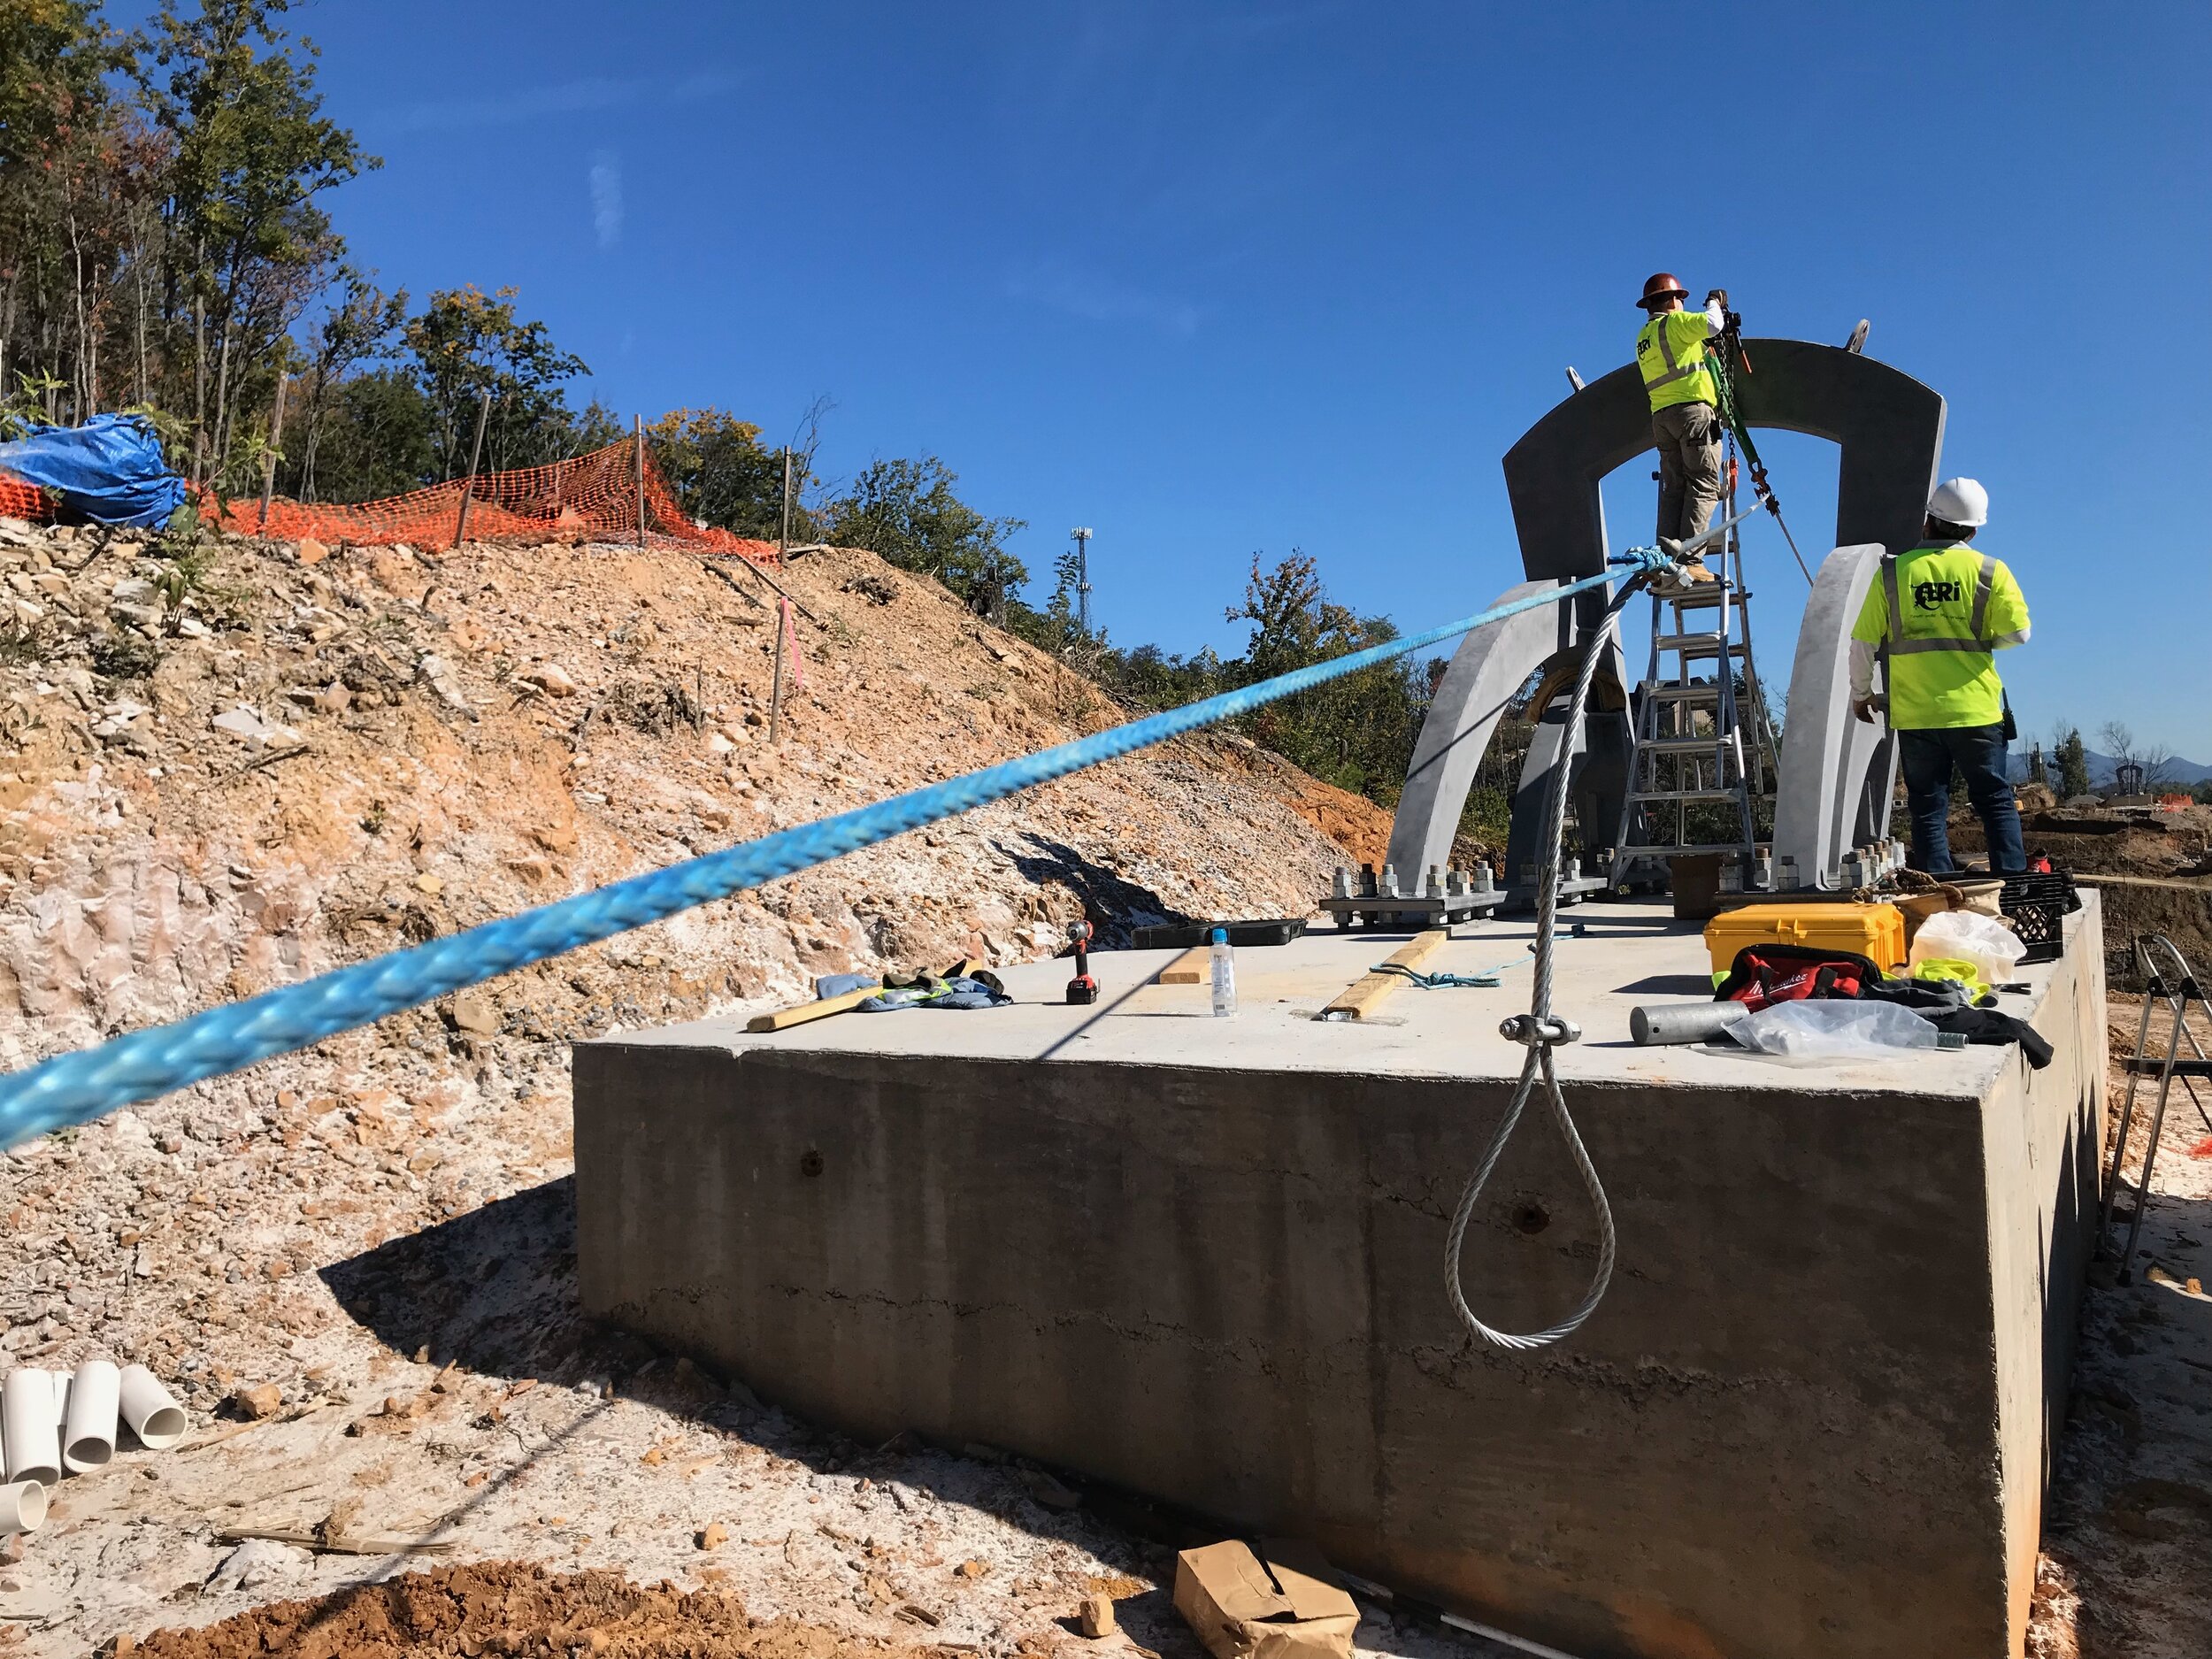
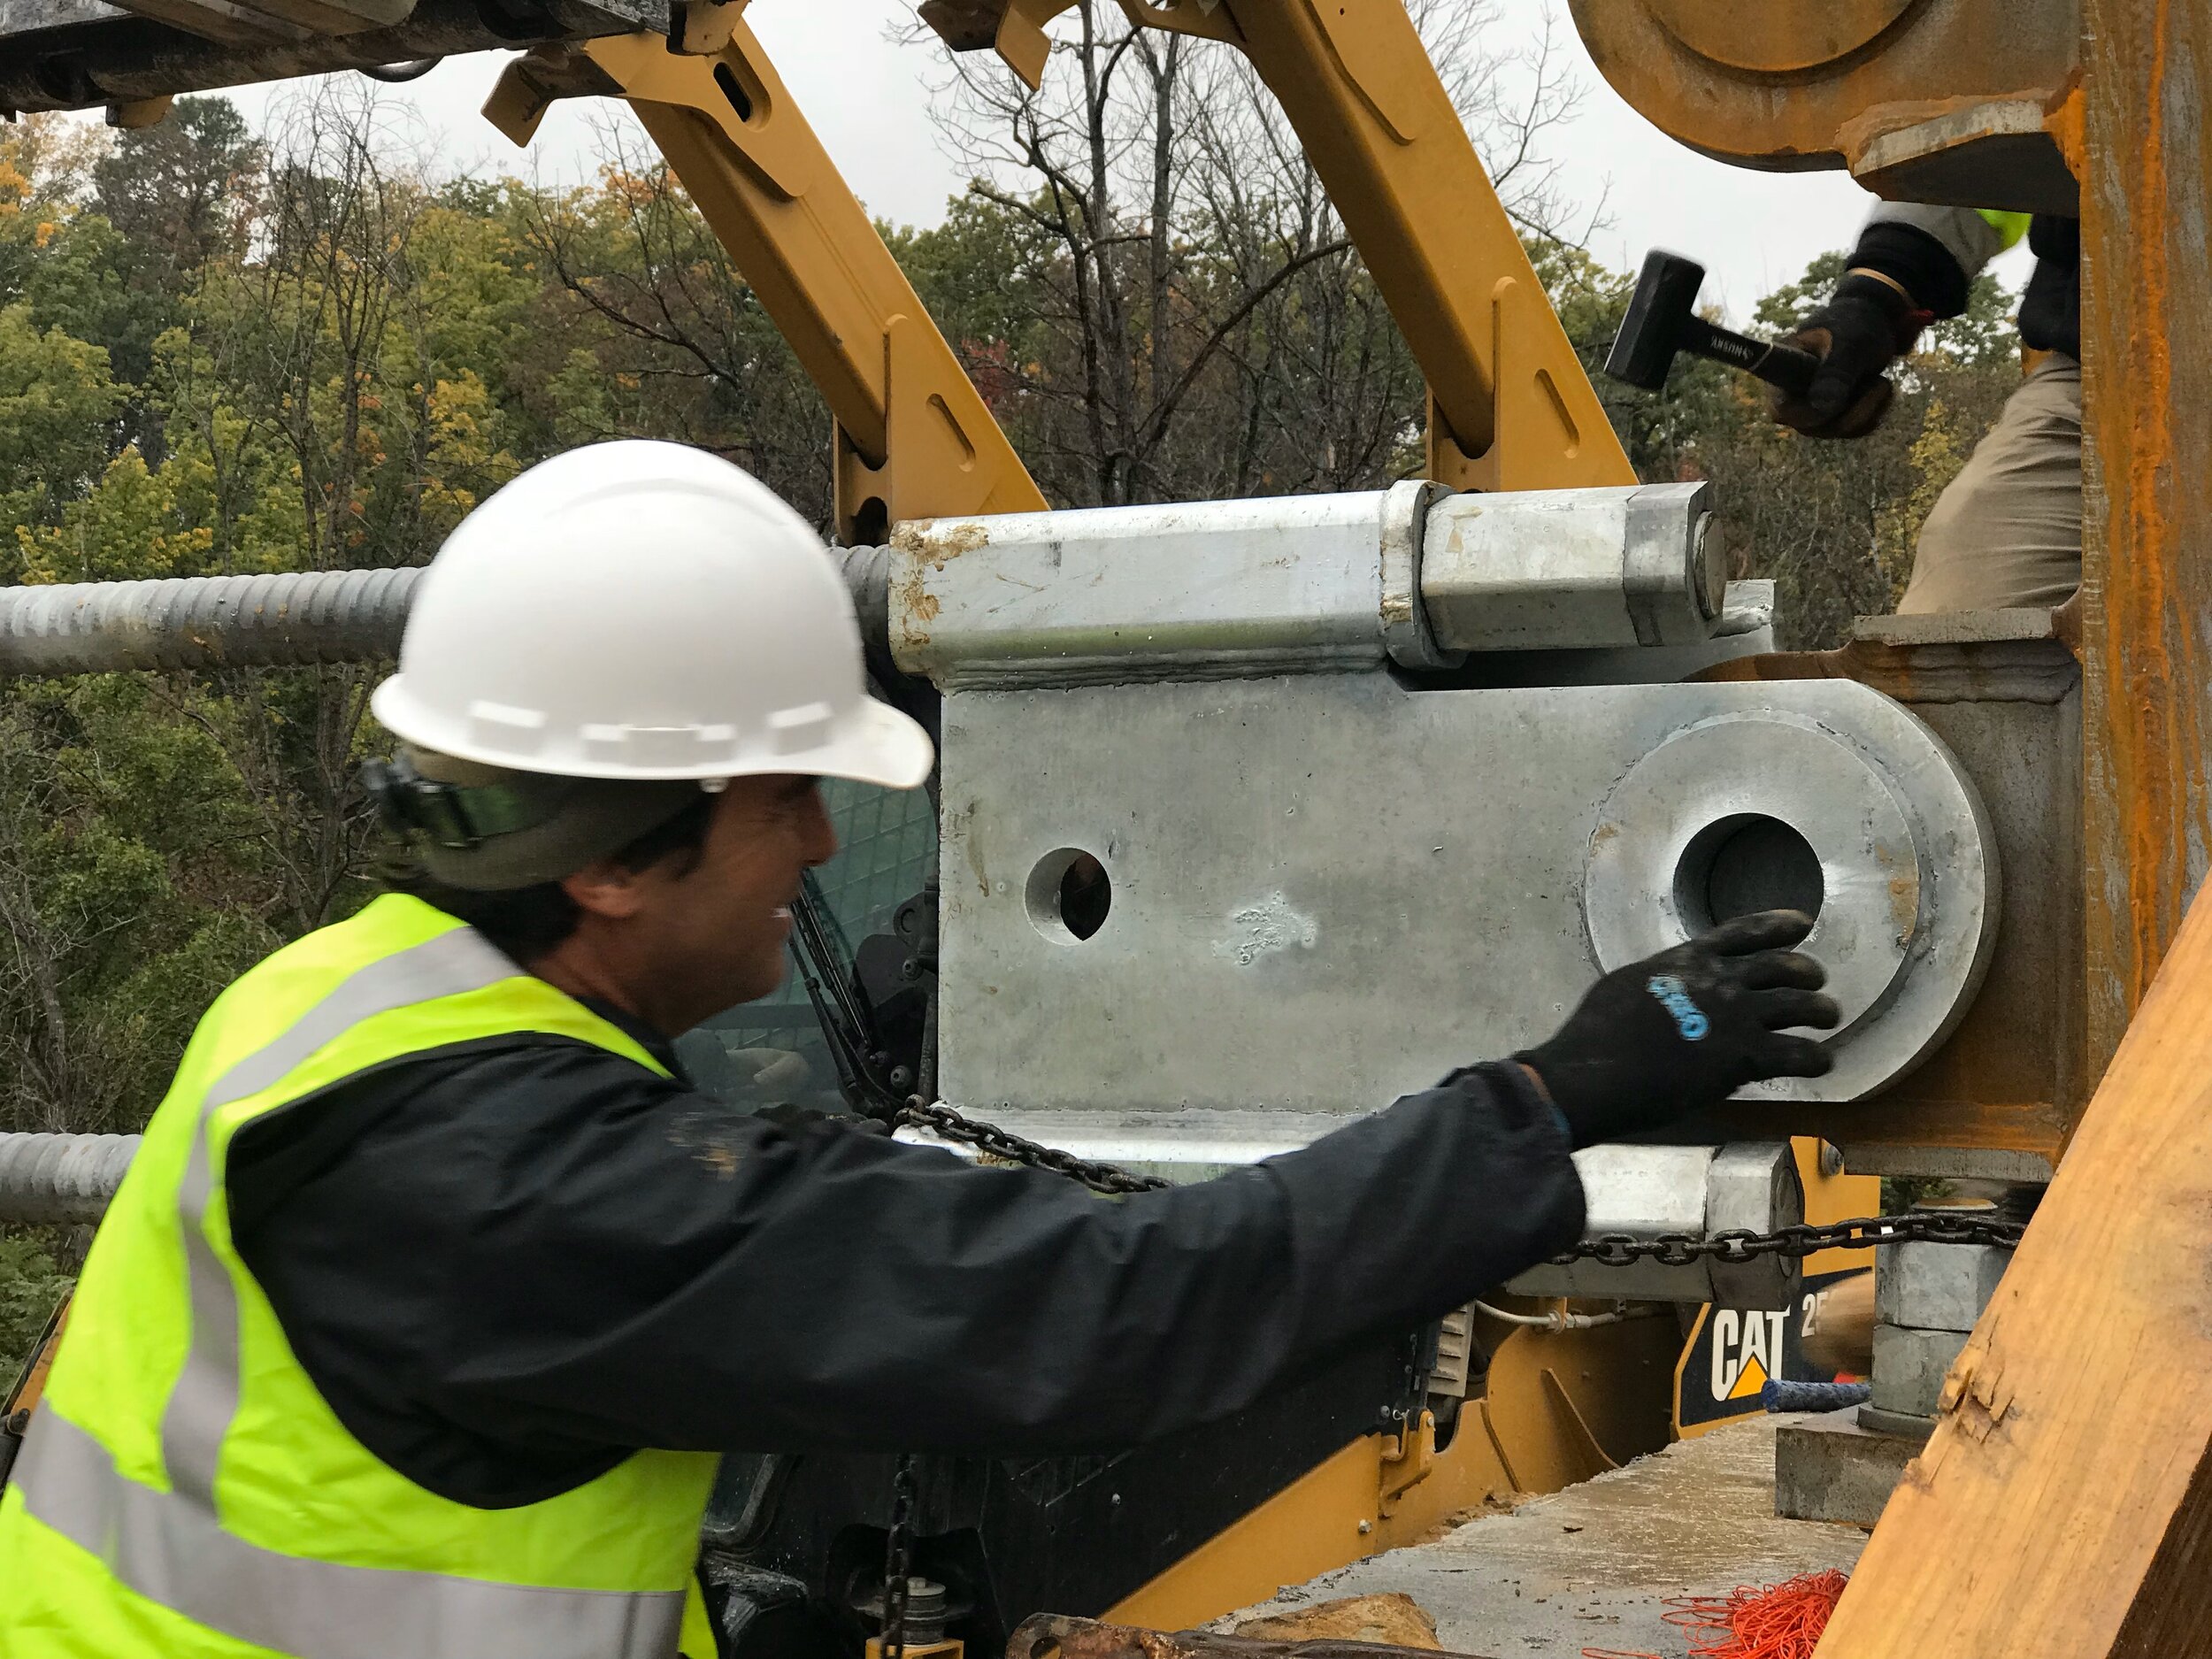
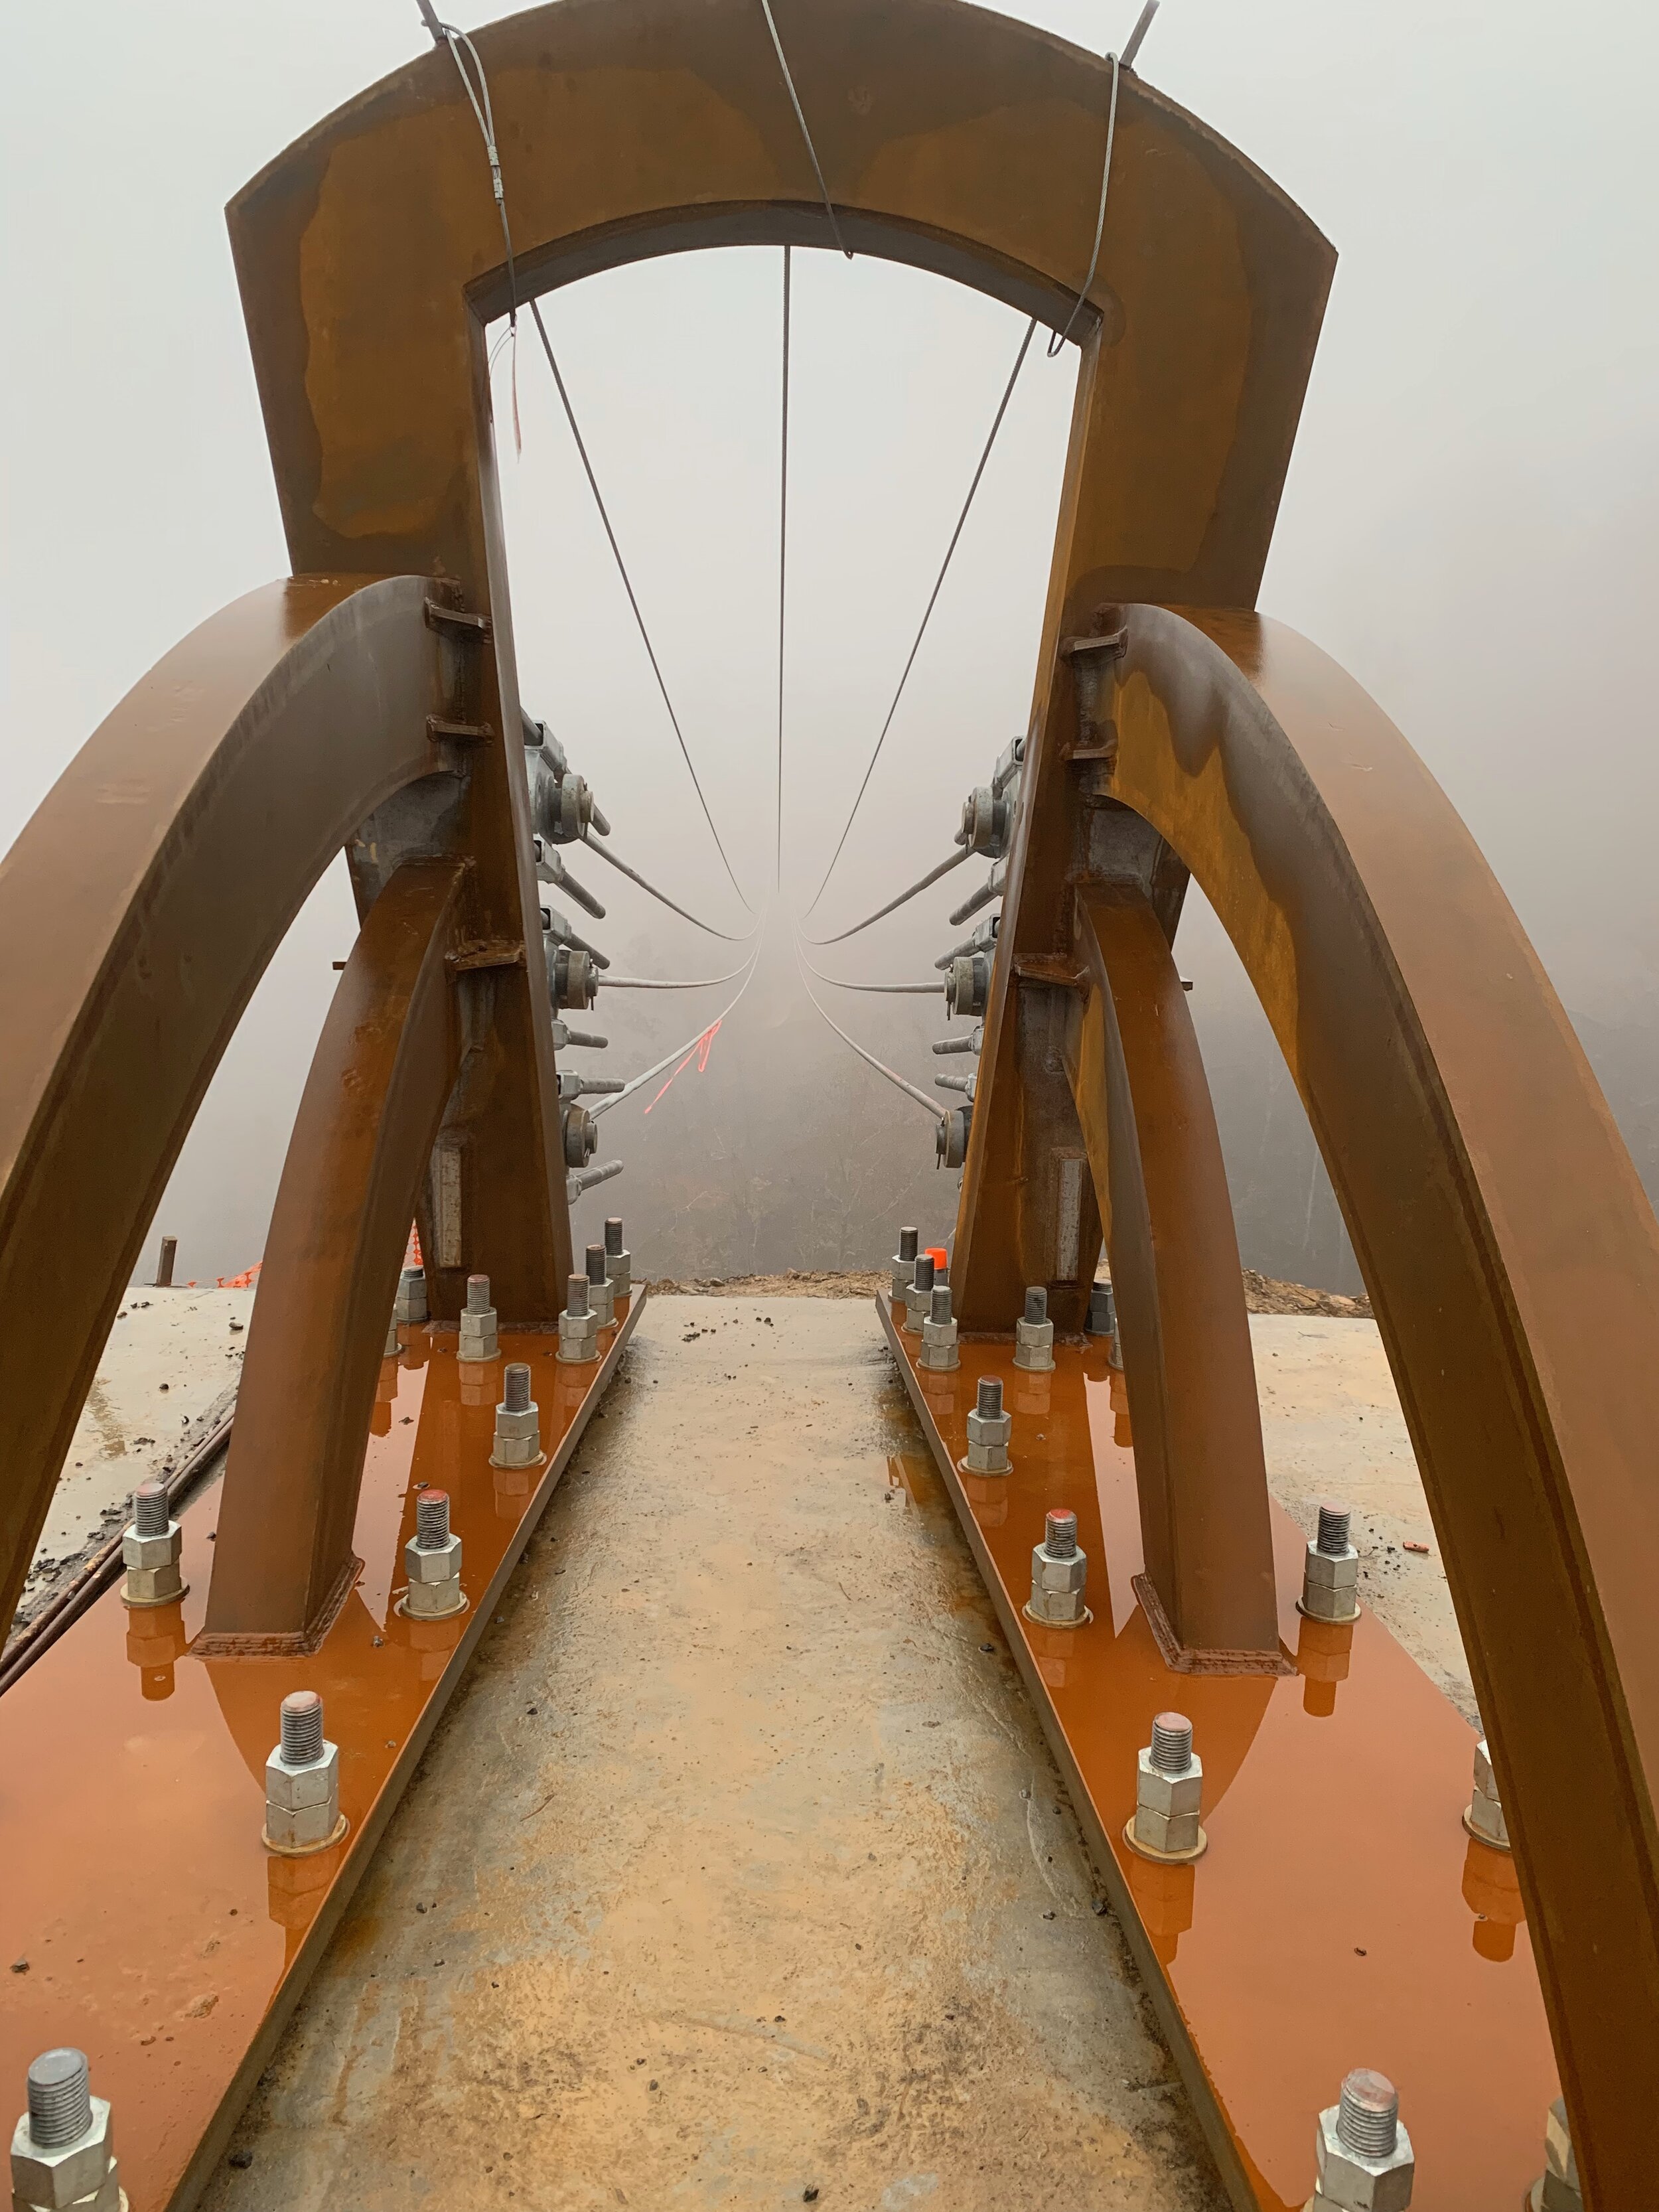
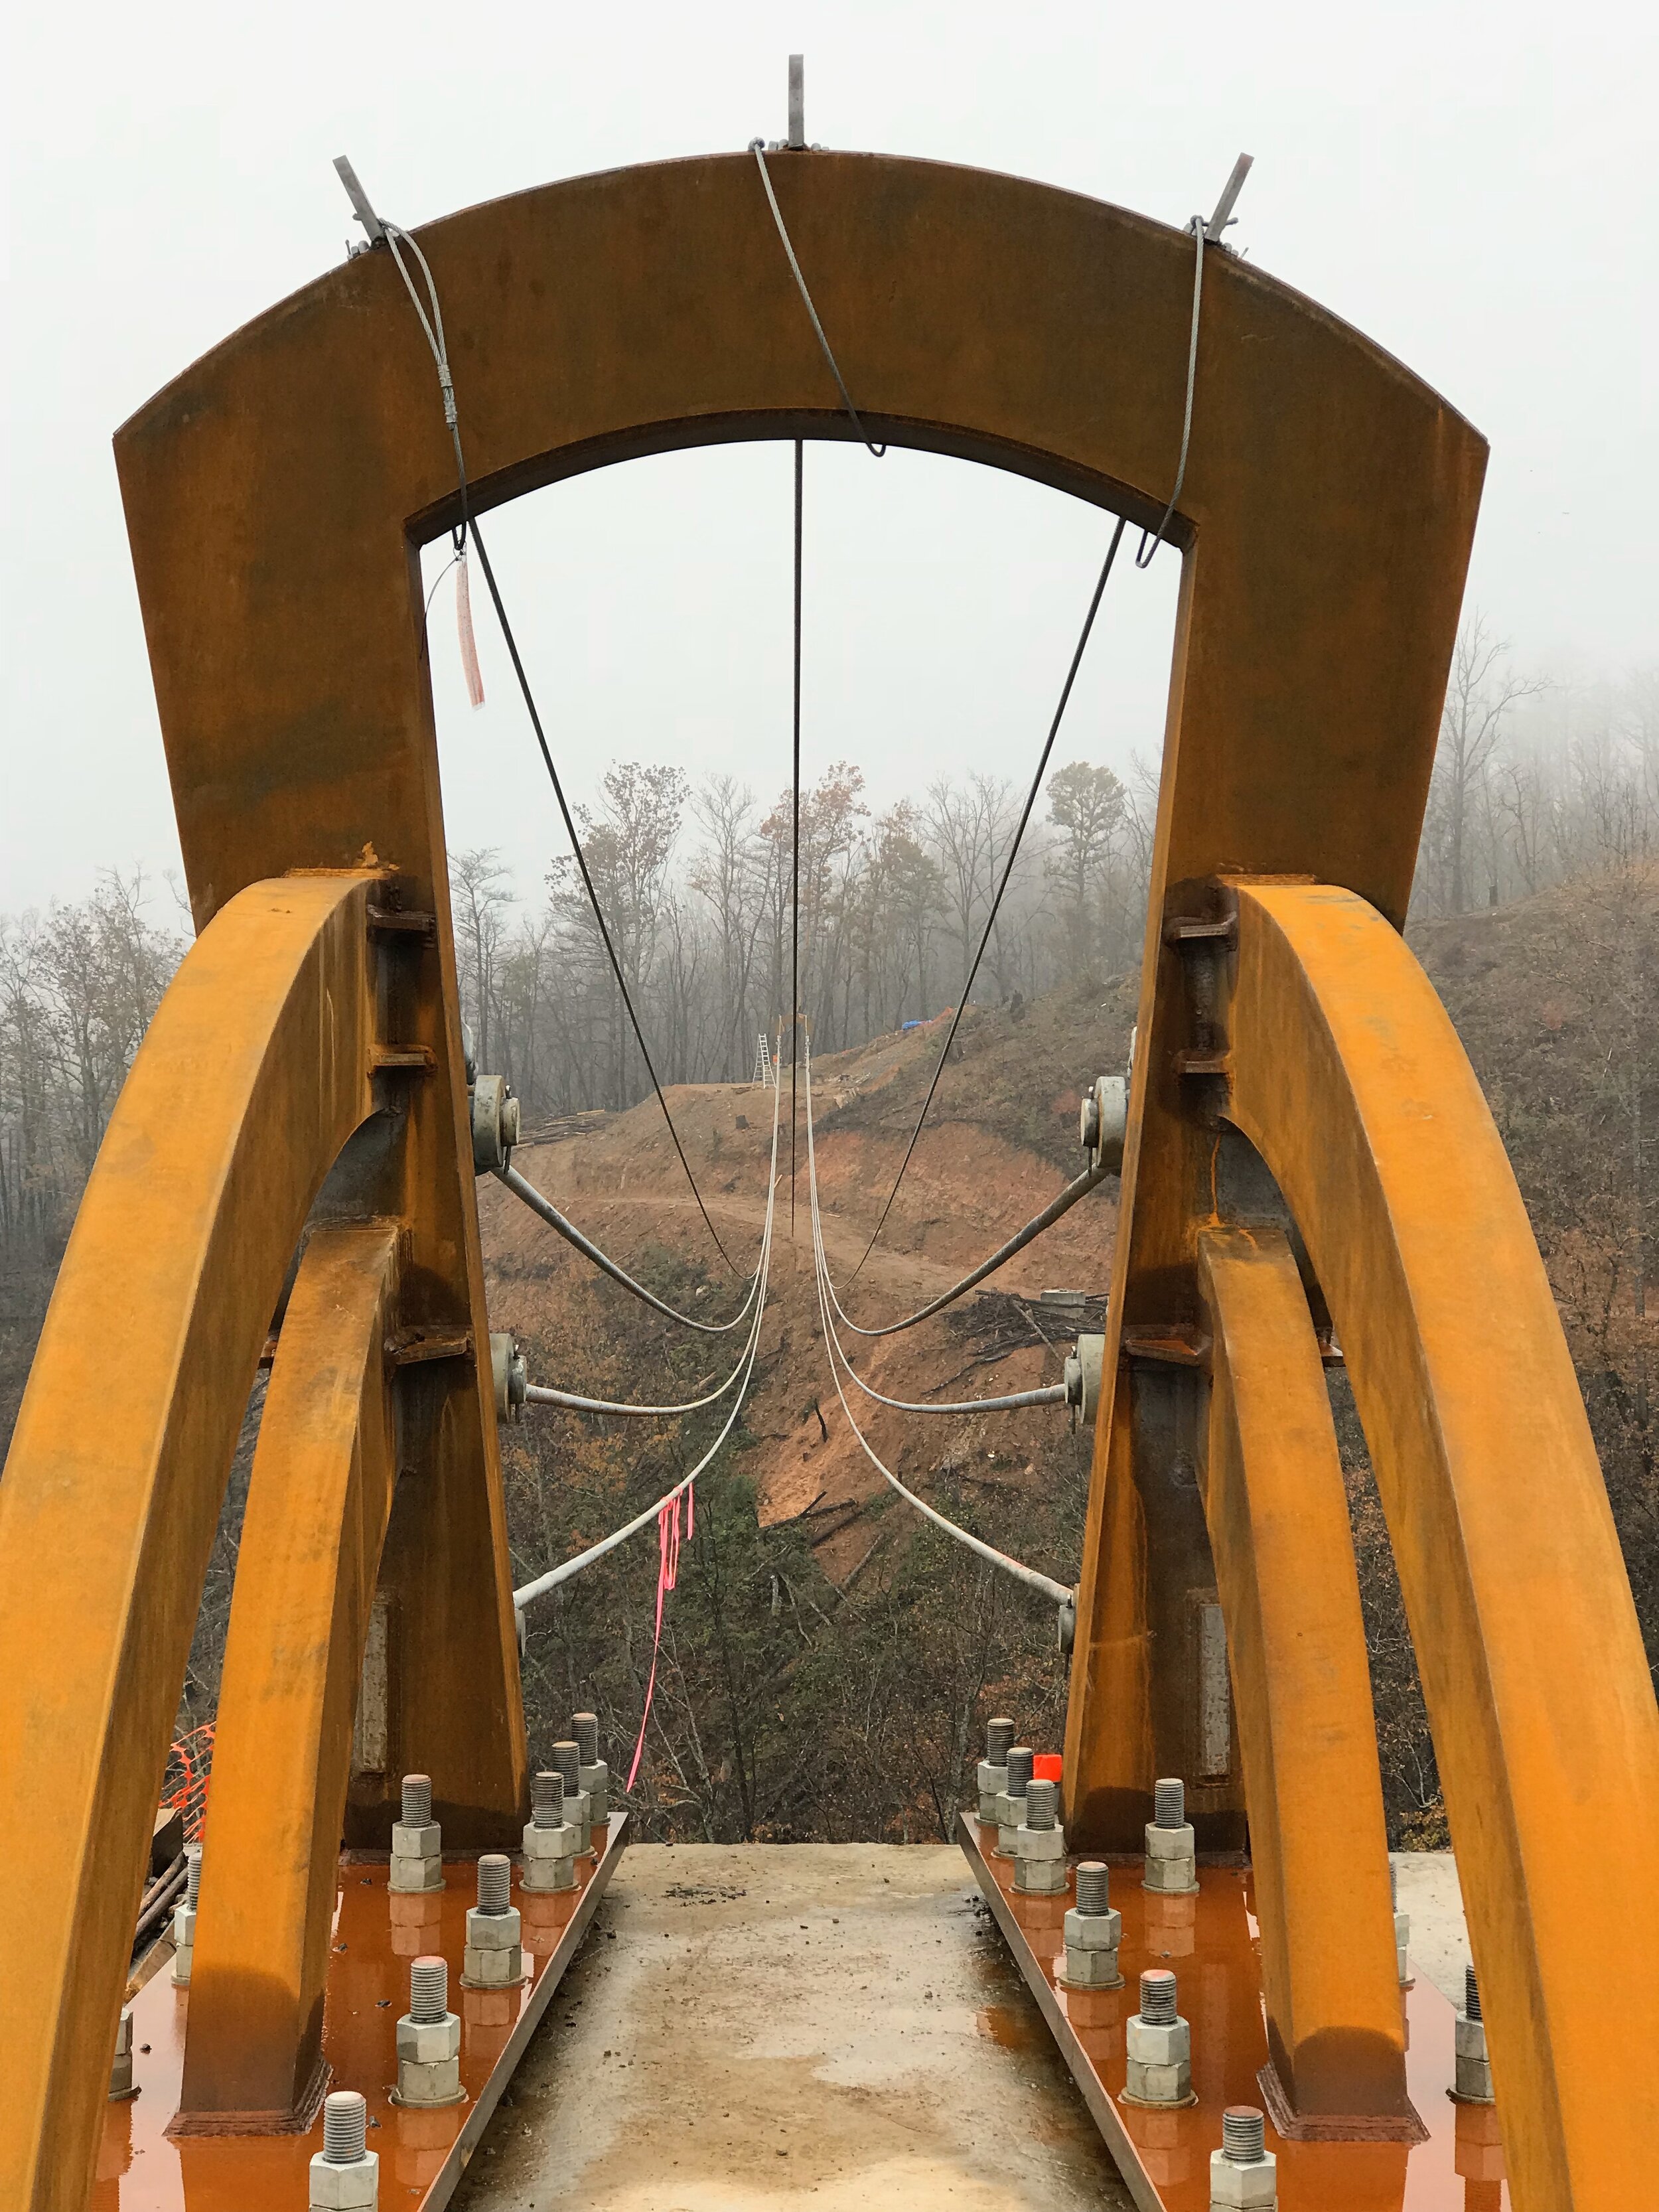
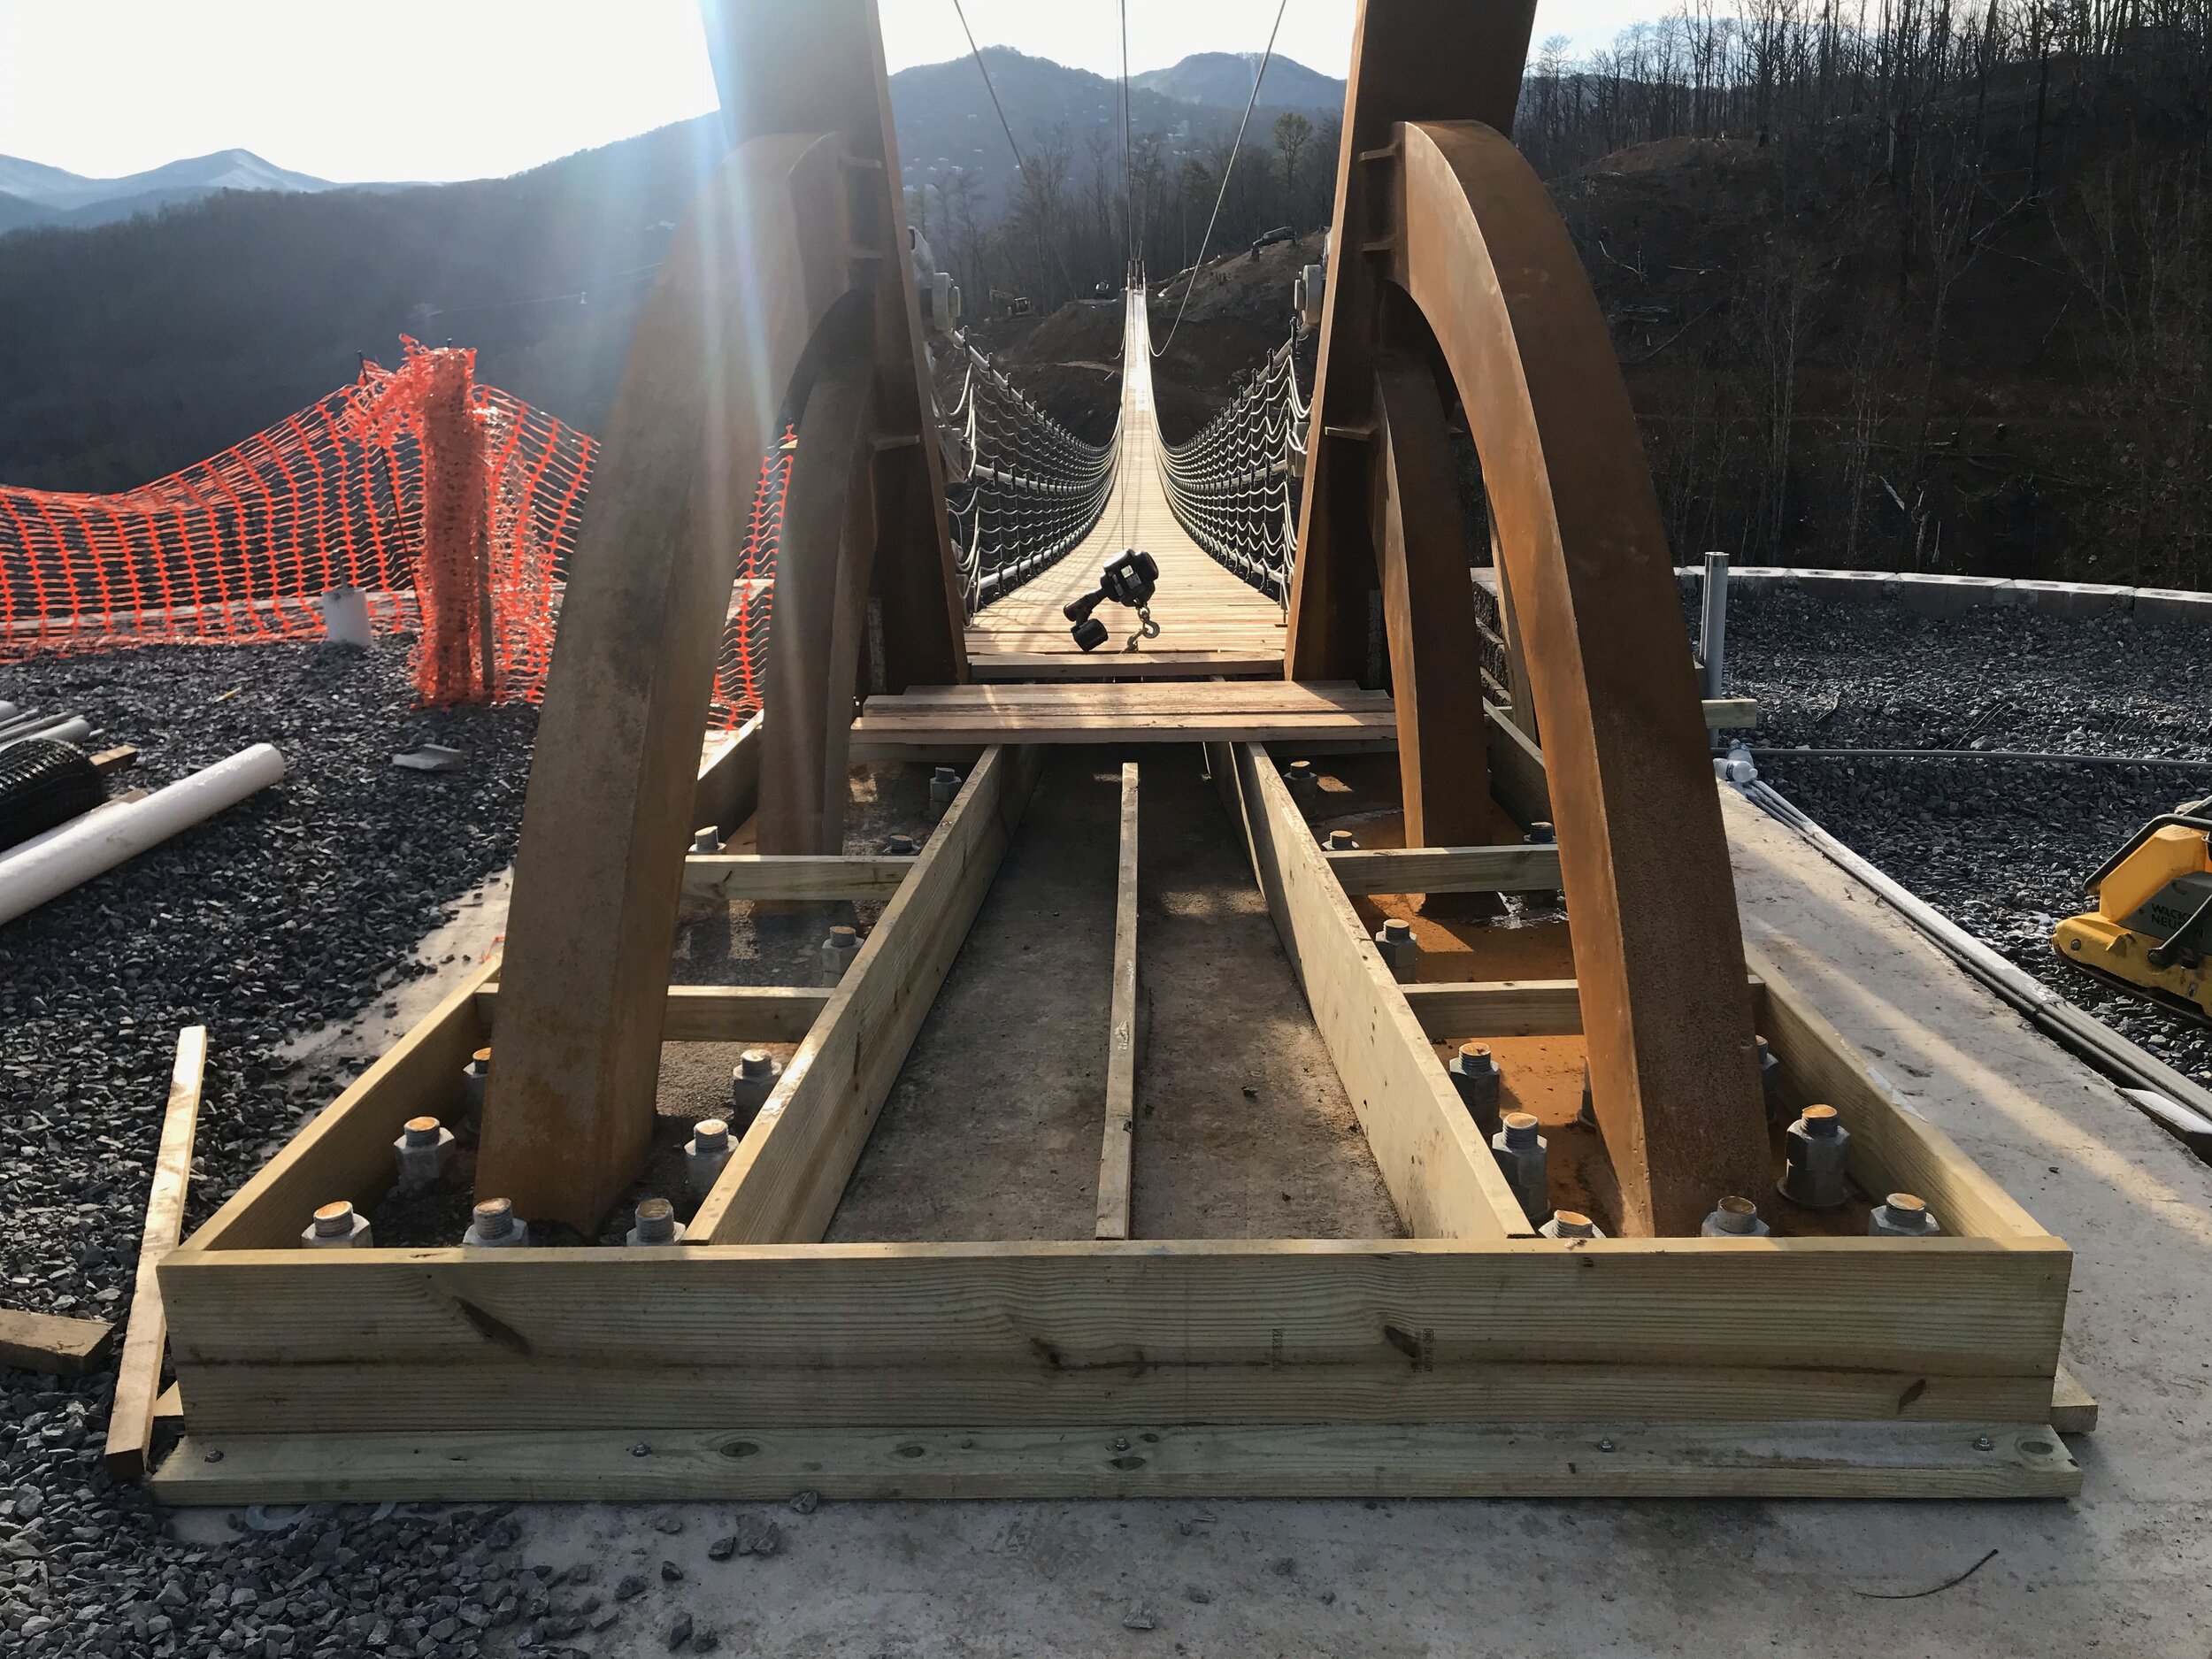
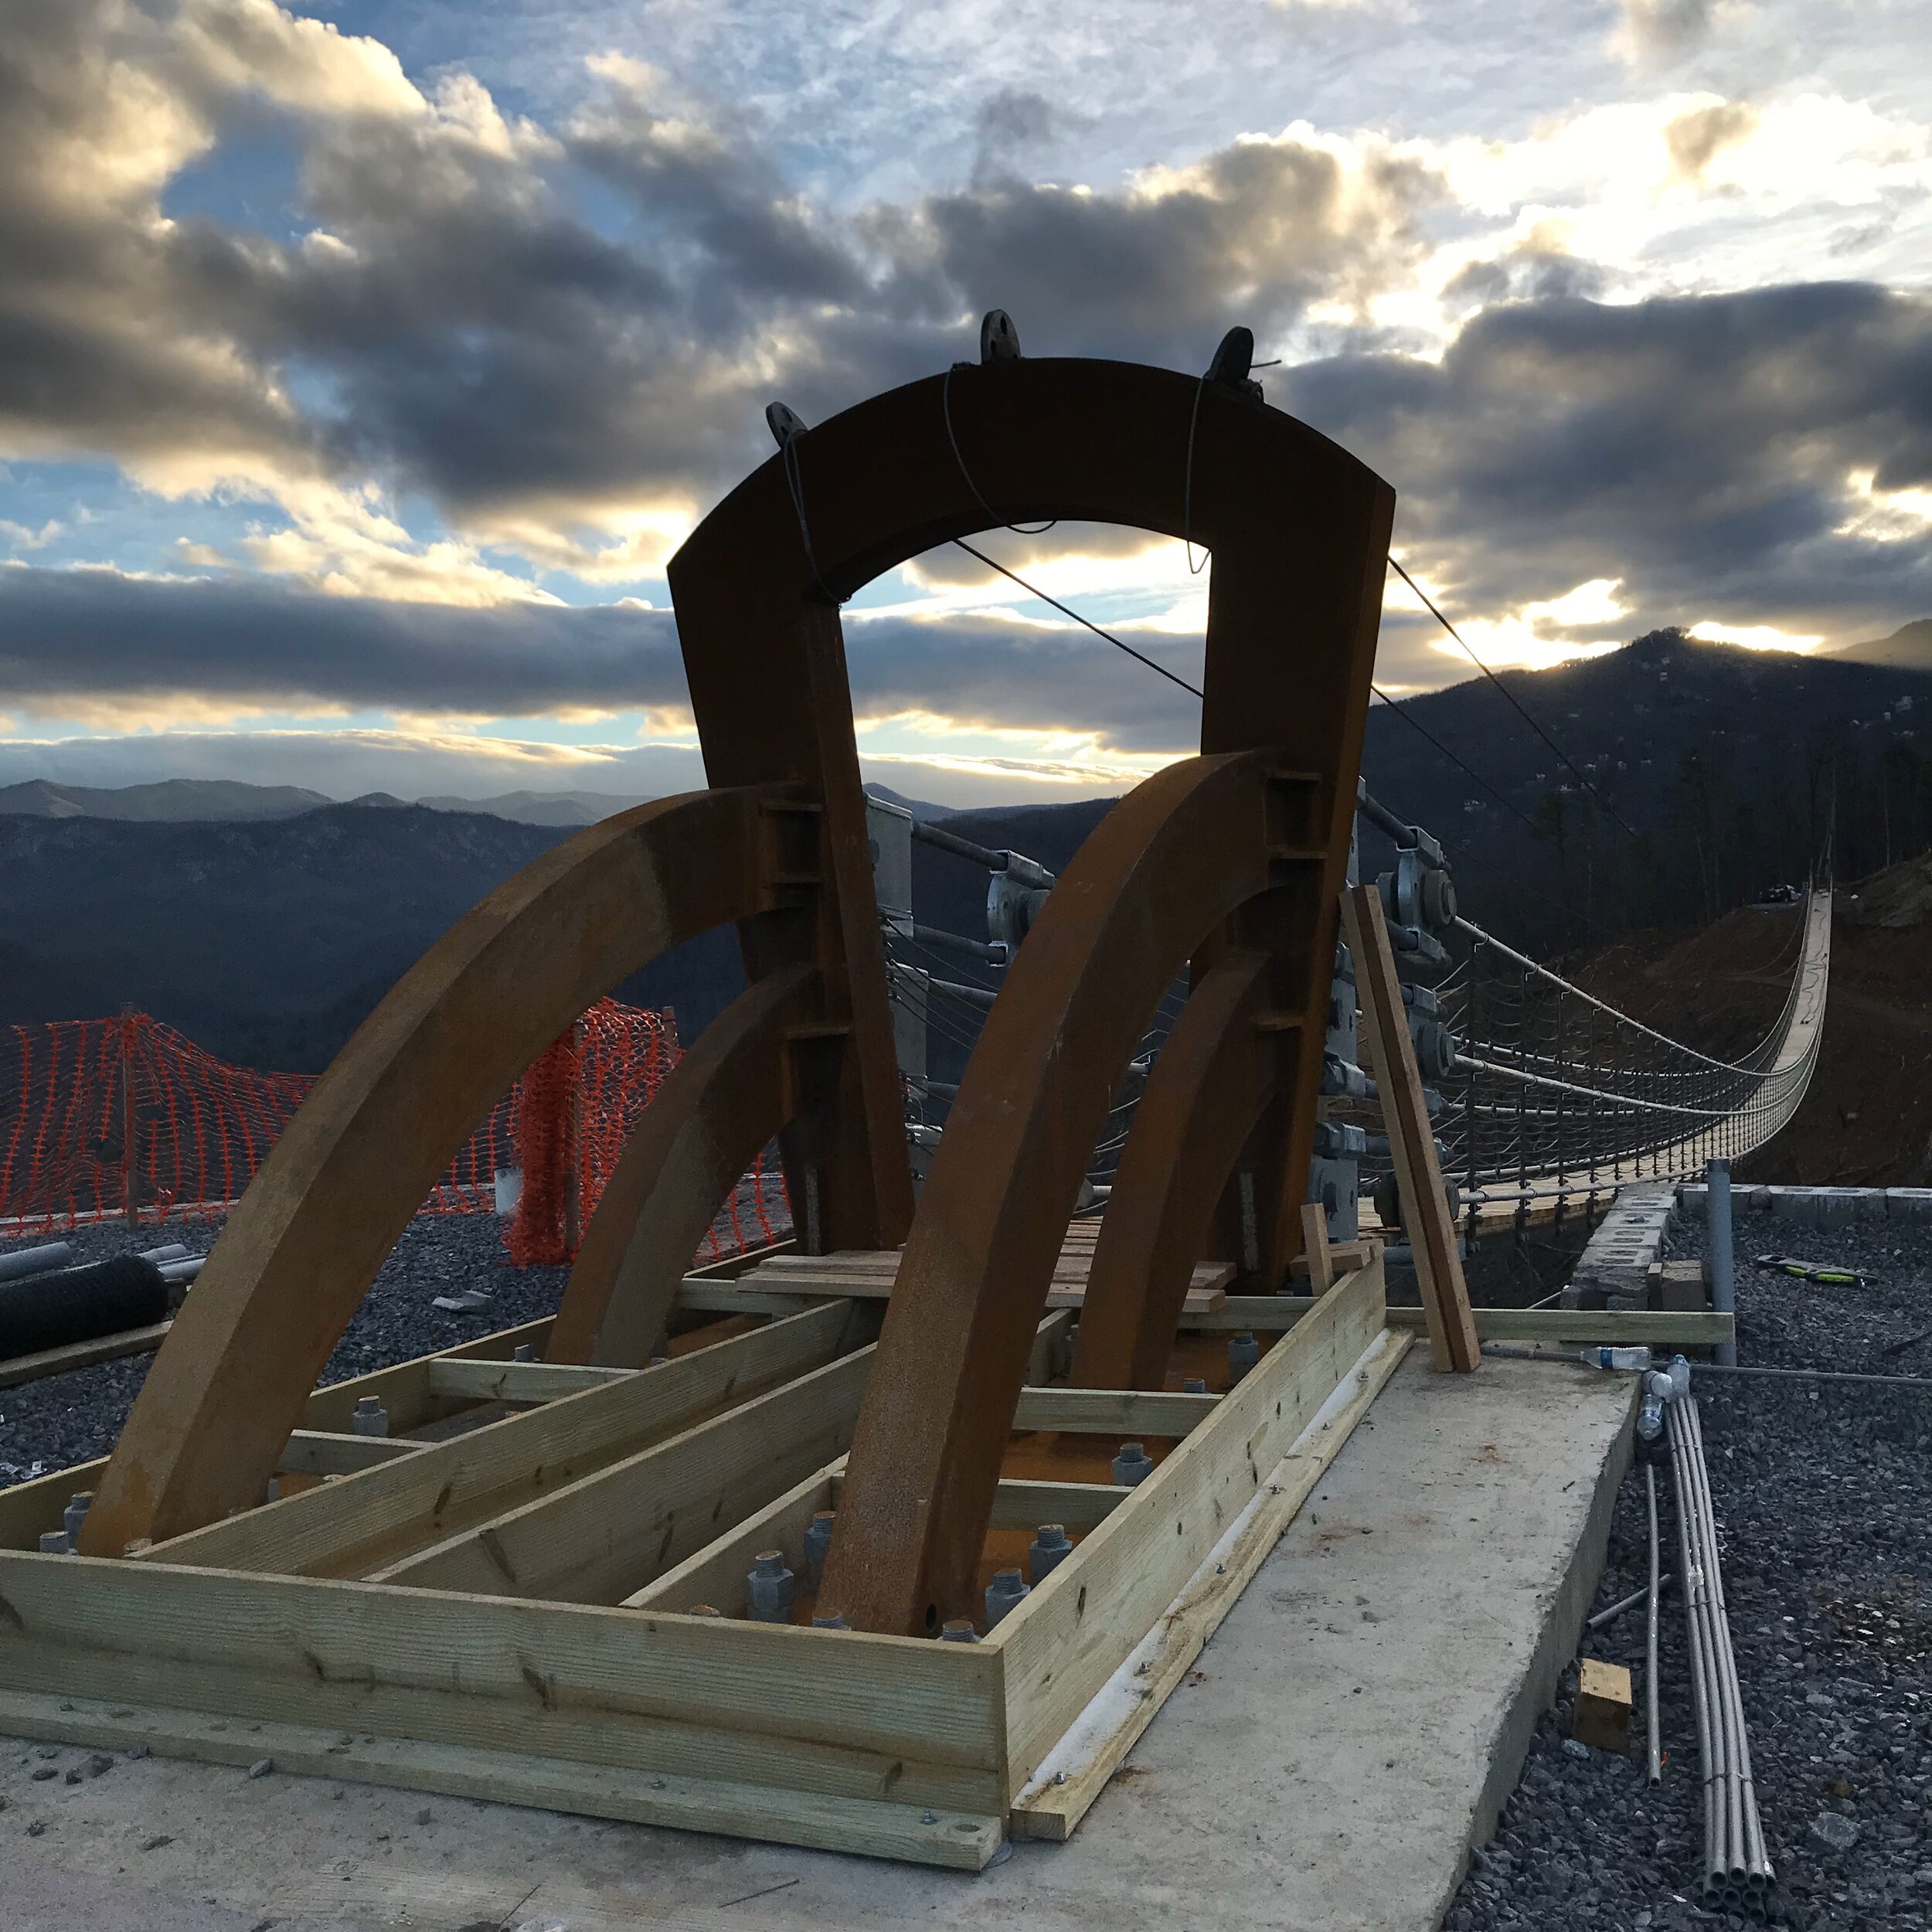
BRIDGE PORTALS
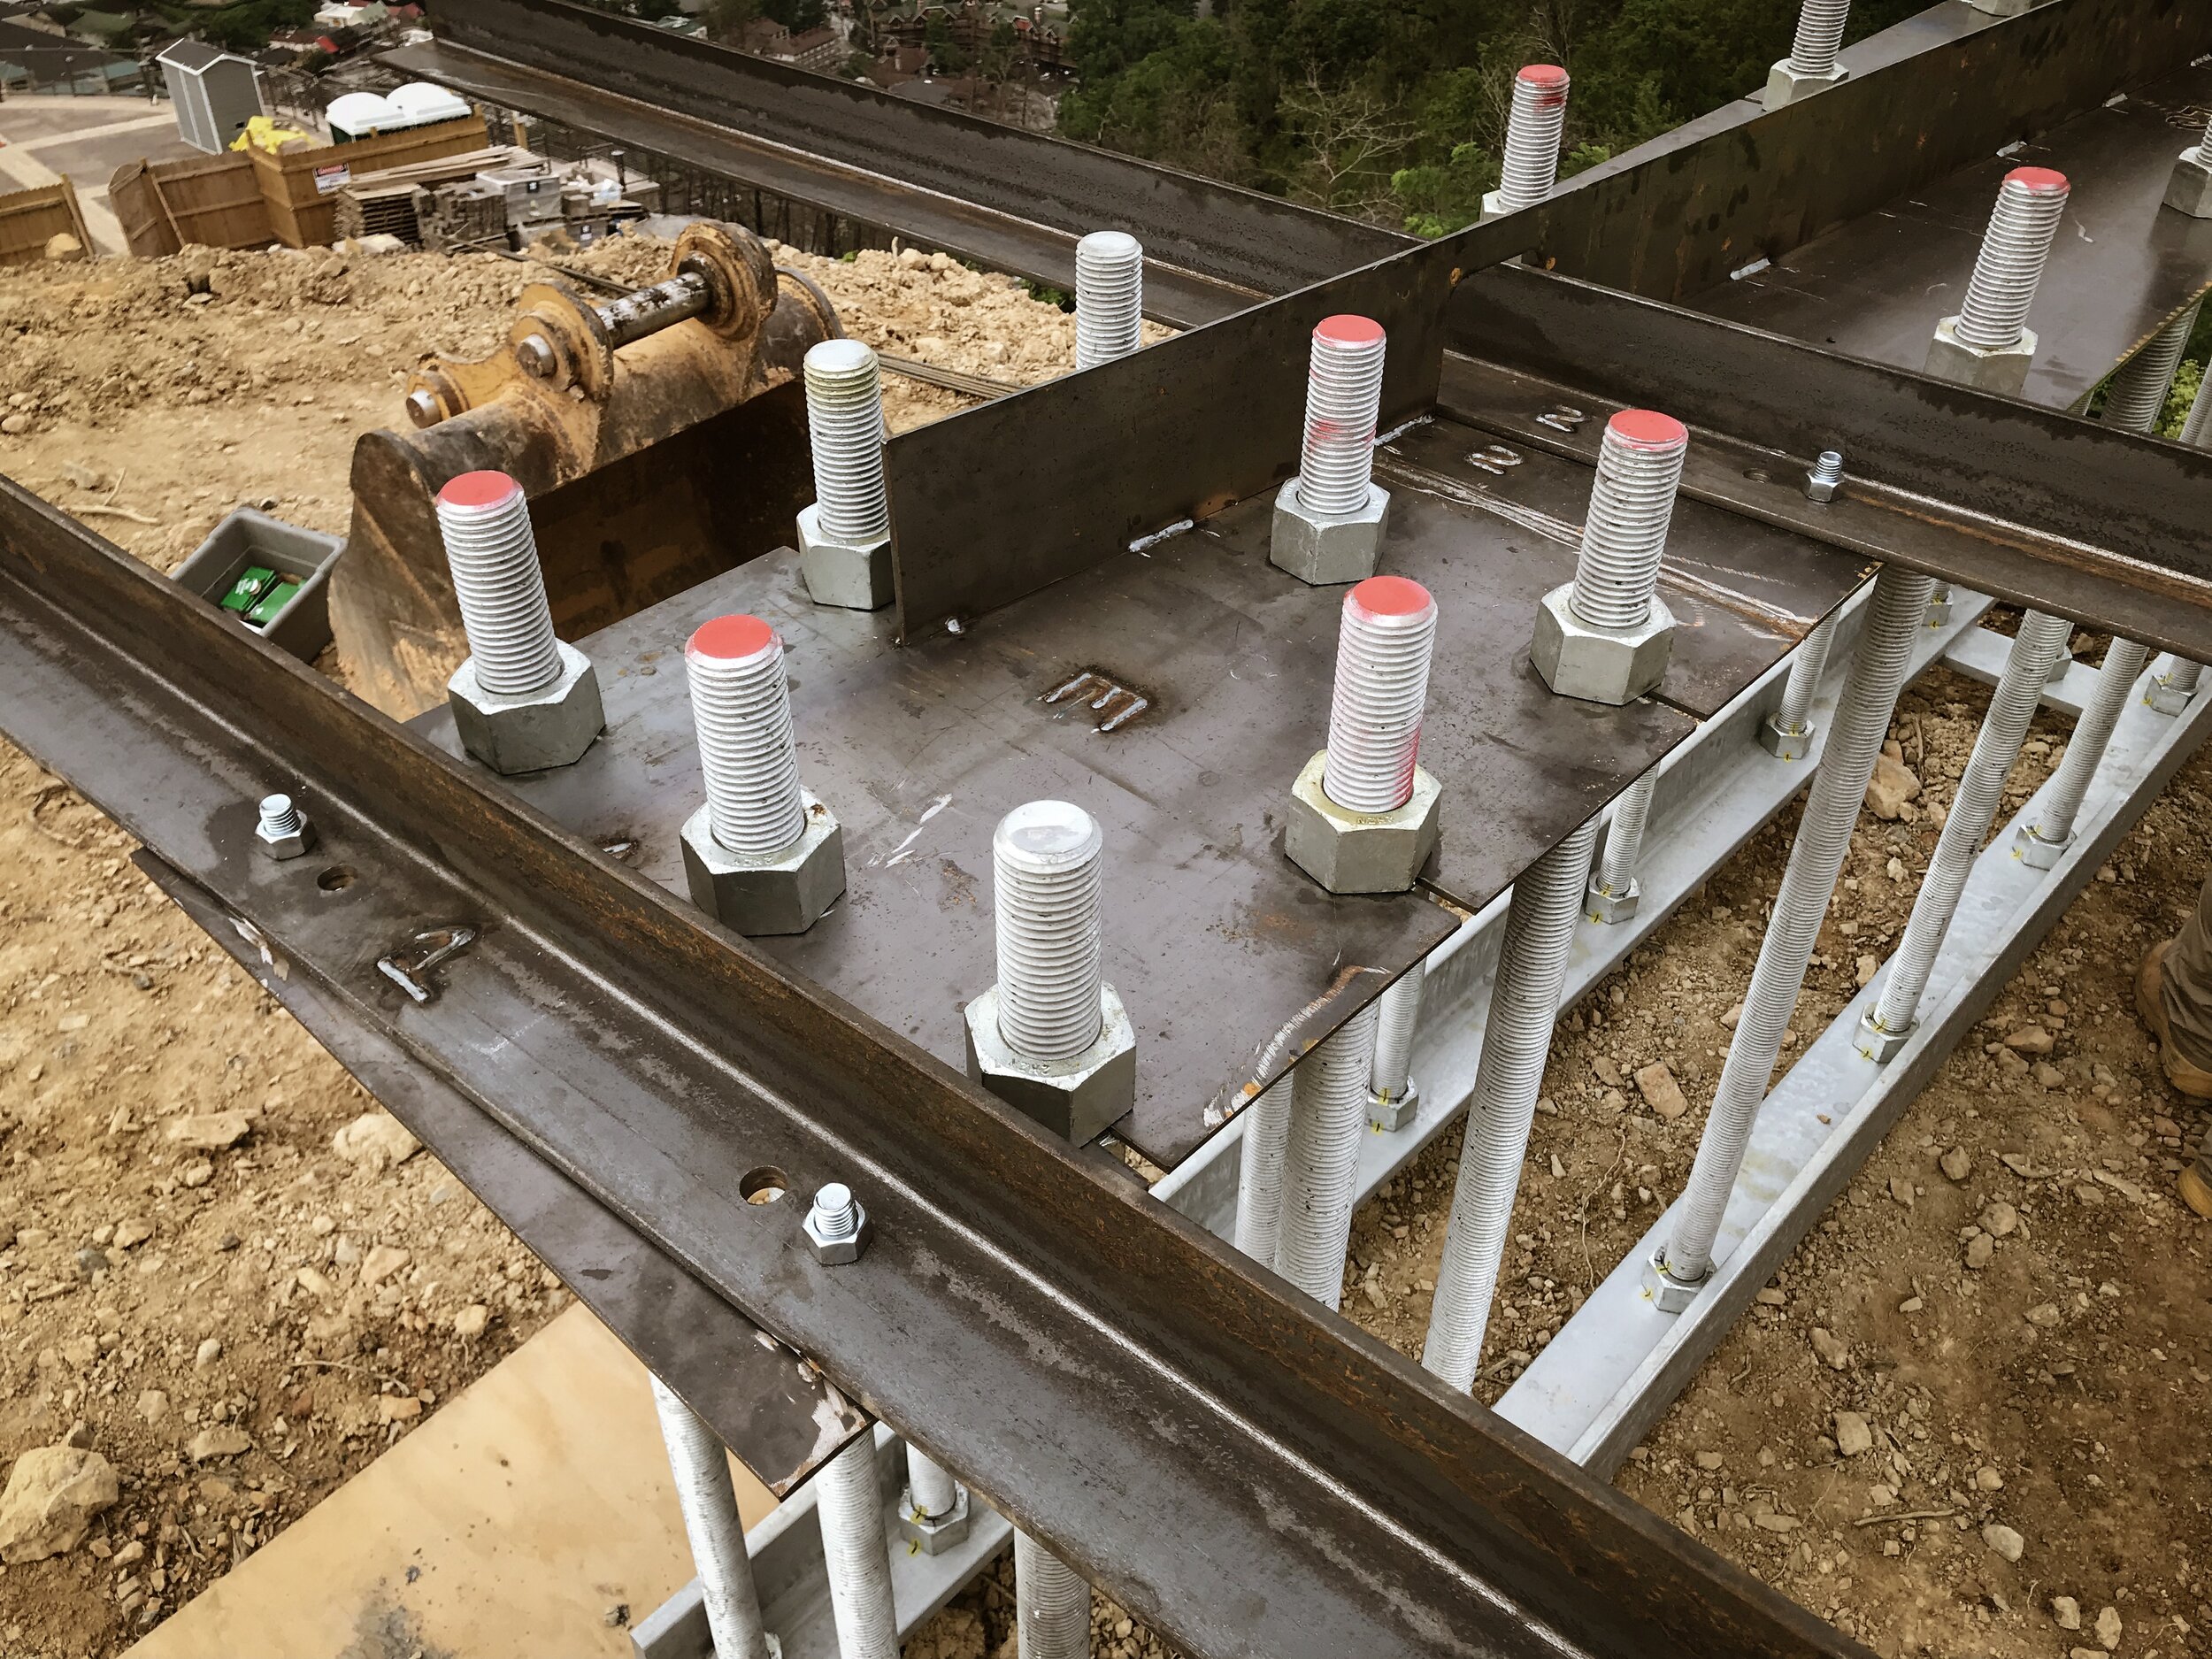
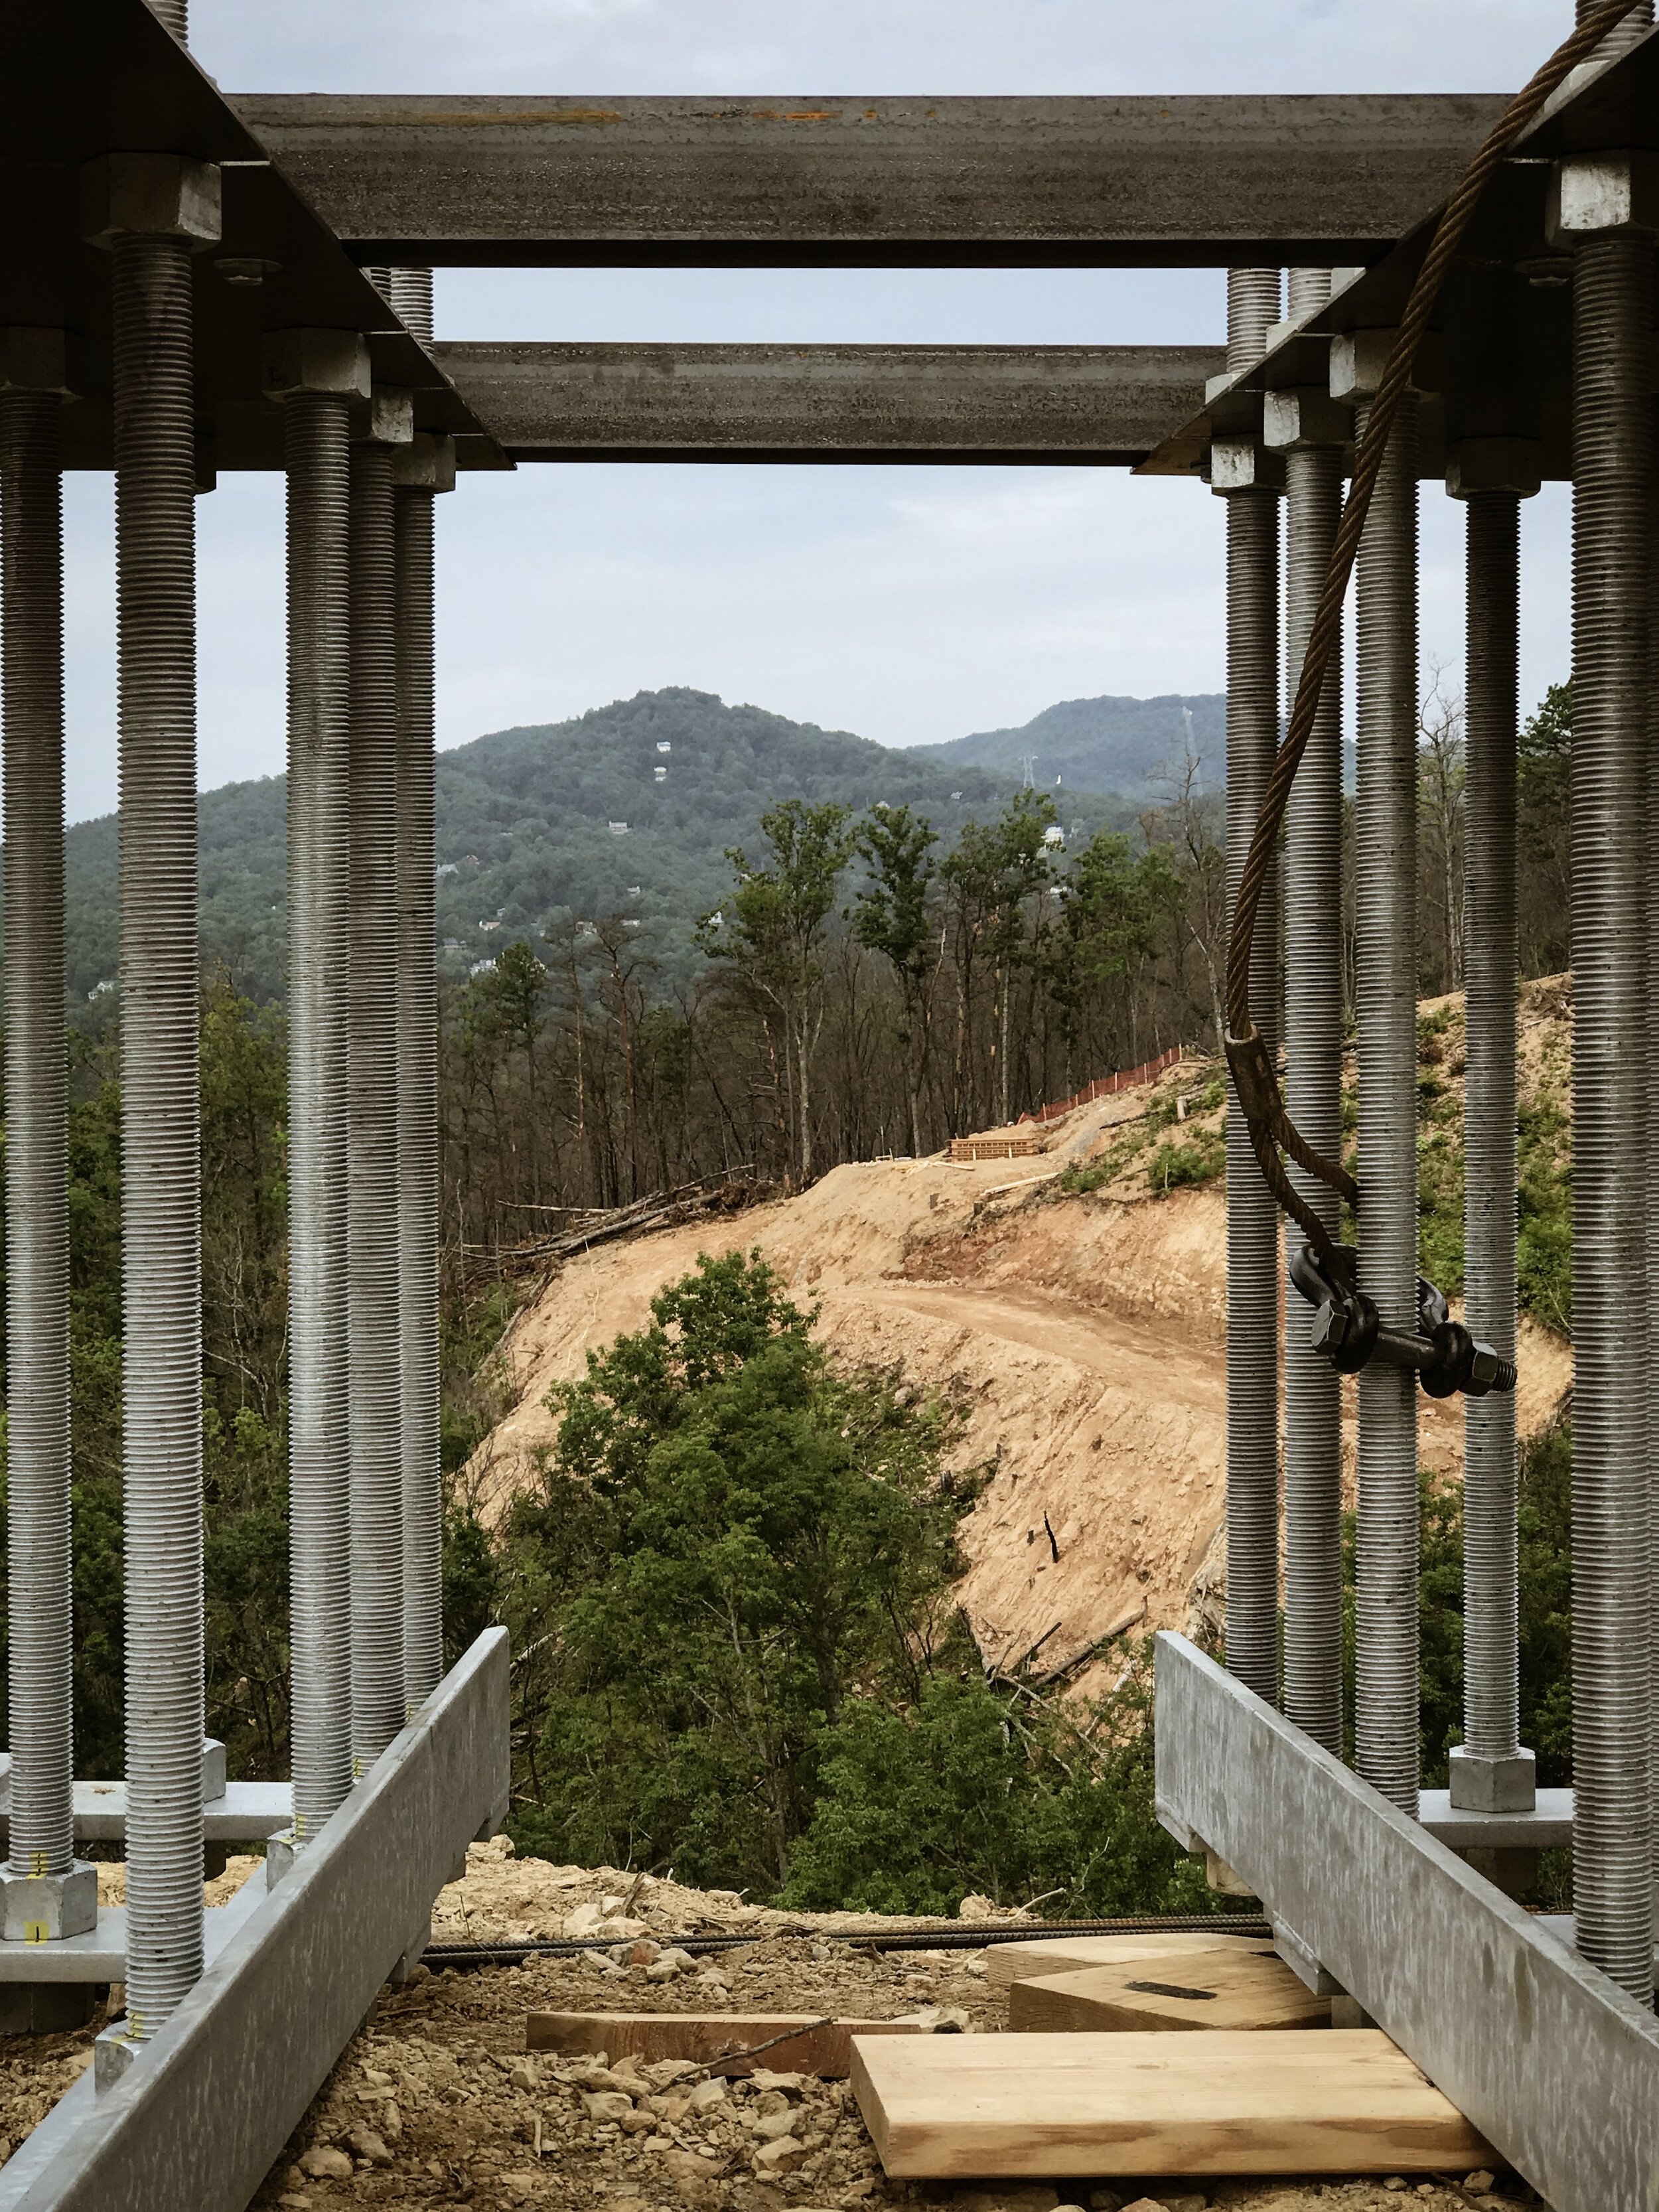
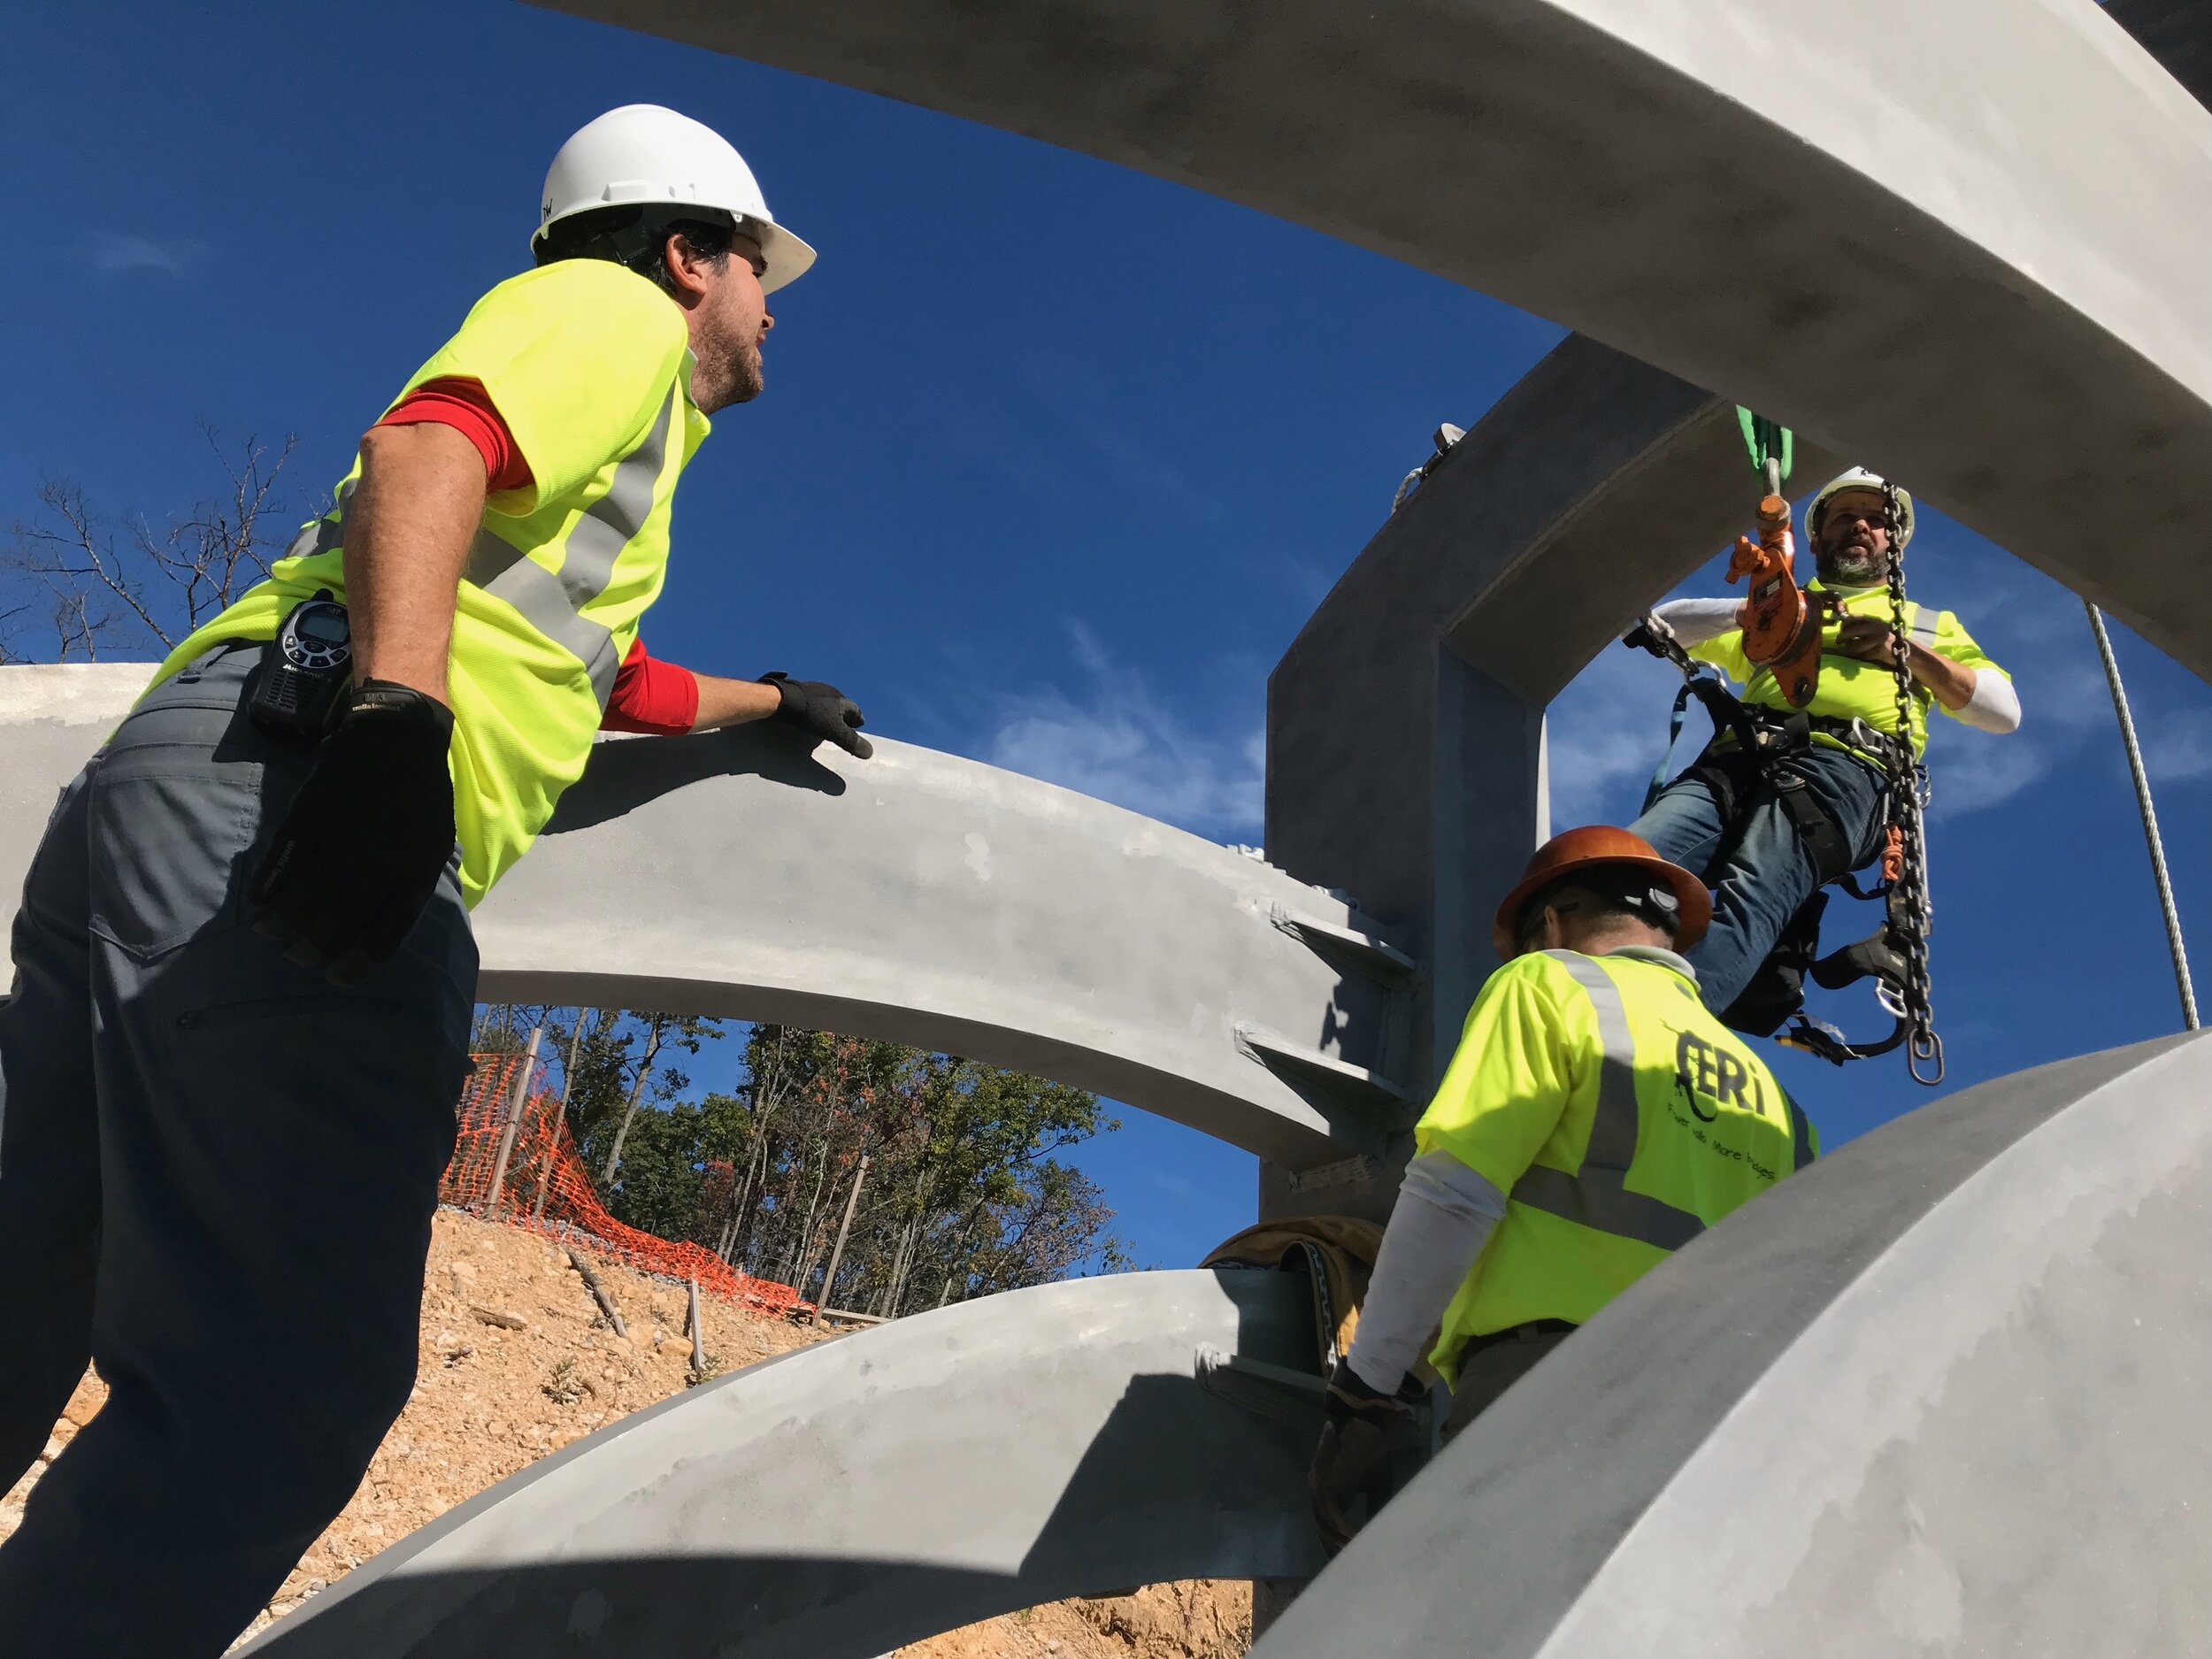
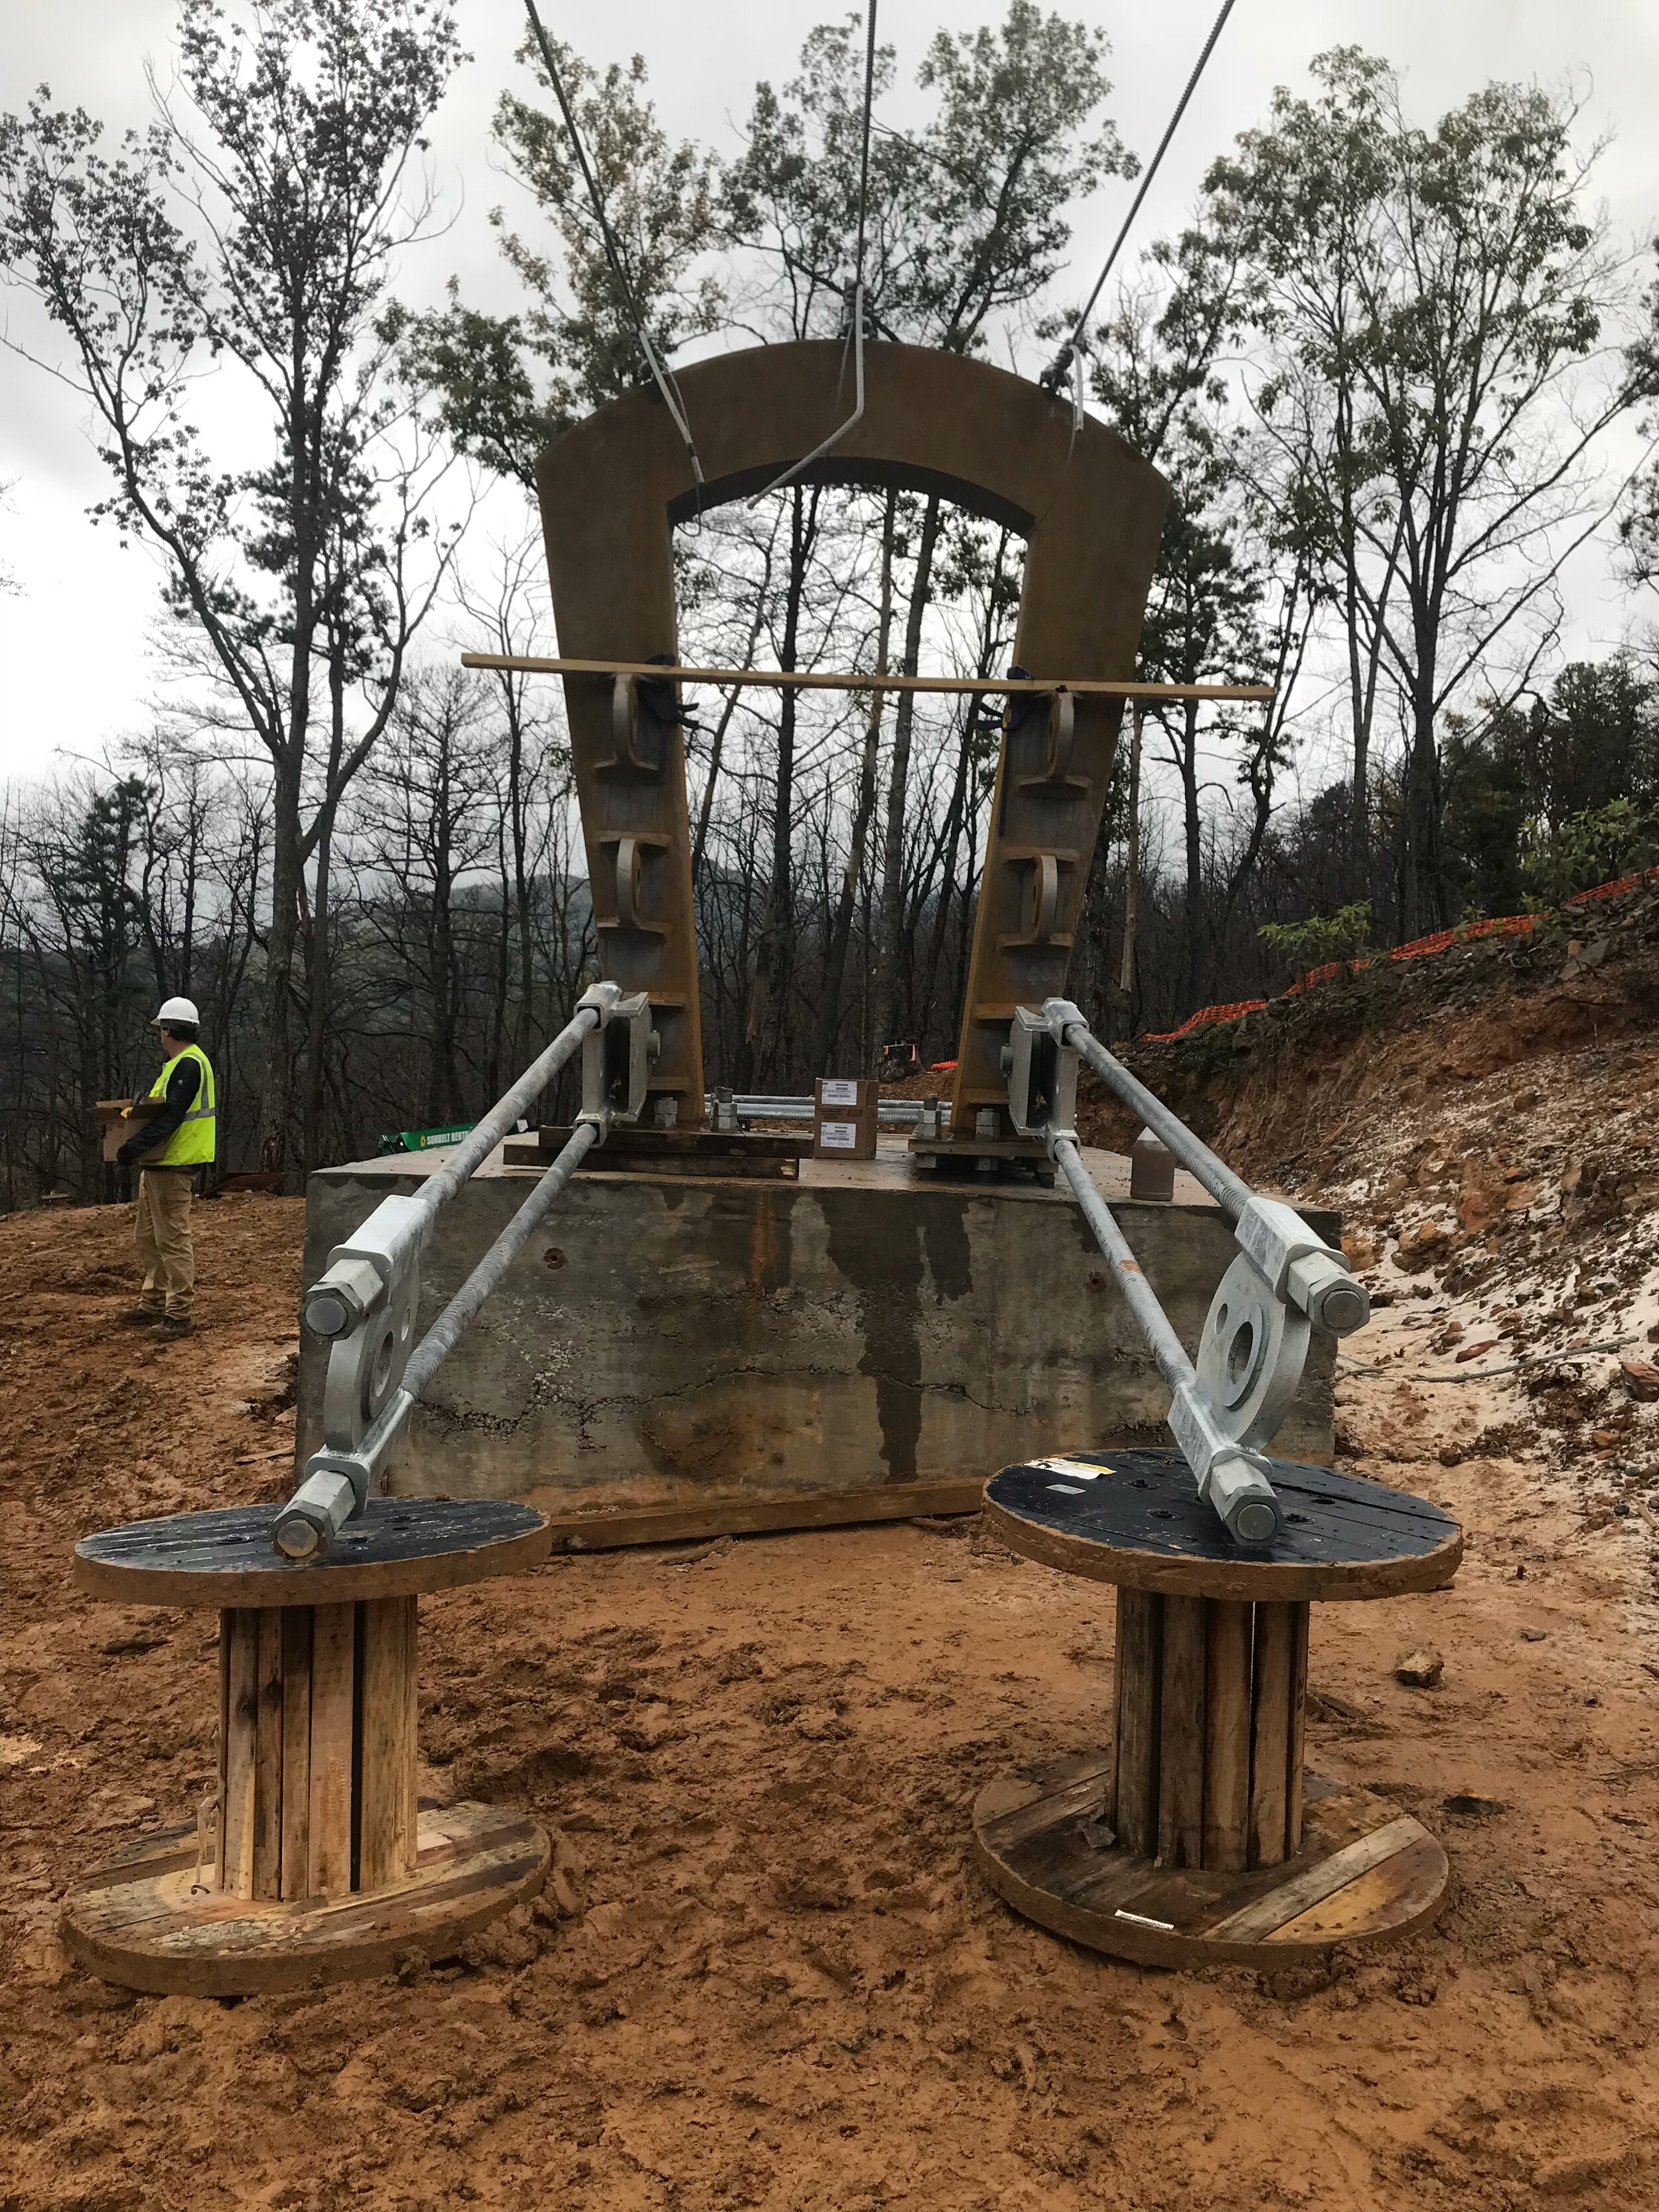
The bridge portals are made of A588 weathering steel, and weigh 18,000 pounds/8,164.5 kilograms each. After the concrete was sufficiently cured, the anchor rod templates could be removed and the rods got cleaned up a little. Precise measurements were taken of the rod positions to ensure that if they had shifted around at all with the massive concrete pour that we could still make the holes in the portal baseplates fit. This was critical, because there were 44 anchor rods for each portal, and if only ONE of them was off, we couldn’t set the portals in place without doing some major cutting through the 2” steel baseplates. We used a choreographed dance of two excavators and a custom engineered spreader bar system to bring the portals in and drop them into place. Many thanks to Extreme Excavating both for their fantastic excavation work on this job, but also their willingness to help figure this out with us. And it worked!


Enjoy this time-lapse video of the West Bridge Portal being dropped into place - smooth like butter!
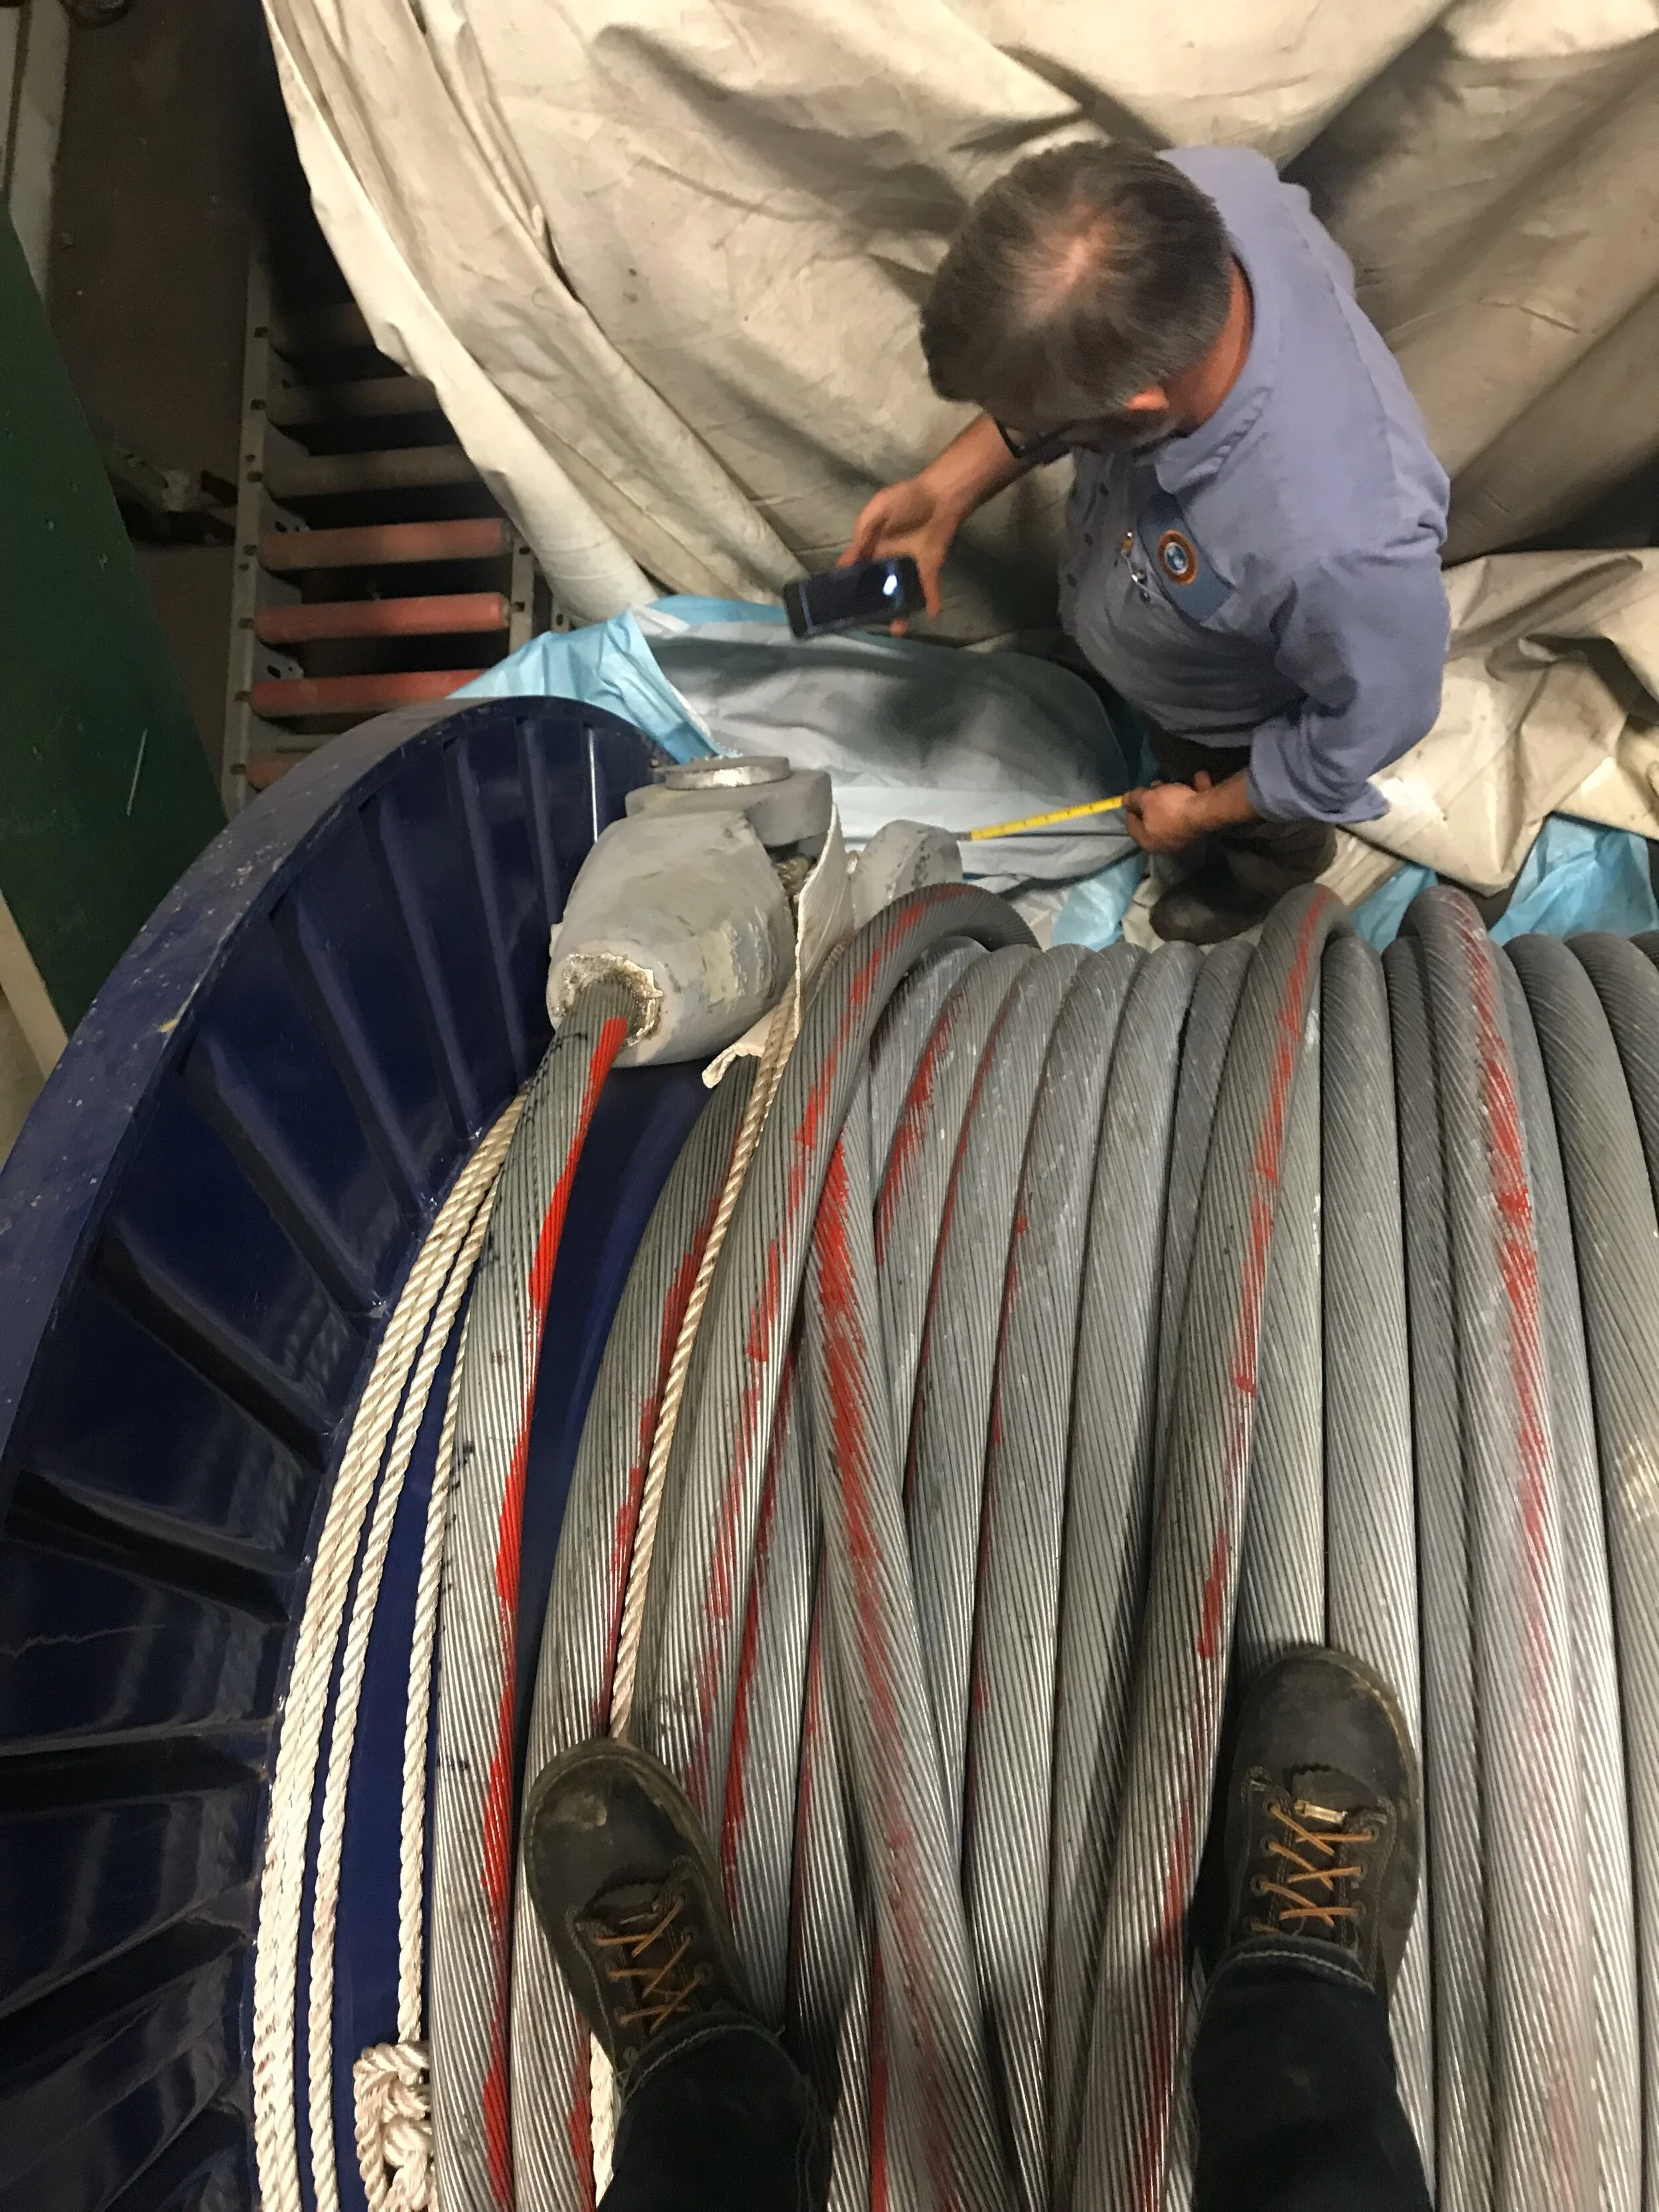
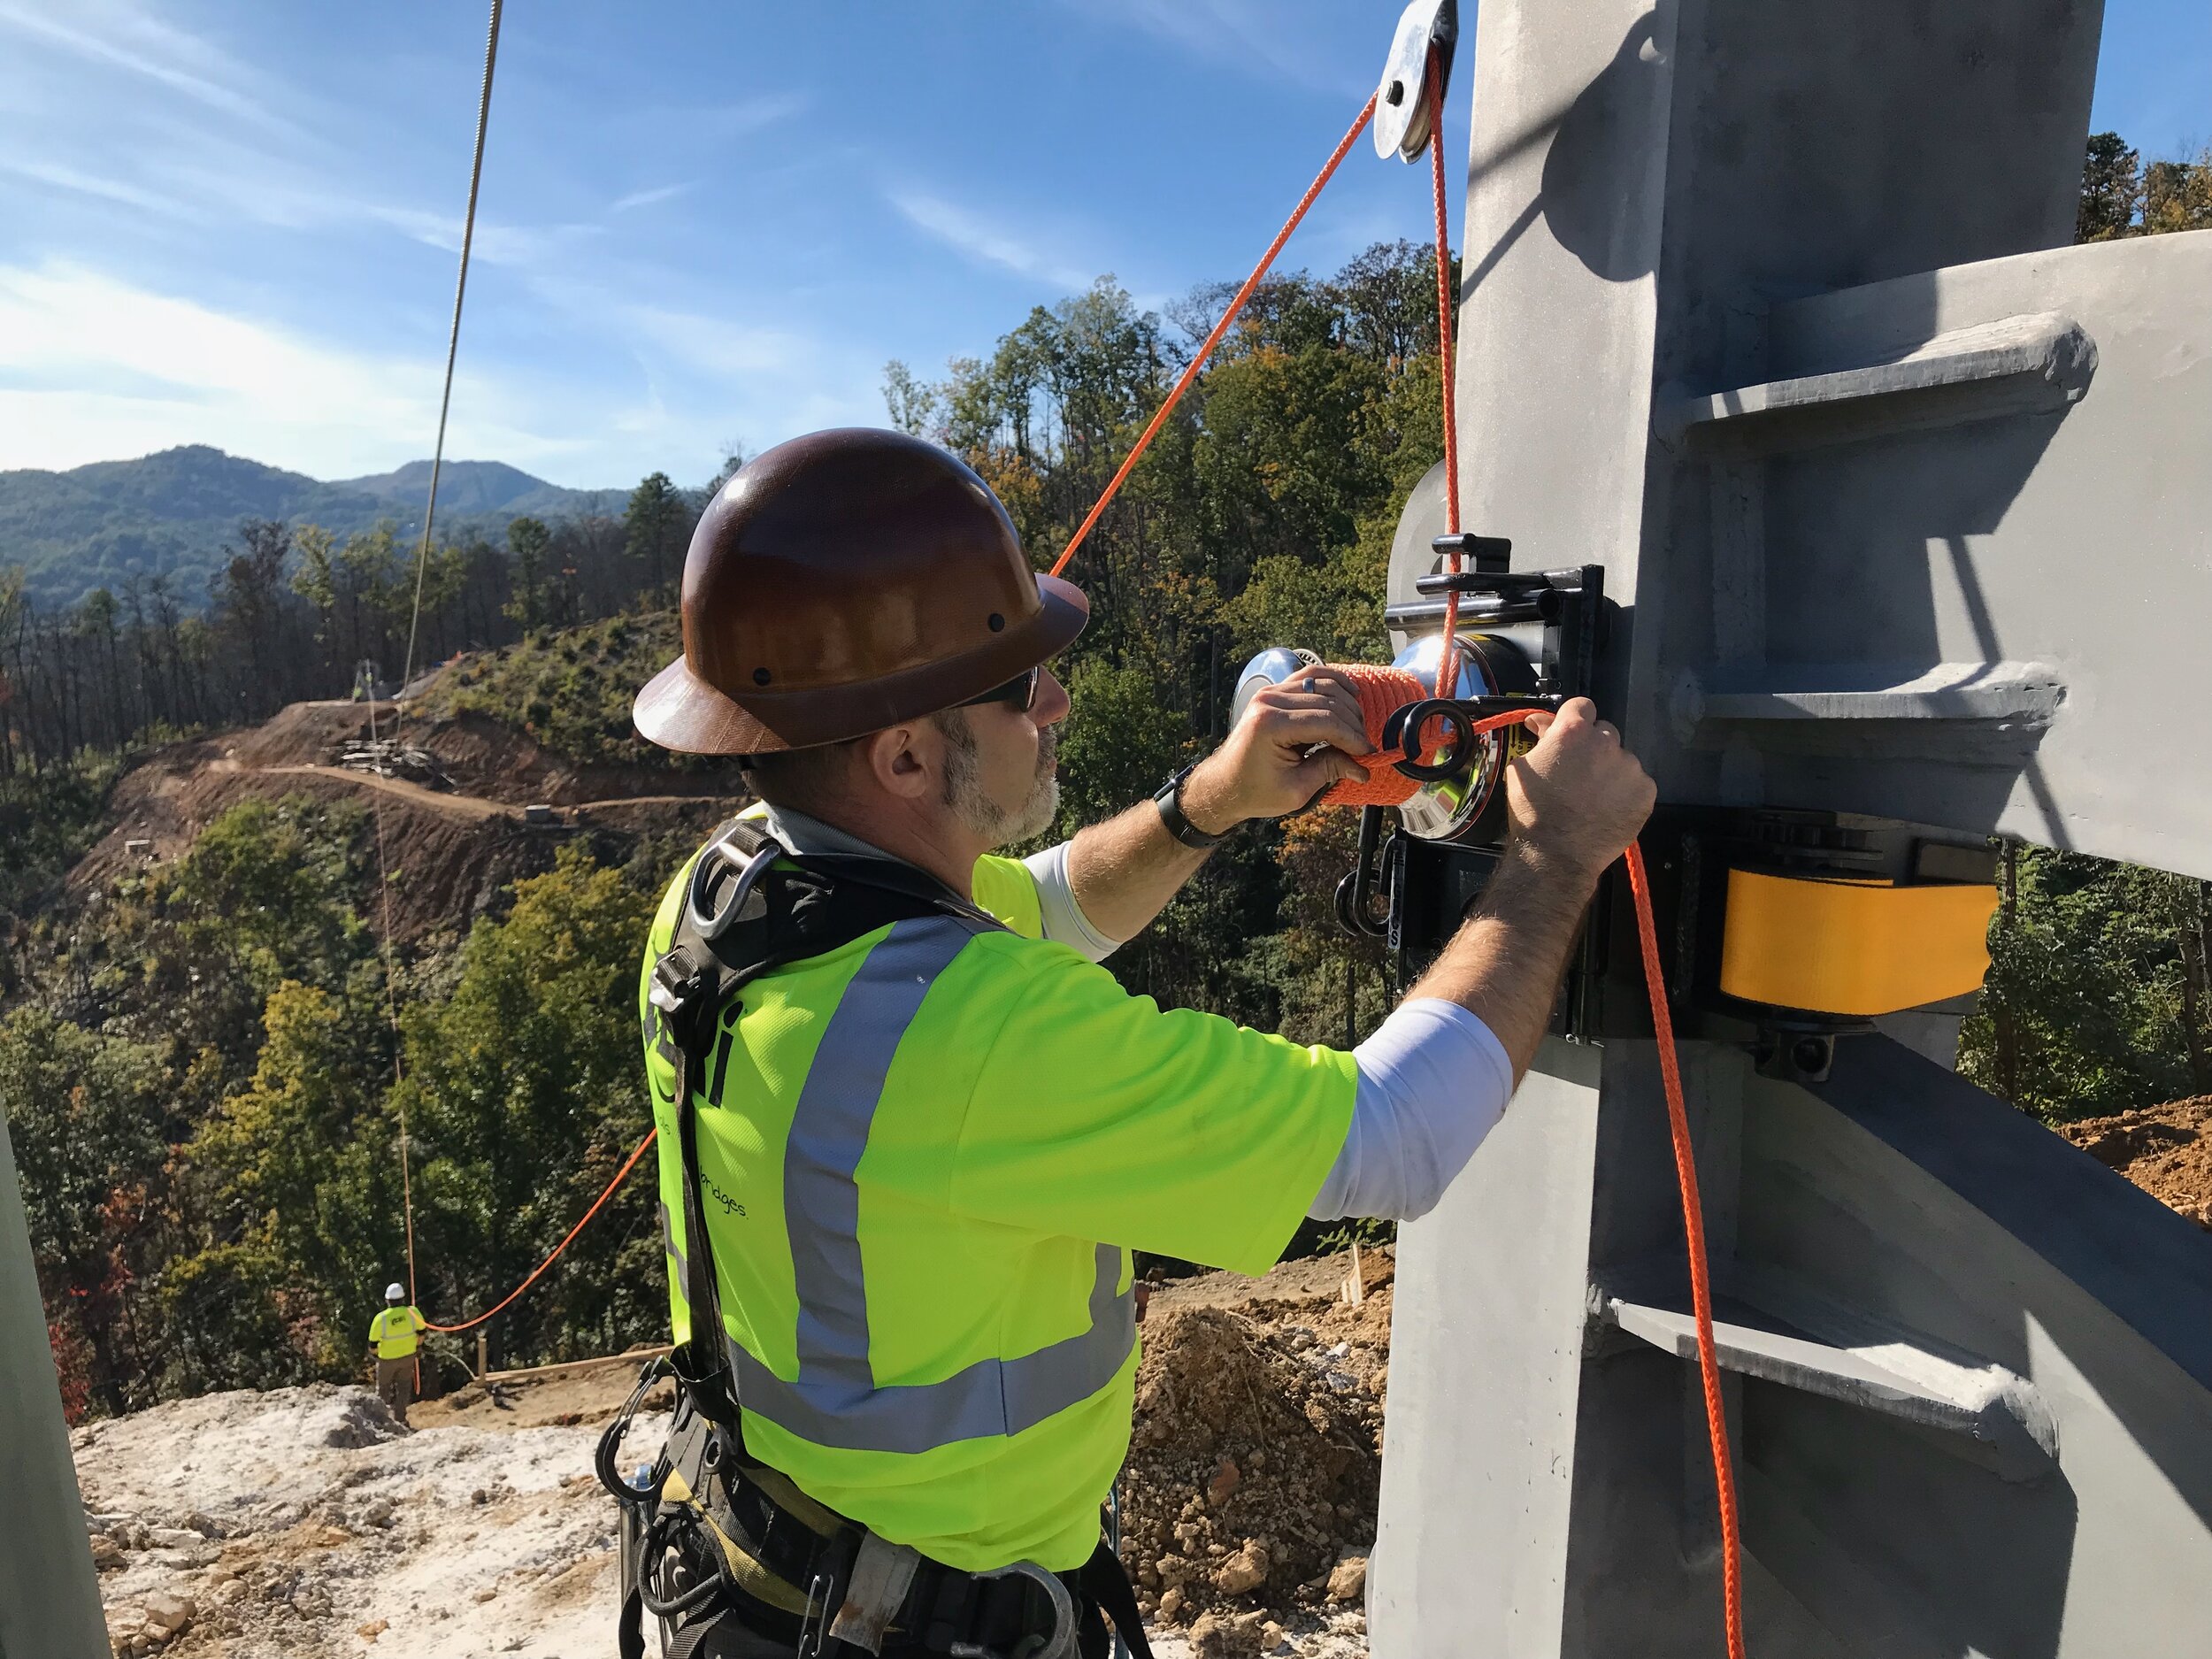
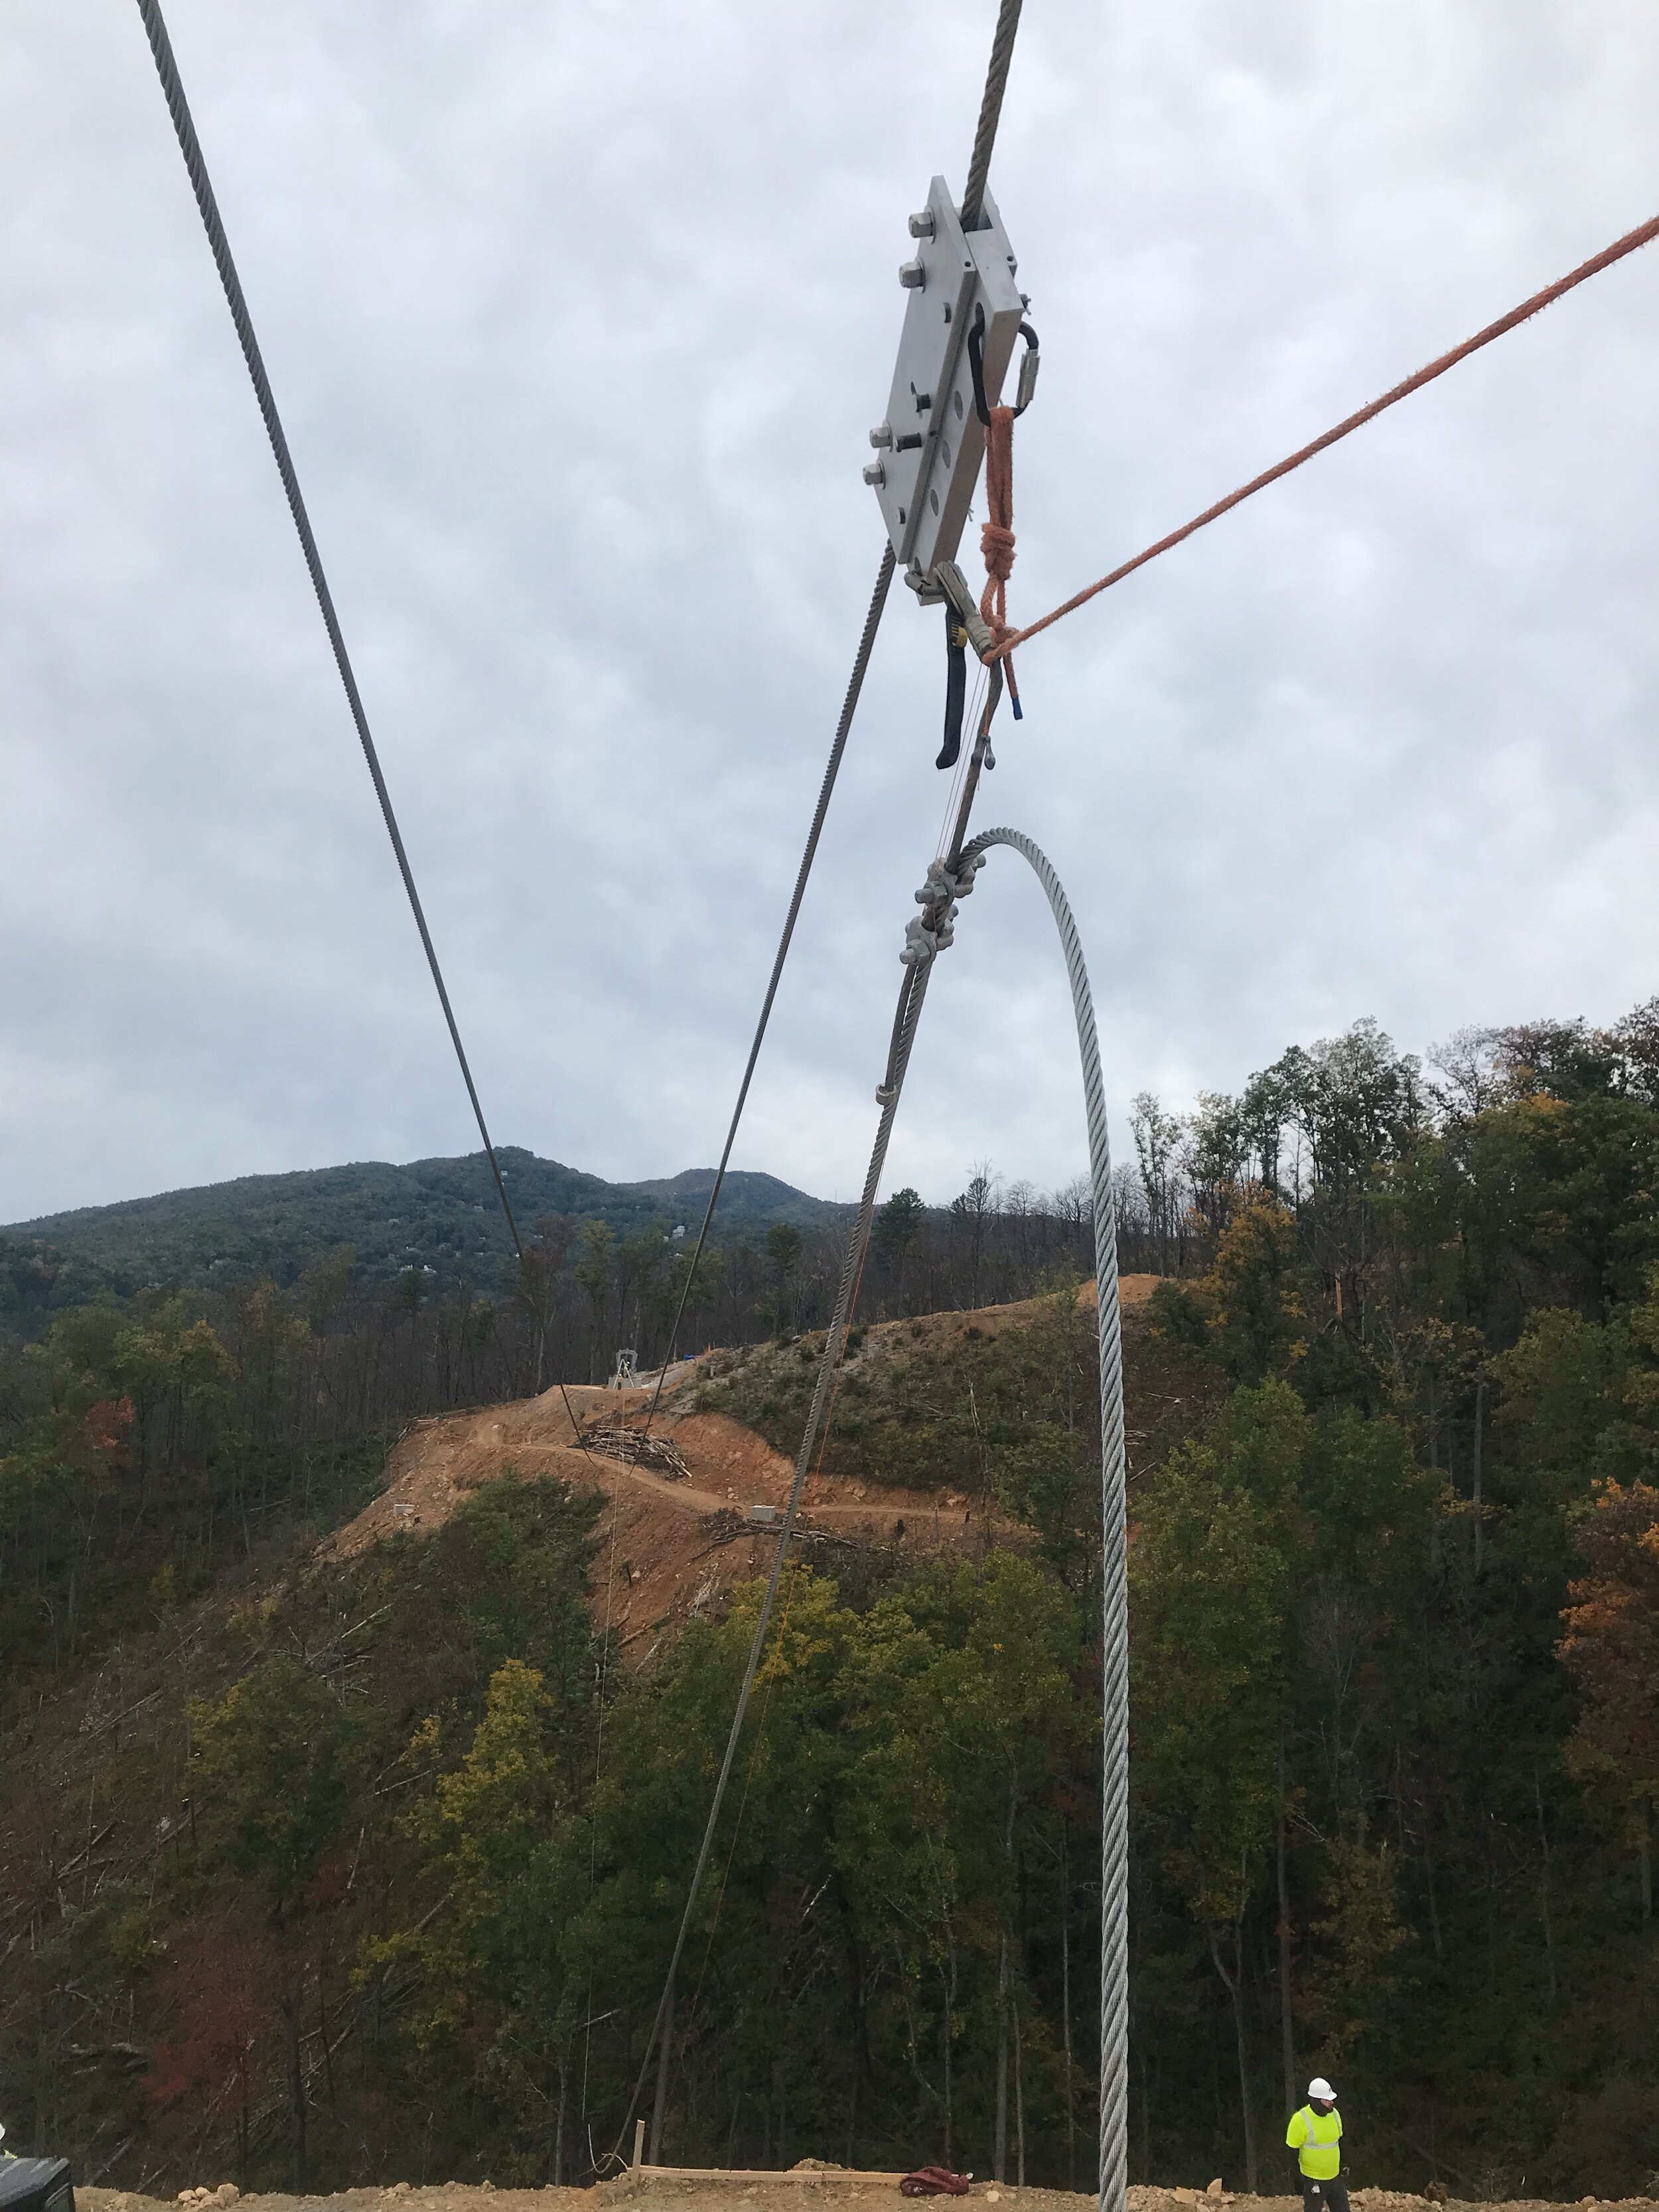
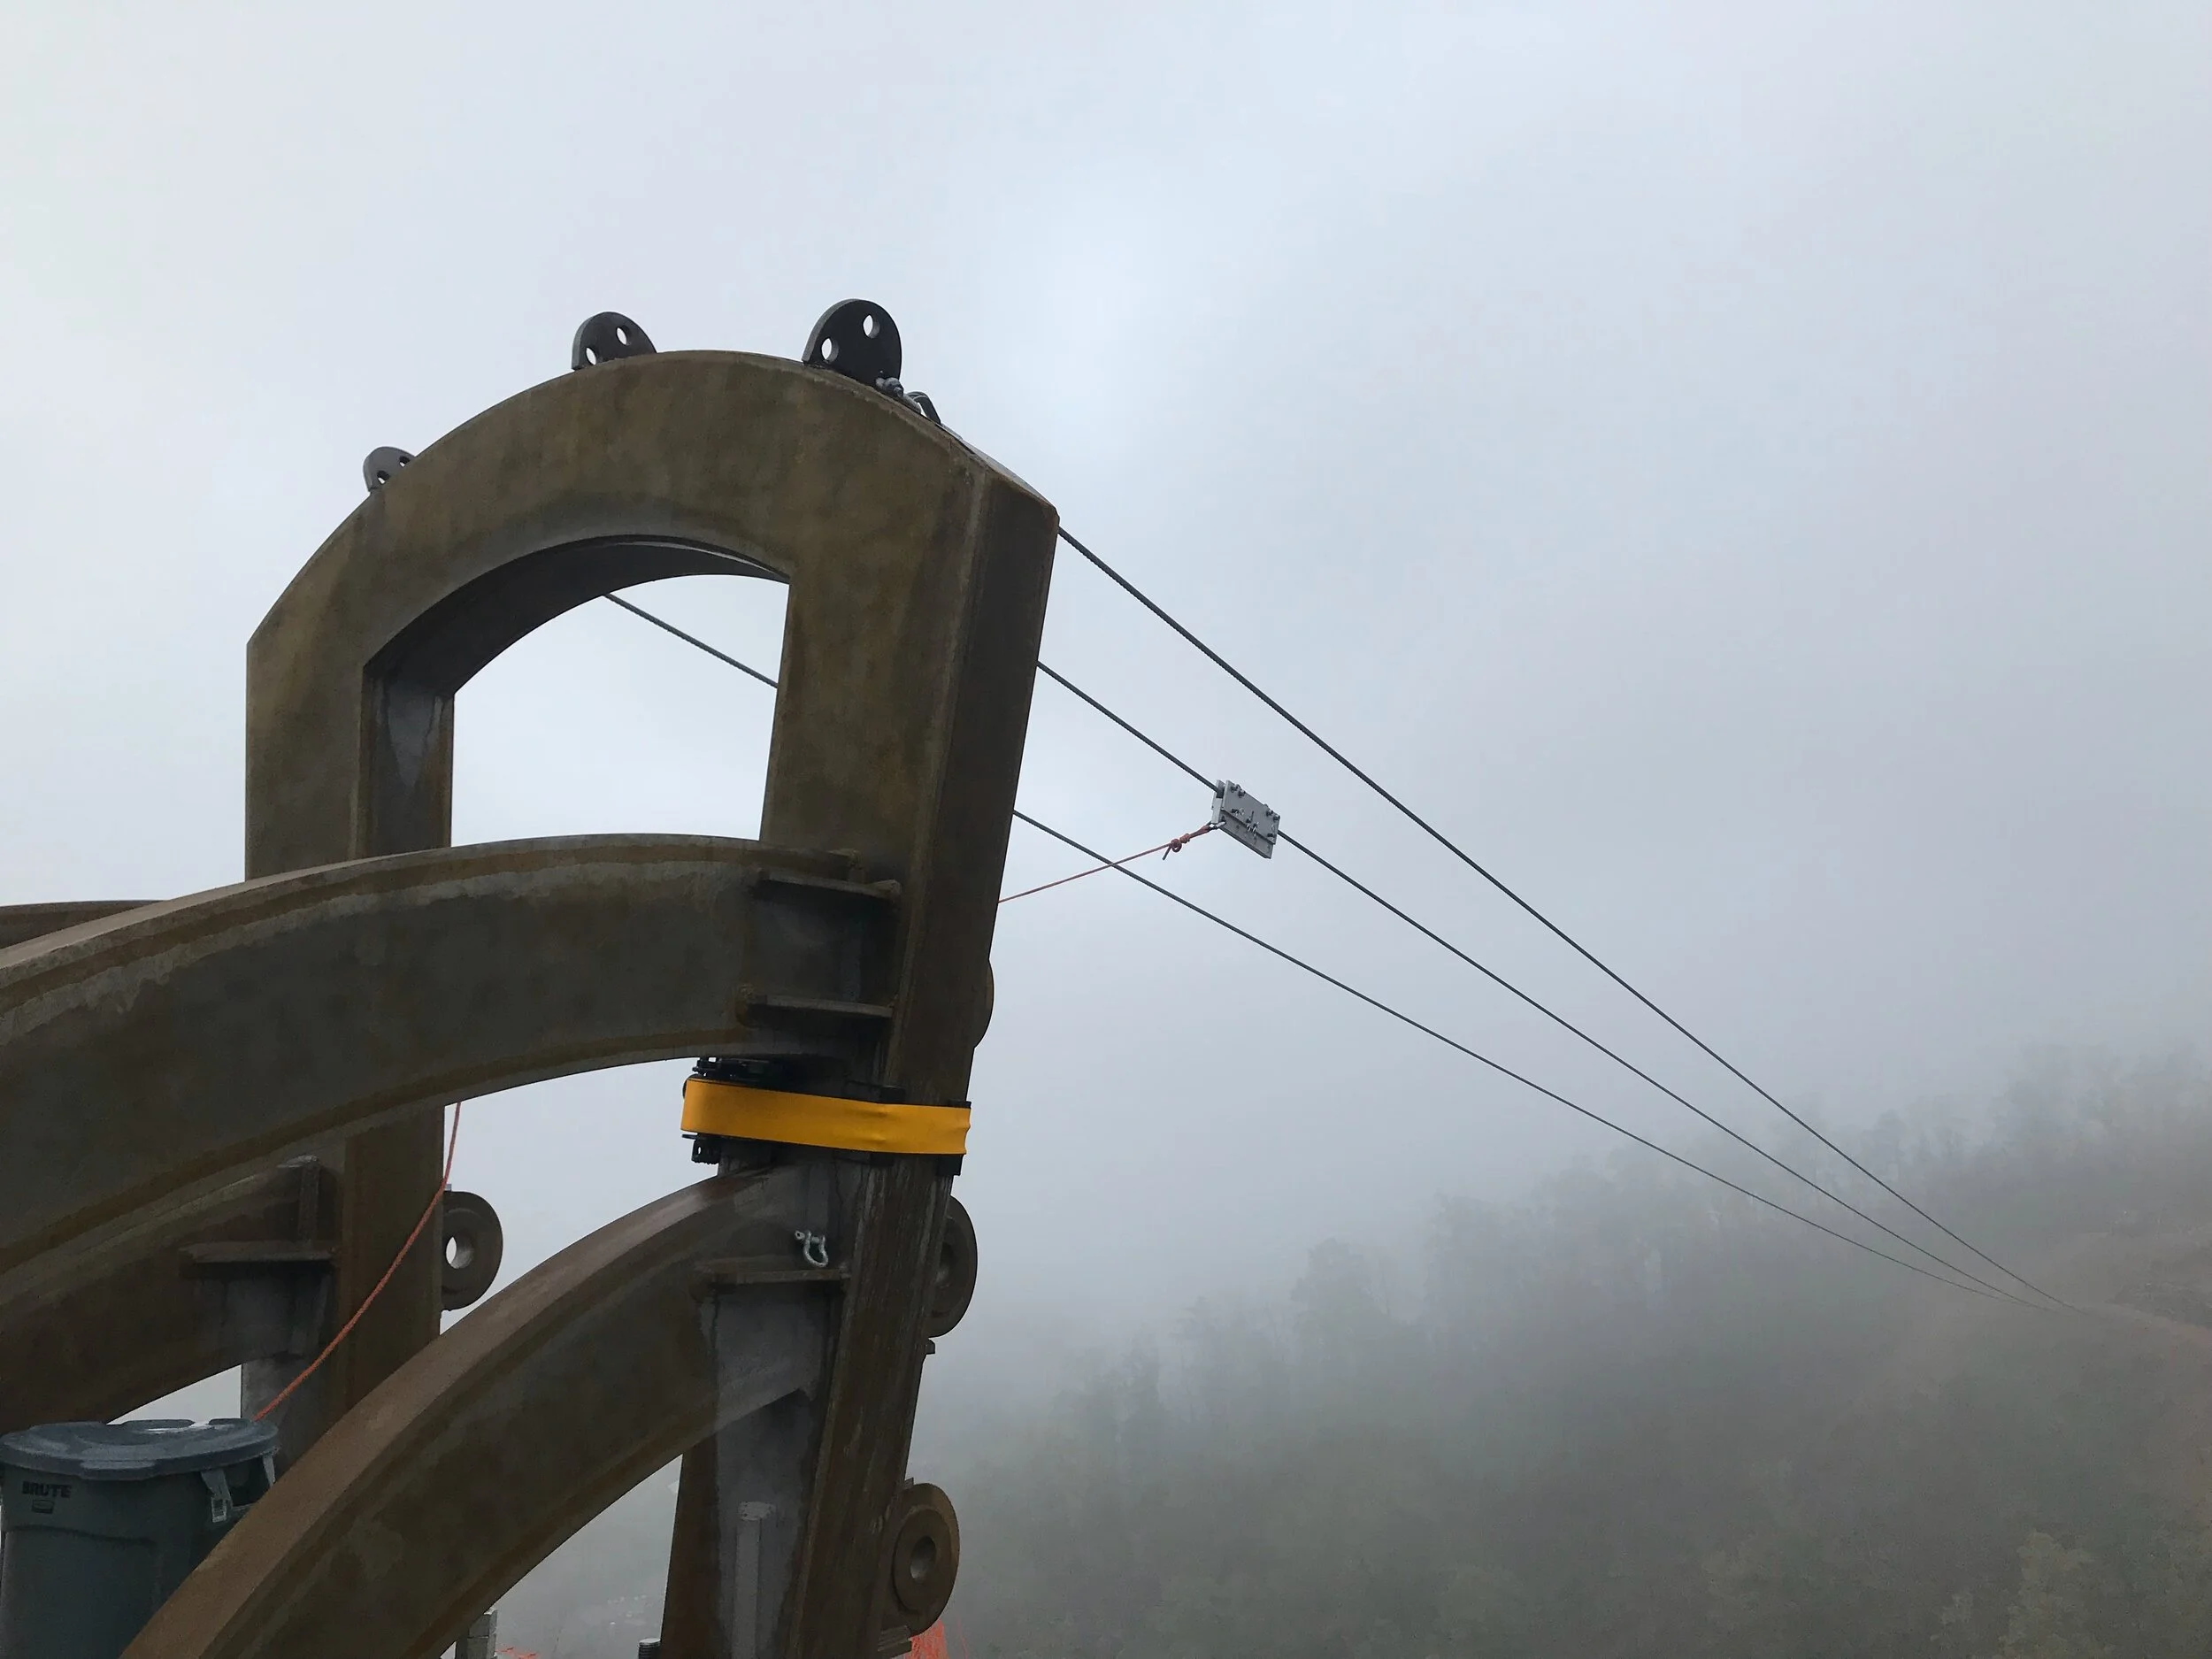
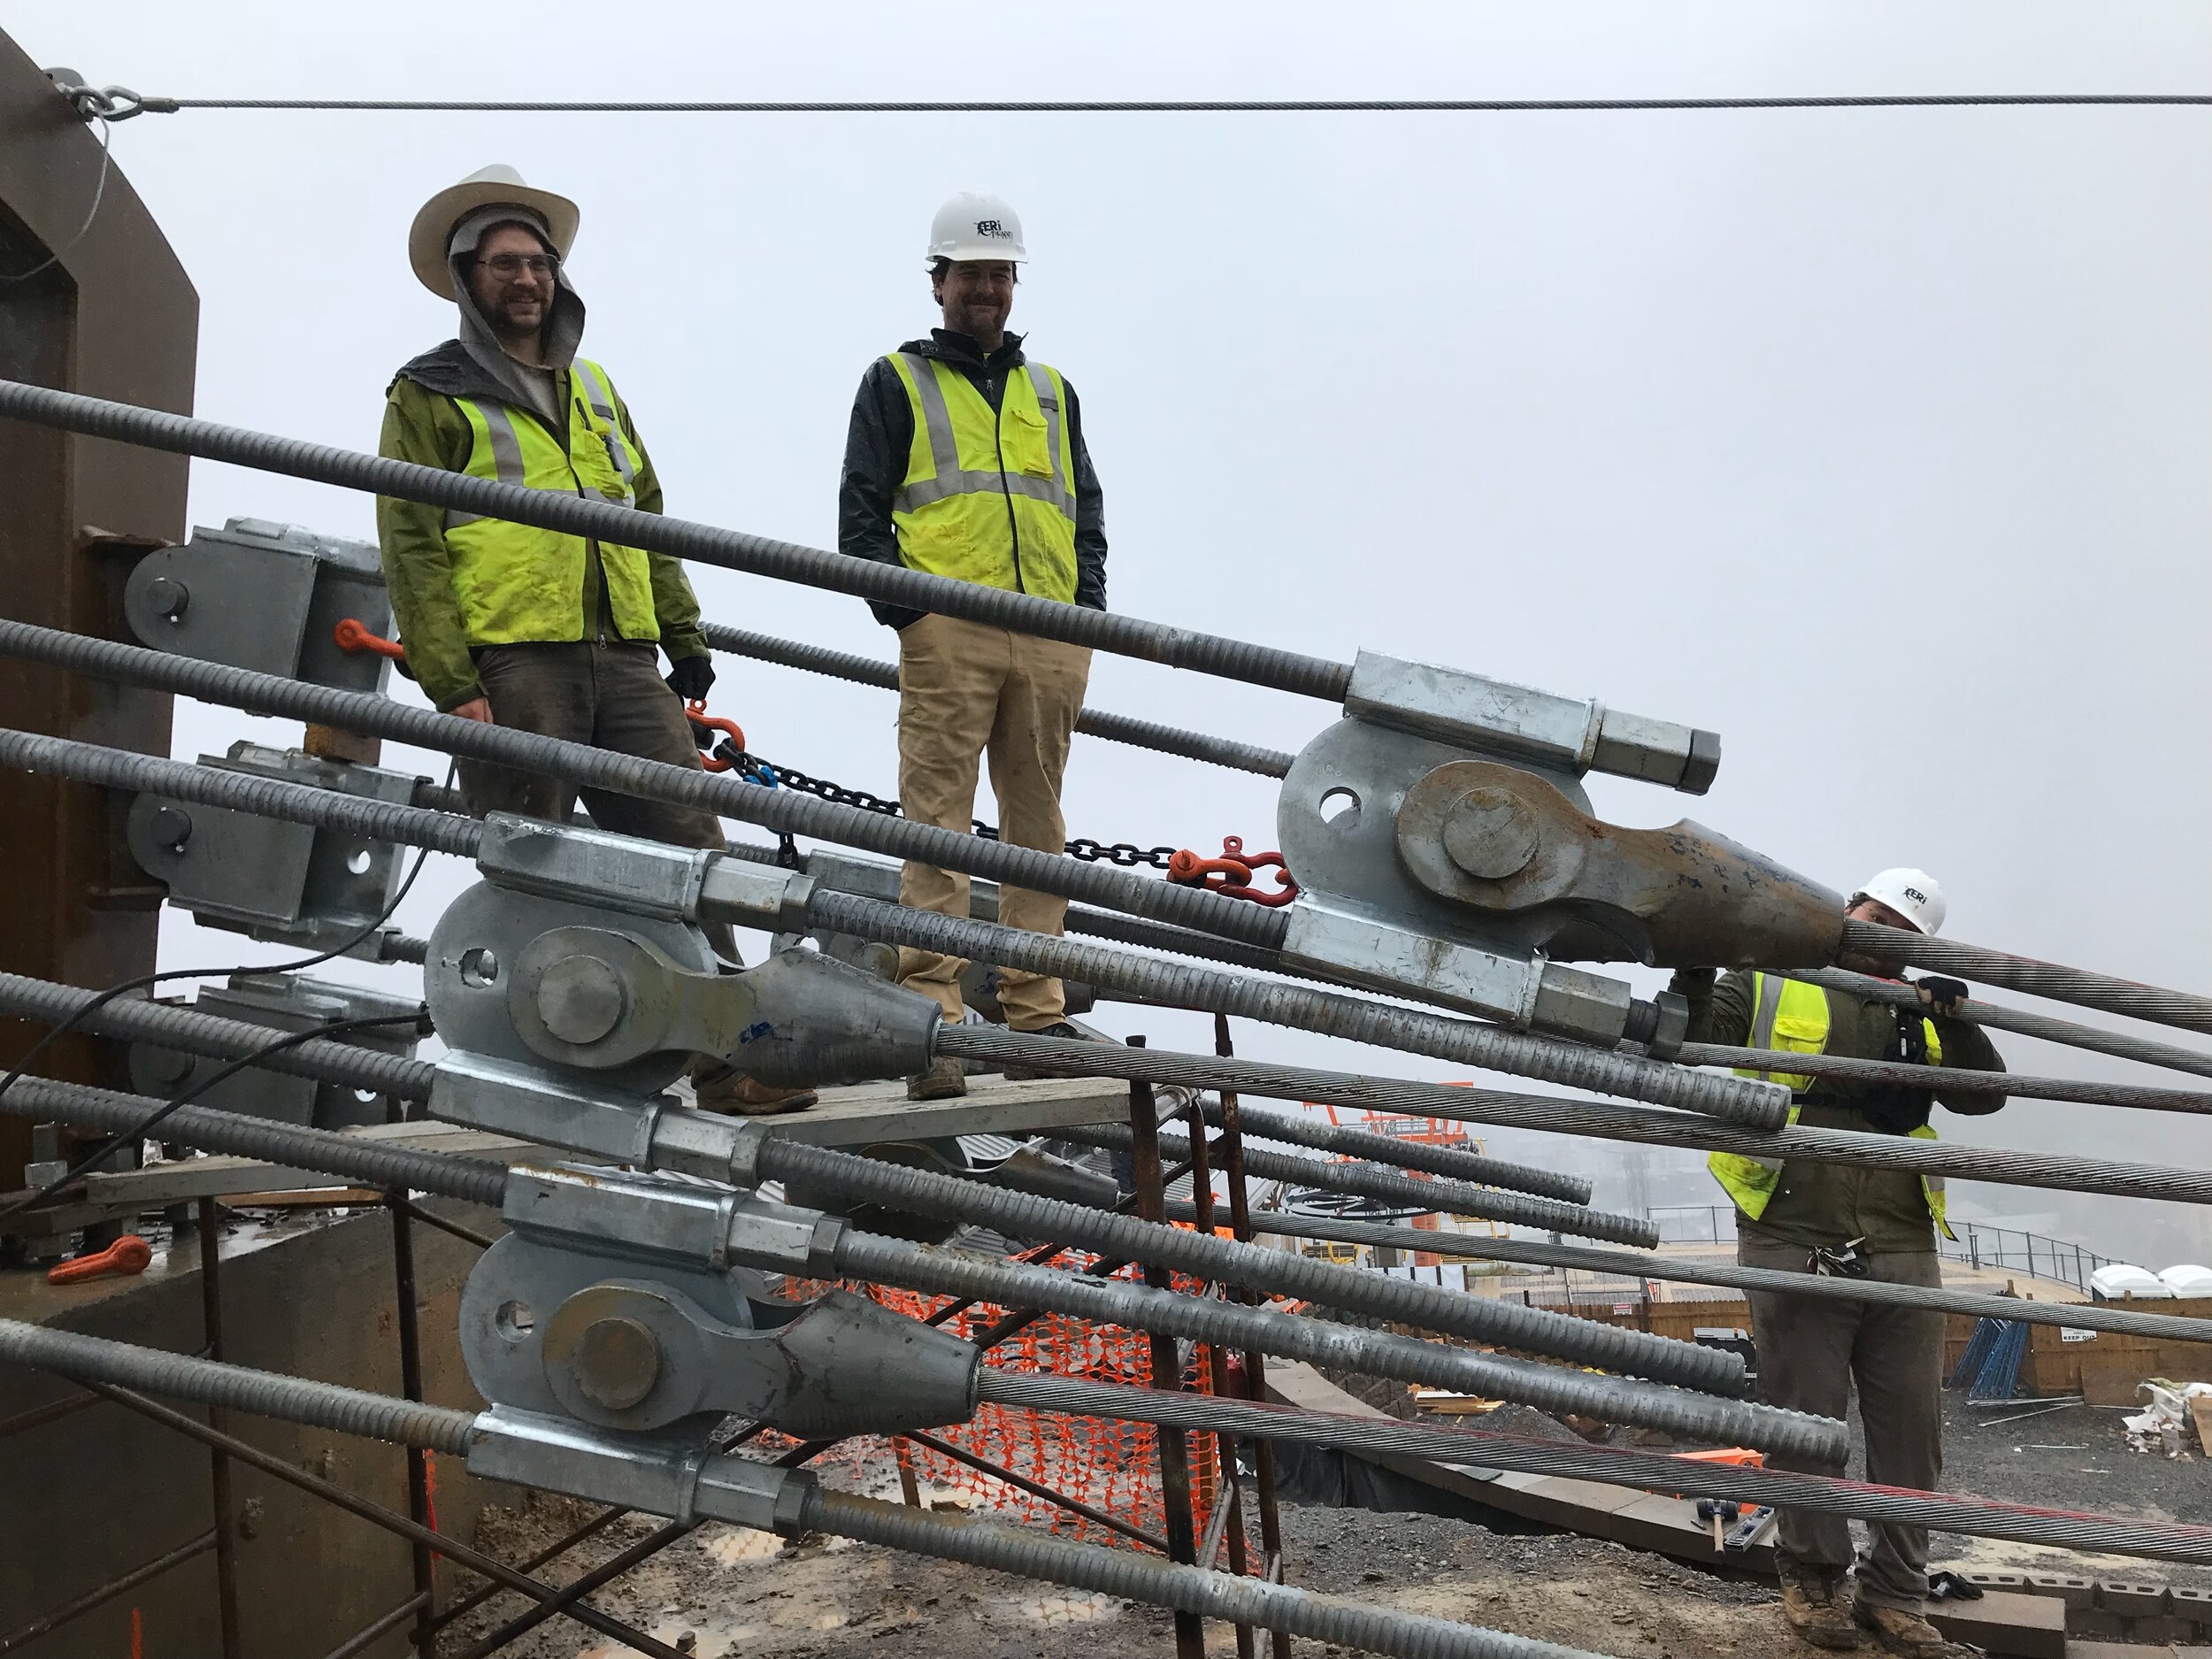
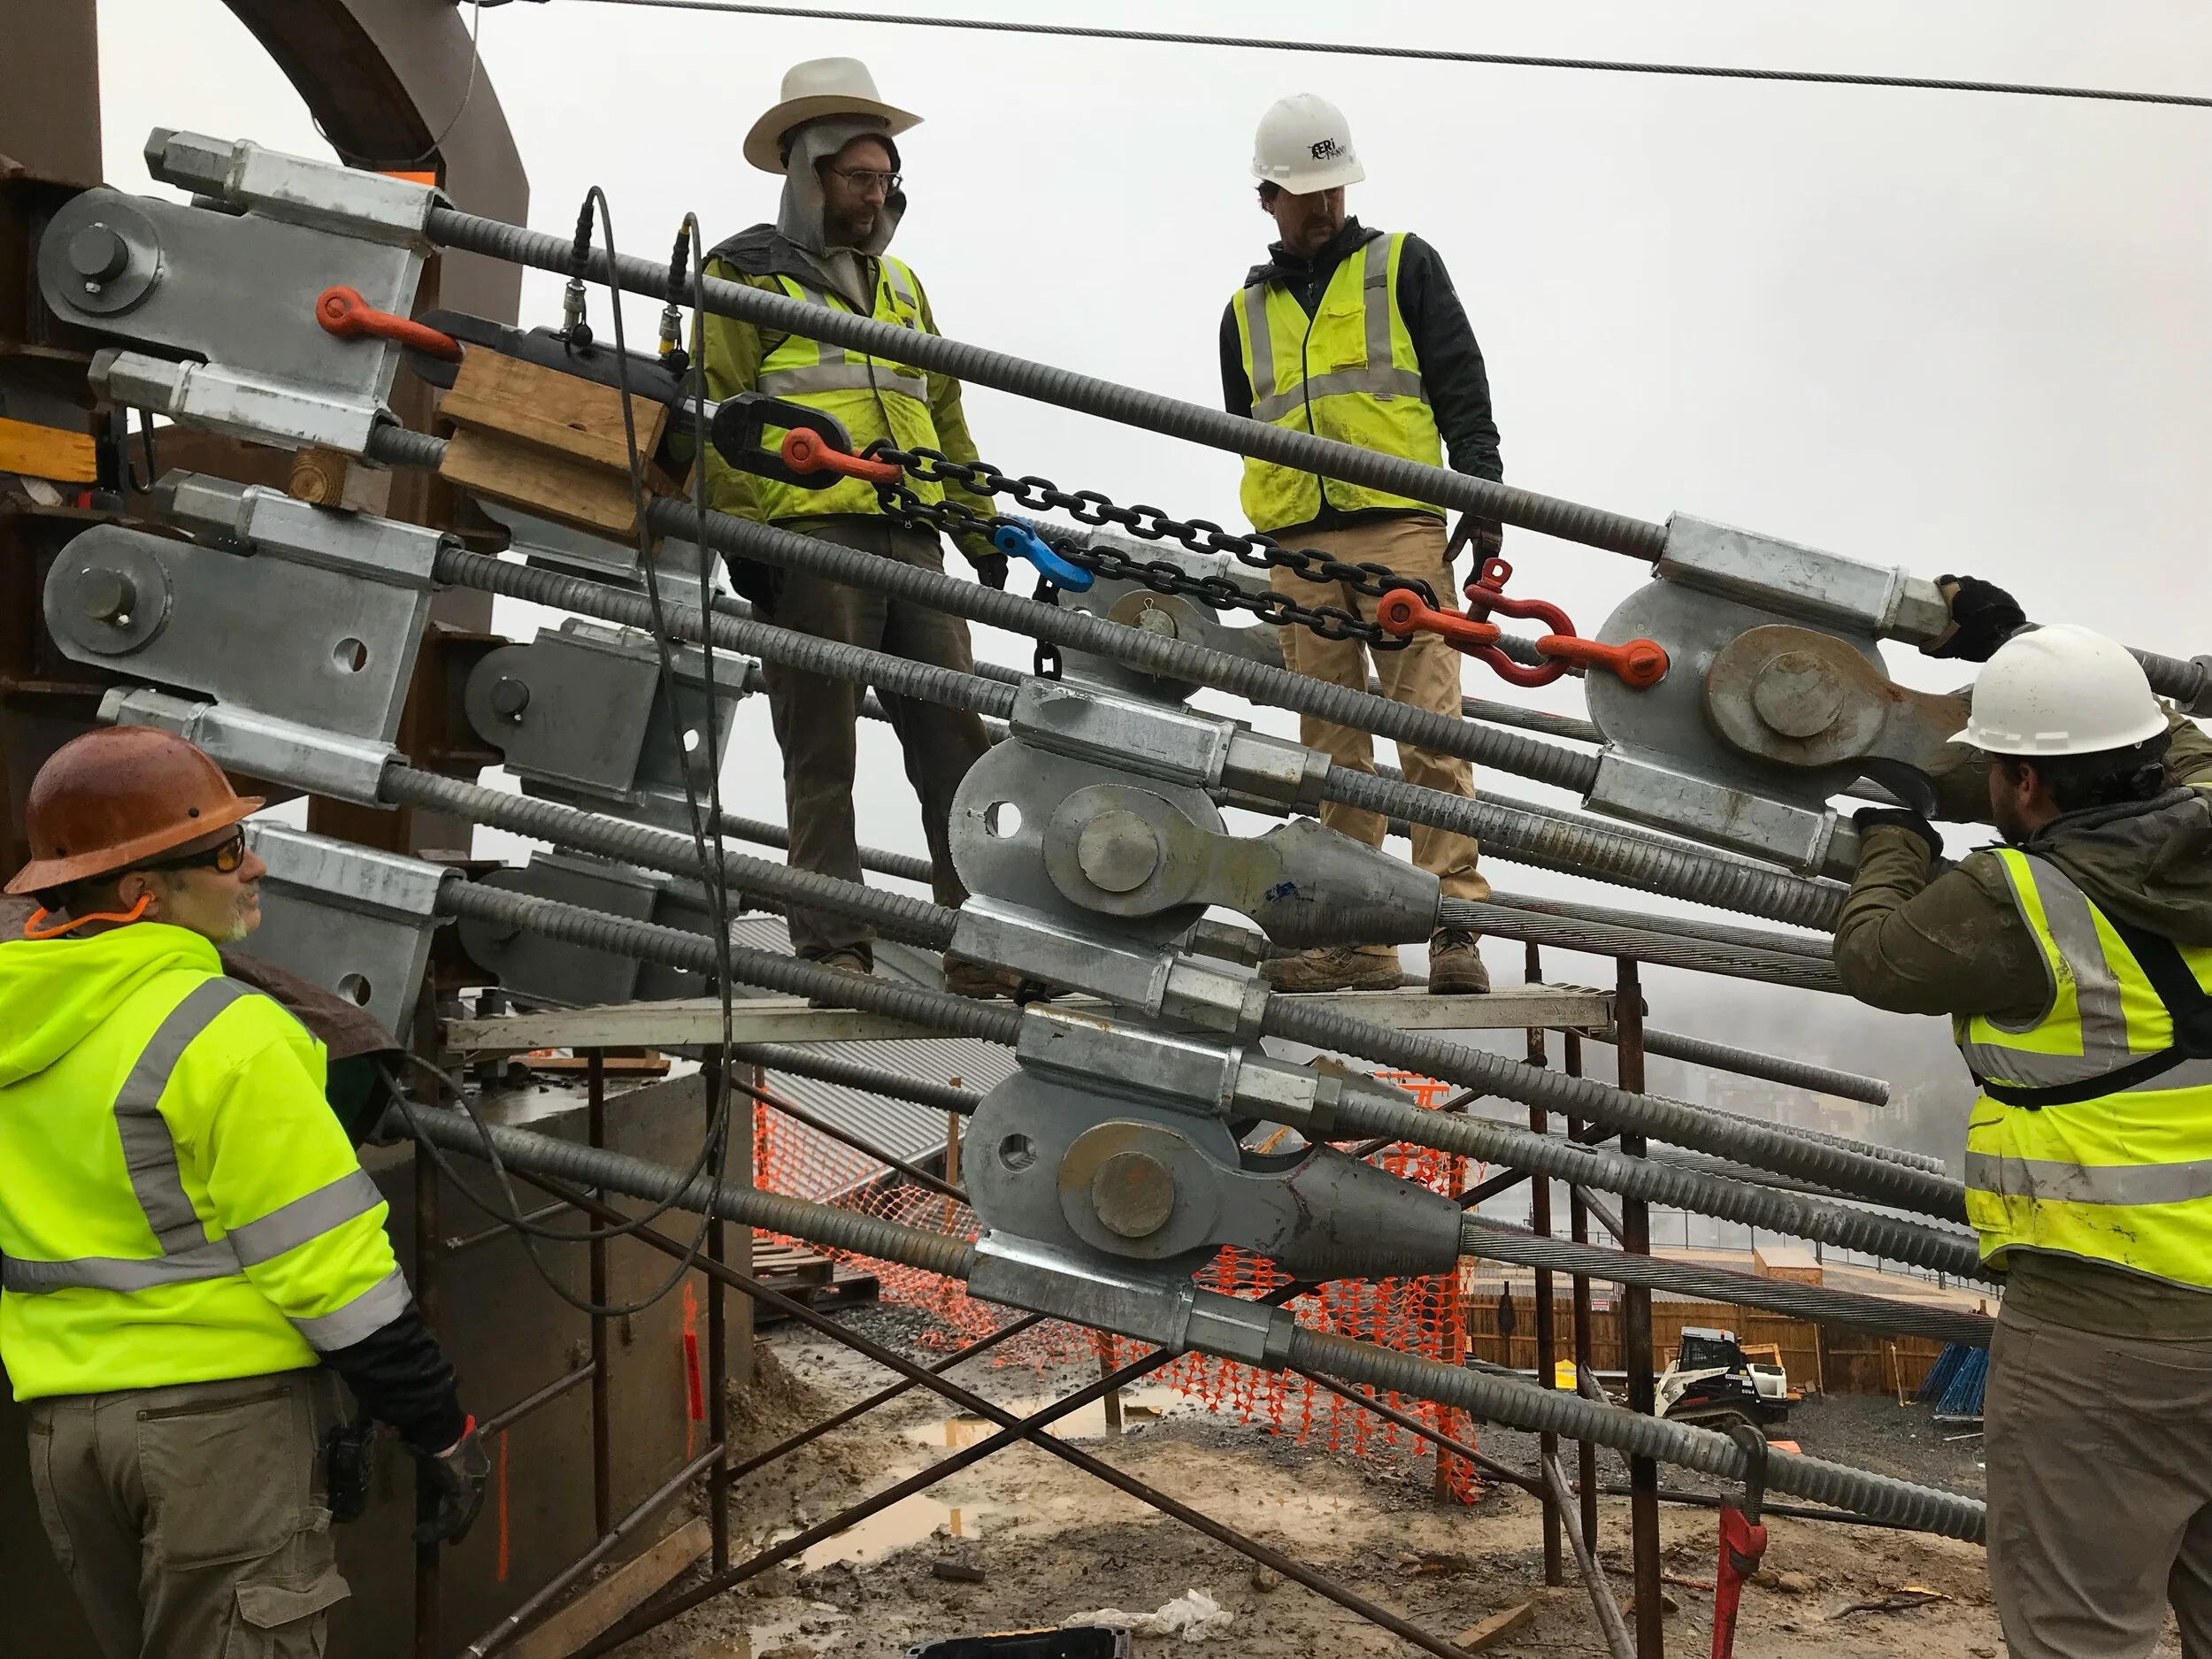
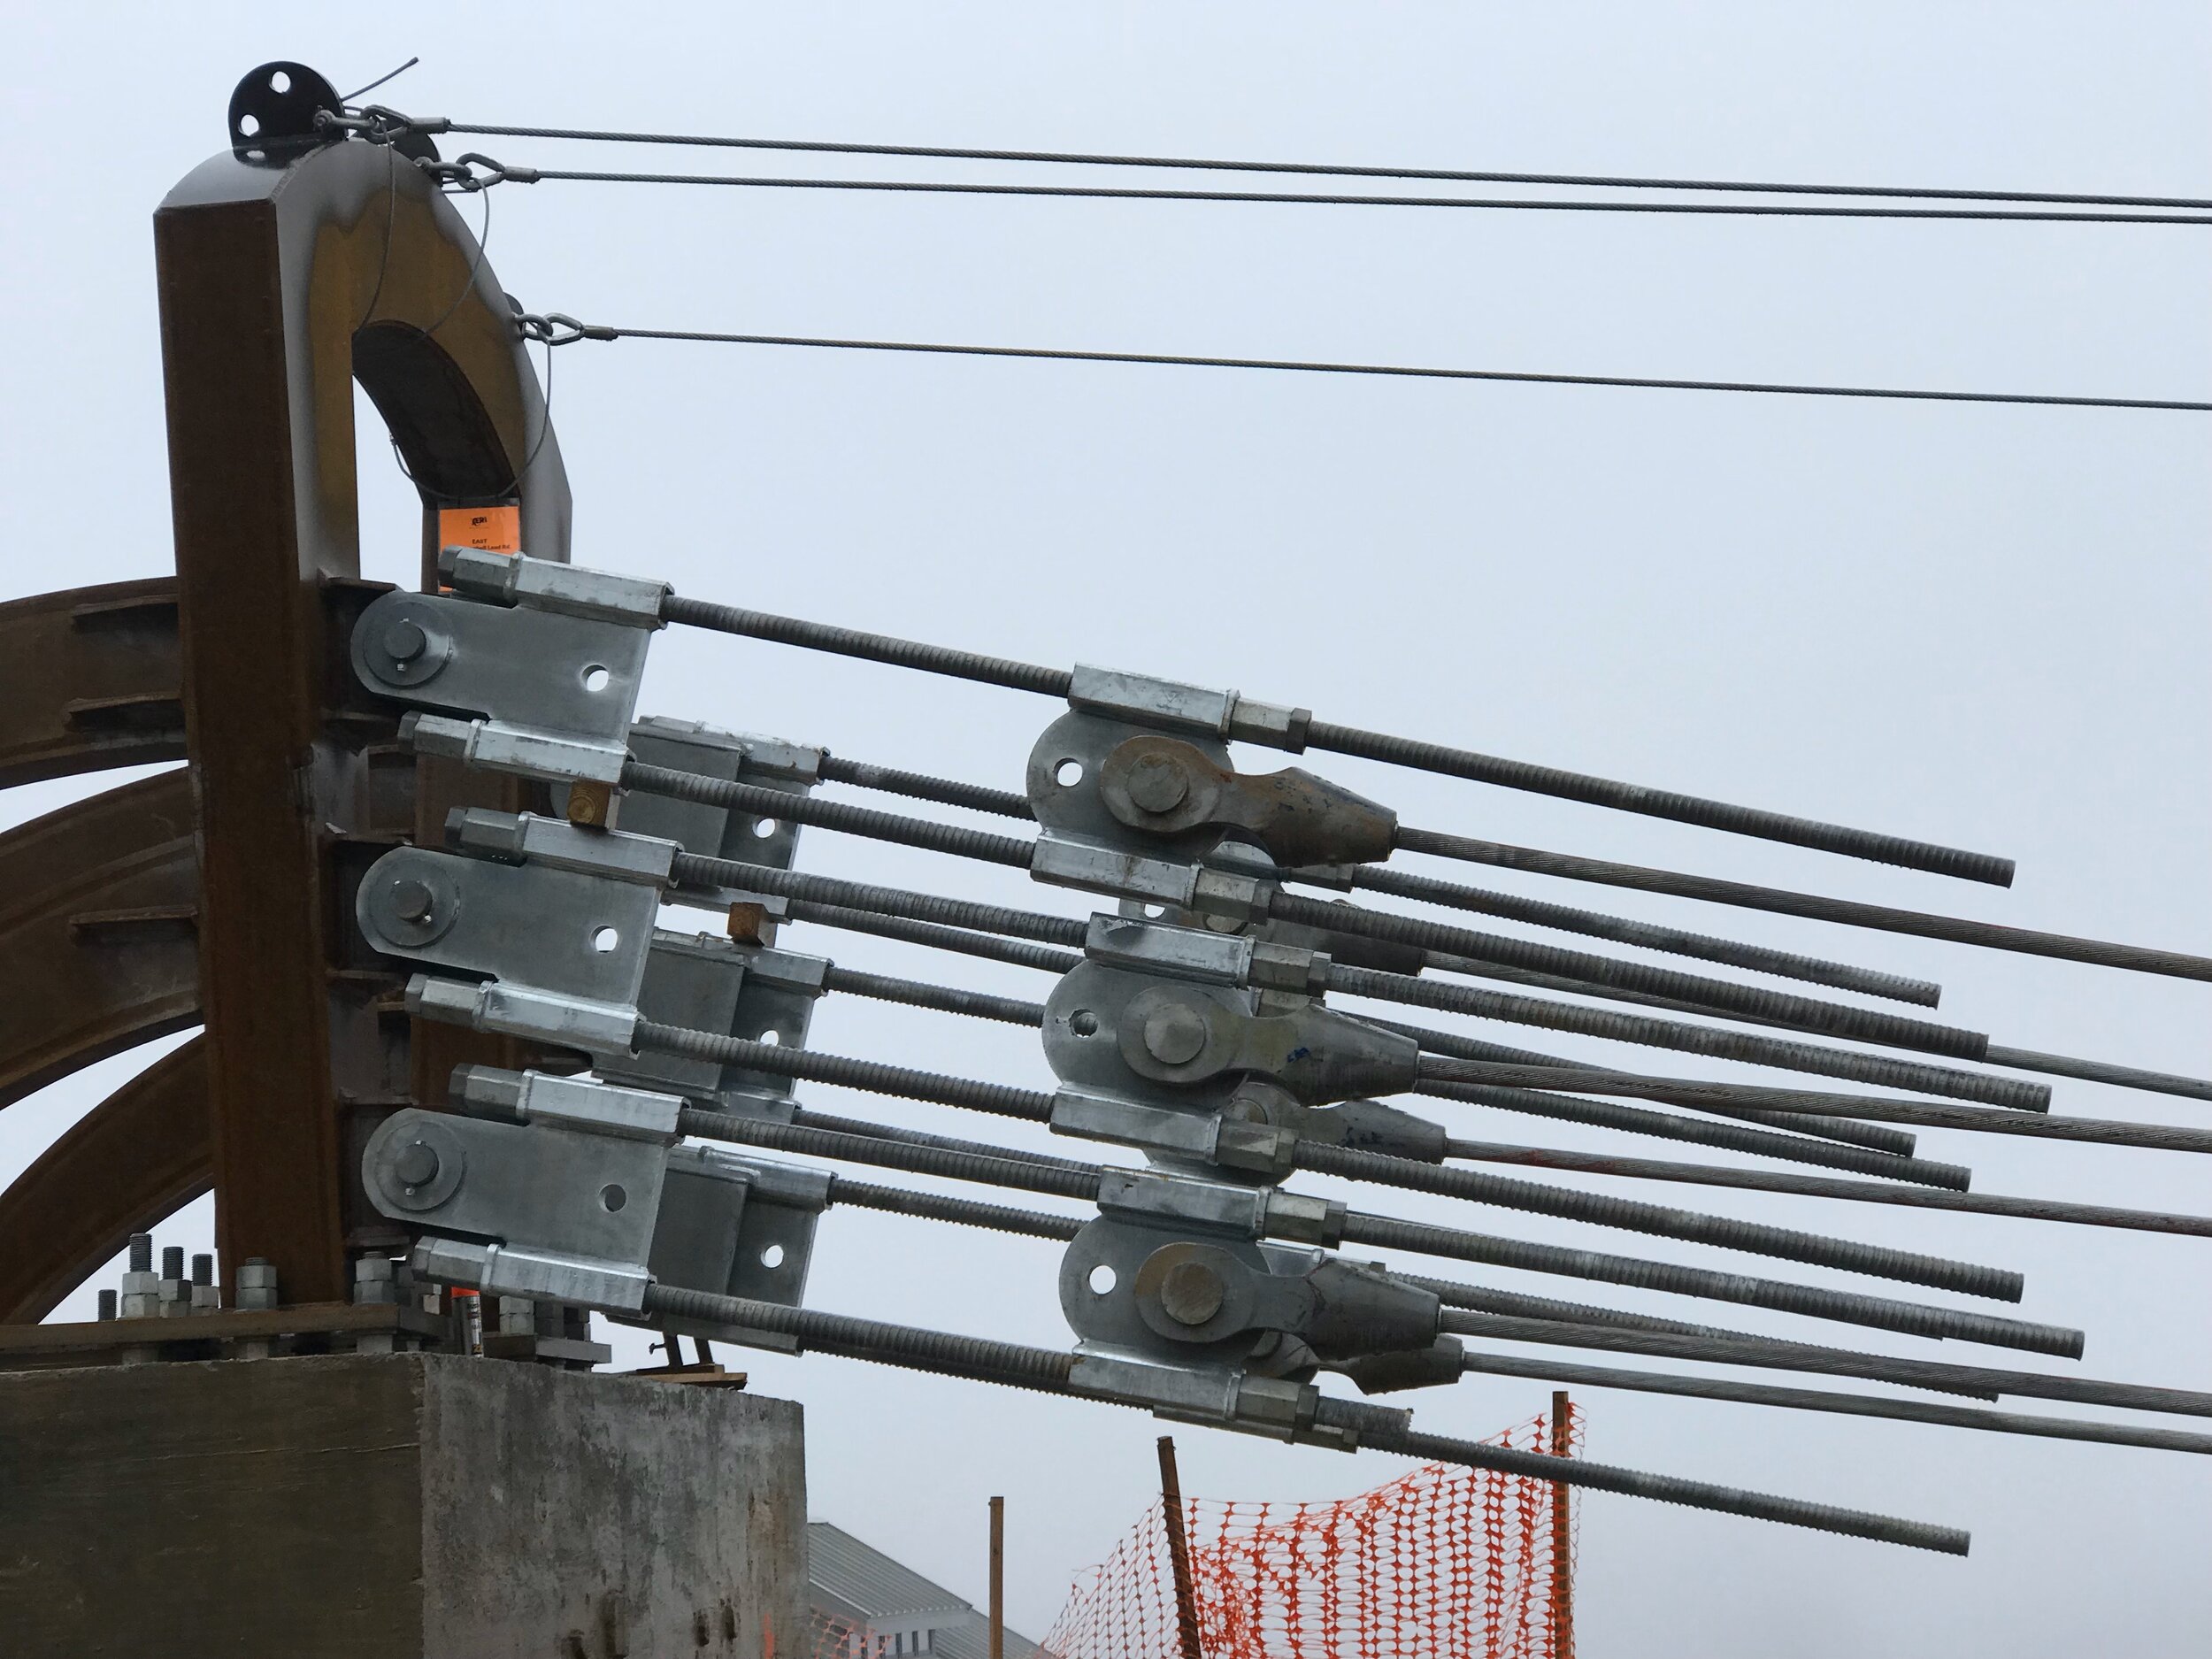
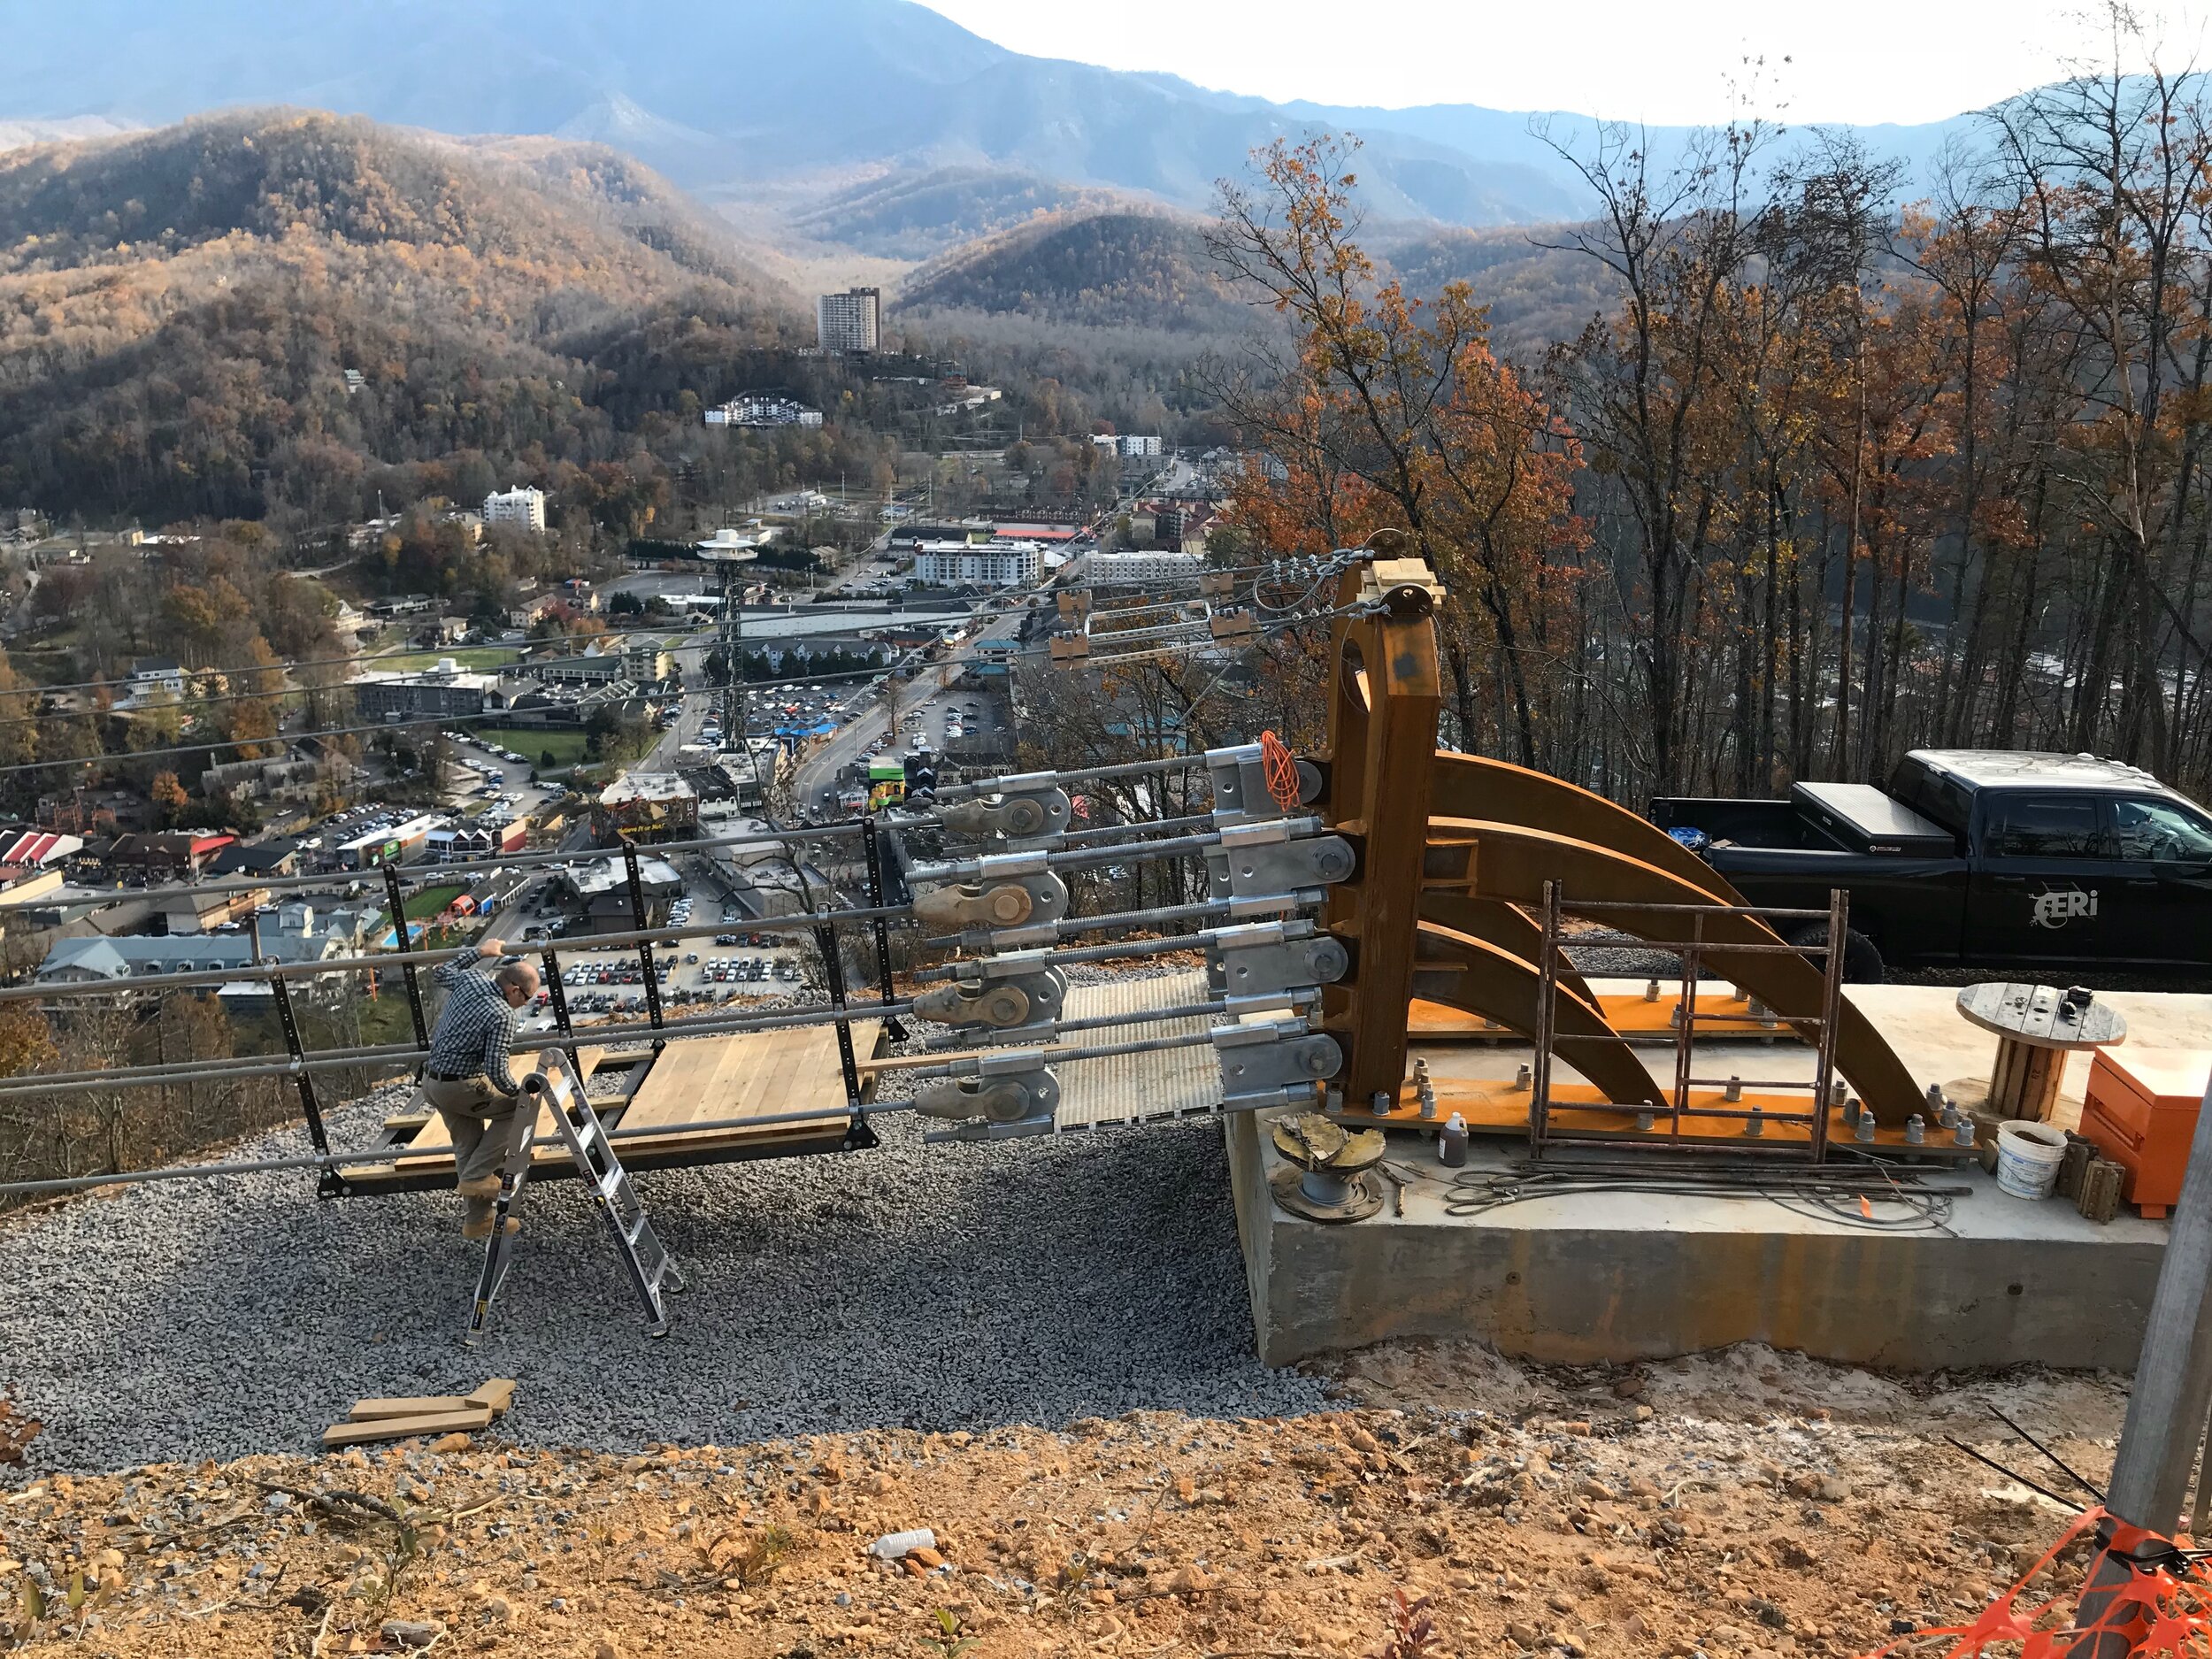
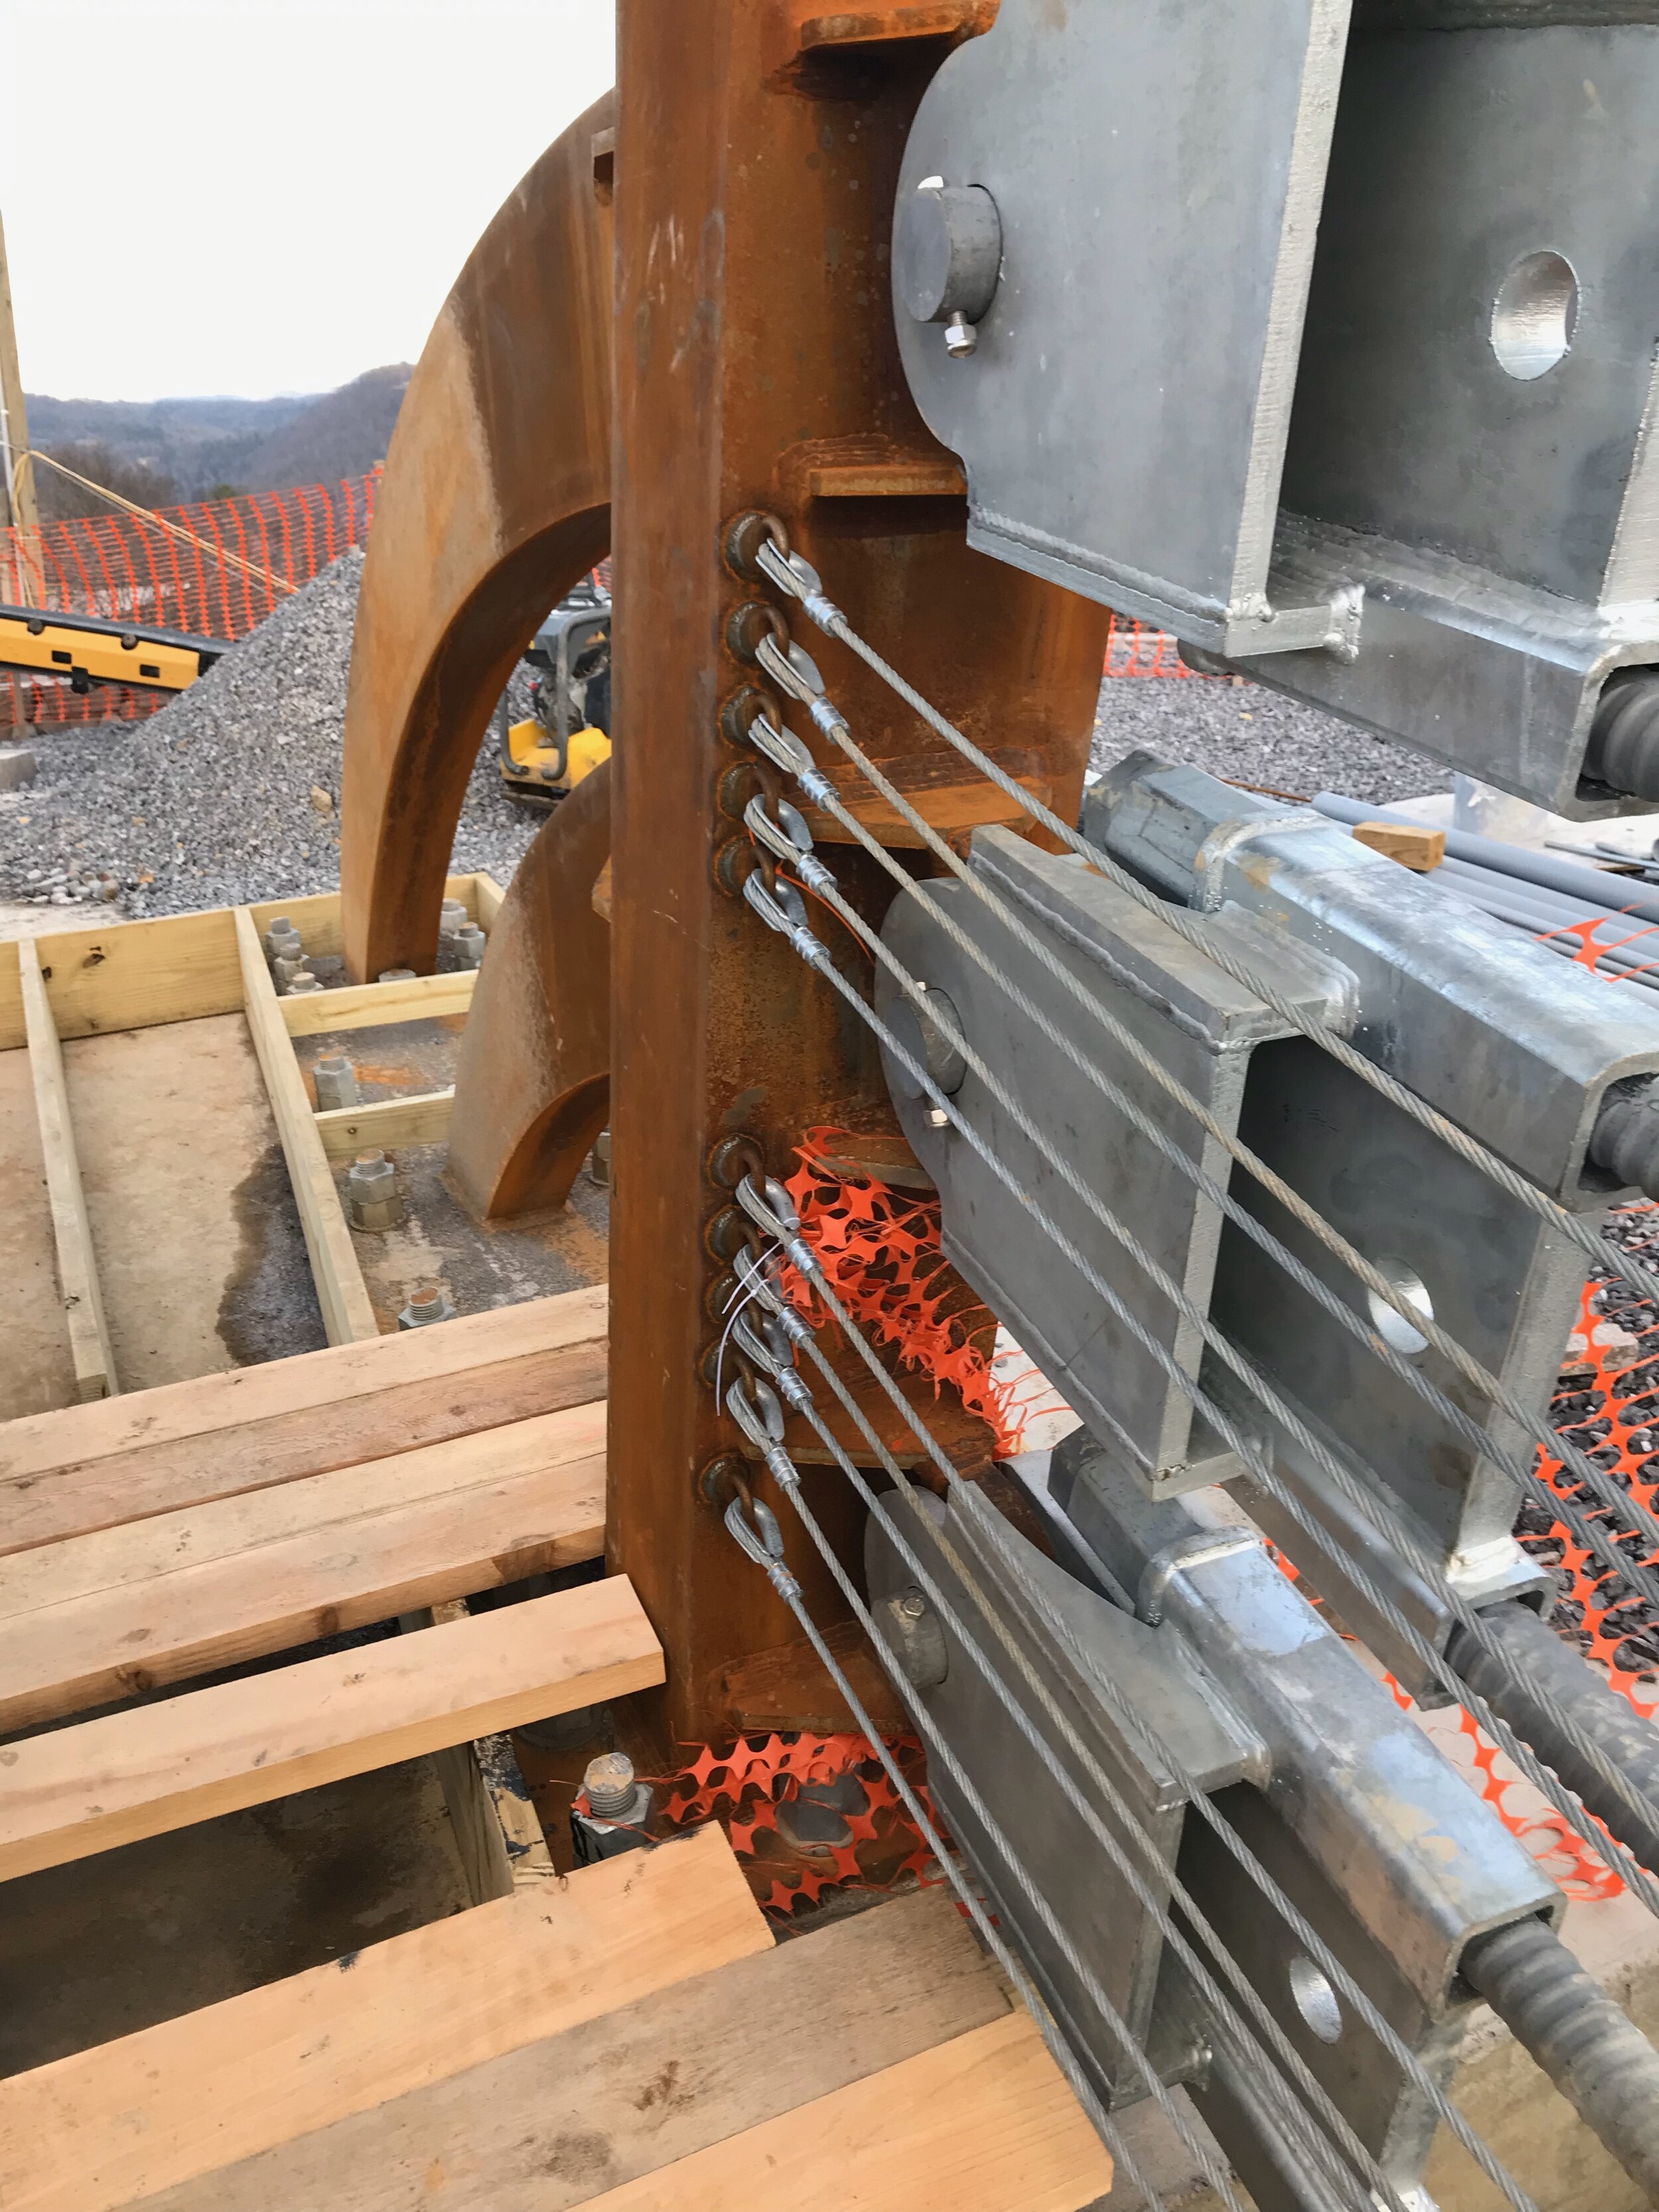
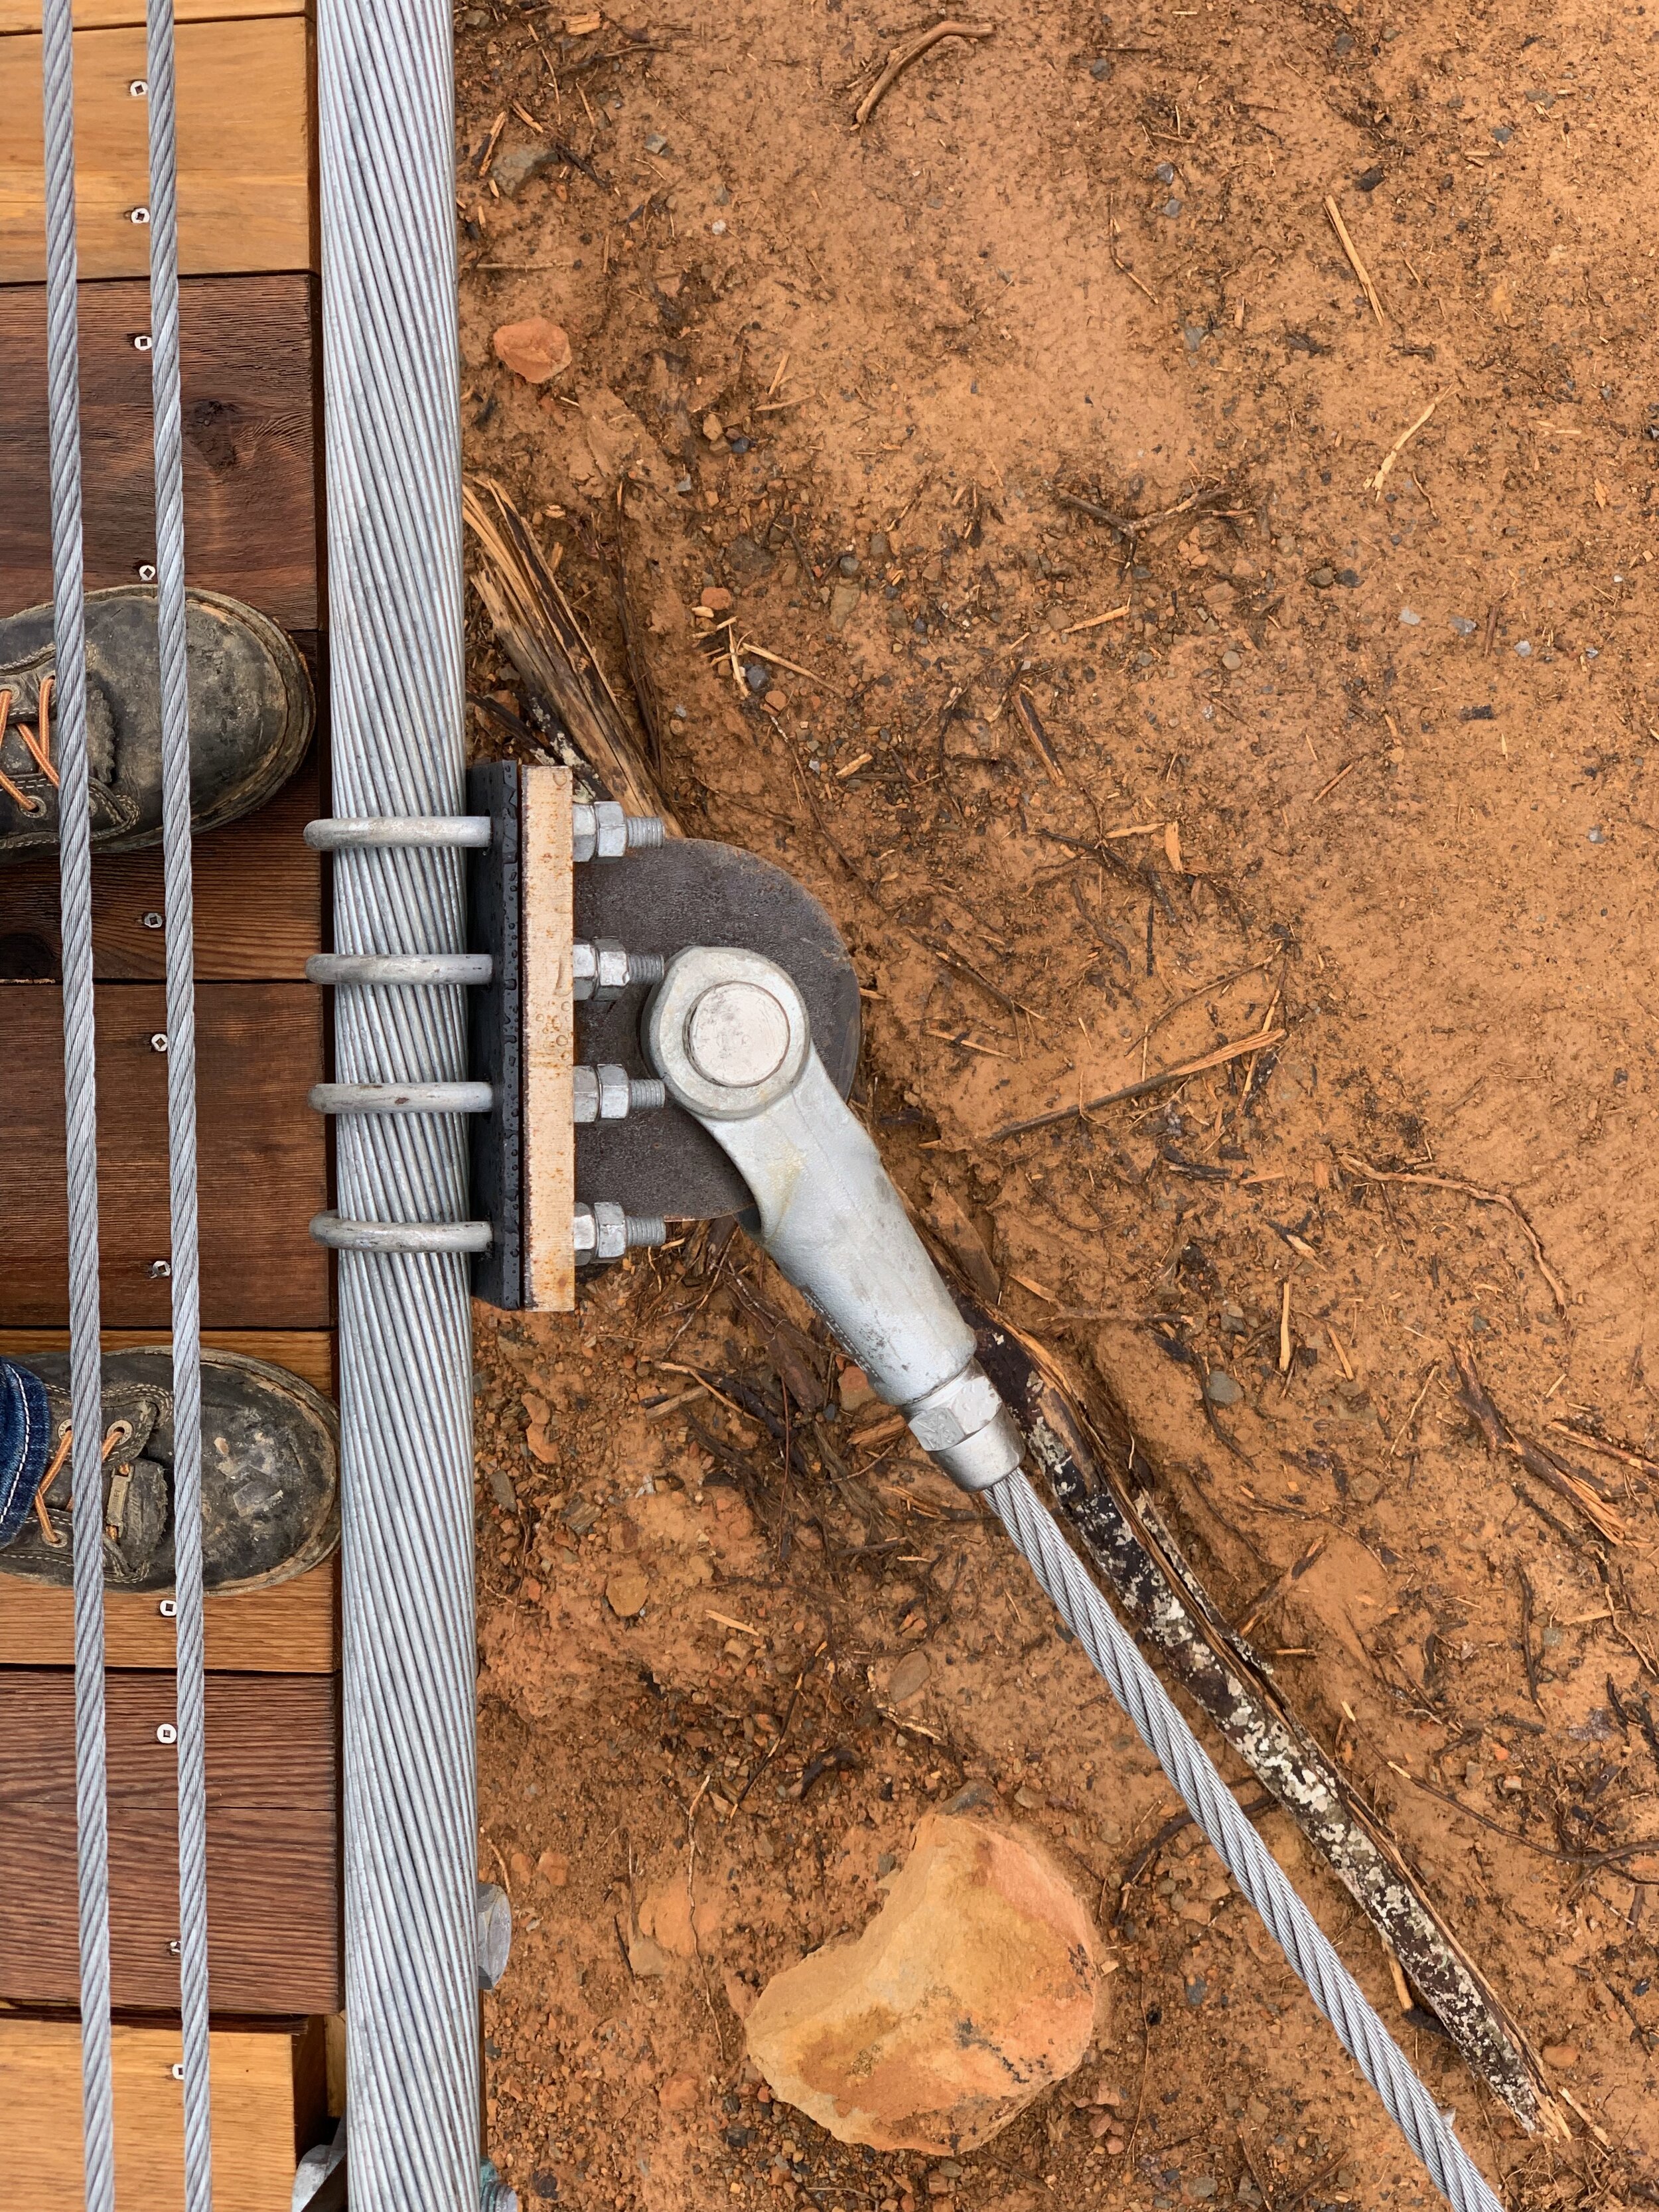
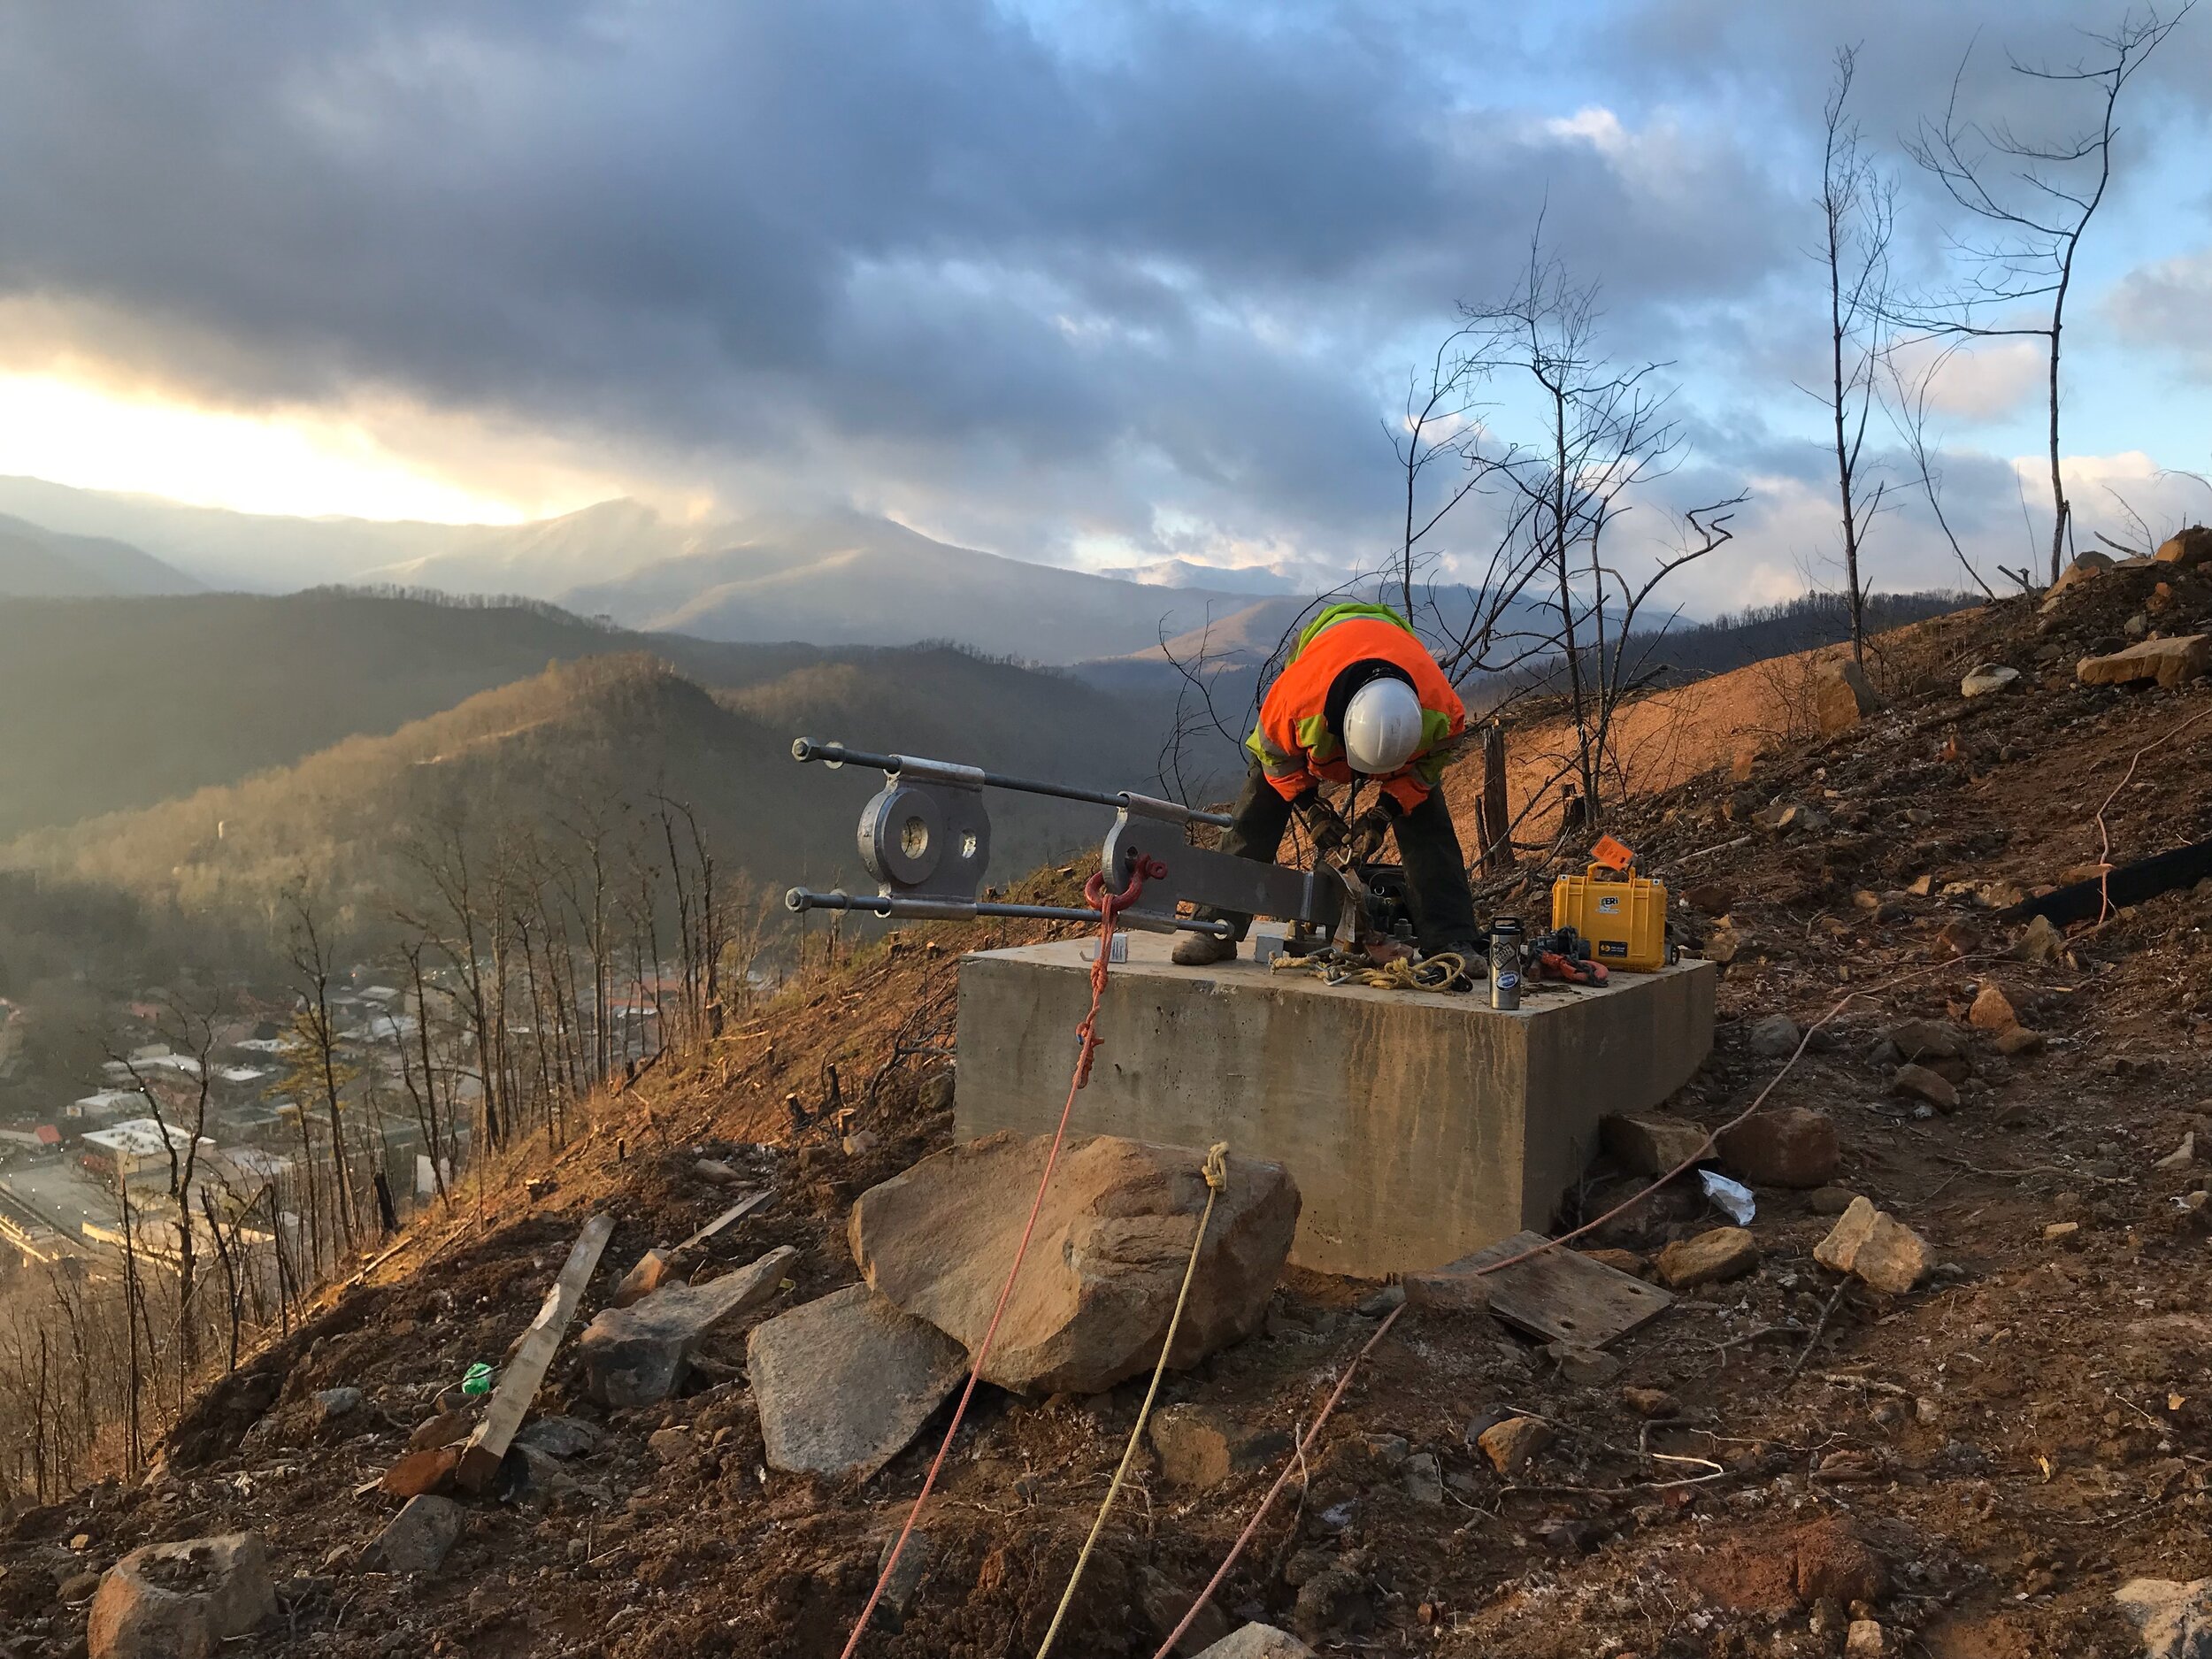
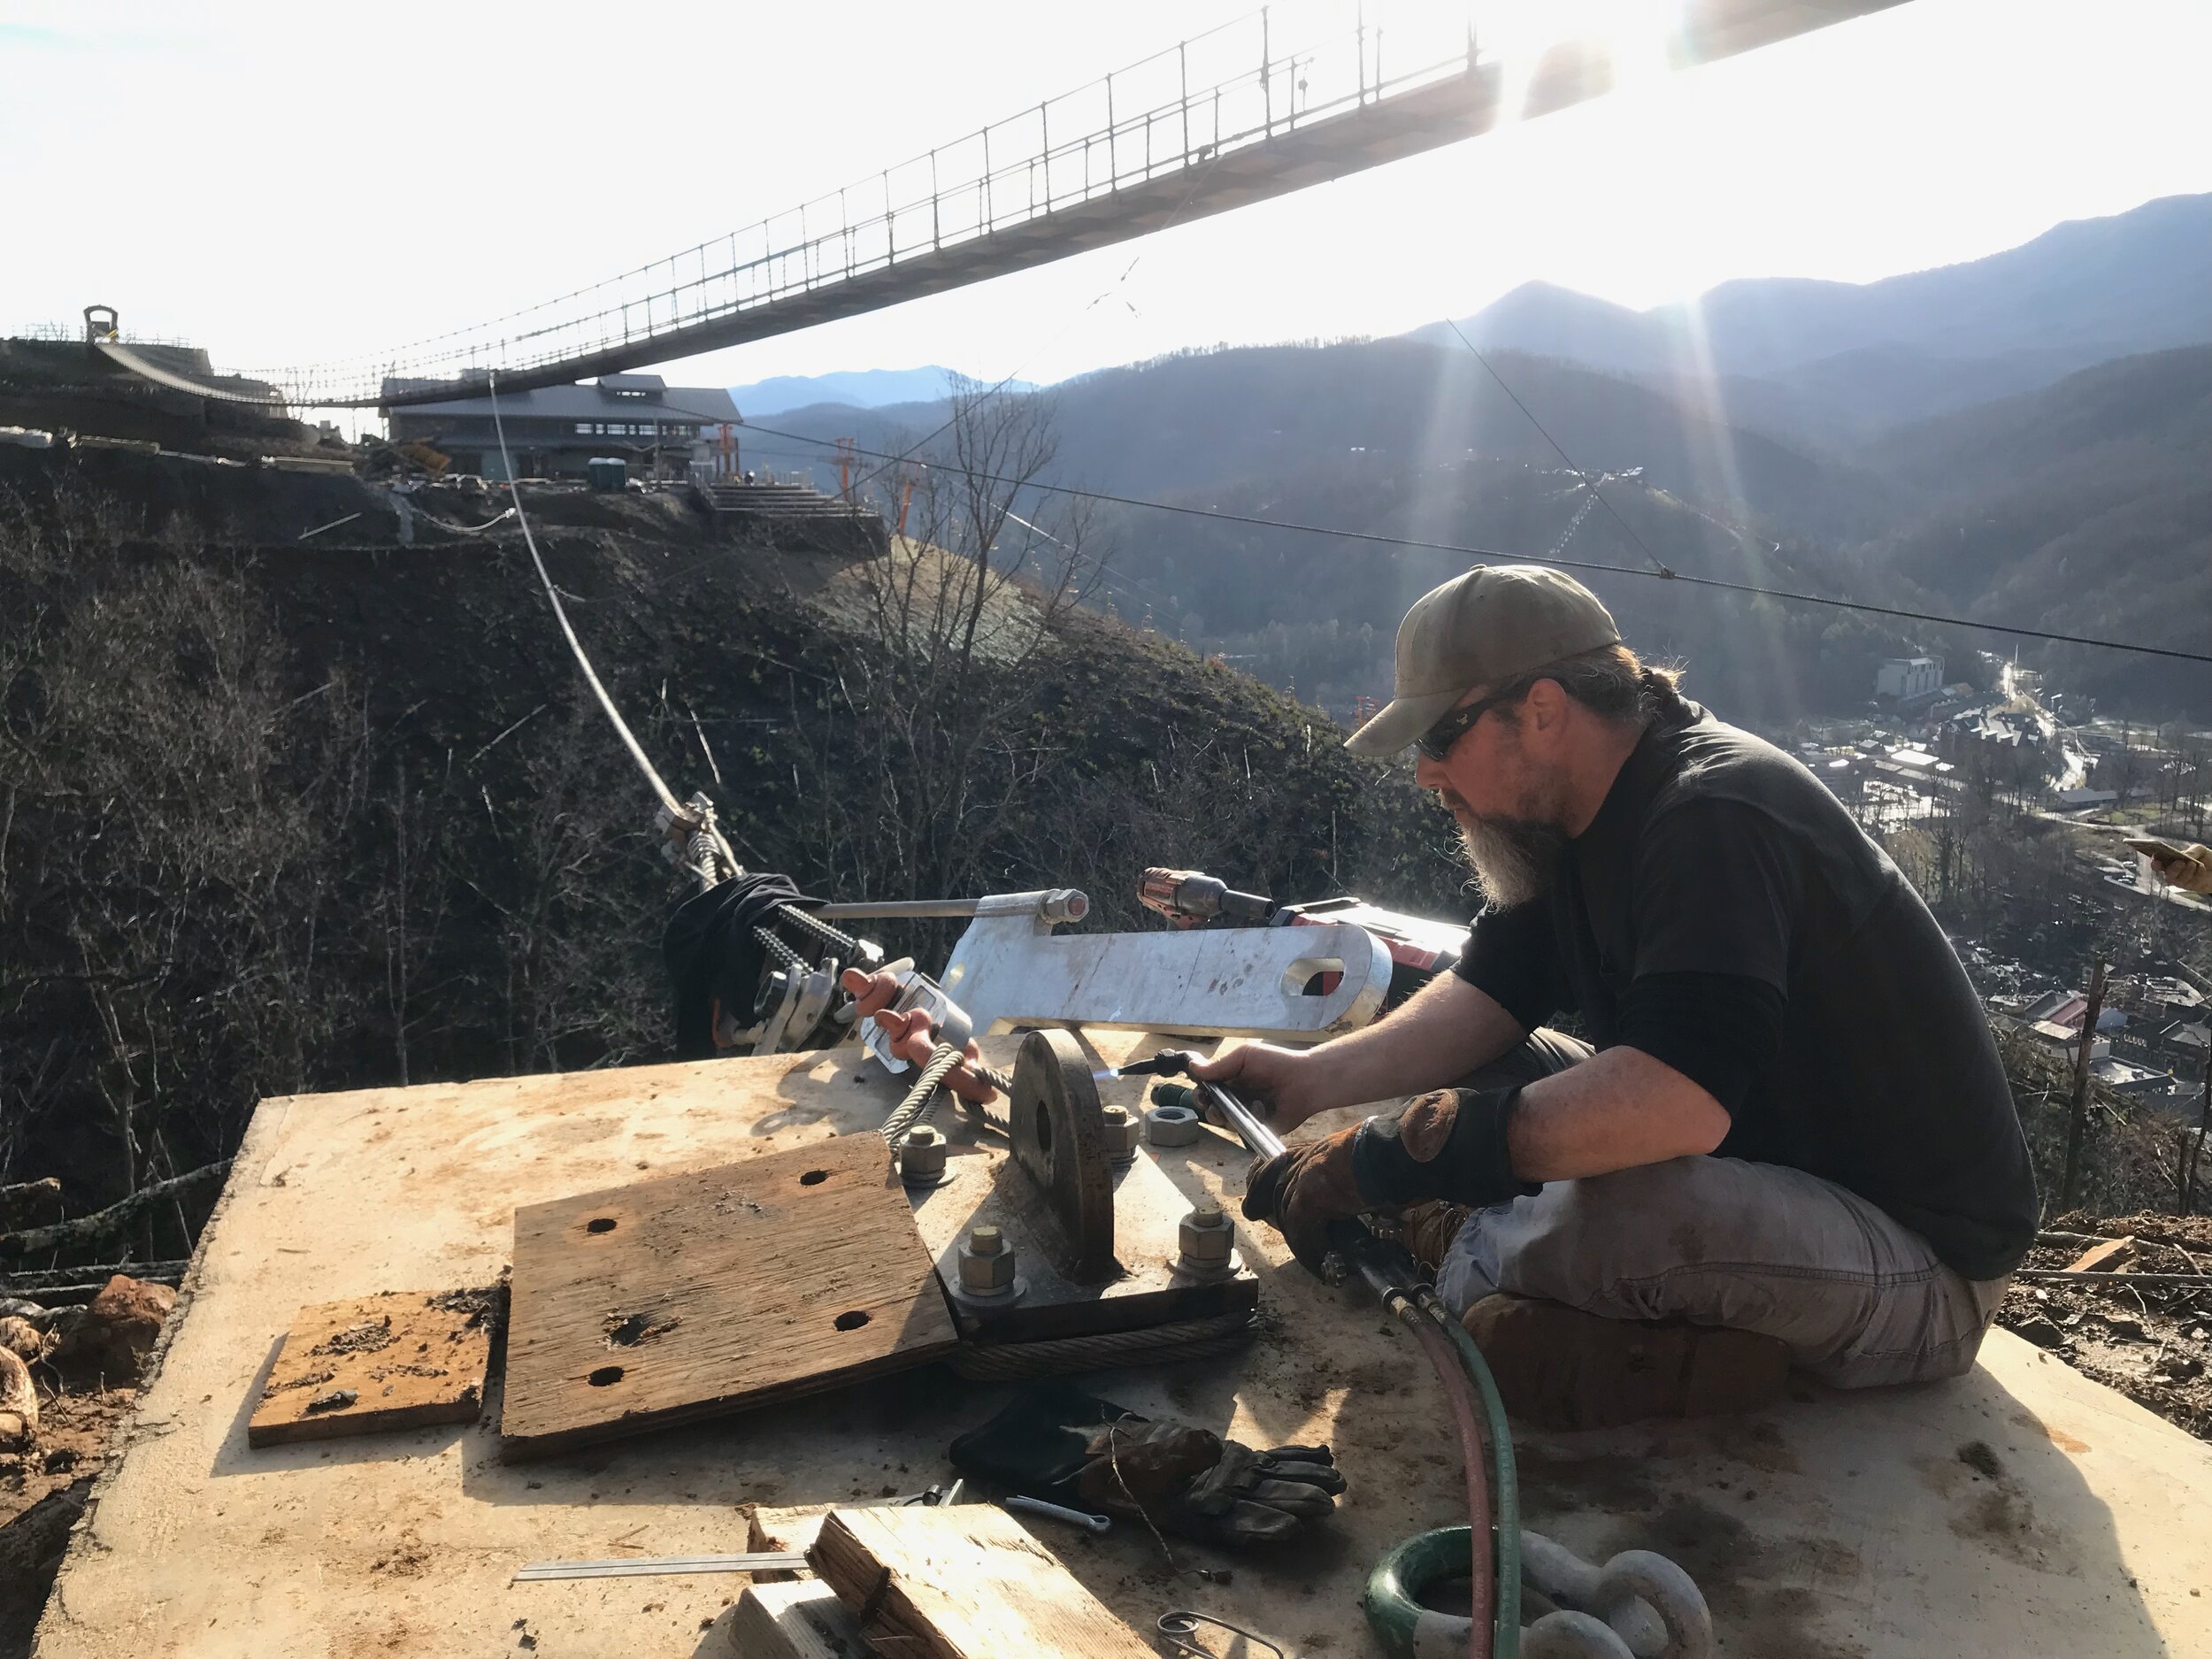
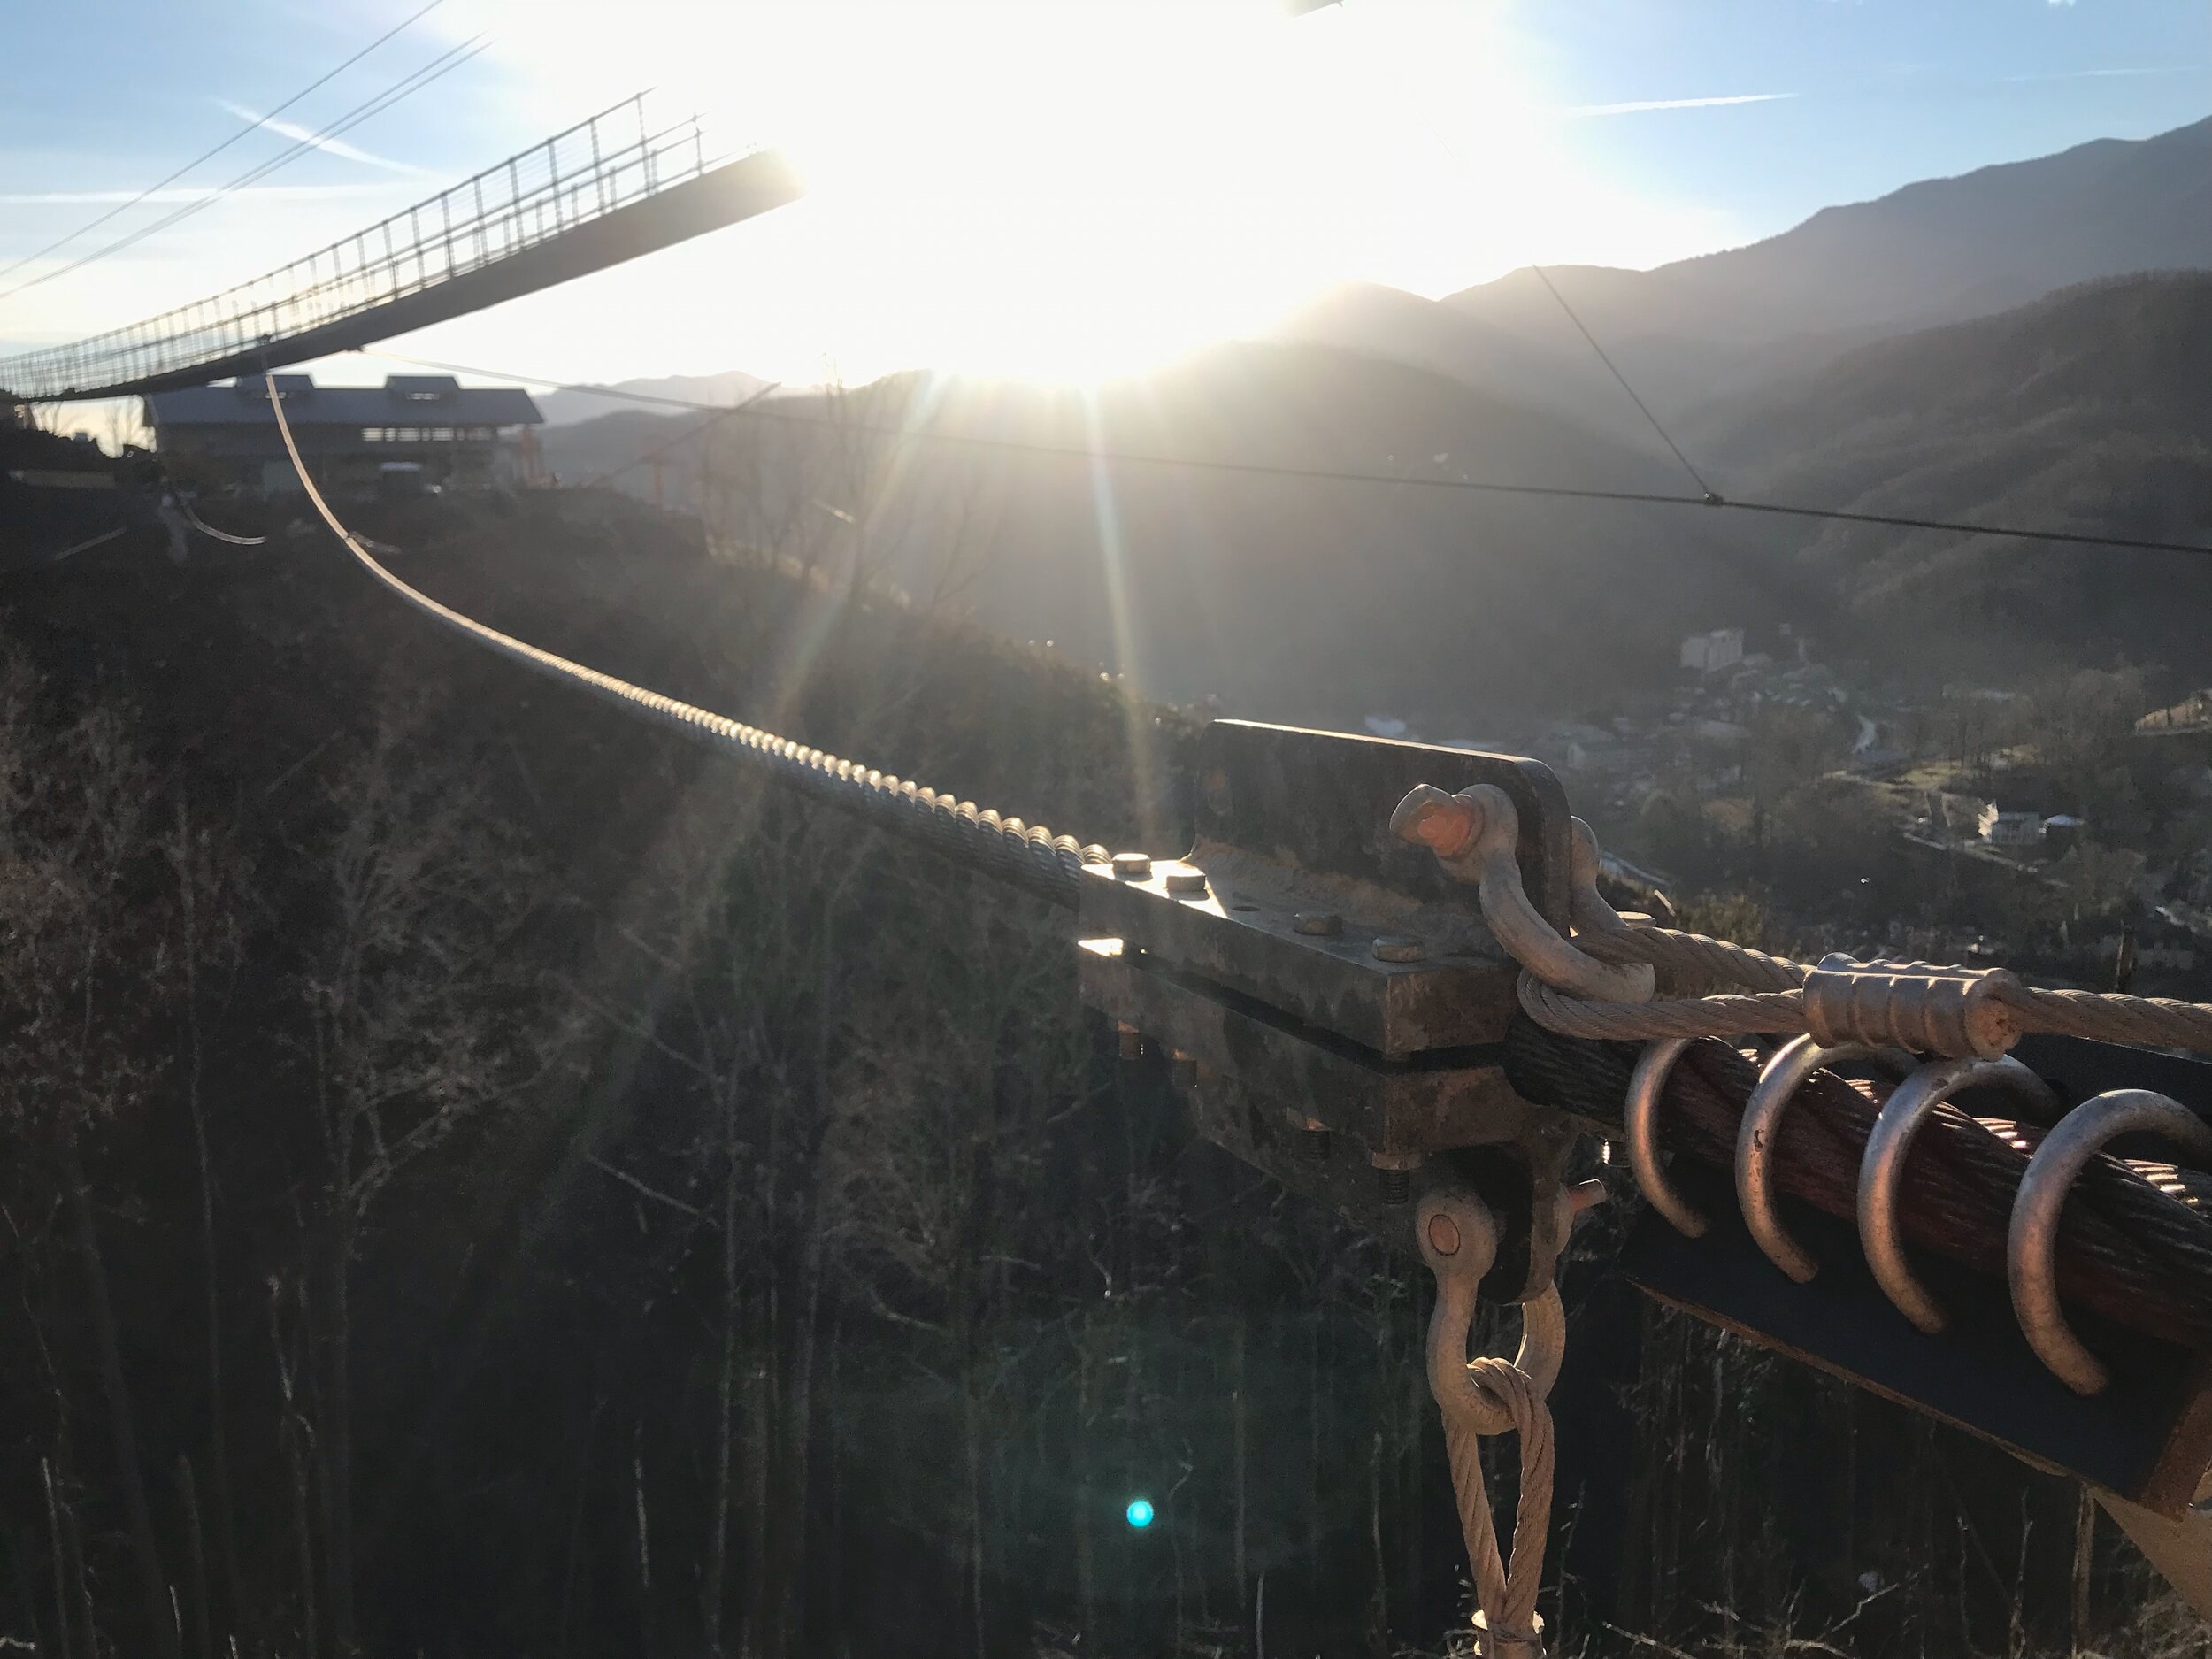
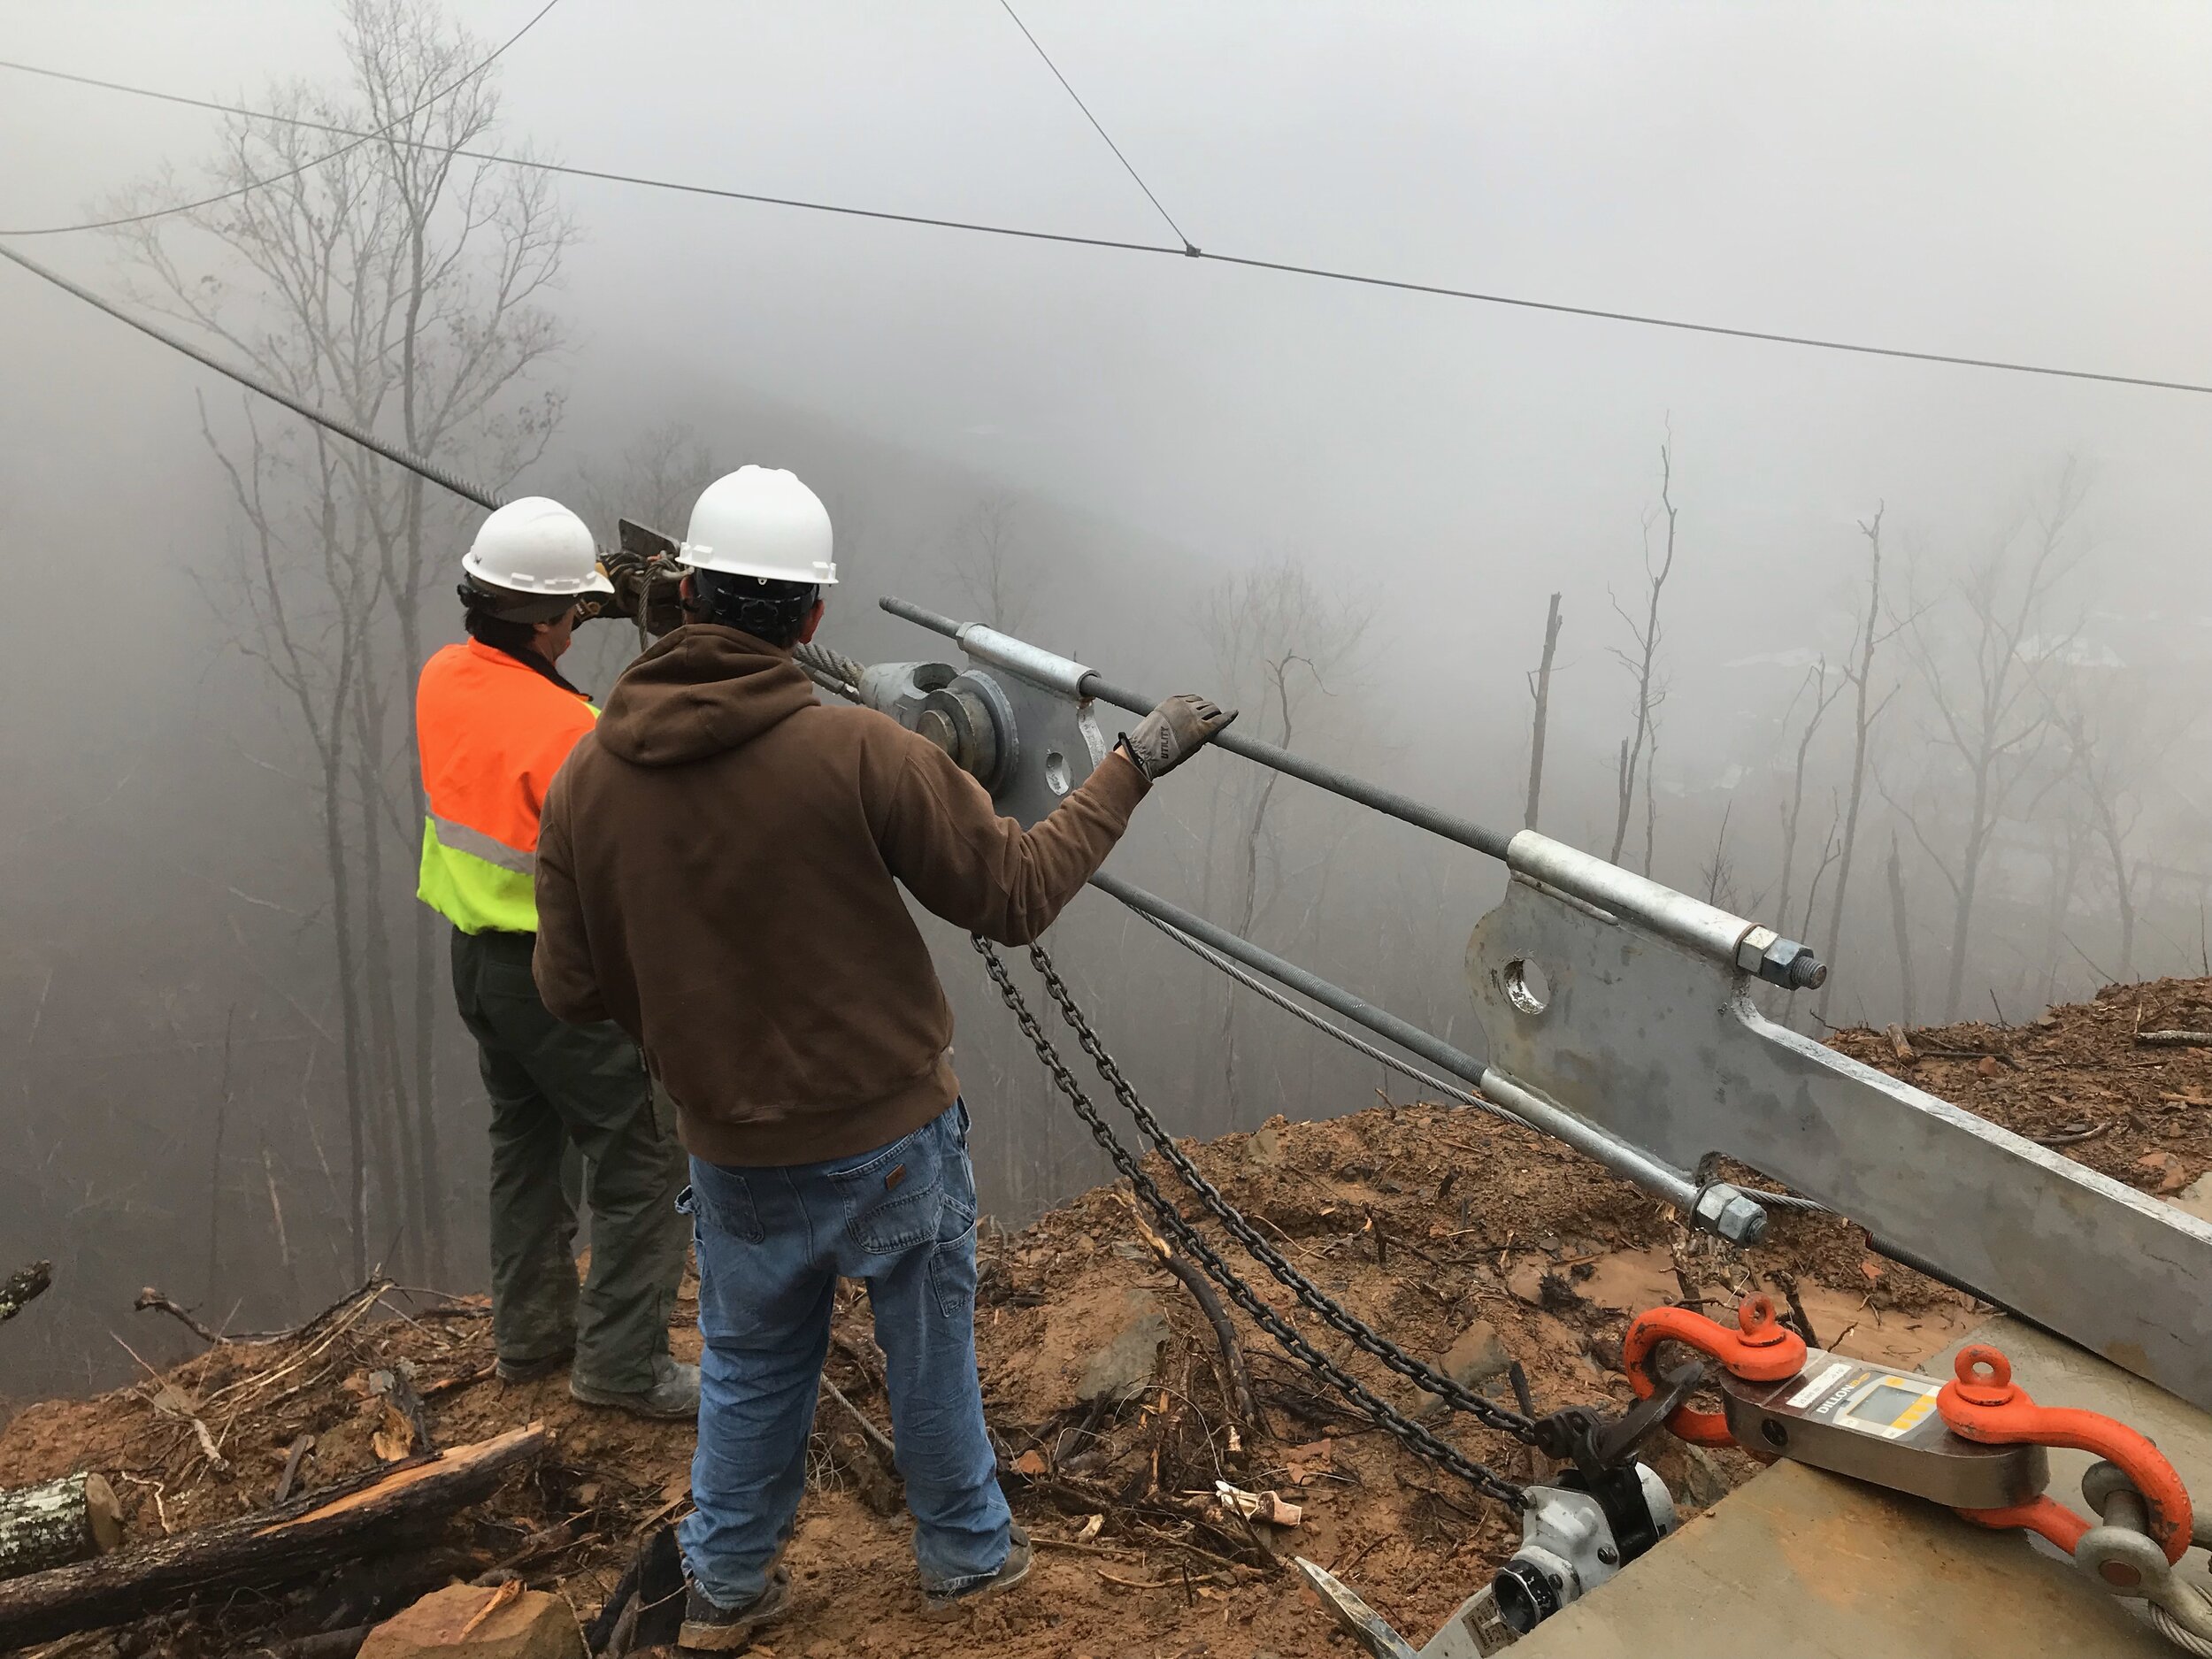
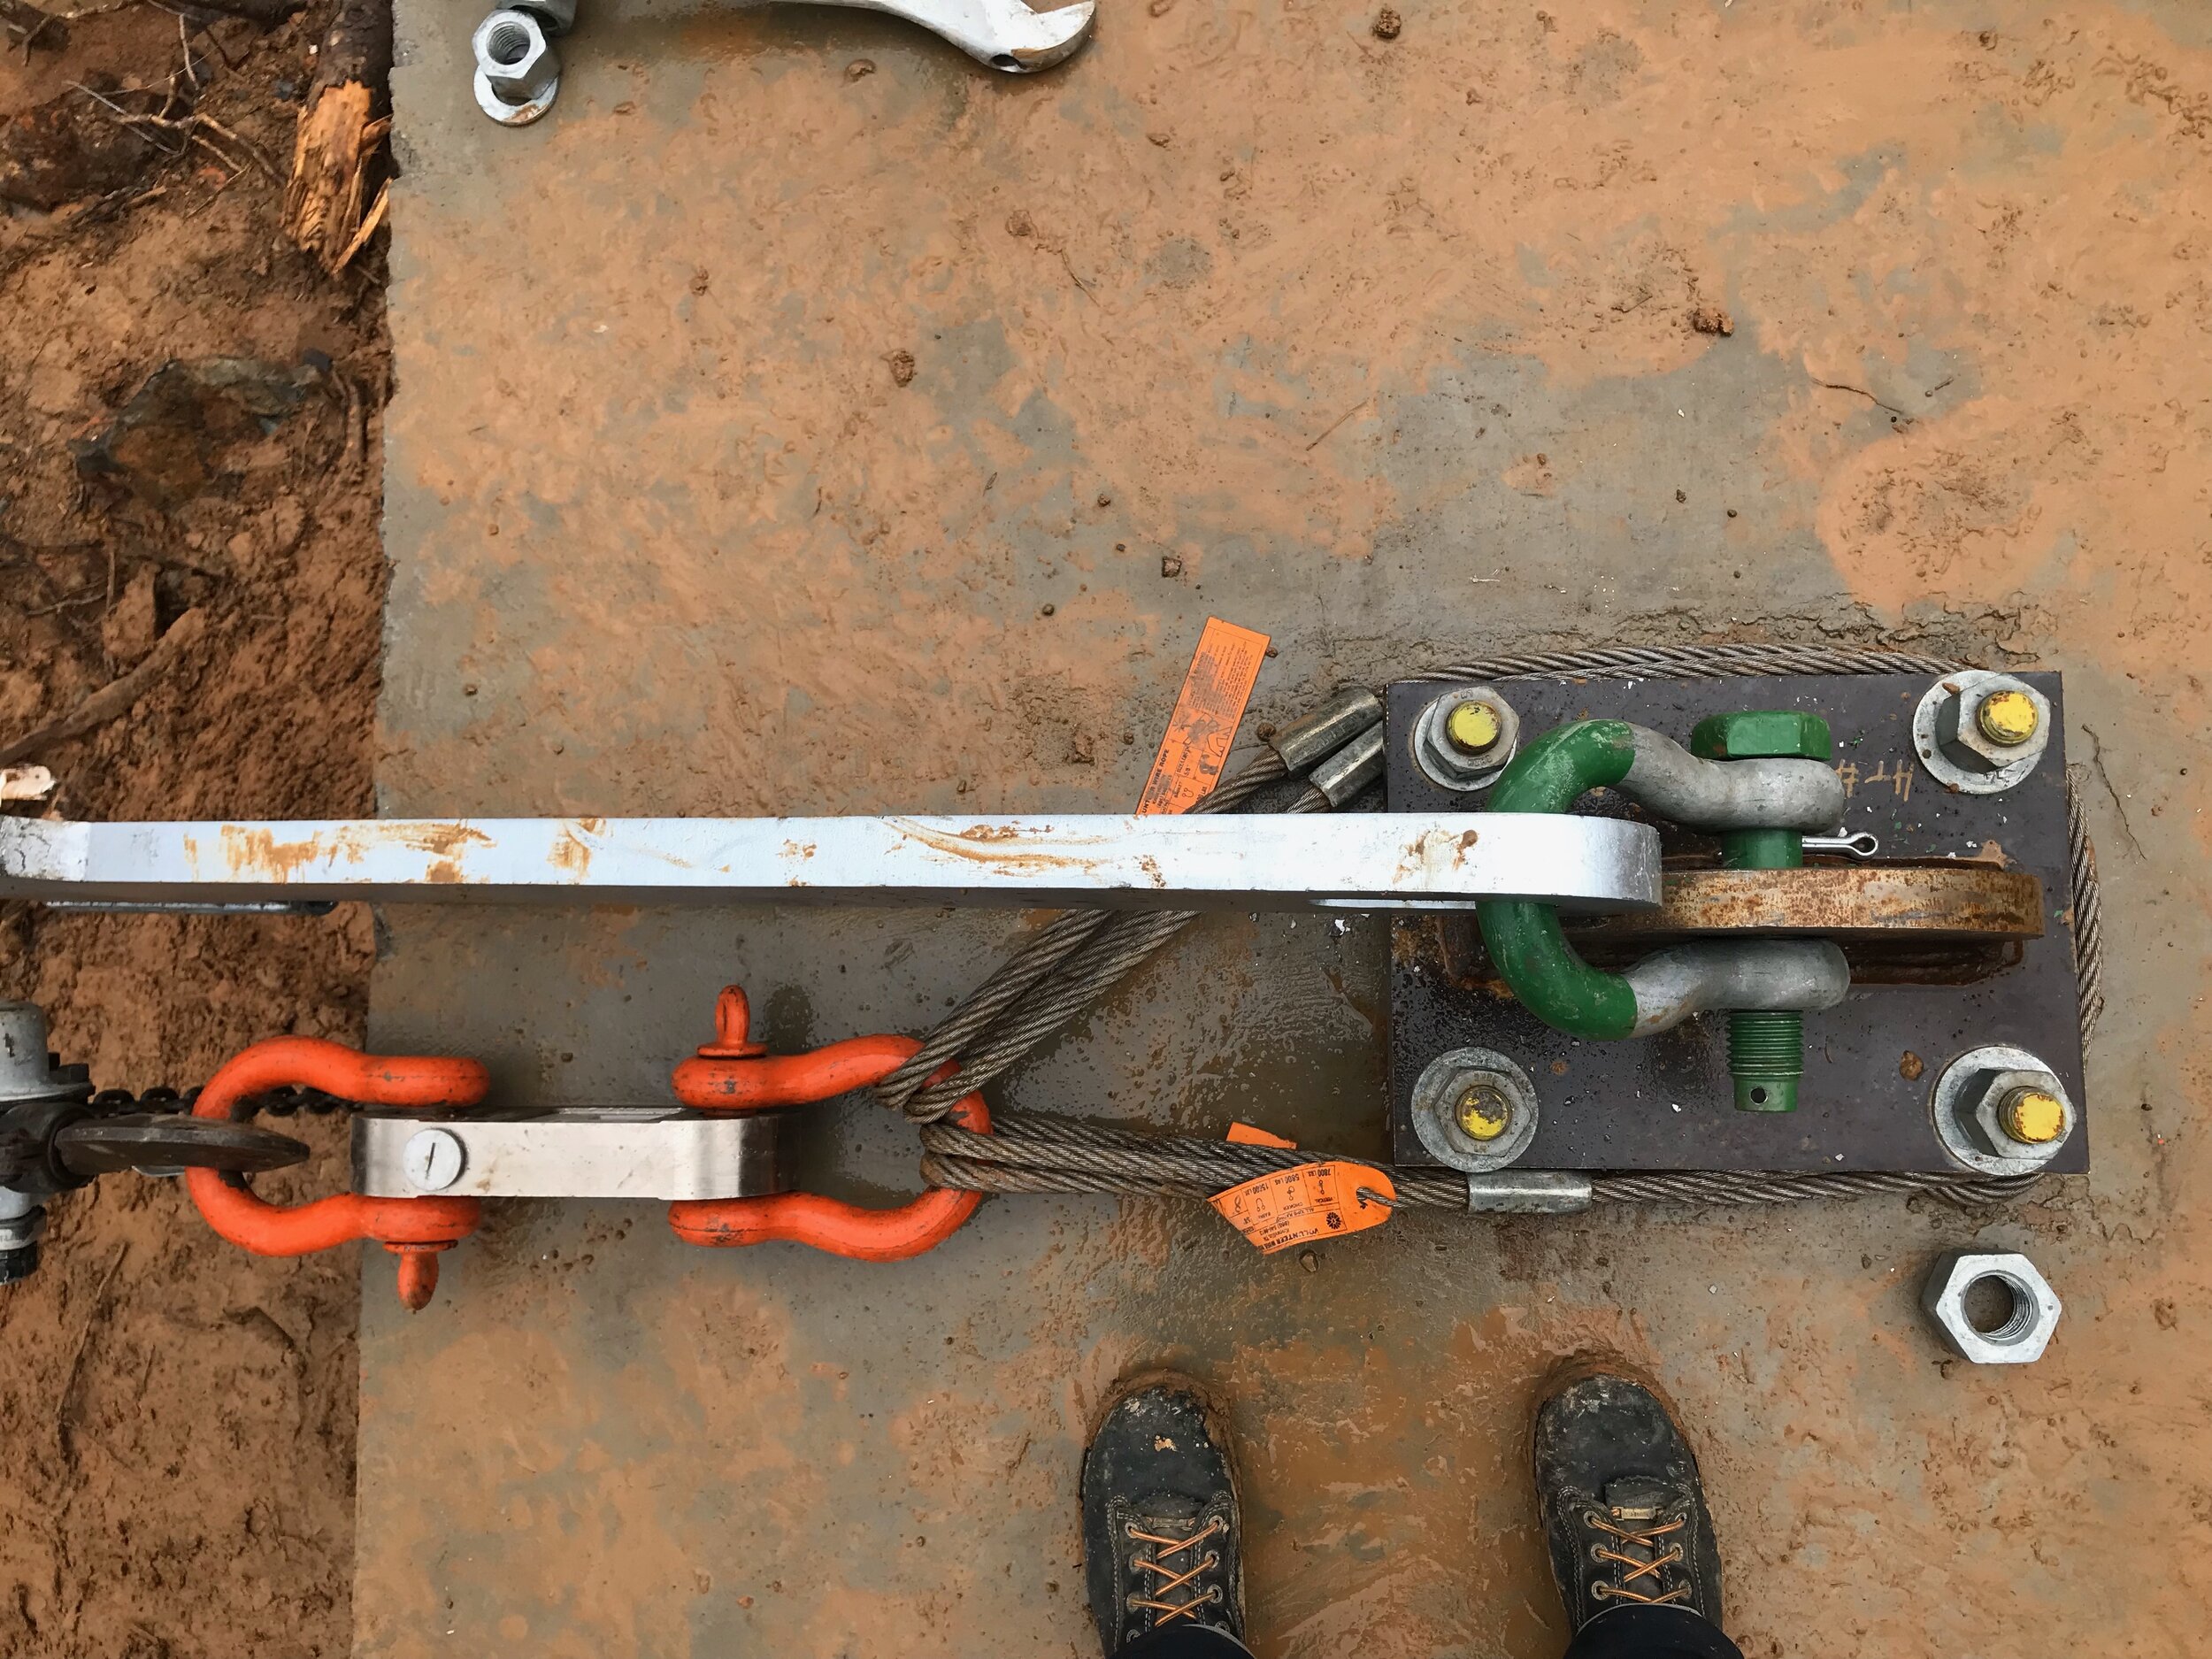
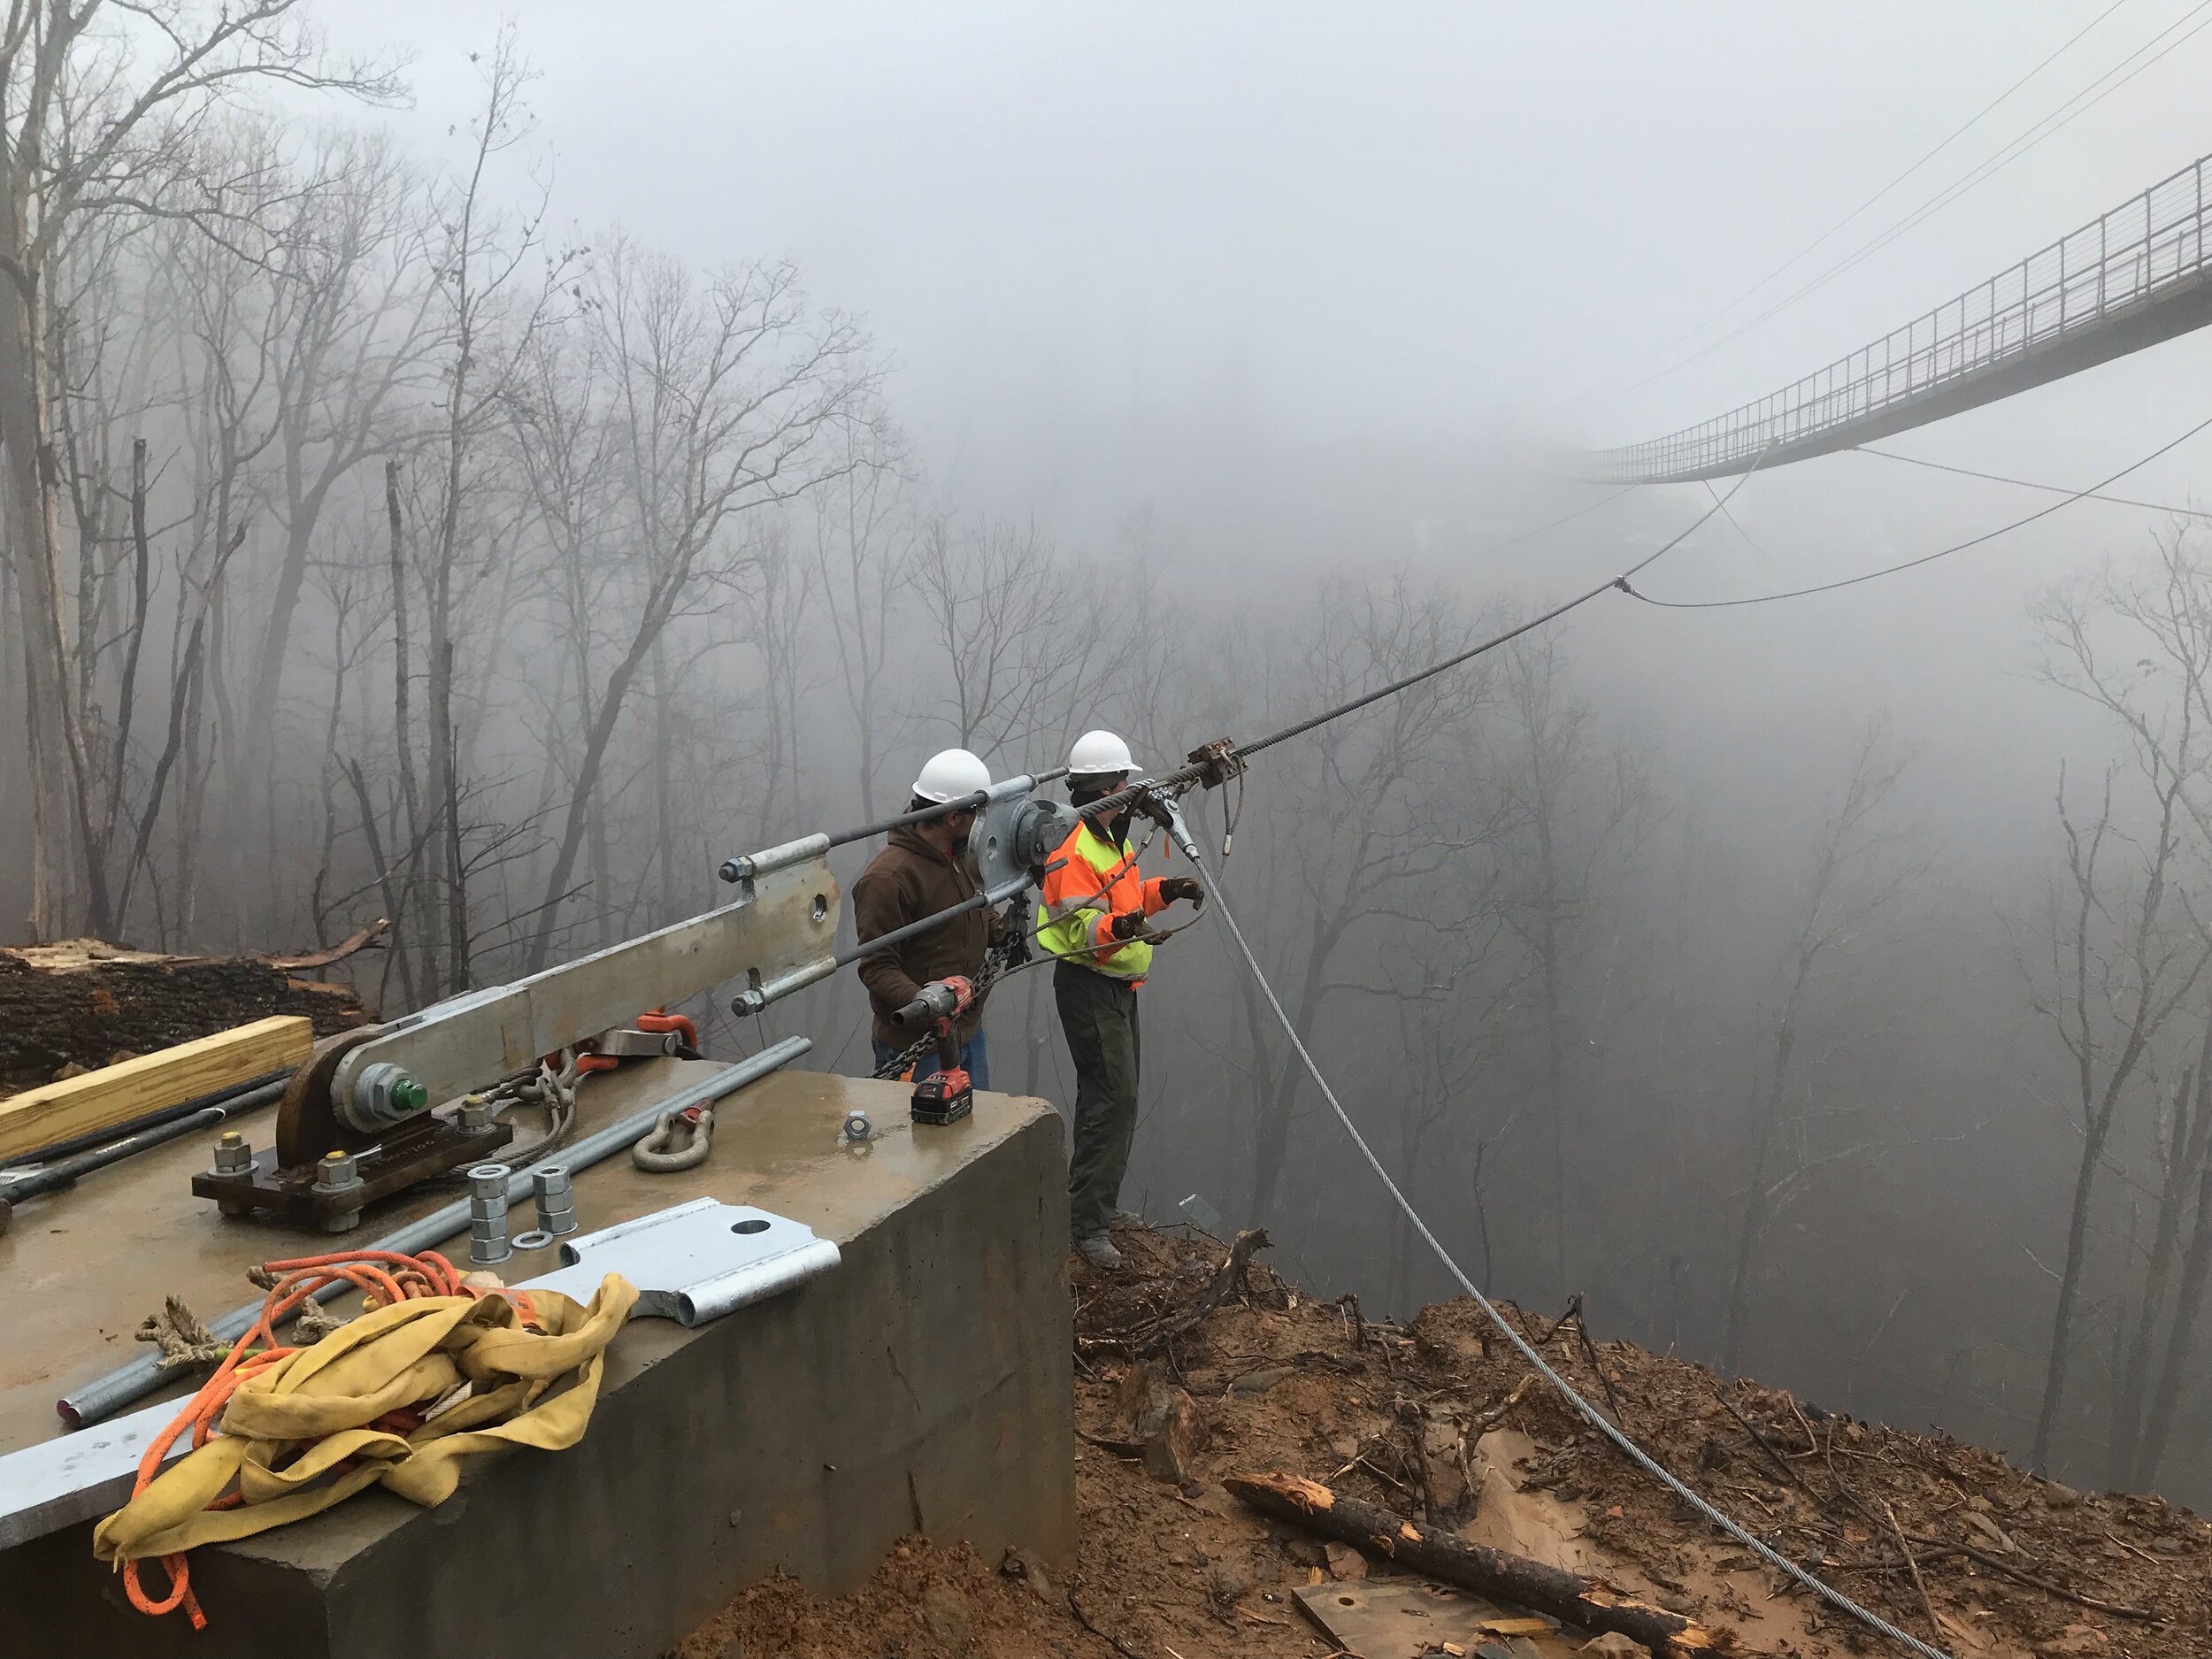
Overhead & Main Cables
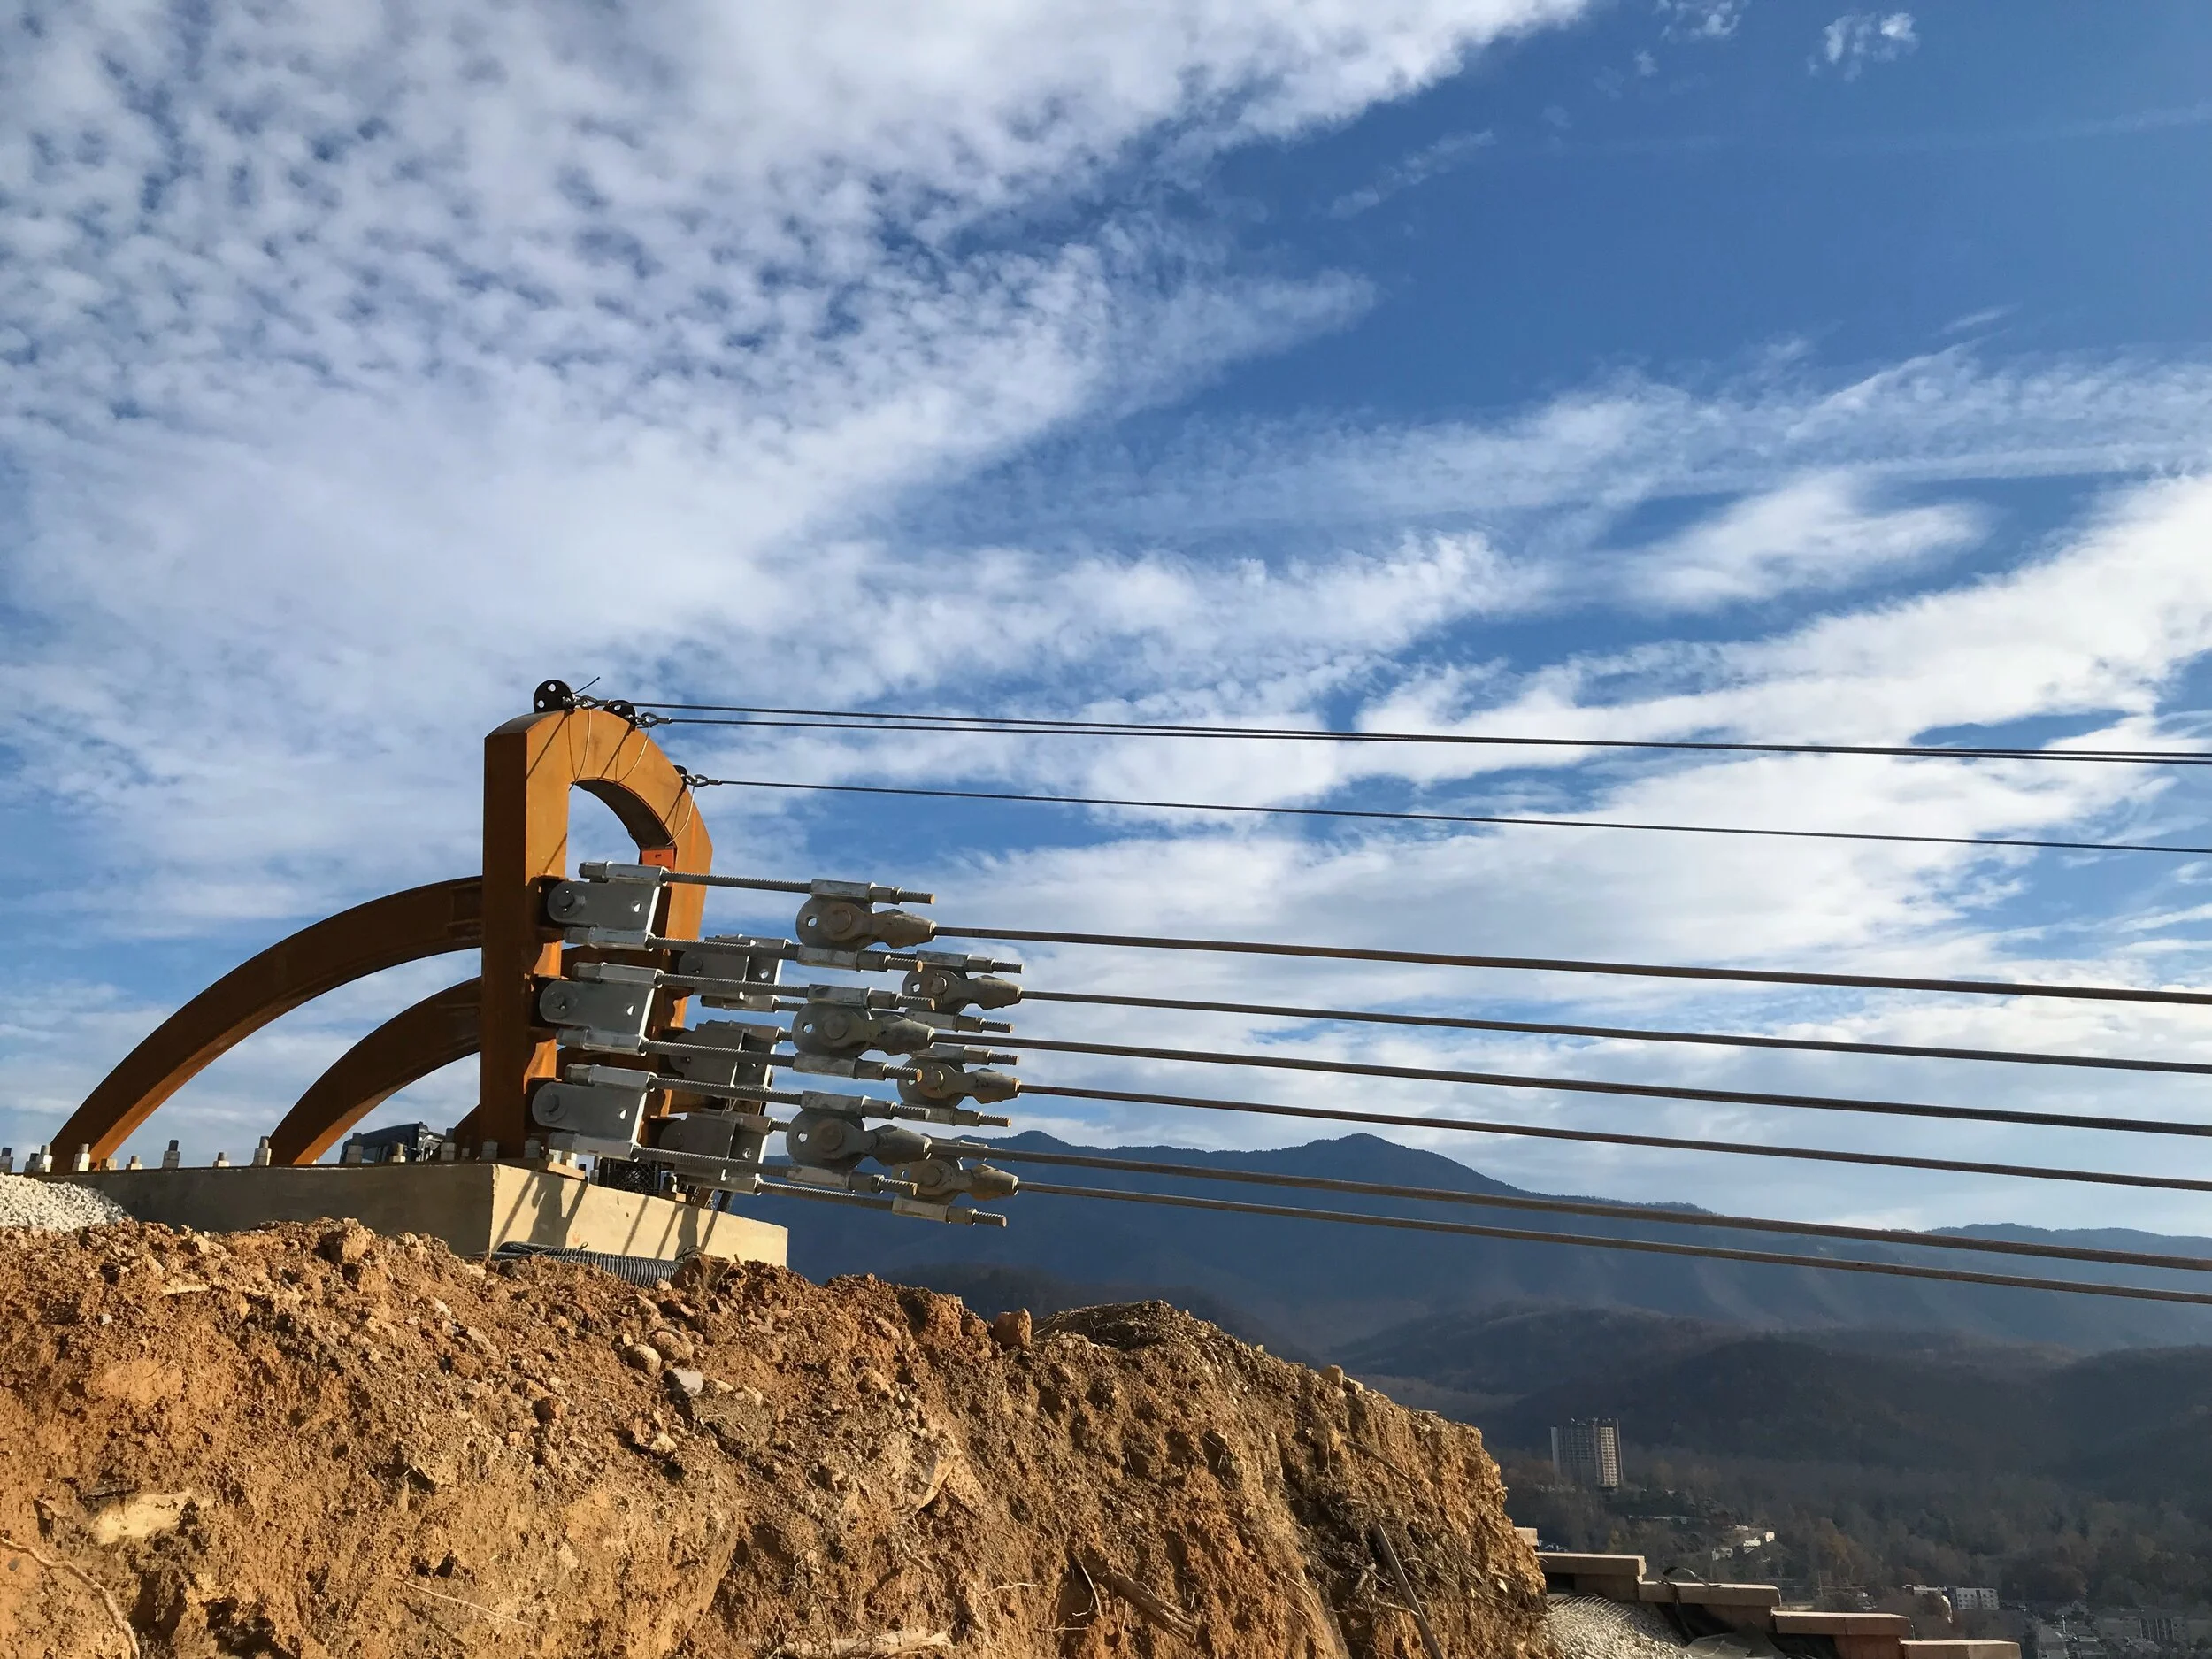
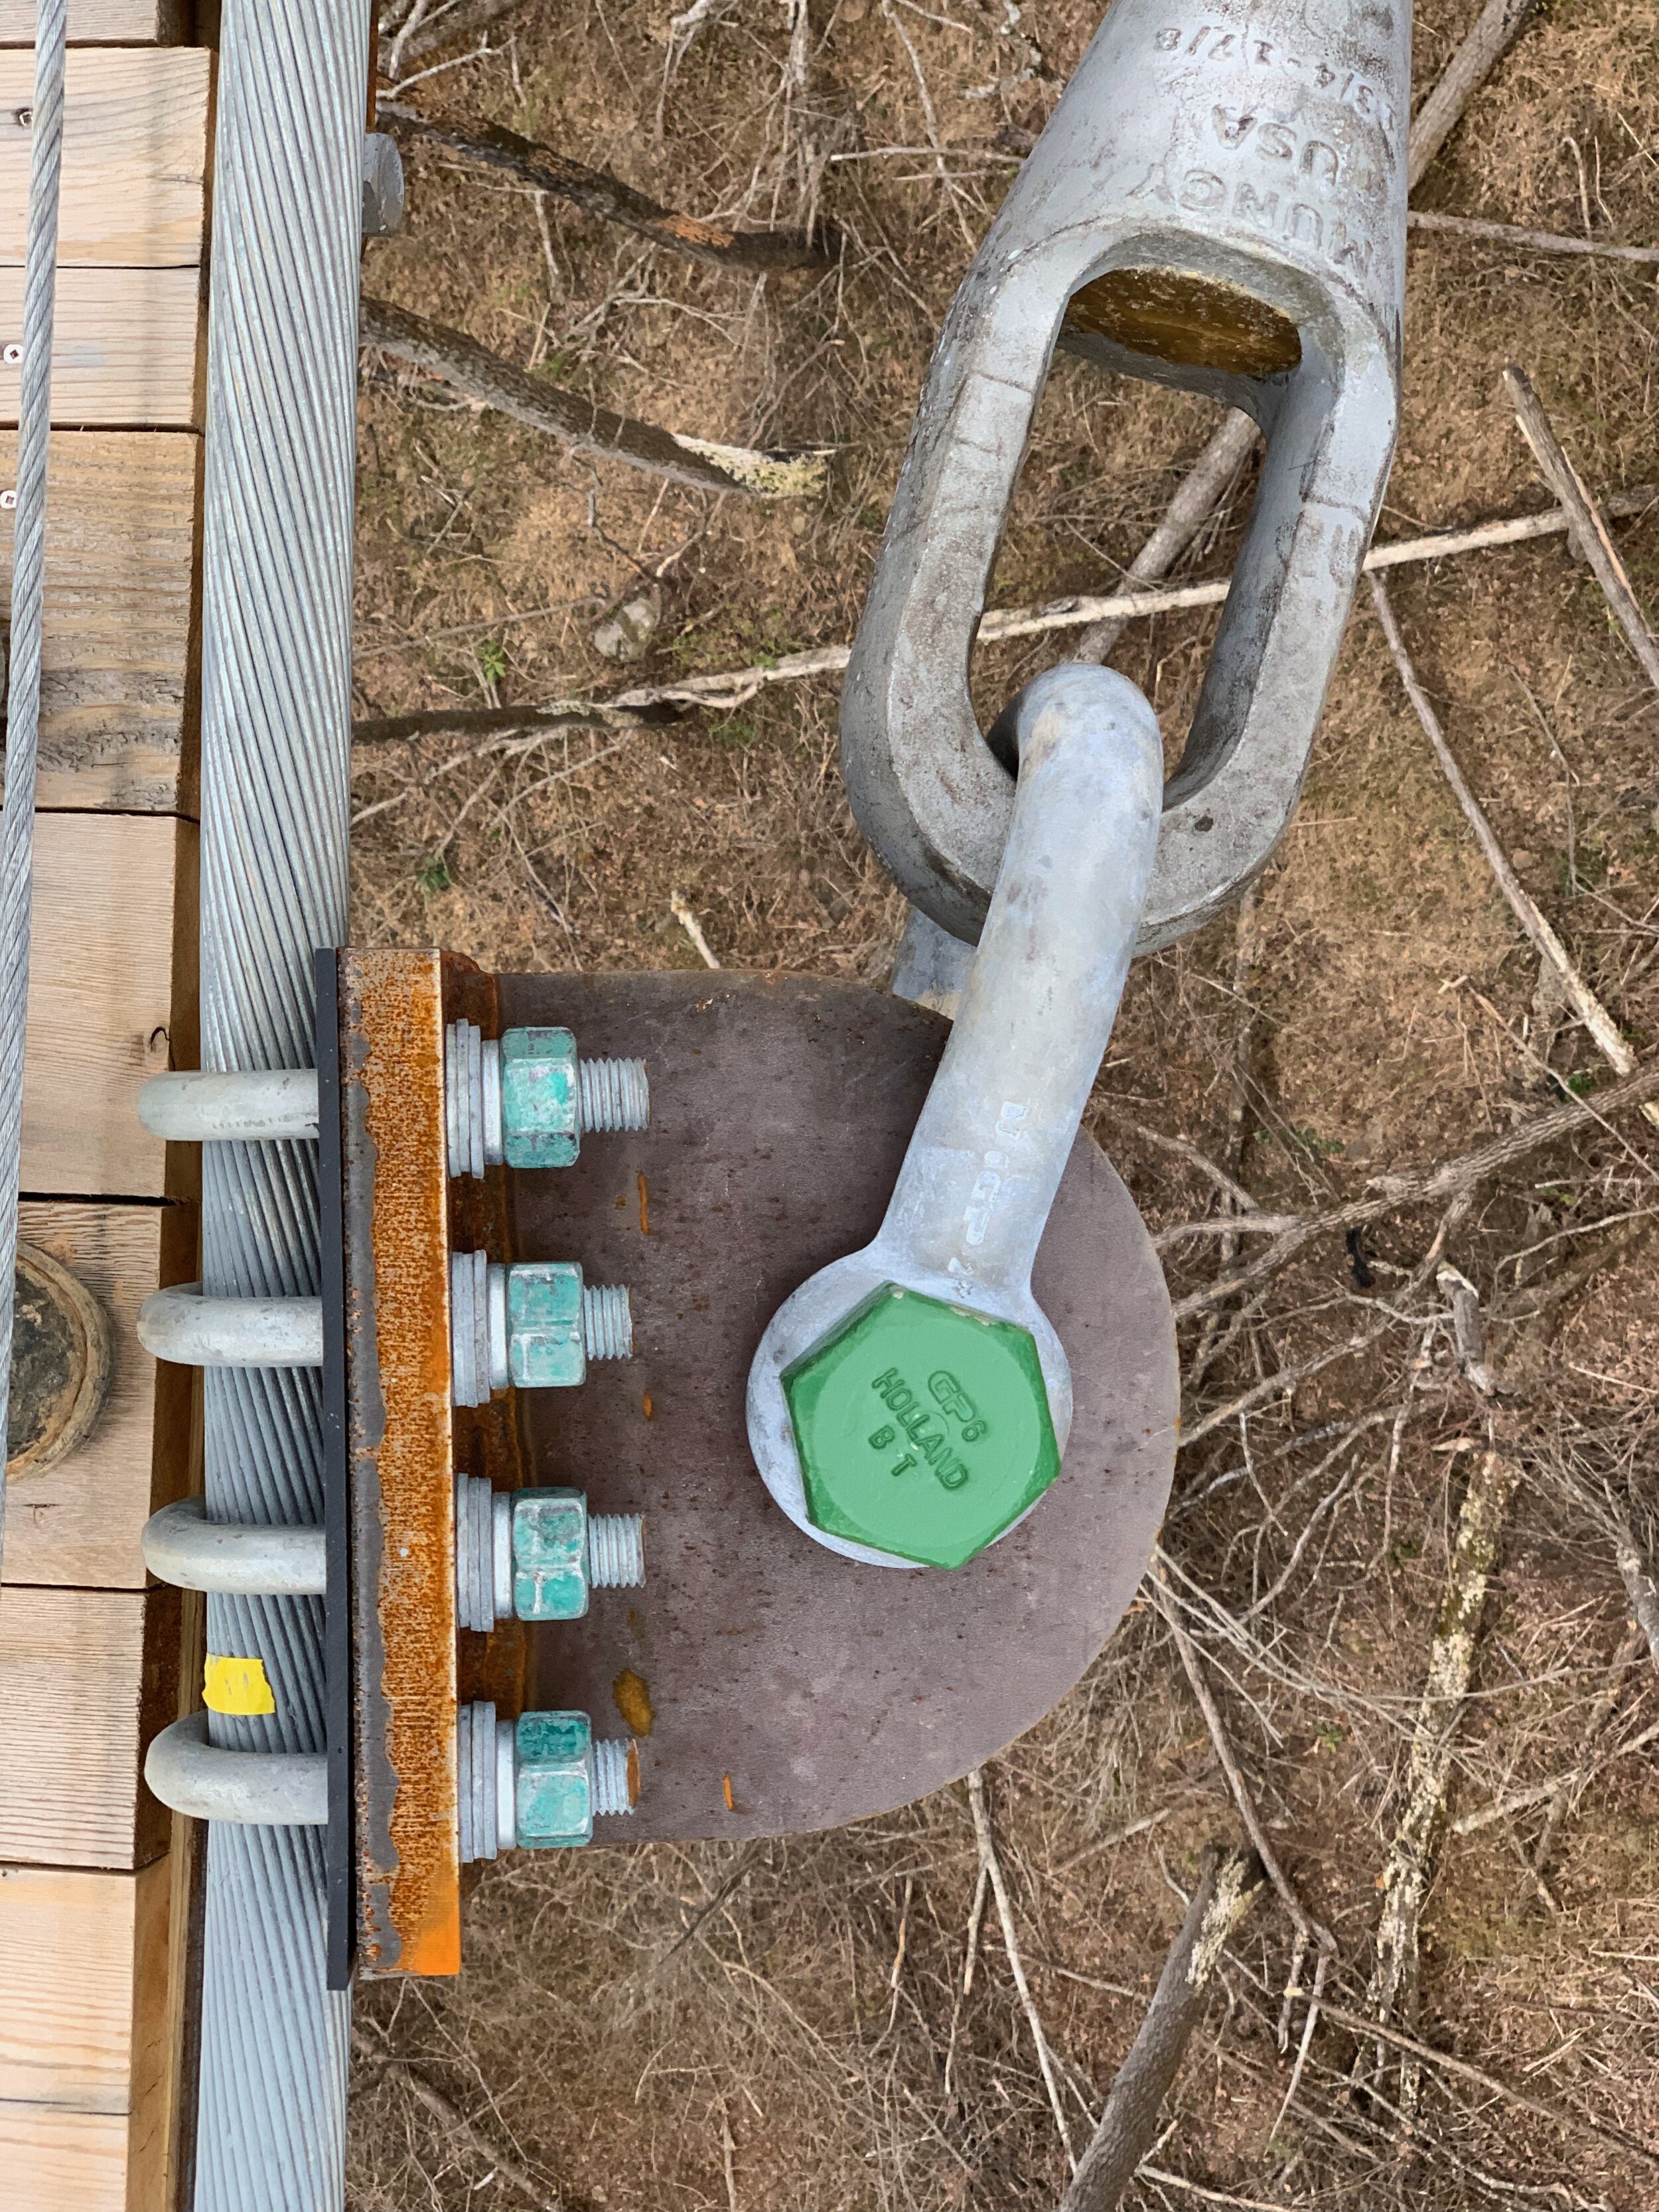
With the bridge portals installed,, it was now time to get into the cables and the tensioners that they were to be attached to. Each main bridge cable had two (2) tensioners, on on each end that weighed over 1,000 pounds/453.5 kilograms each. These would be assembled and installed in order to attach and tighten the main cables to the proper tension. First we installed three (3) 3/4” wire rope cables overhead, which were attached to the bridge portals by knife plates. These were installed for construction and life safety purposes. Once one cable was installed using some fancy drone work, the other two (2) 3/4” cables were flown across using an existing cable. After all three overhead cables were installed, the main bridge cables were flown across - slowly - one at a time.
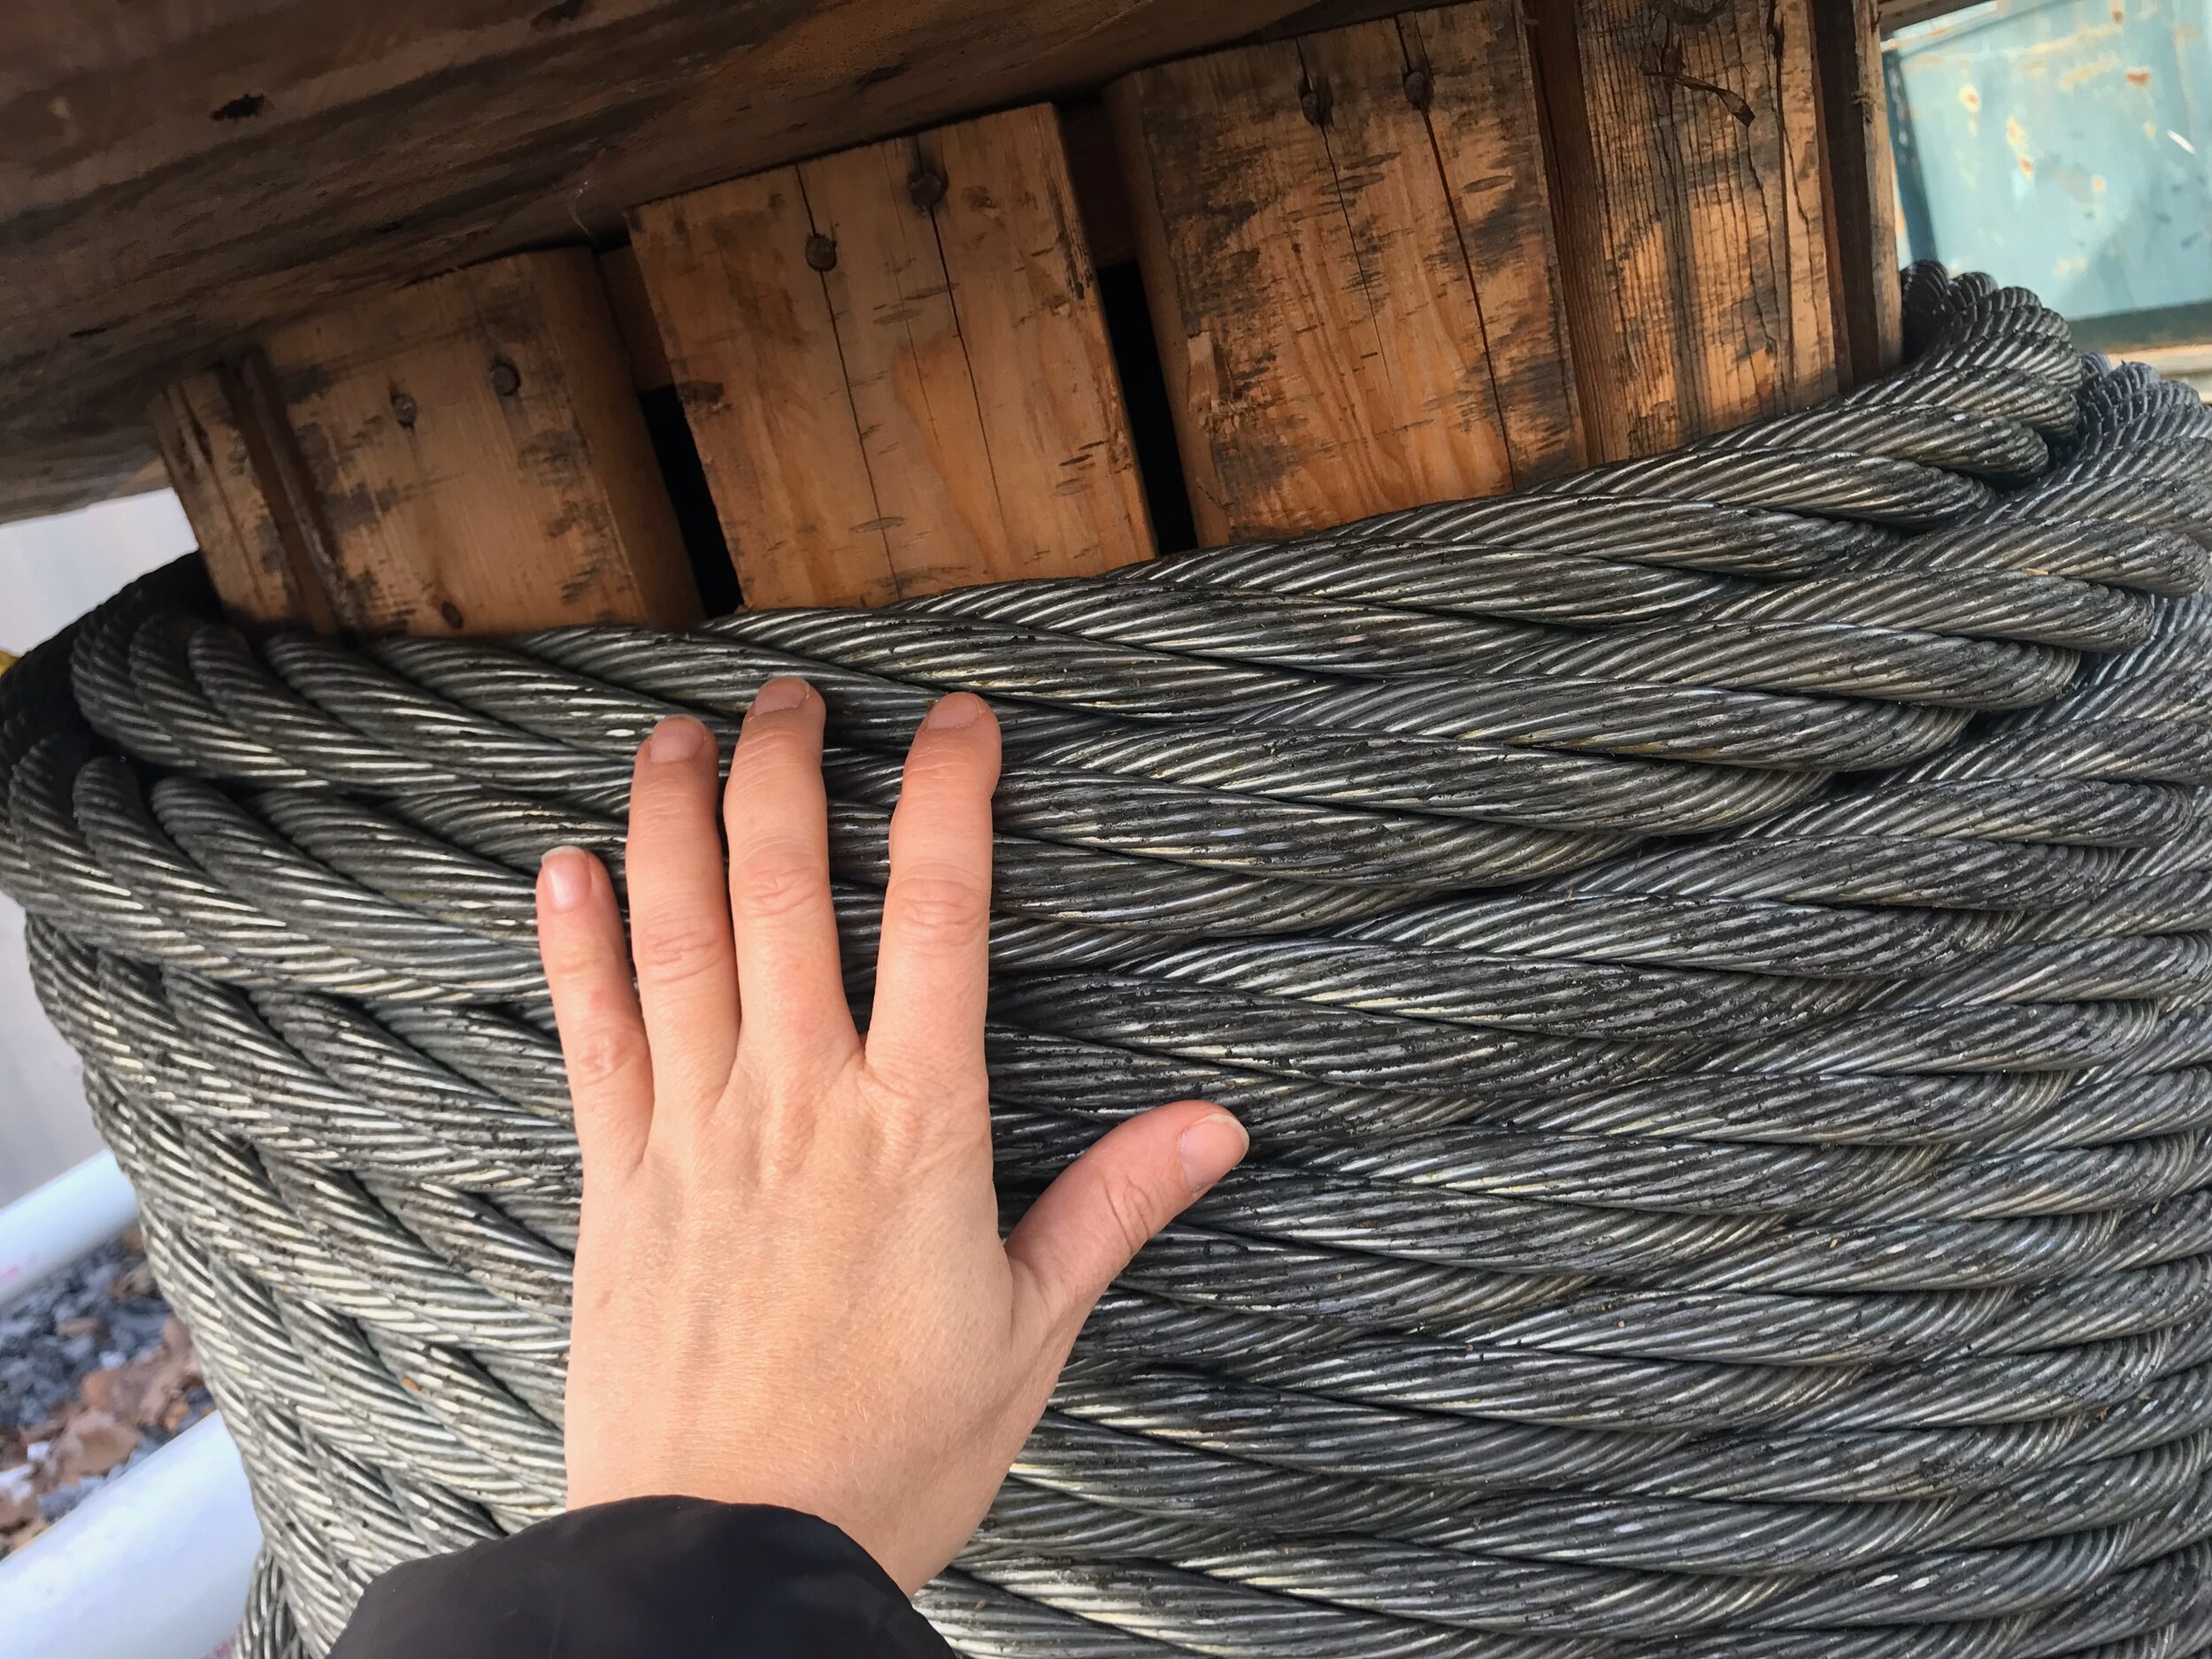
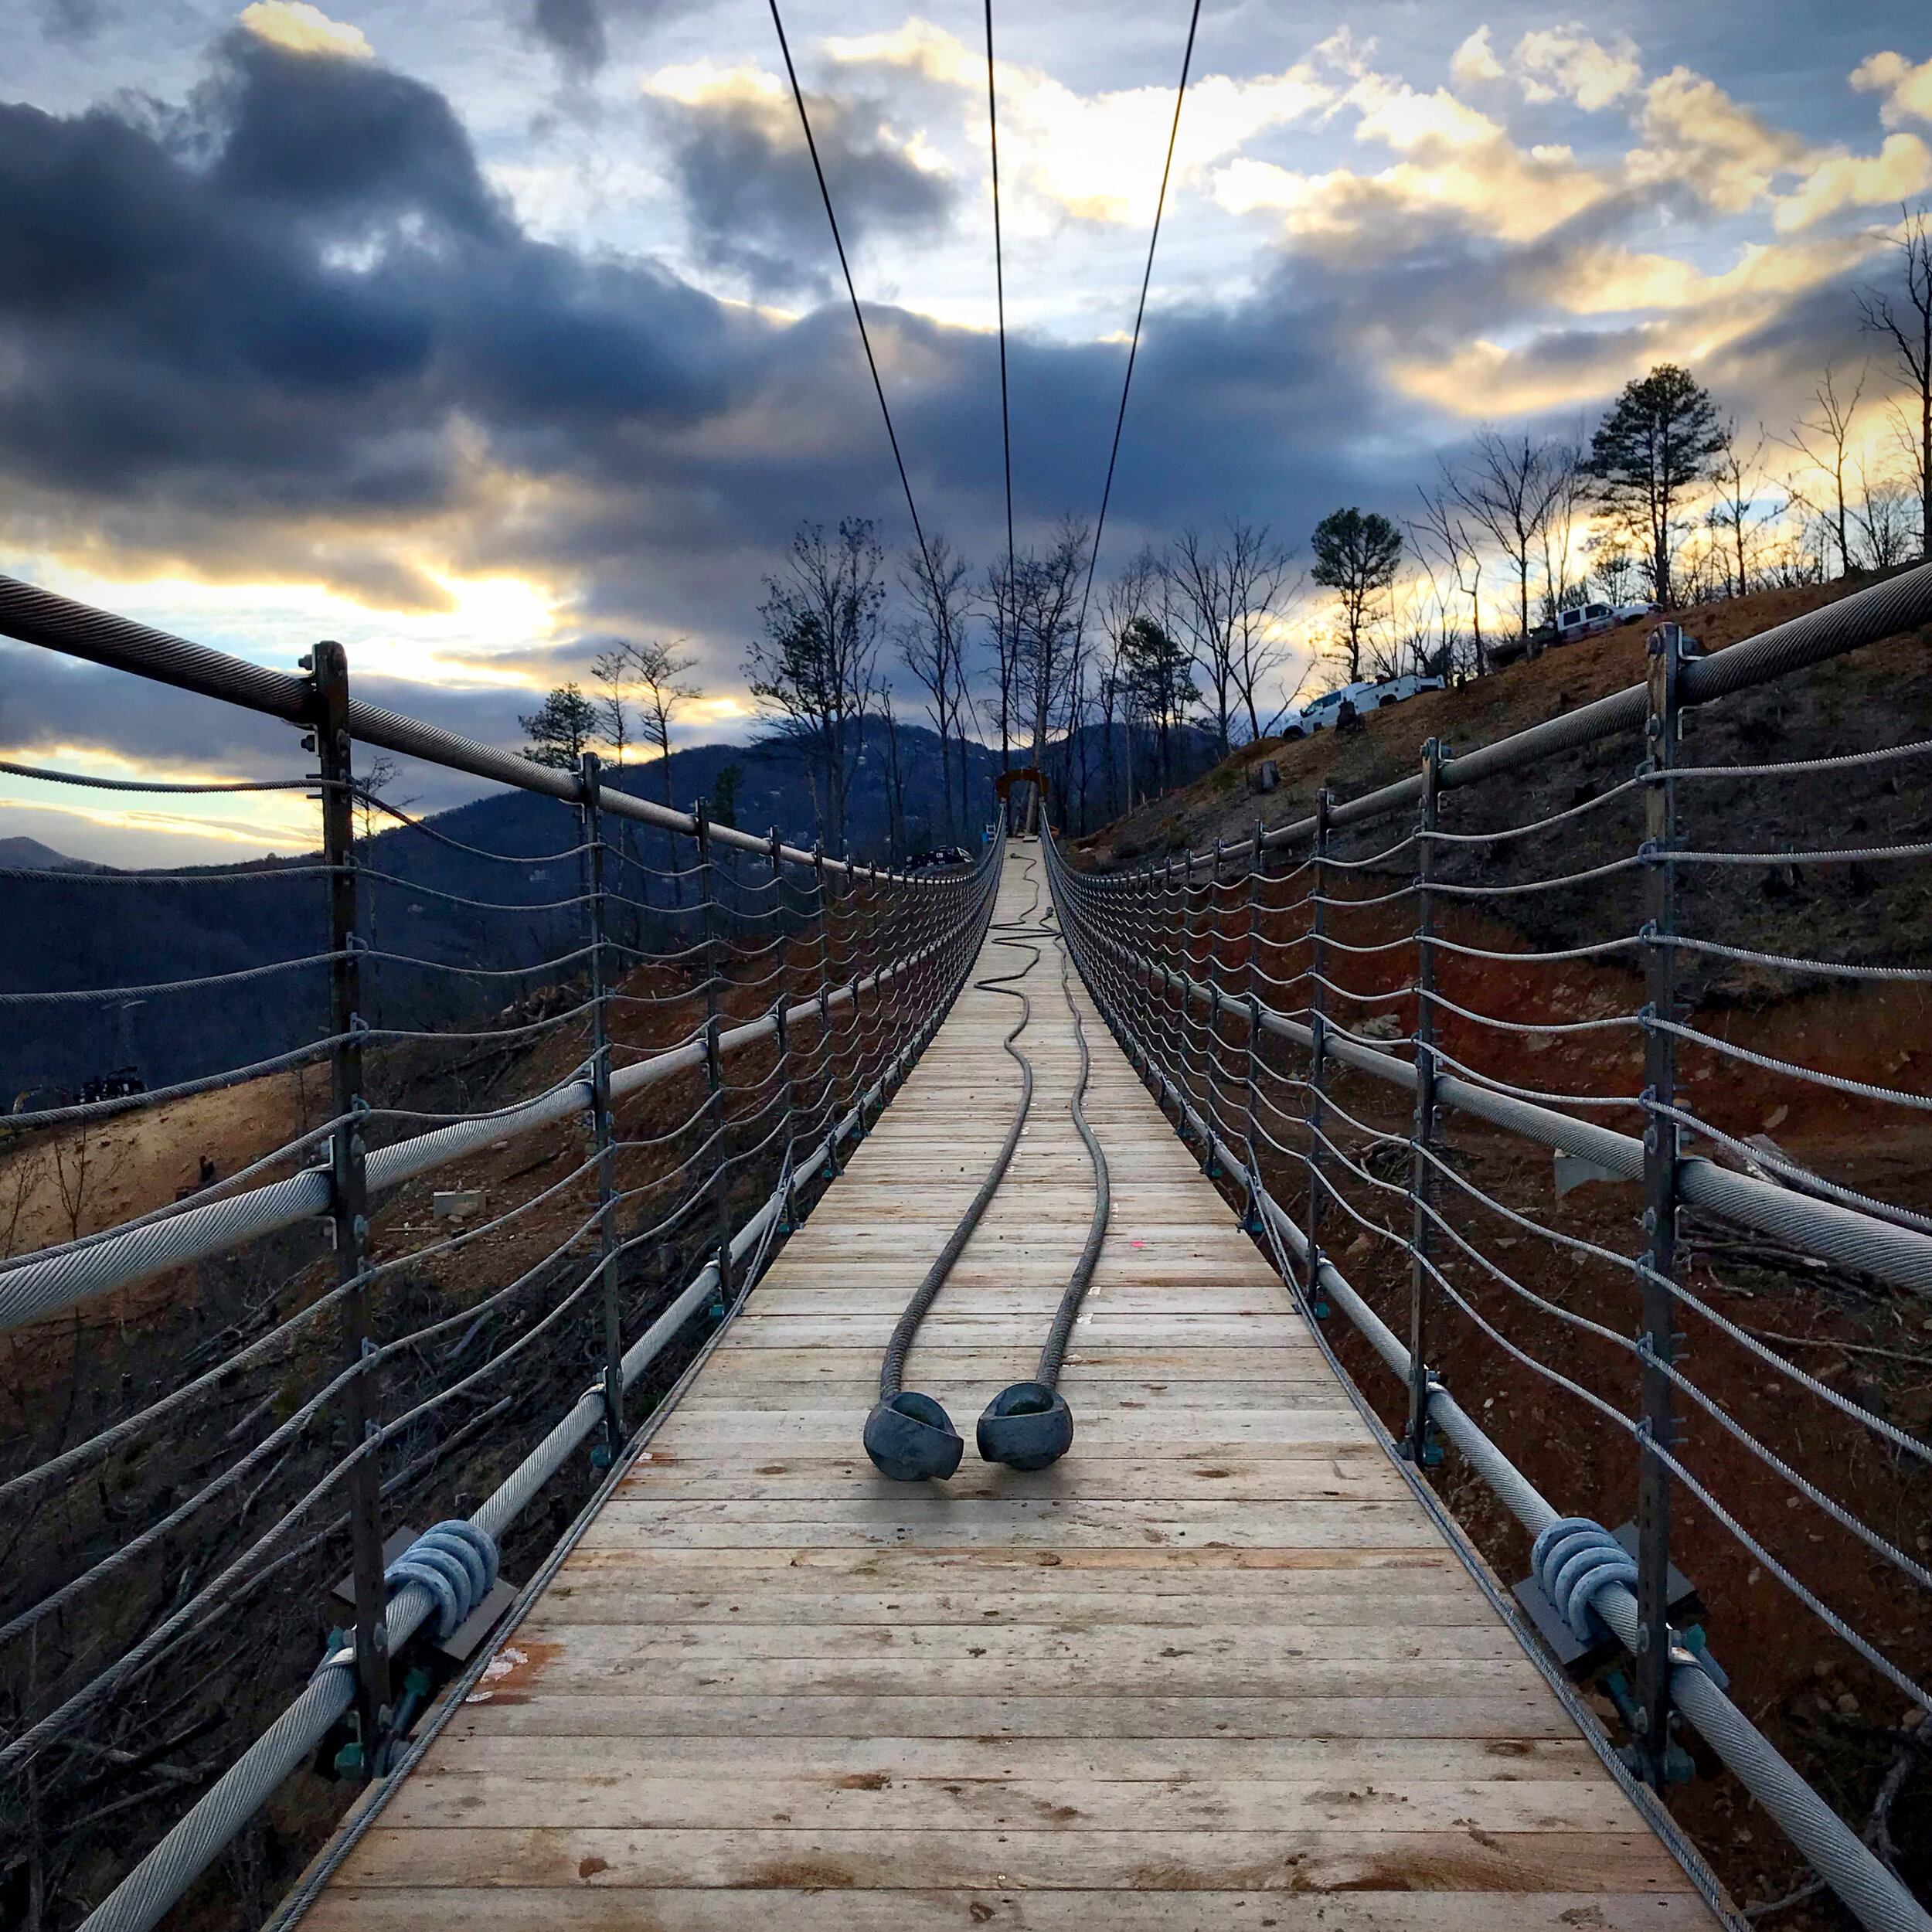
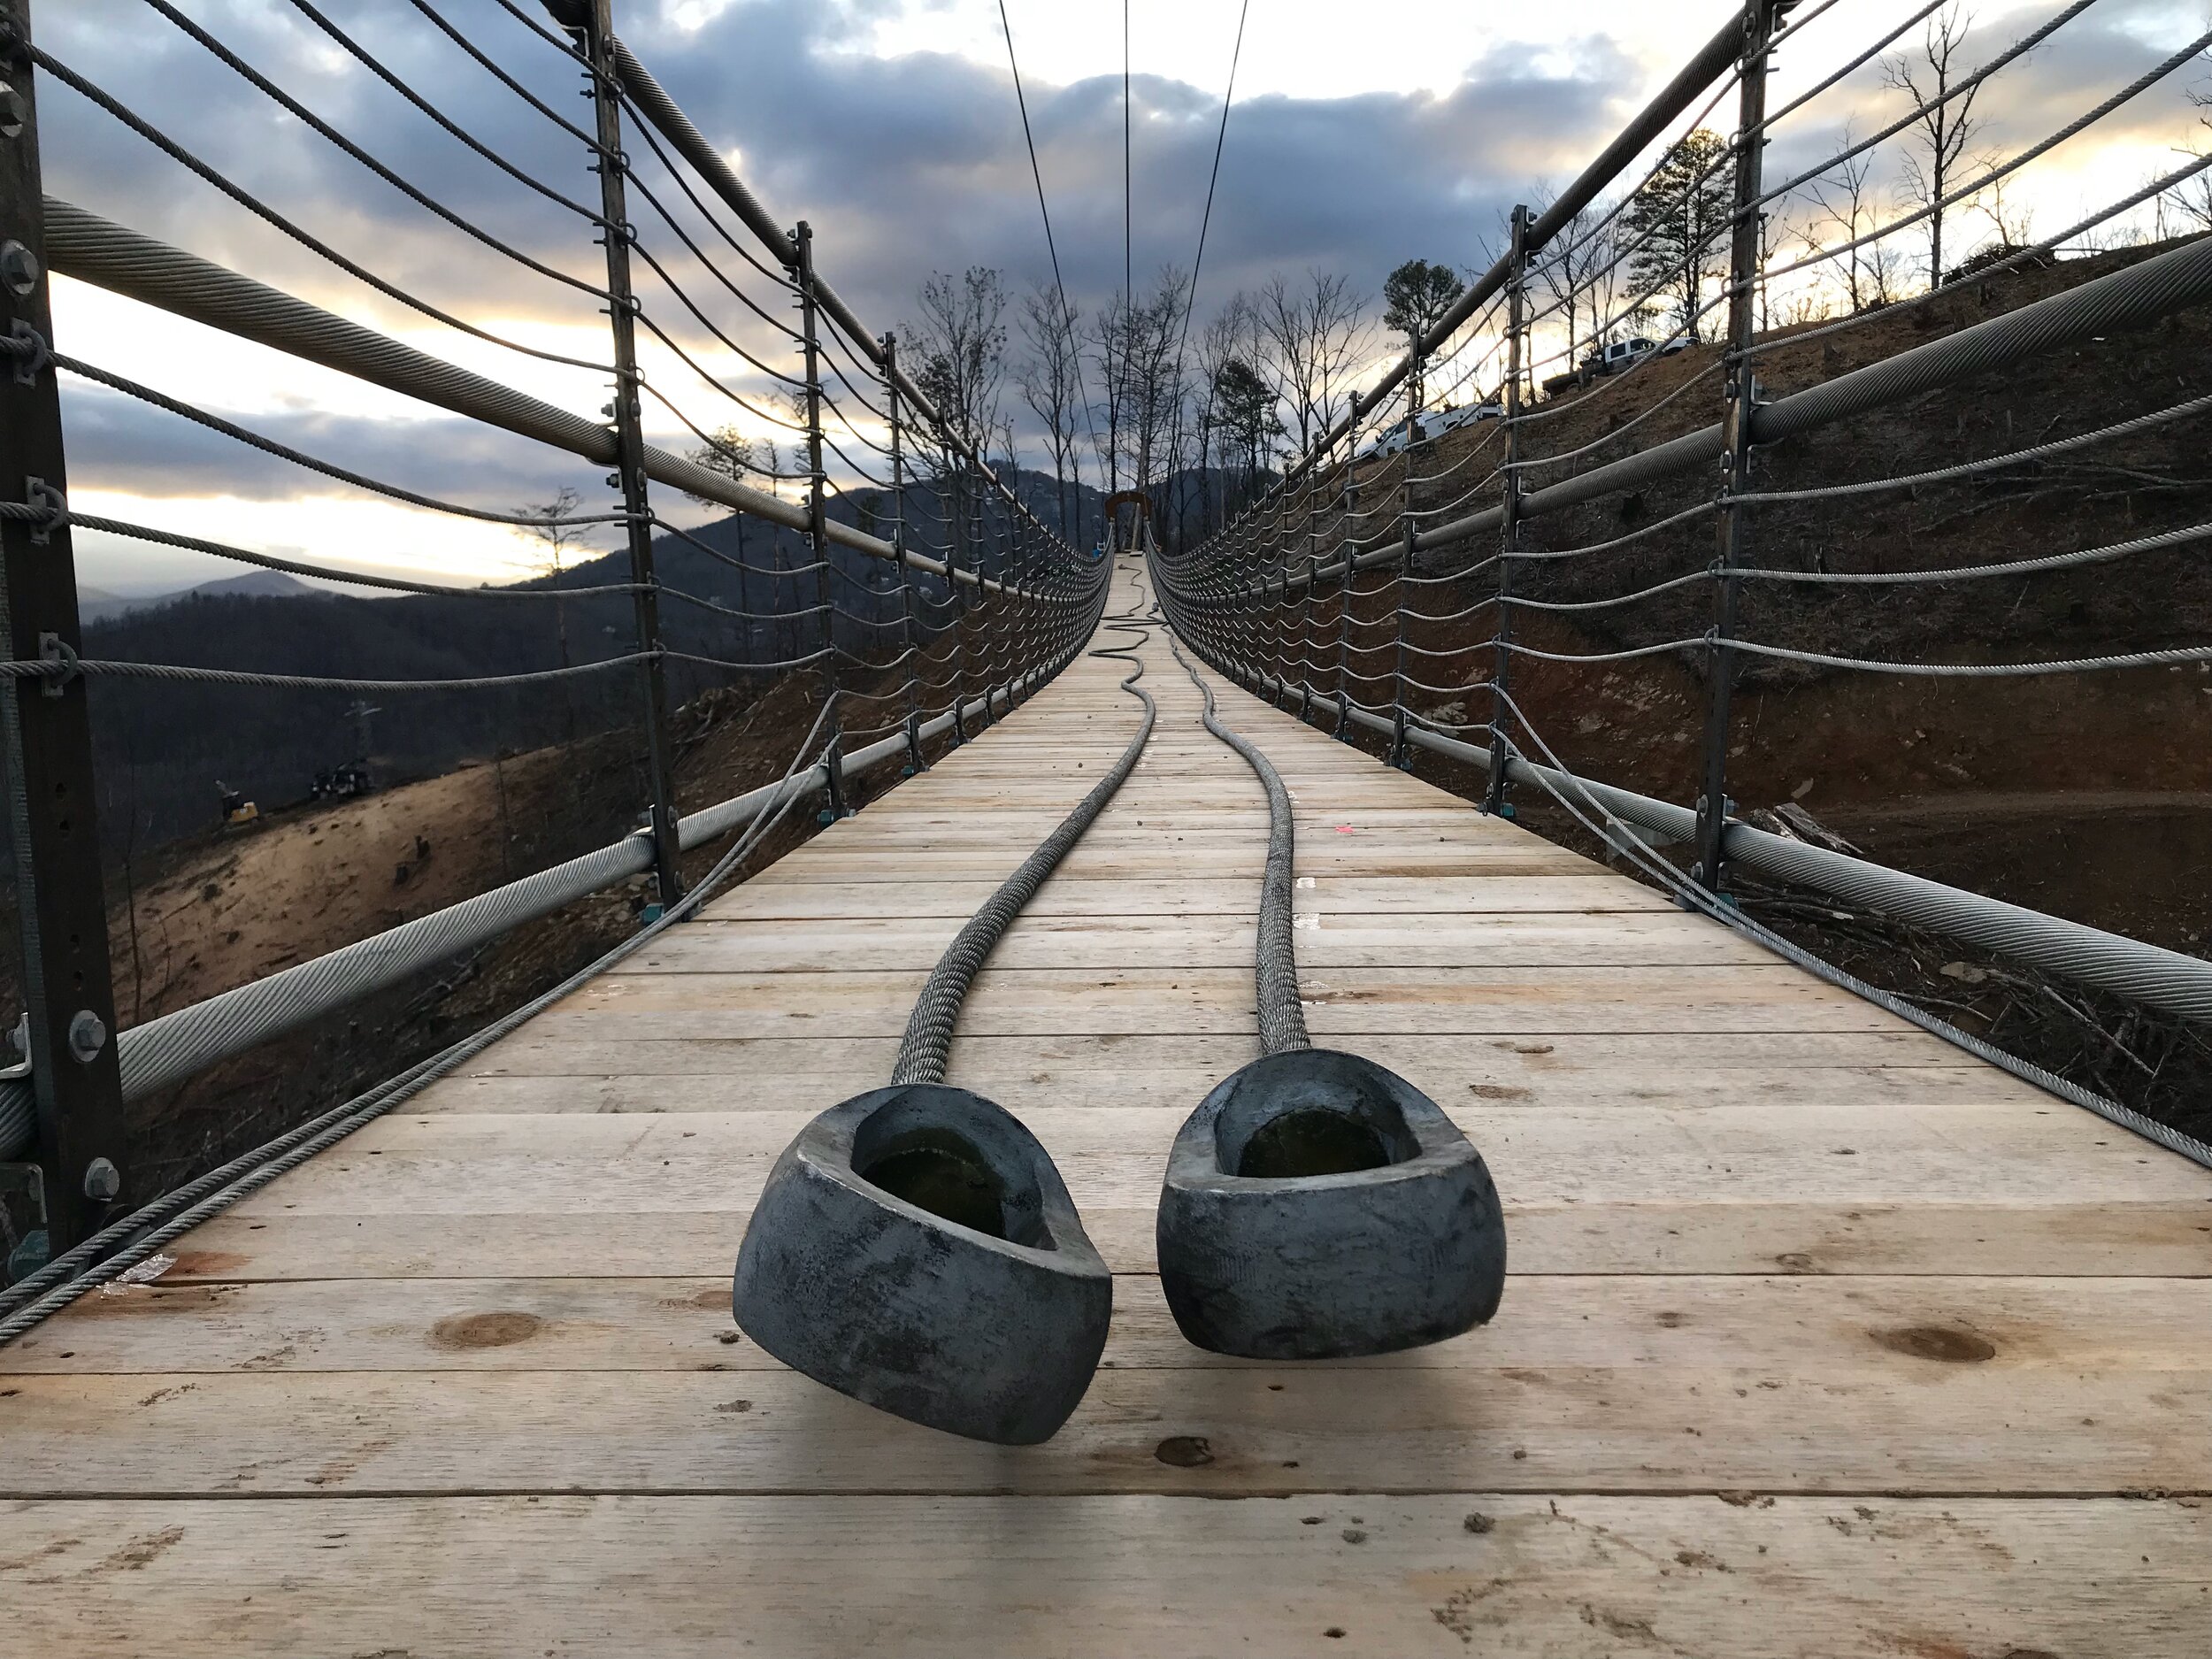
There are six (6) main bridge cables. They’re galvanized 2” structural strand, which weighs about 9 pounds/4 kilograms per foot, plus each cable has two termination sockets that weigh in at 220 pounds/100 kilograms each. With the main cable, sockets, and tensioner assemblies, each main cable comes in at just over 8,500 pounds/3855.5 kilograms. That puts the total weight of all the main cables and their assemblies at over 51,000 pounds/23,133 kilograms!


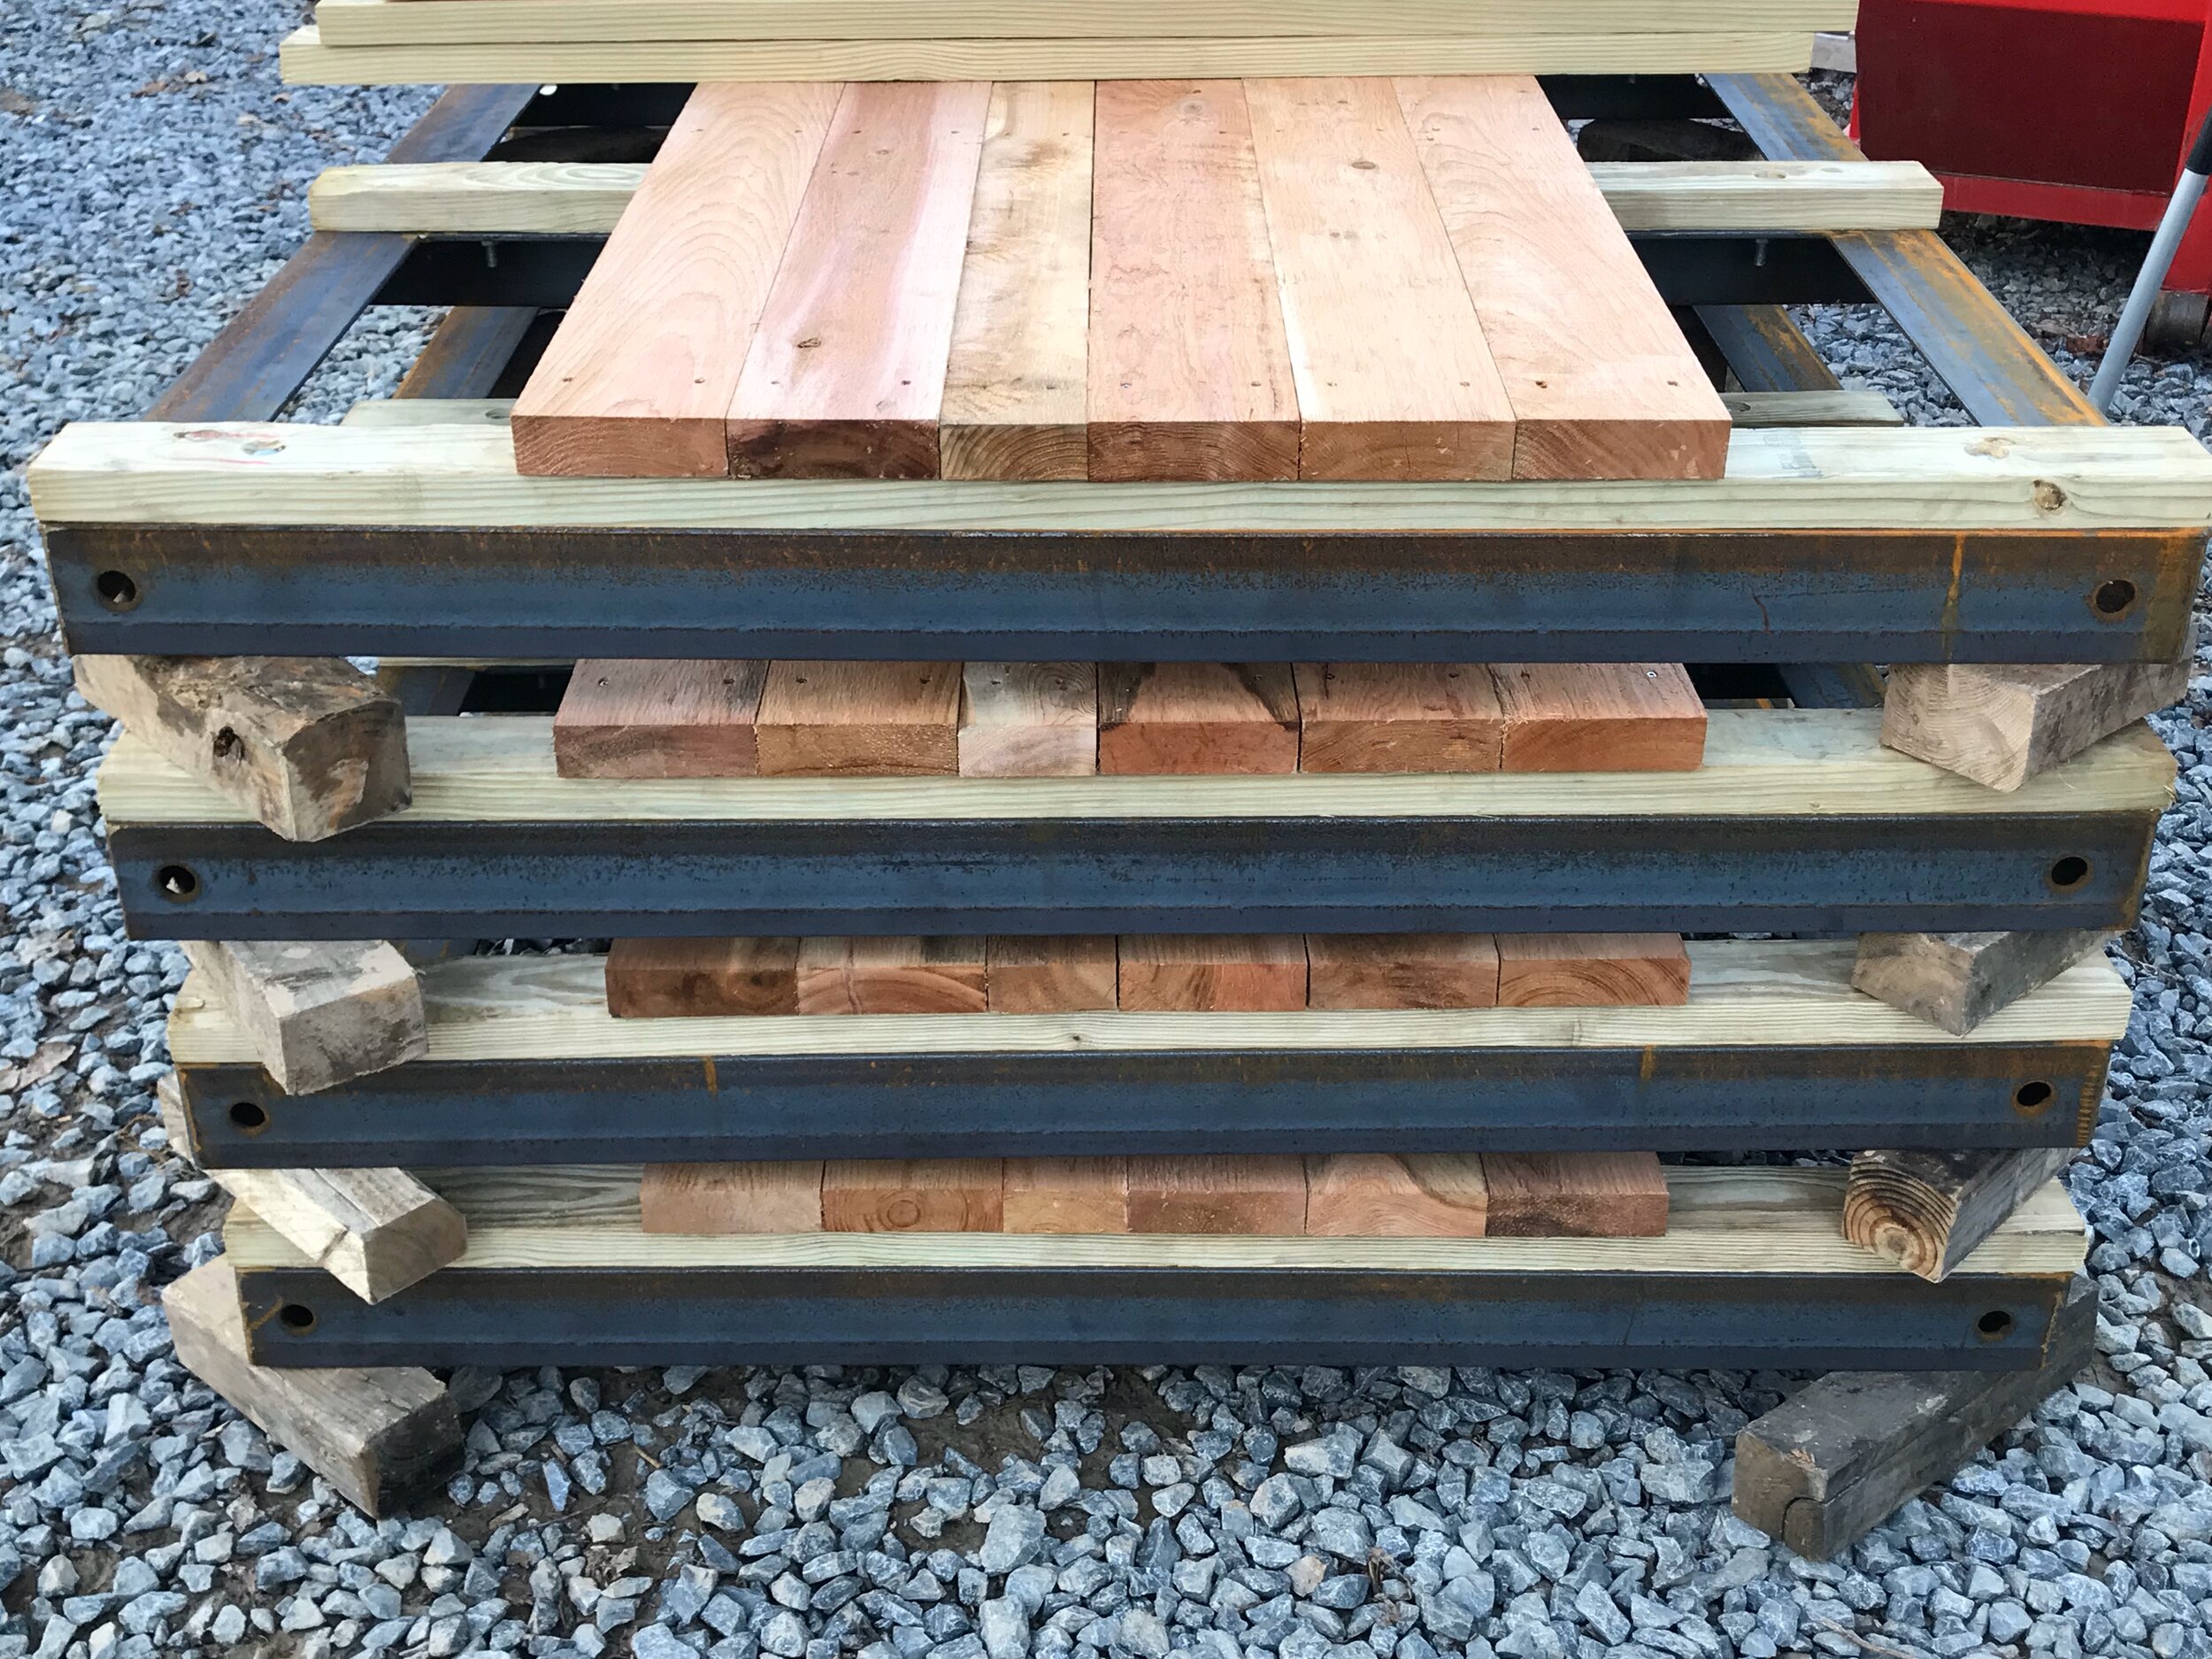
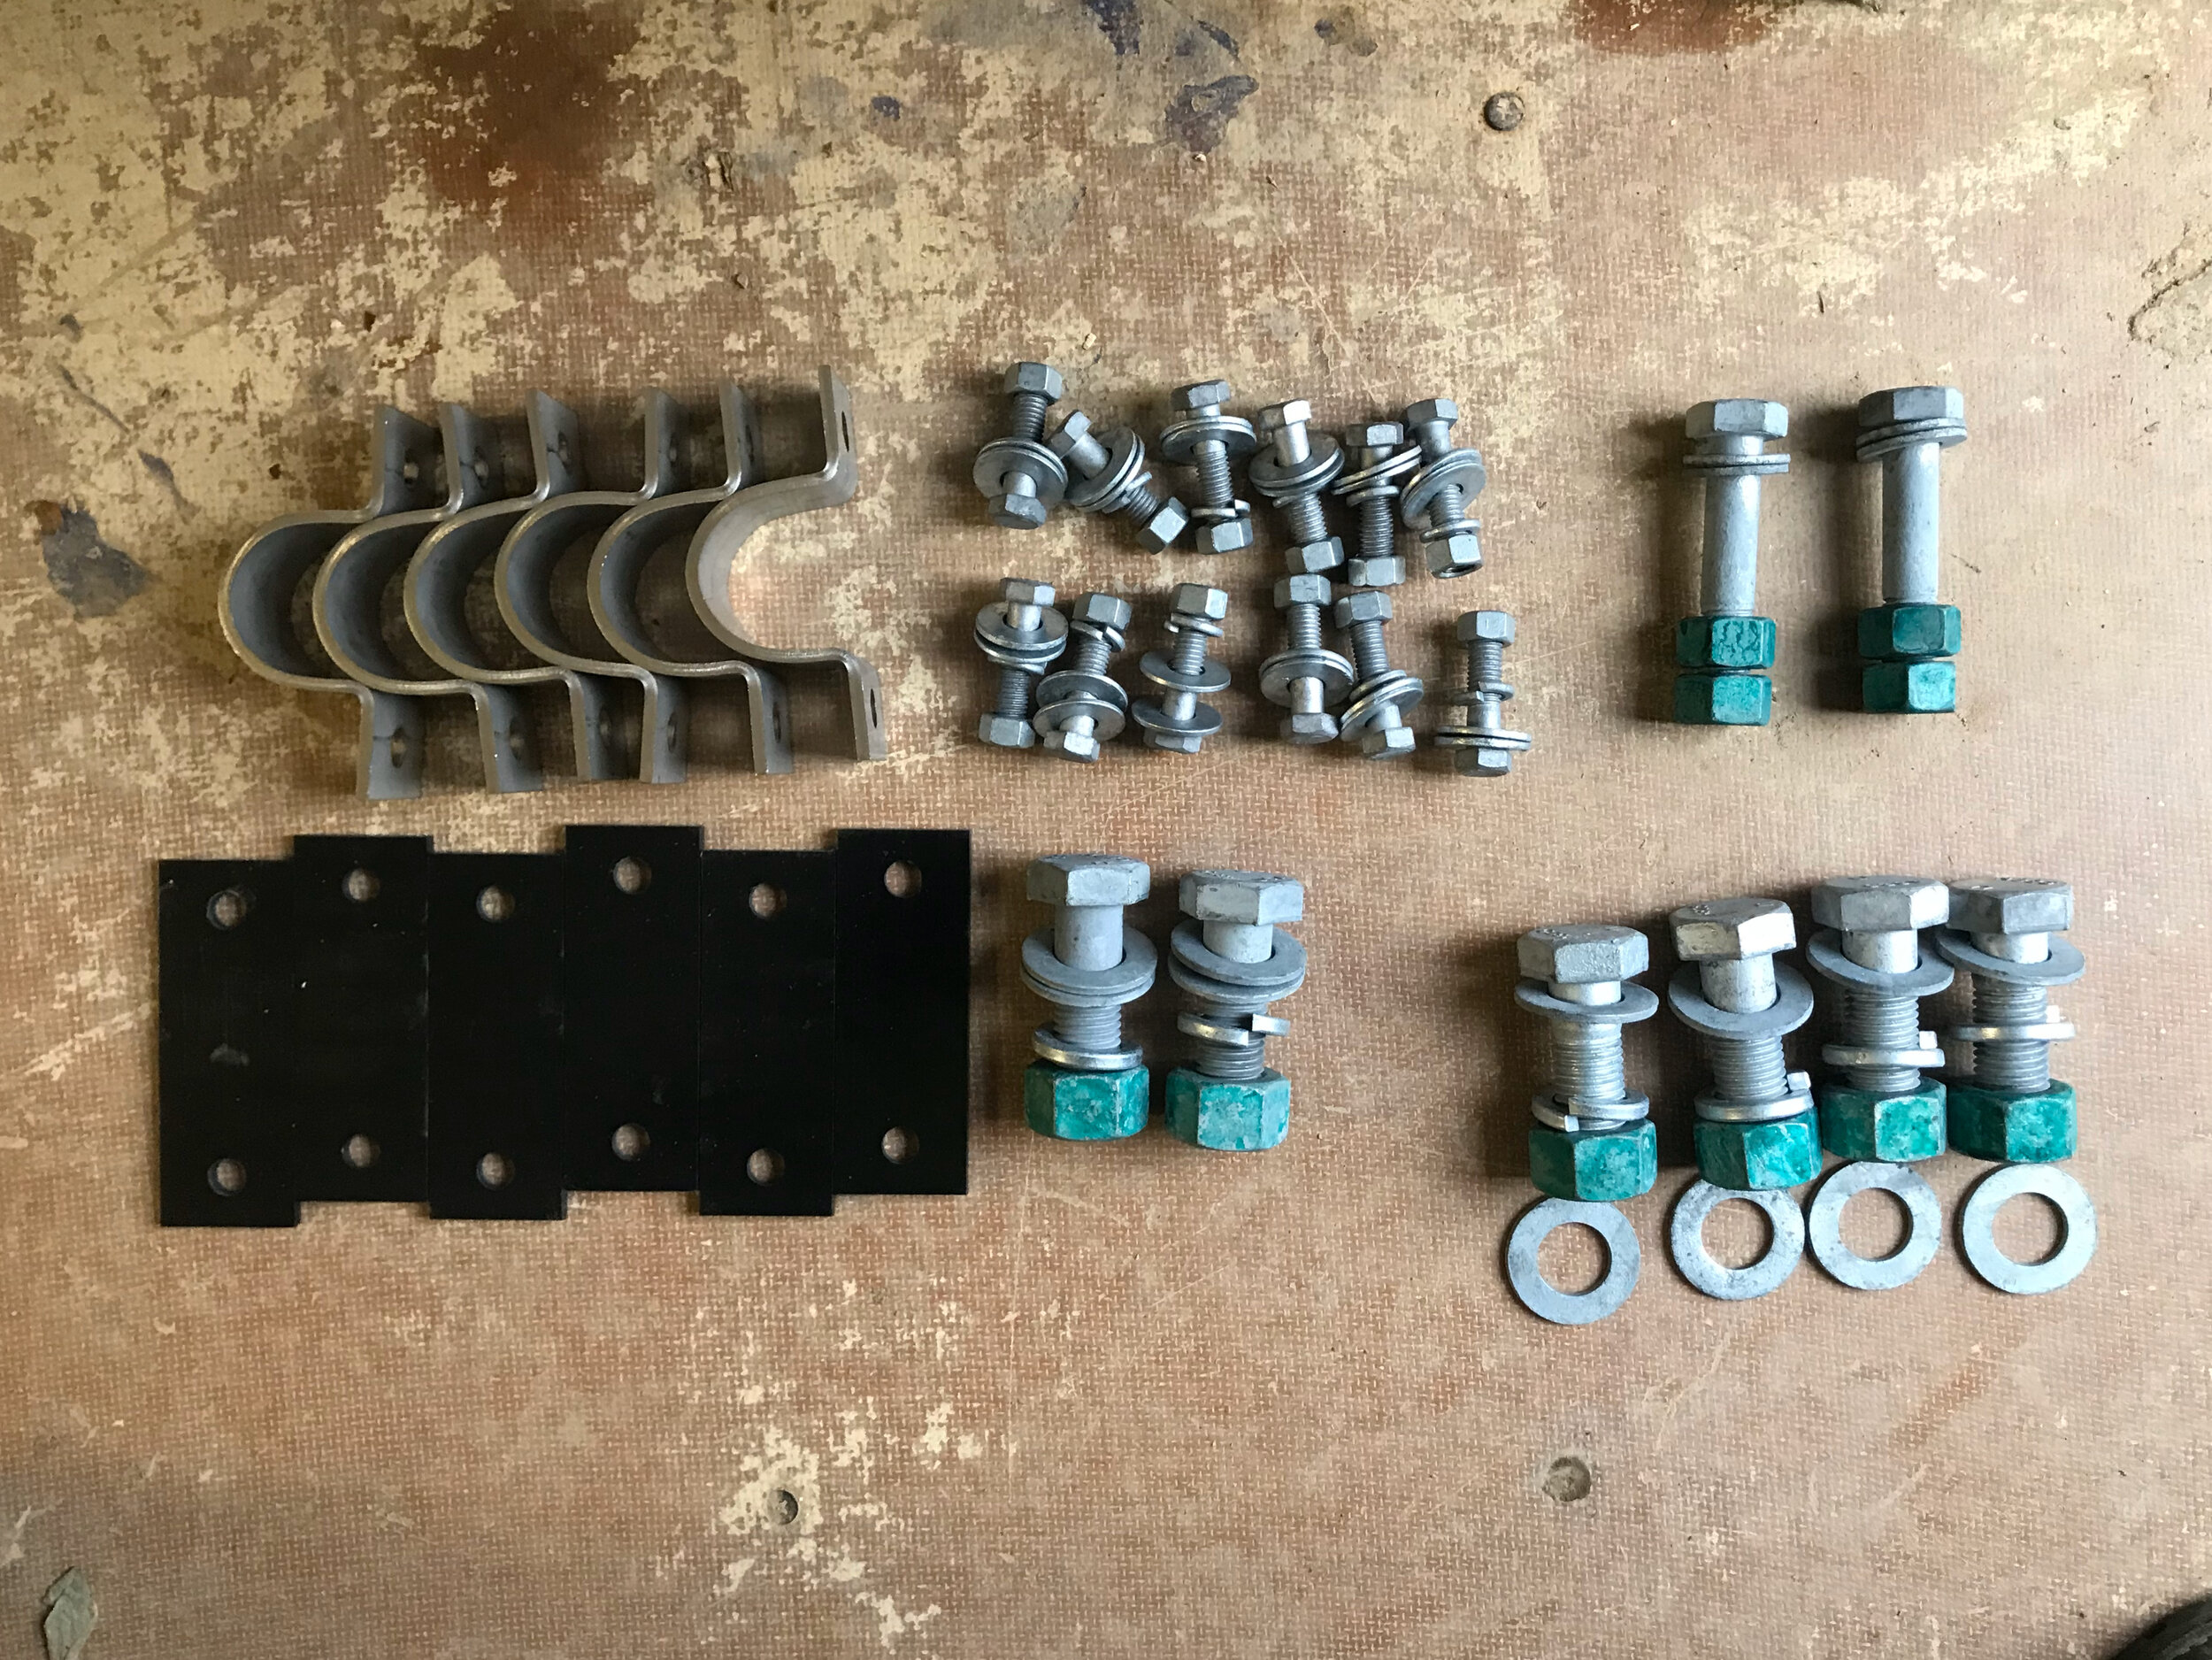
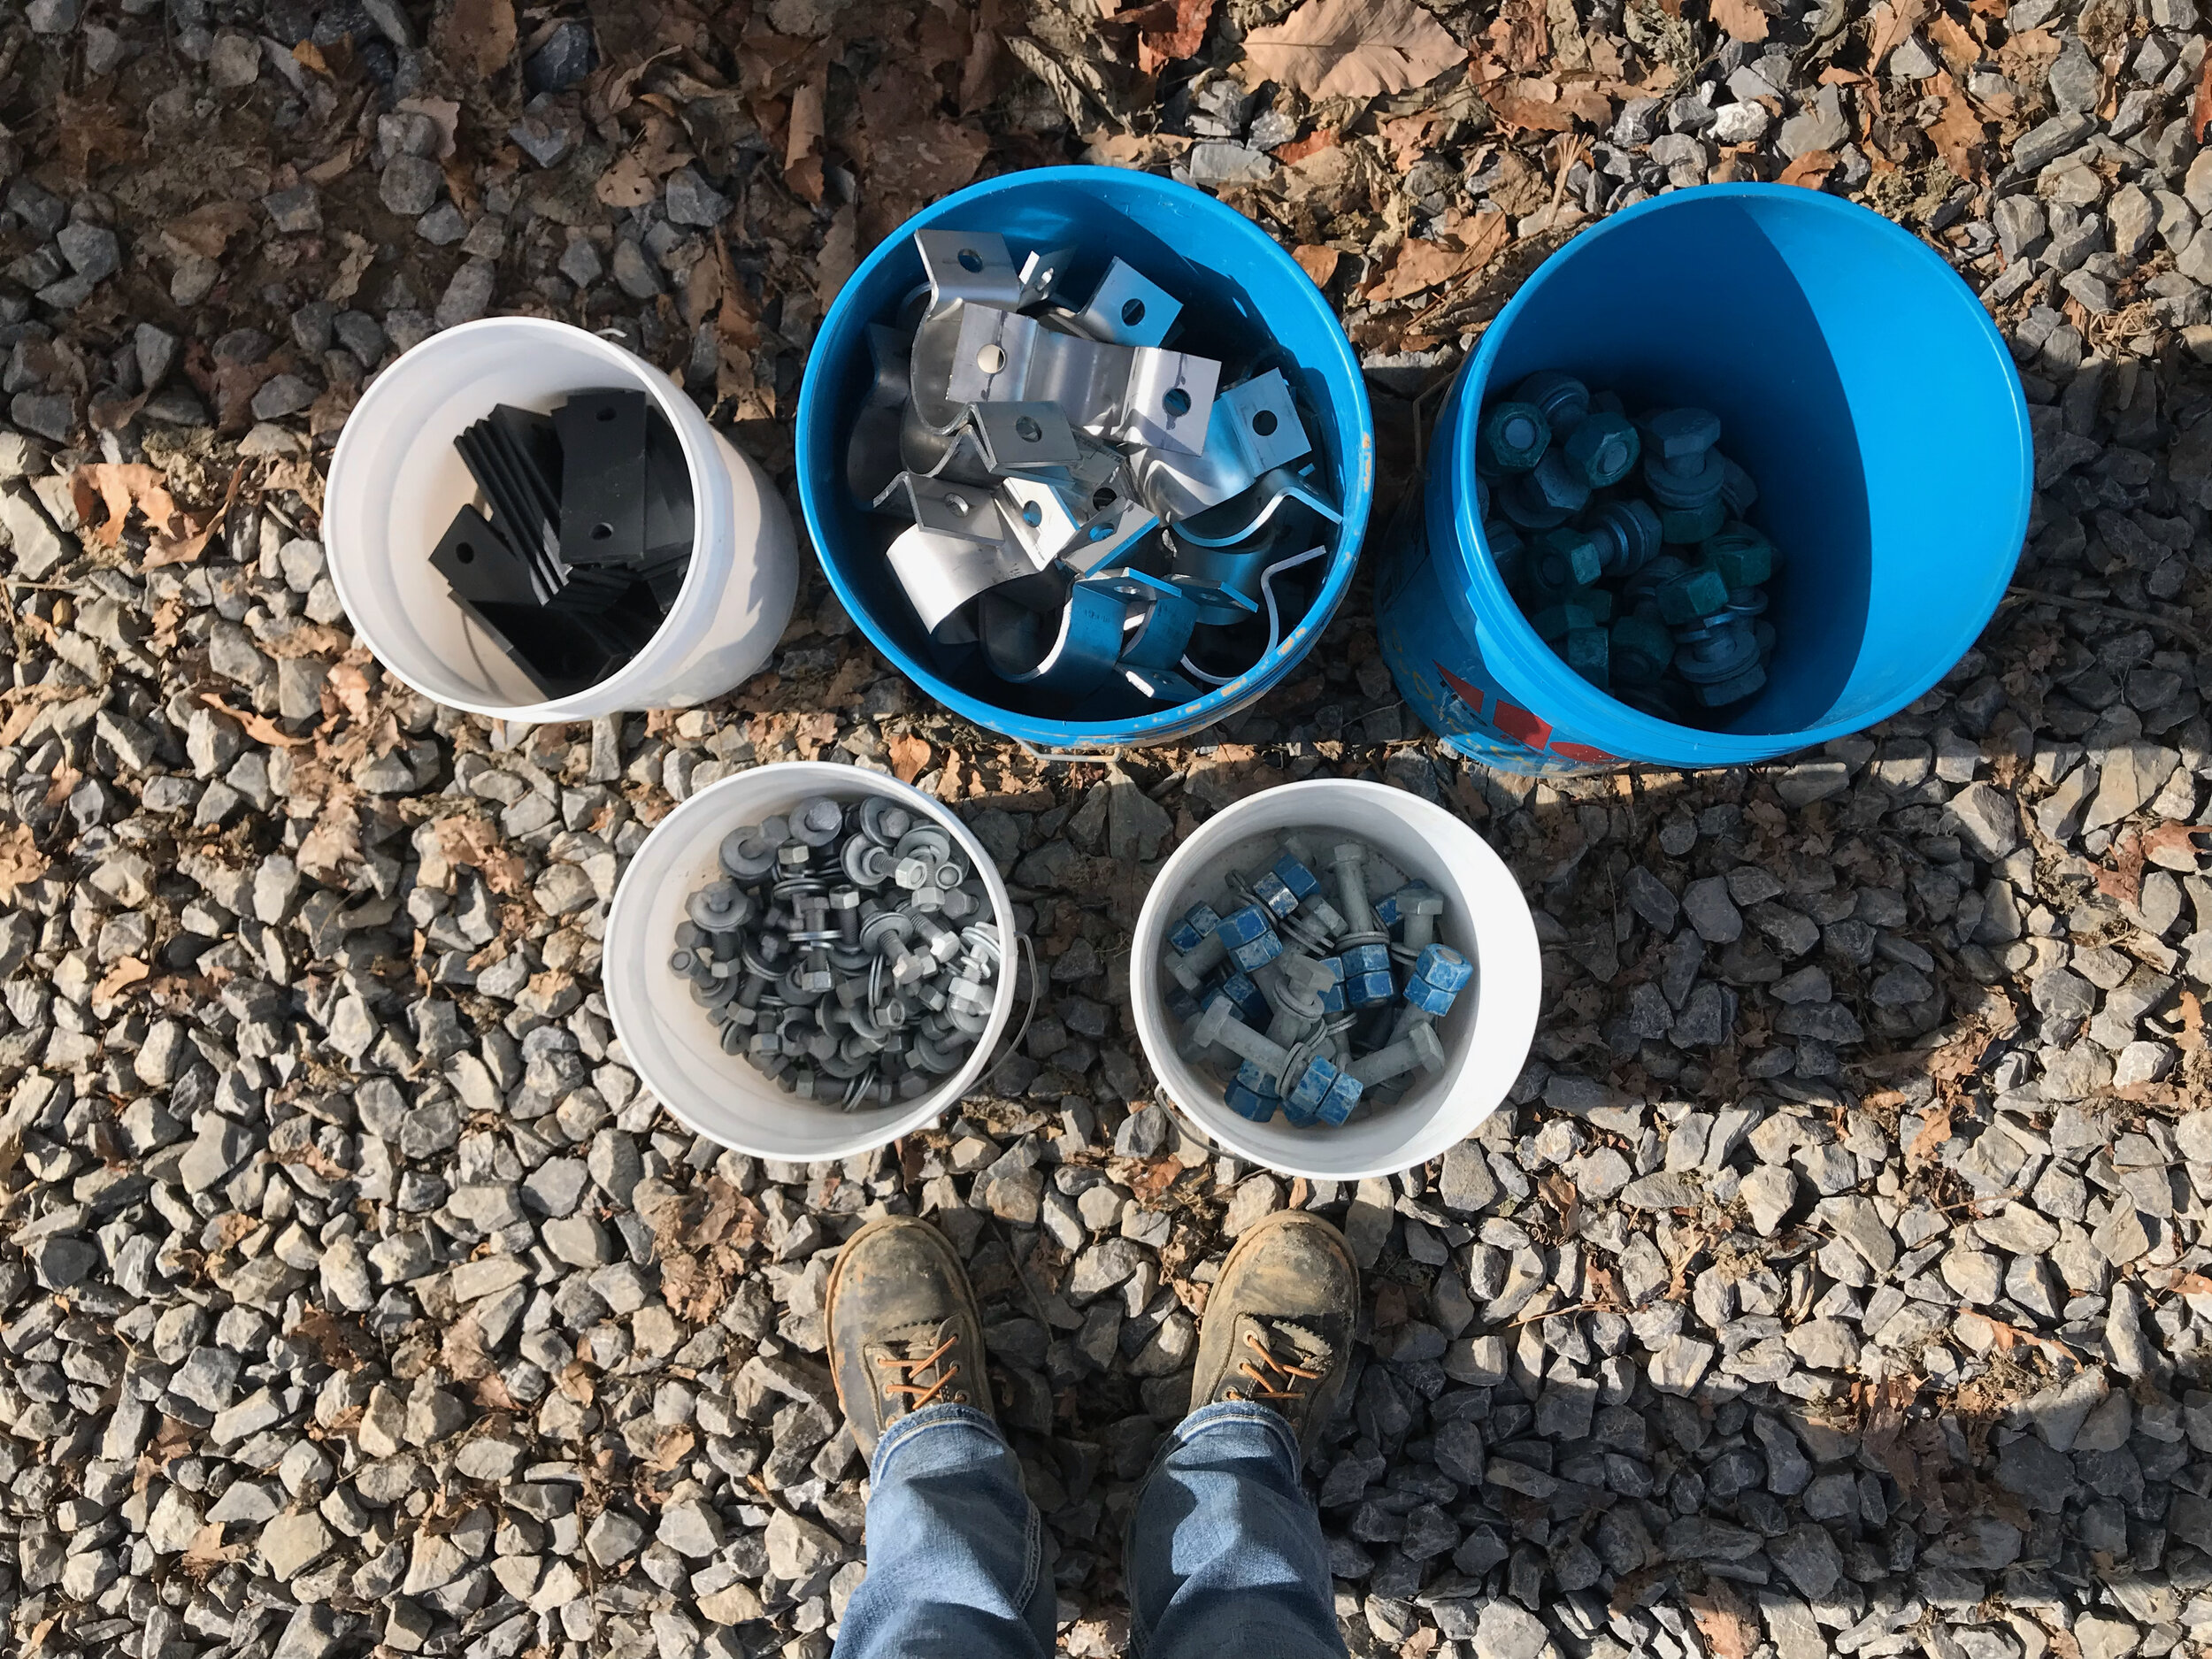
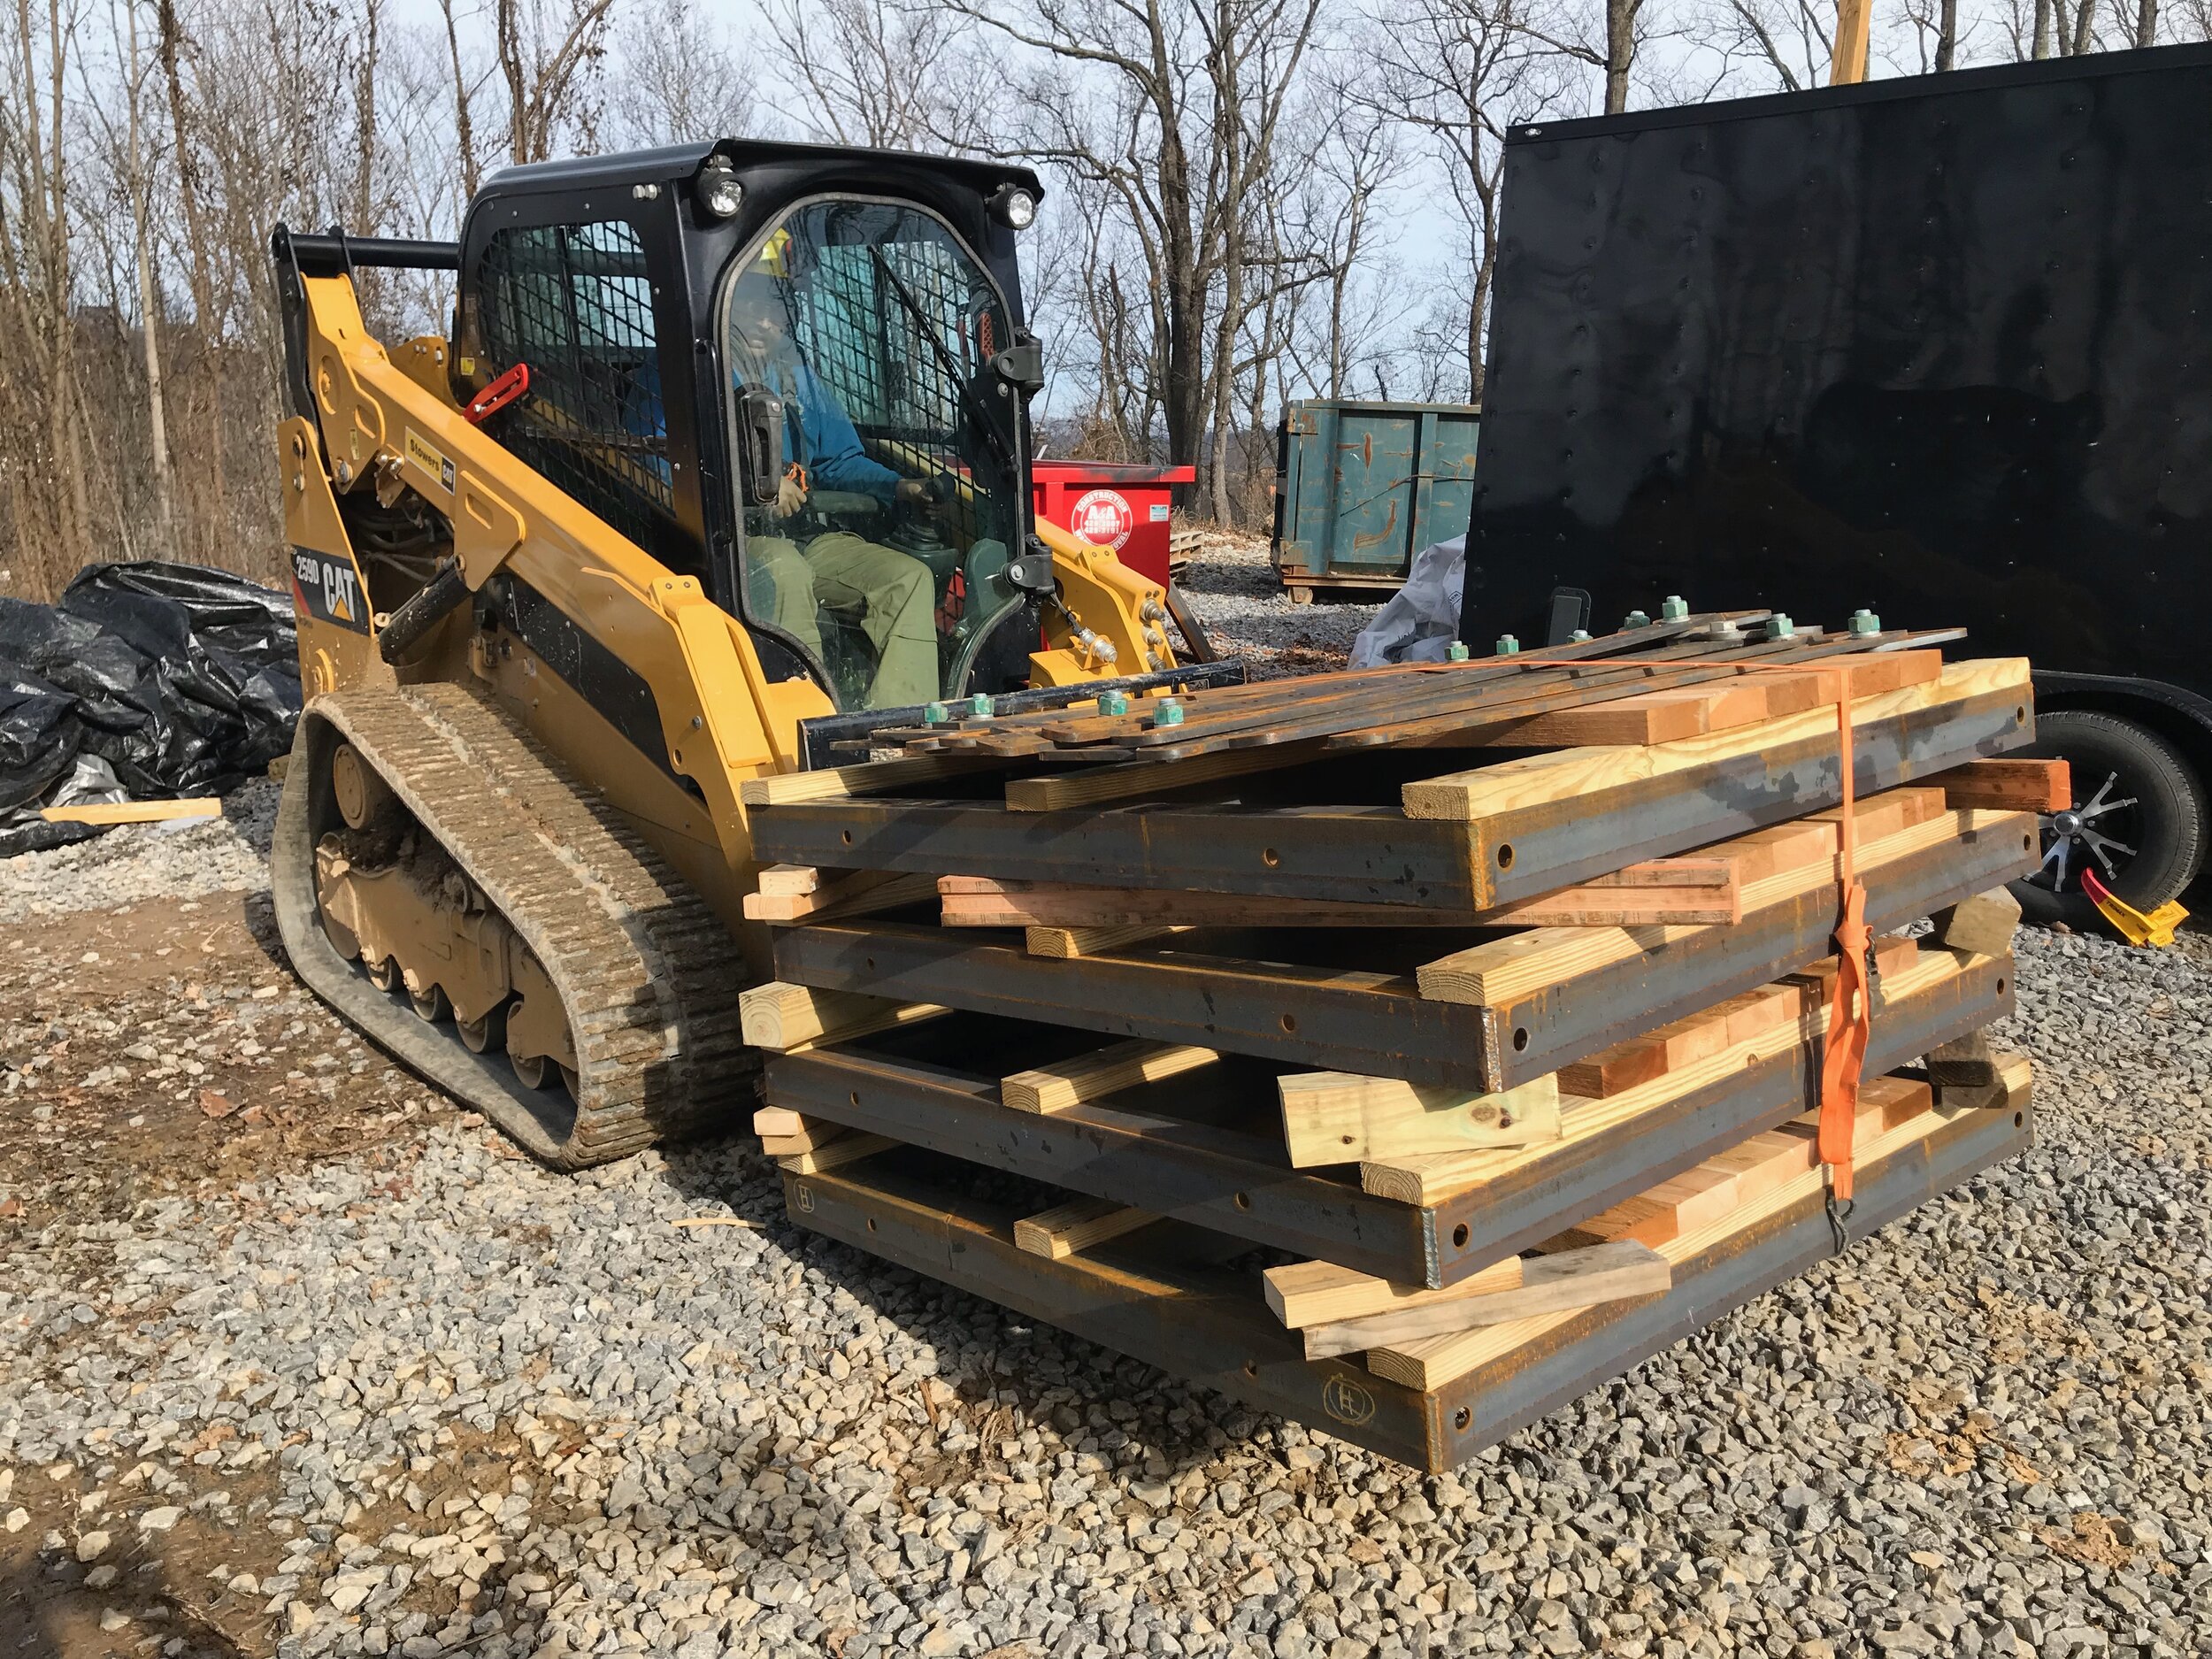
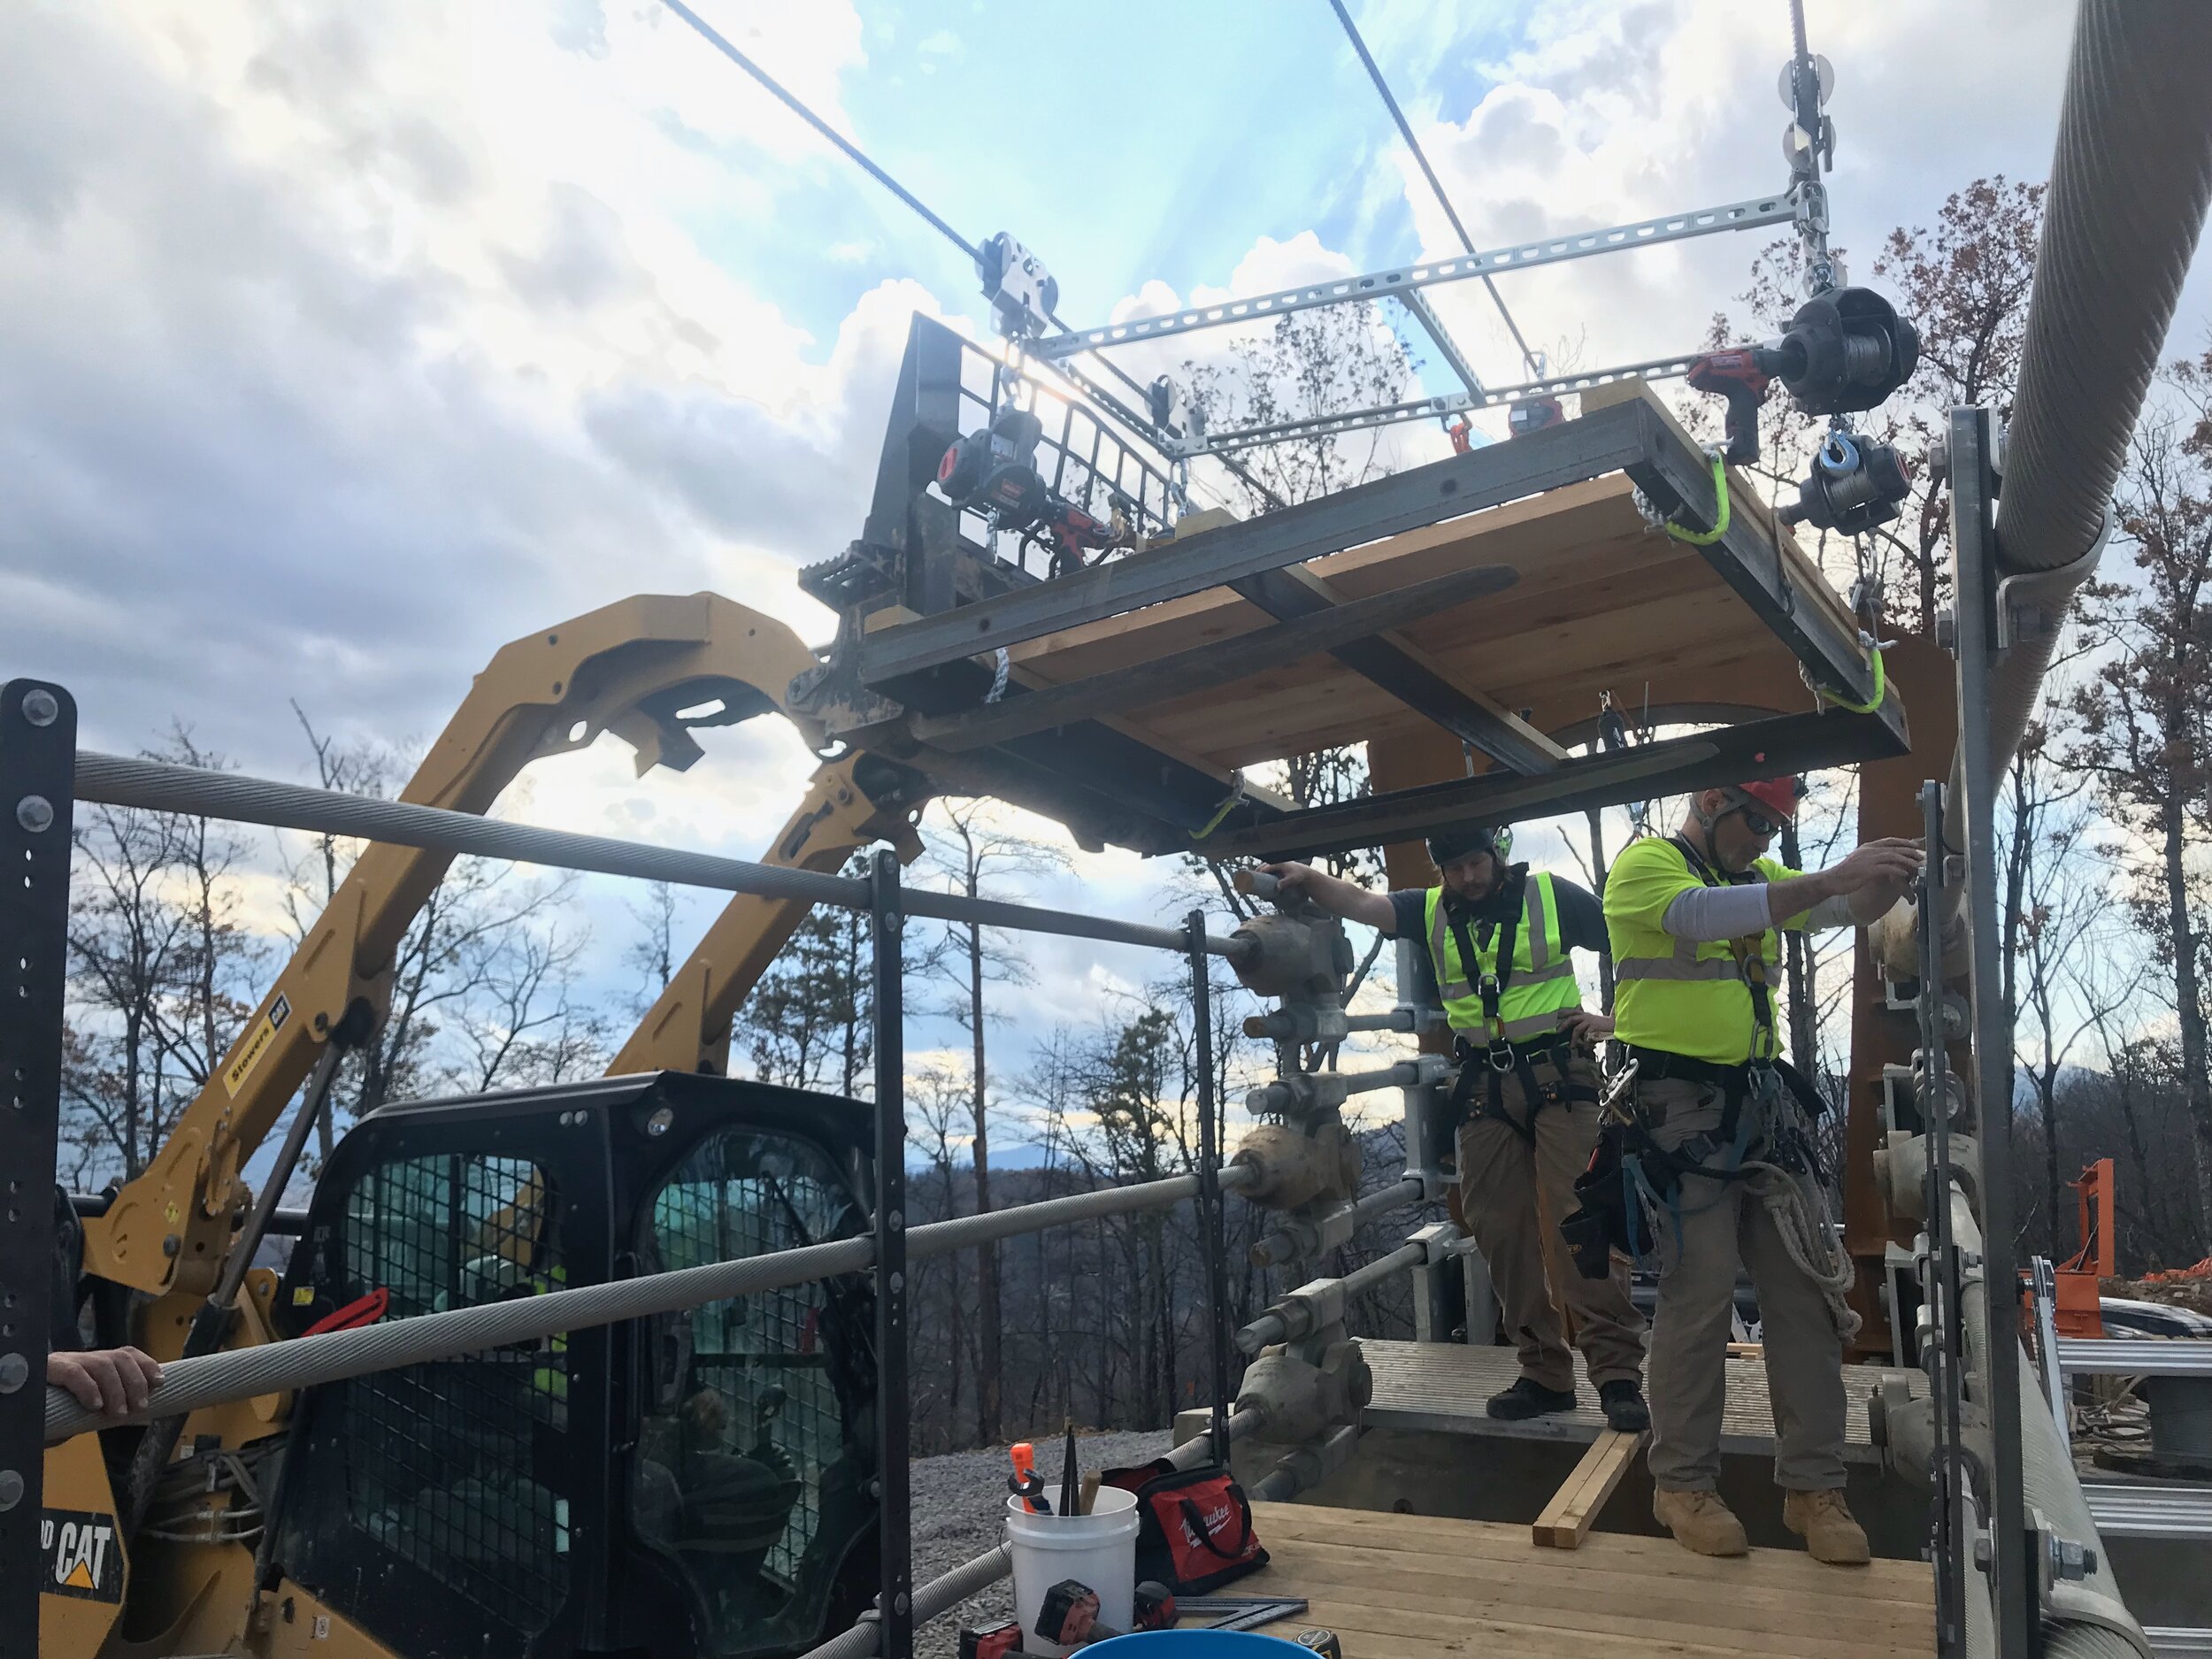
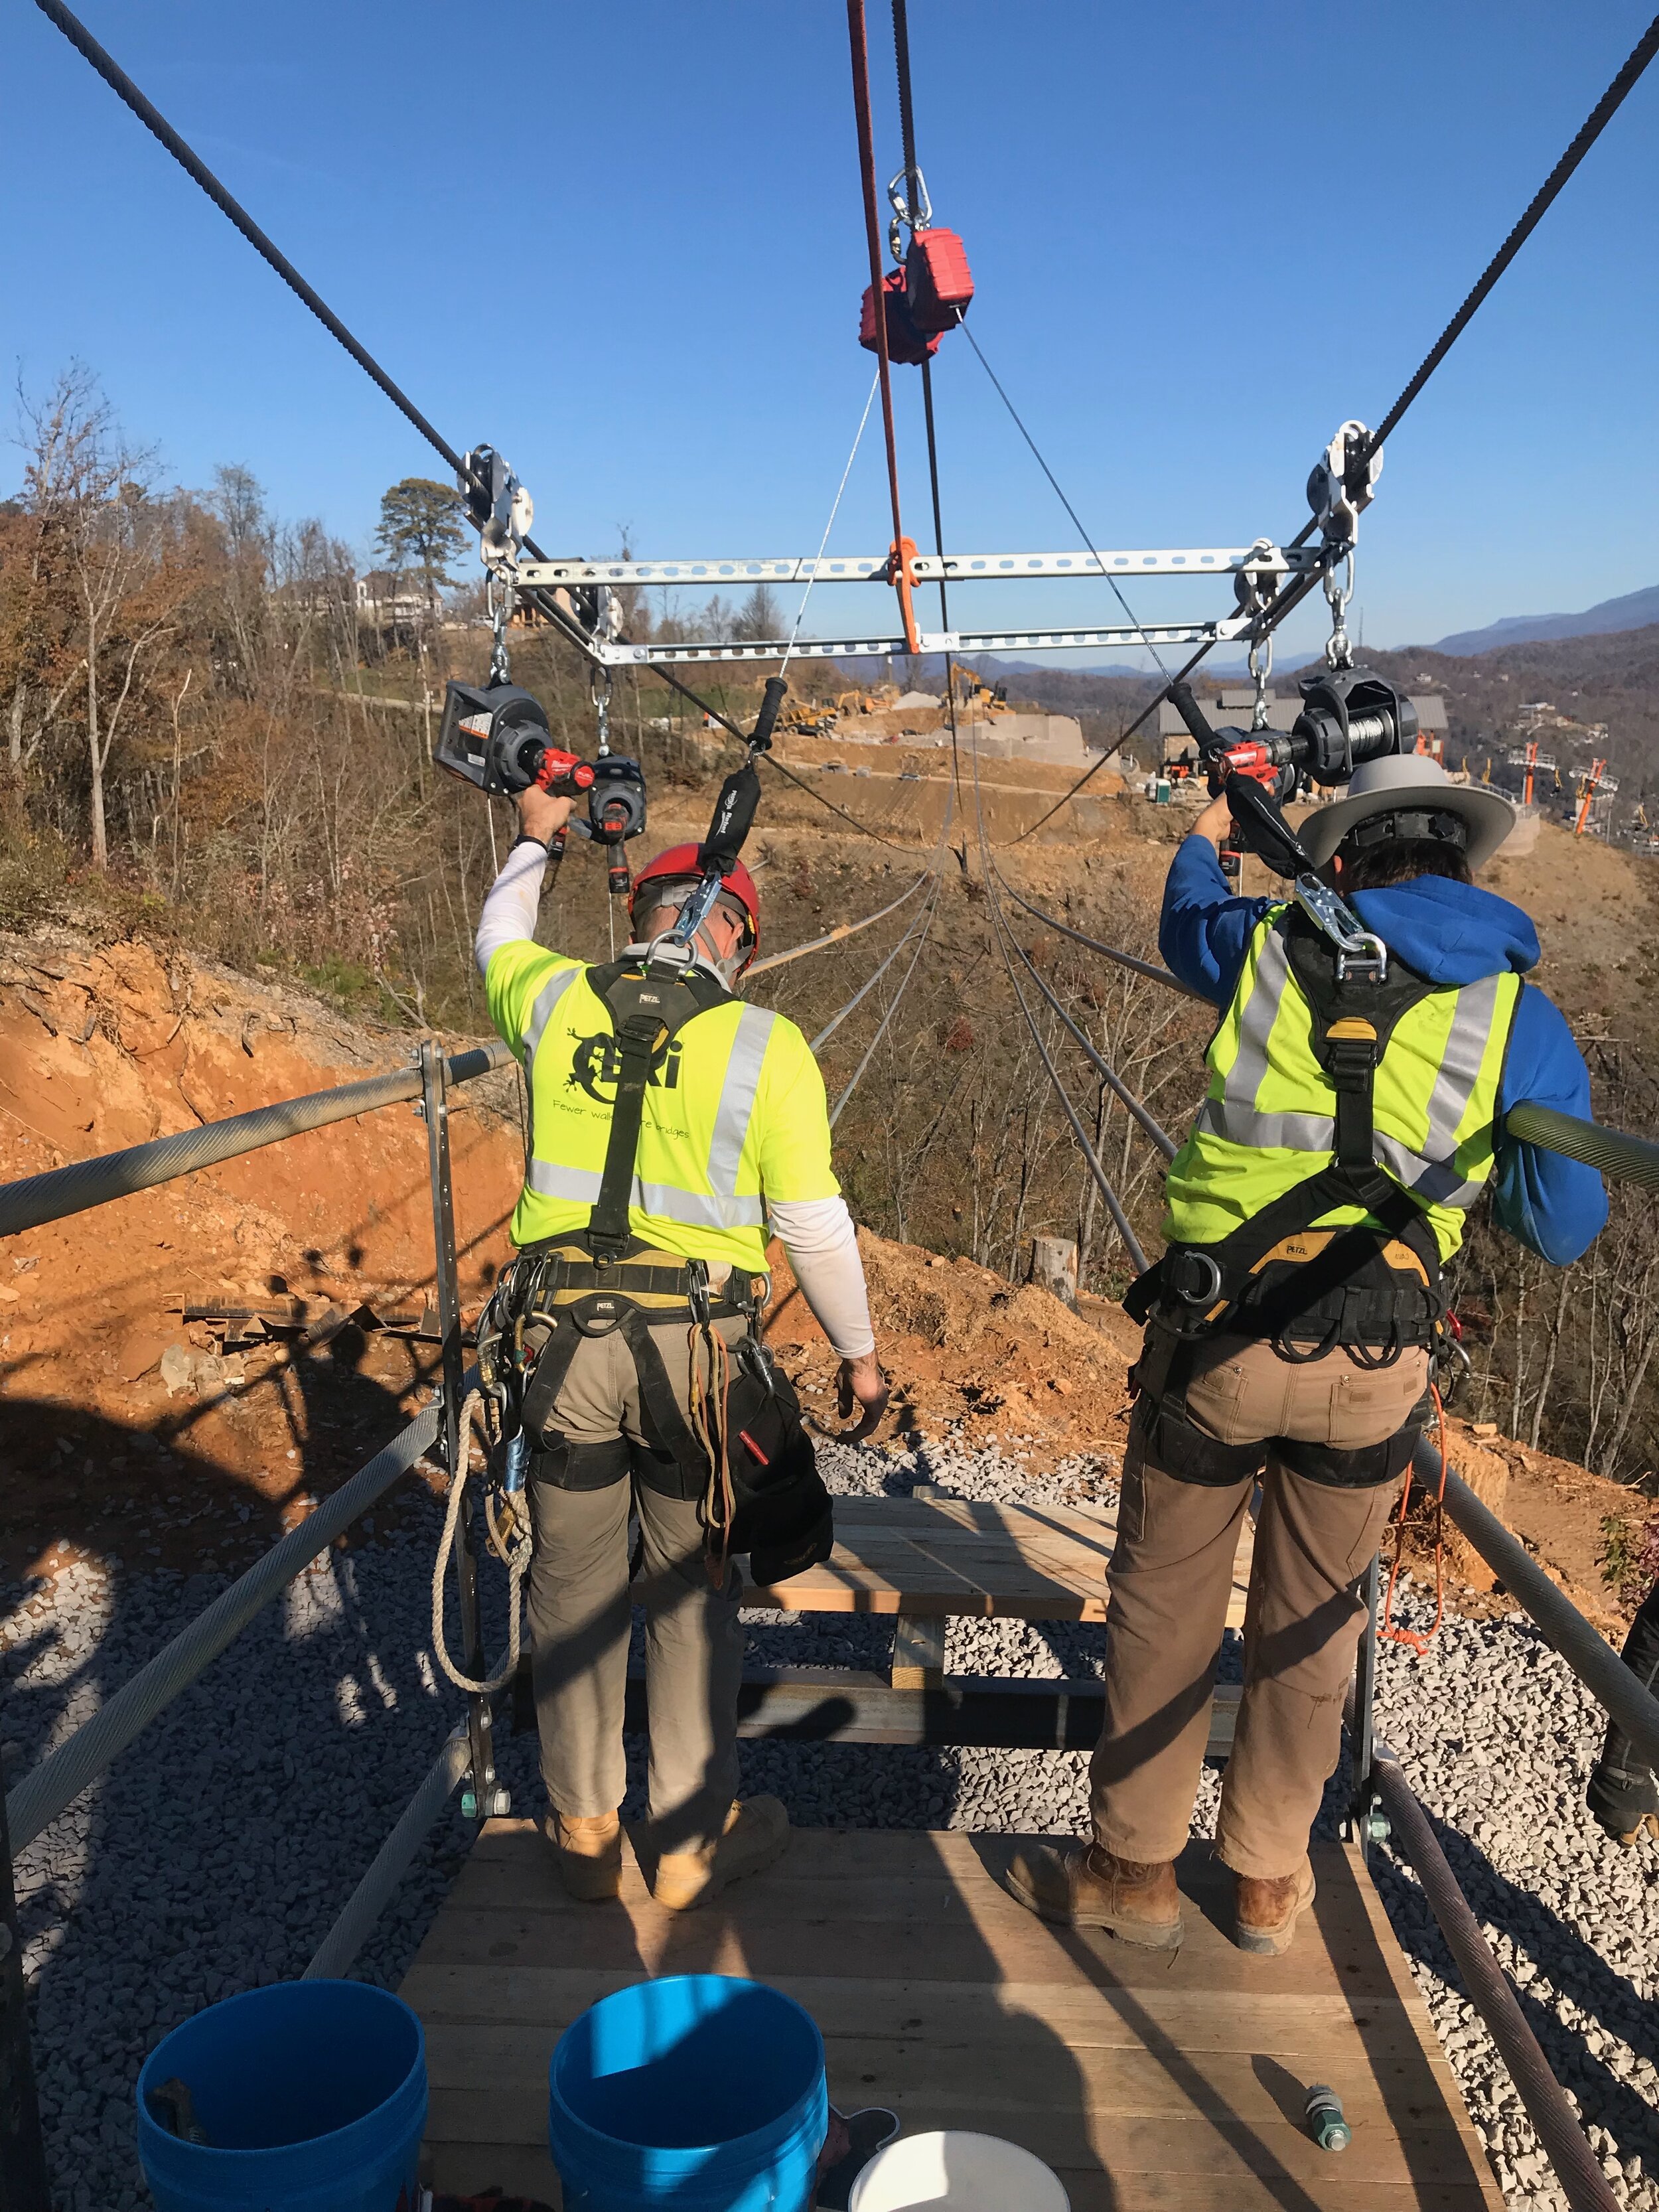
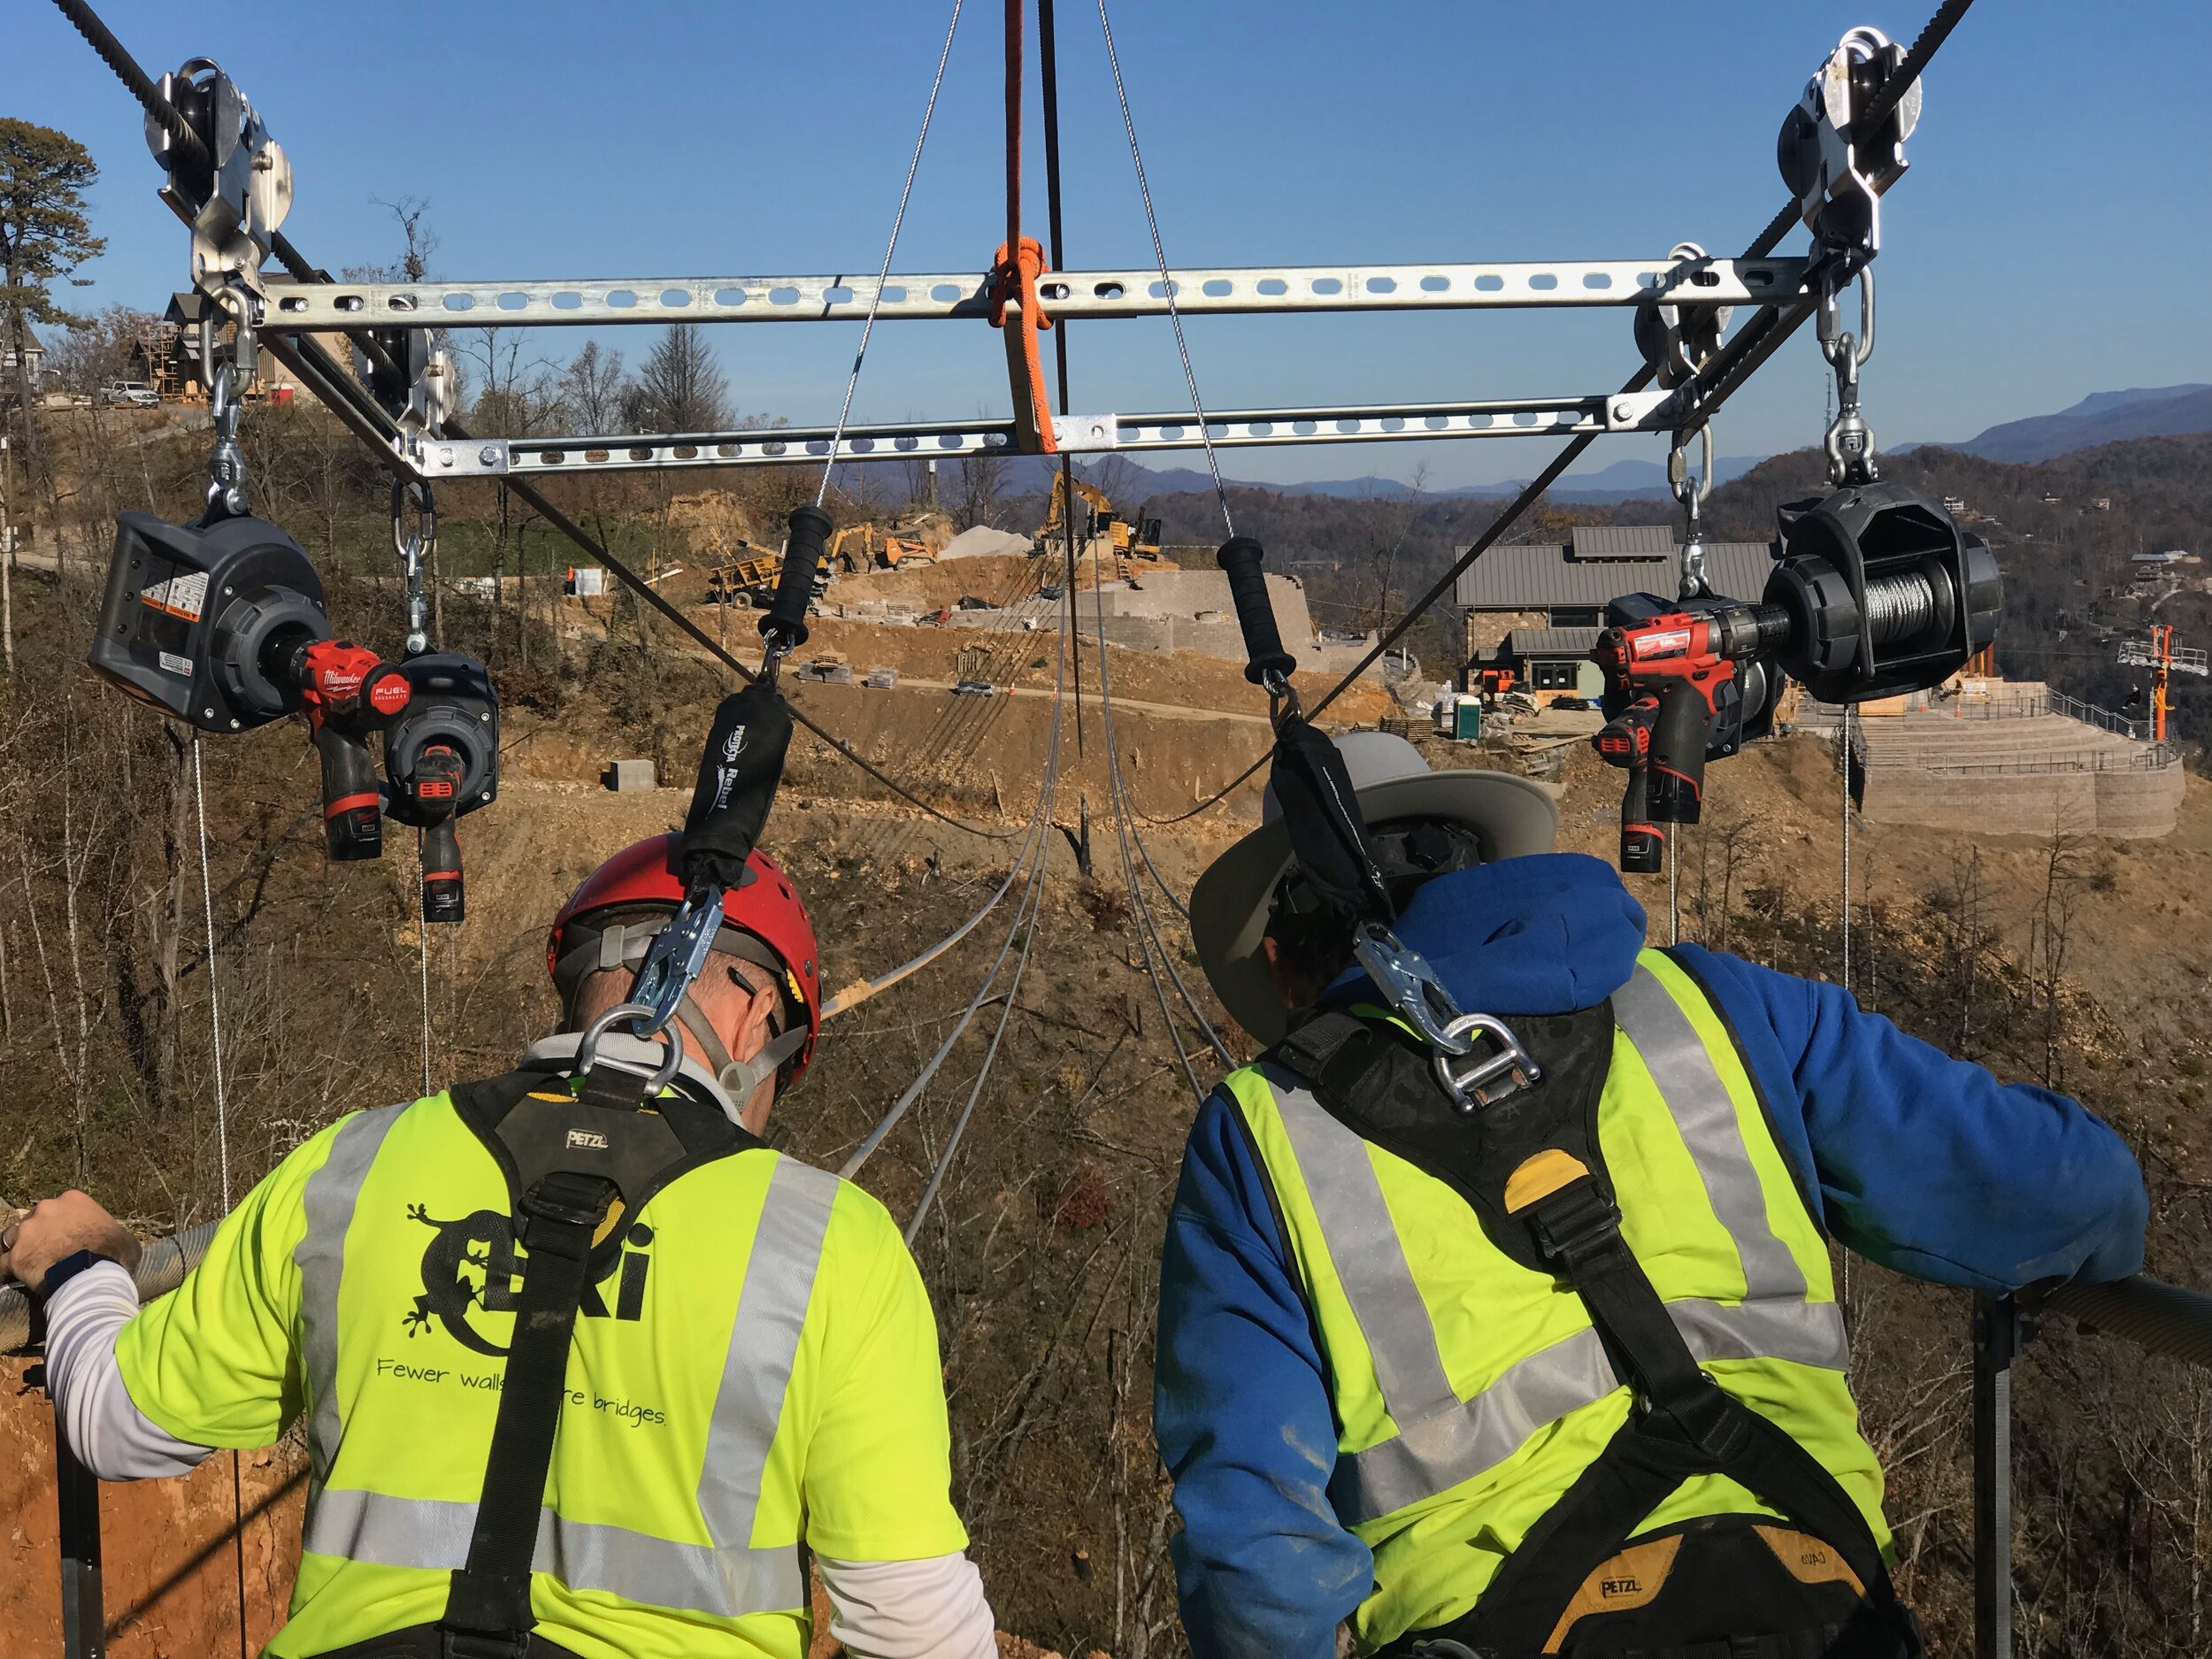
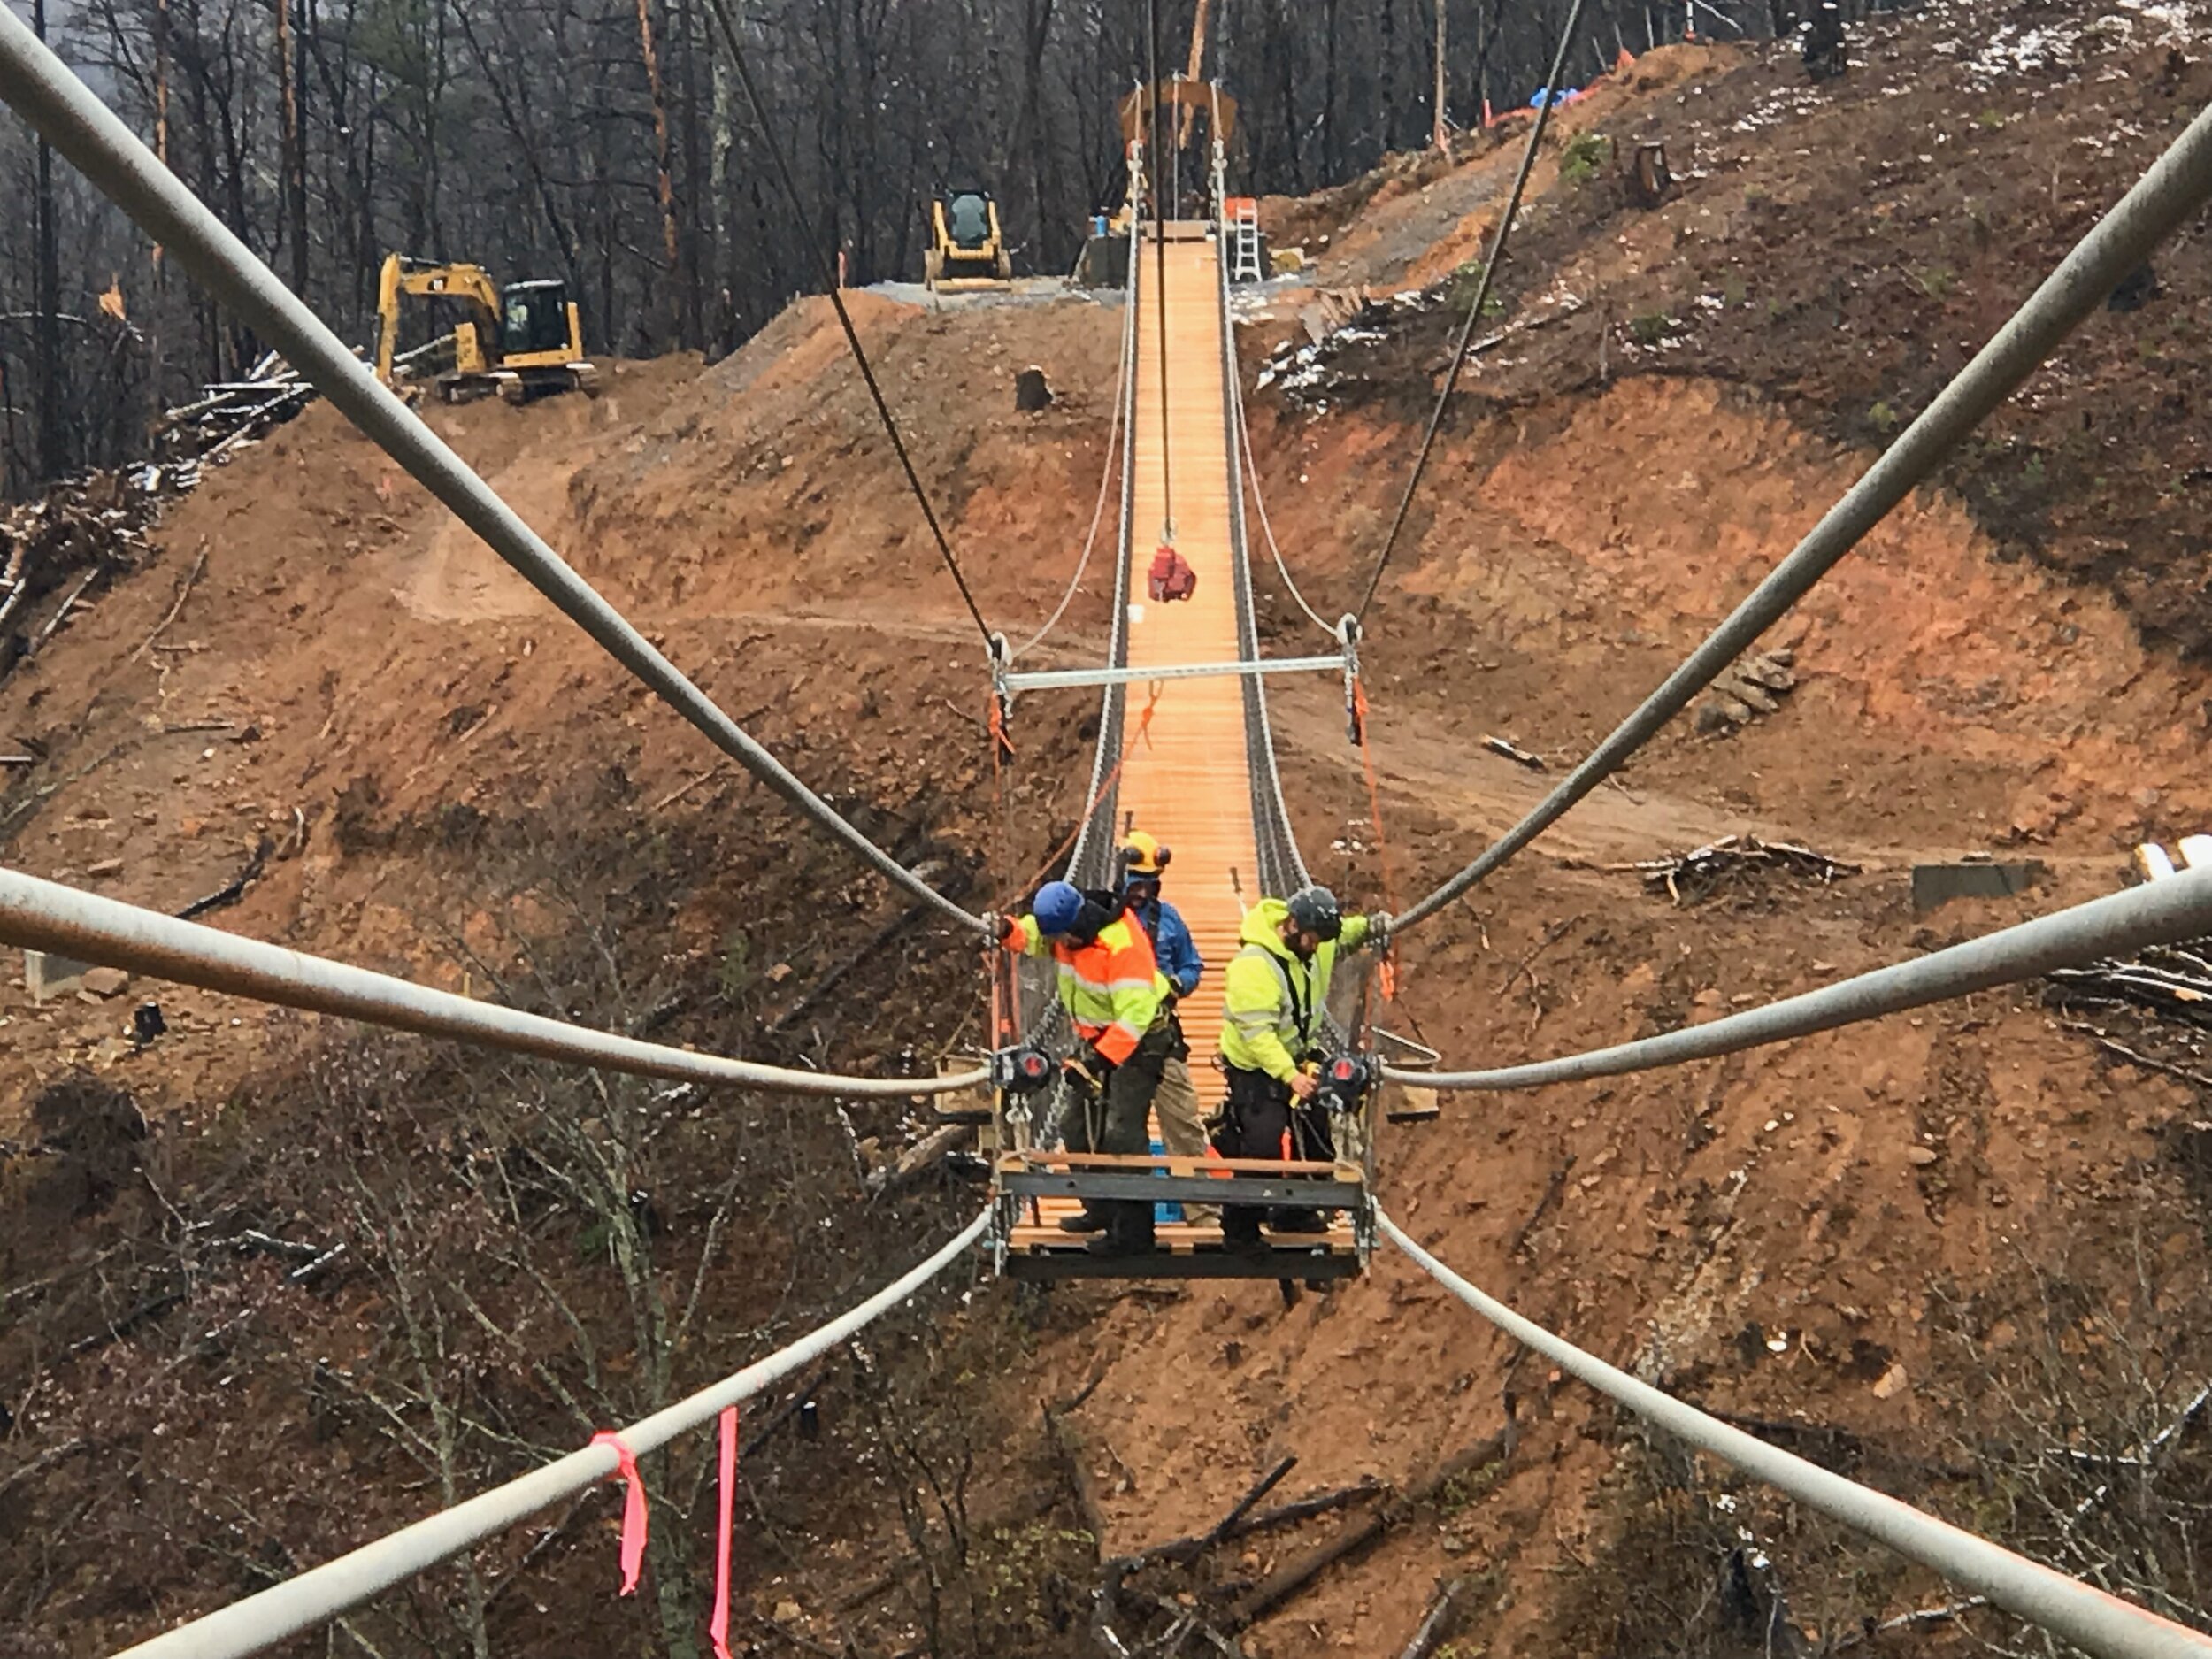
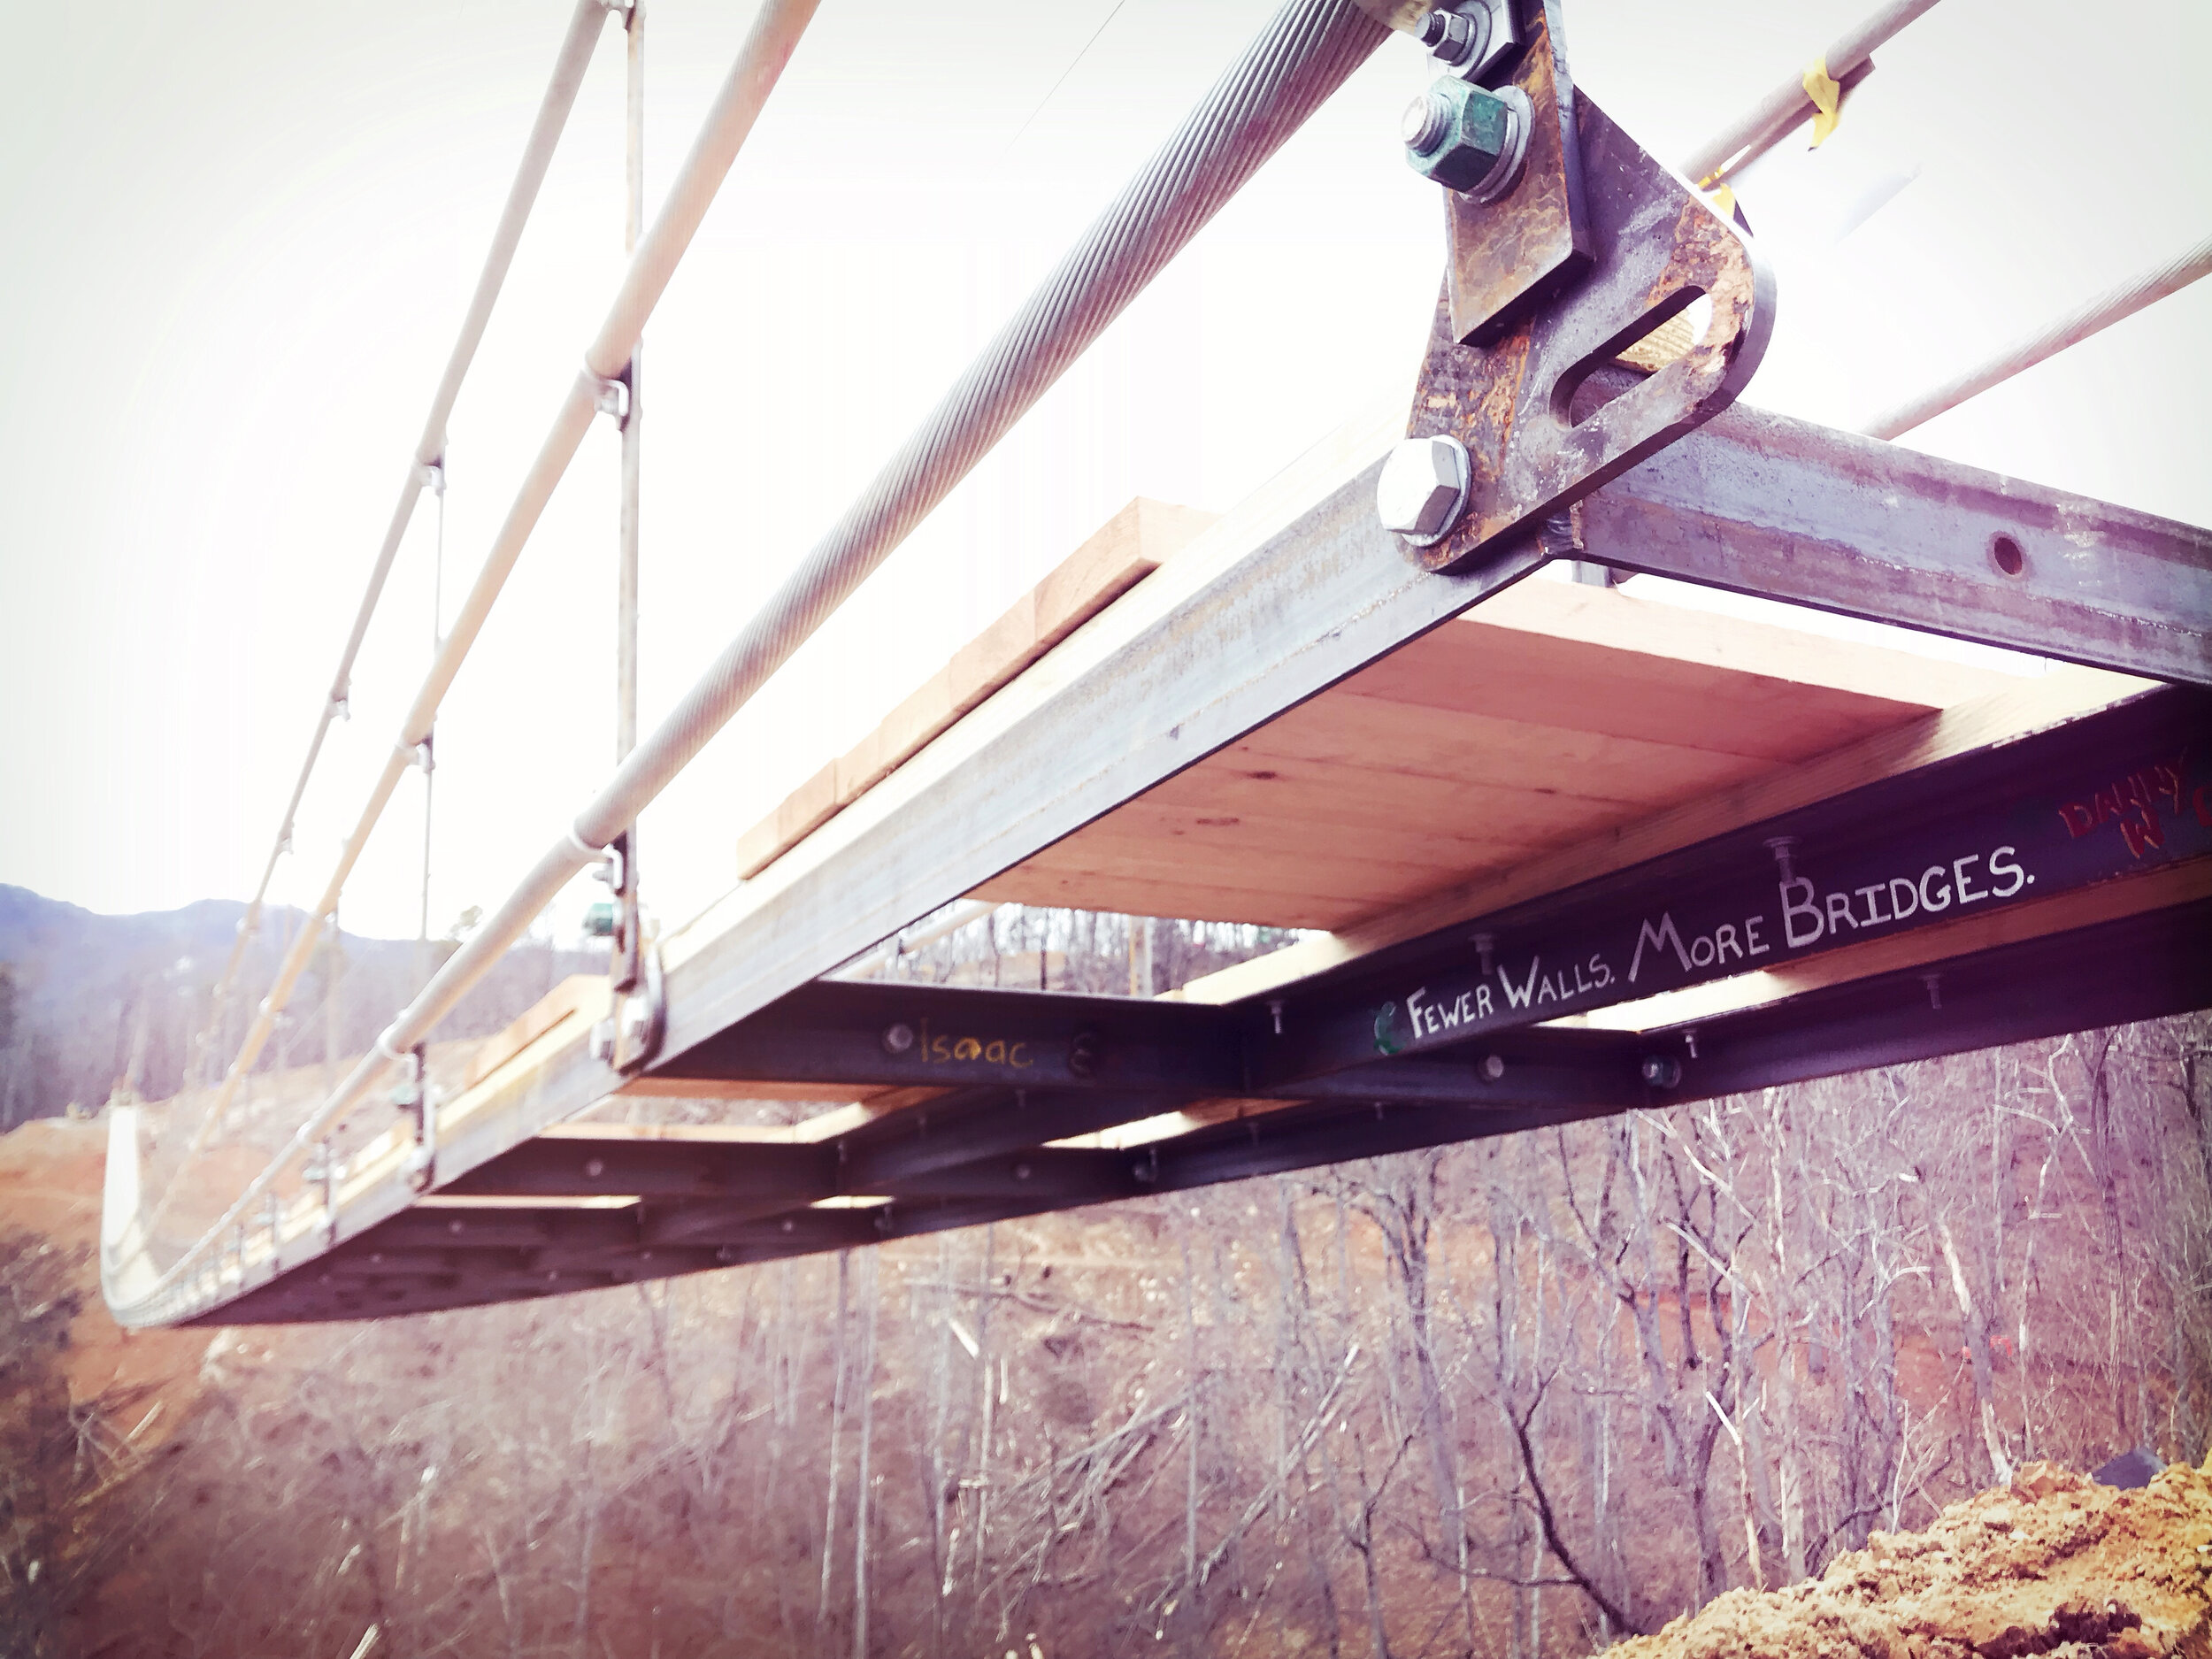
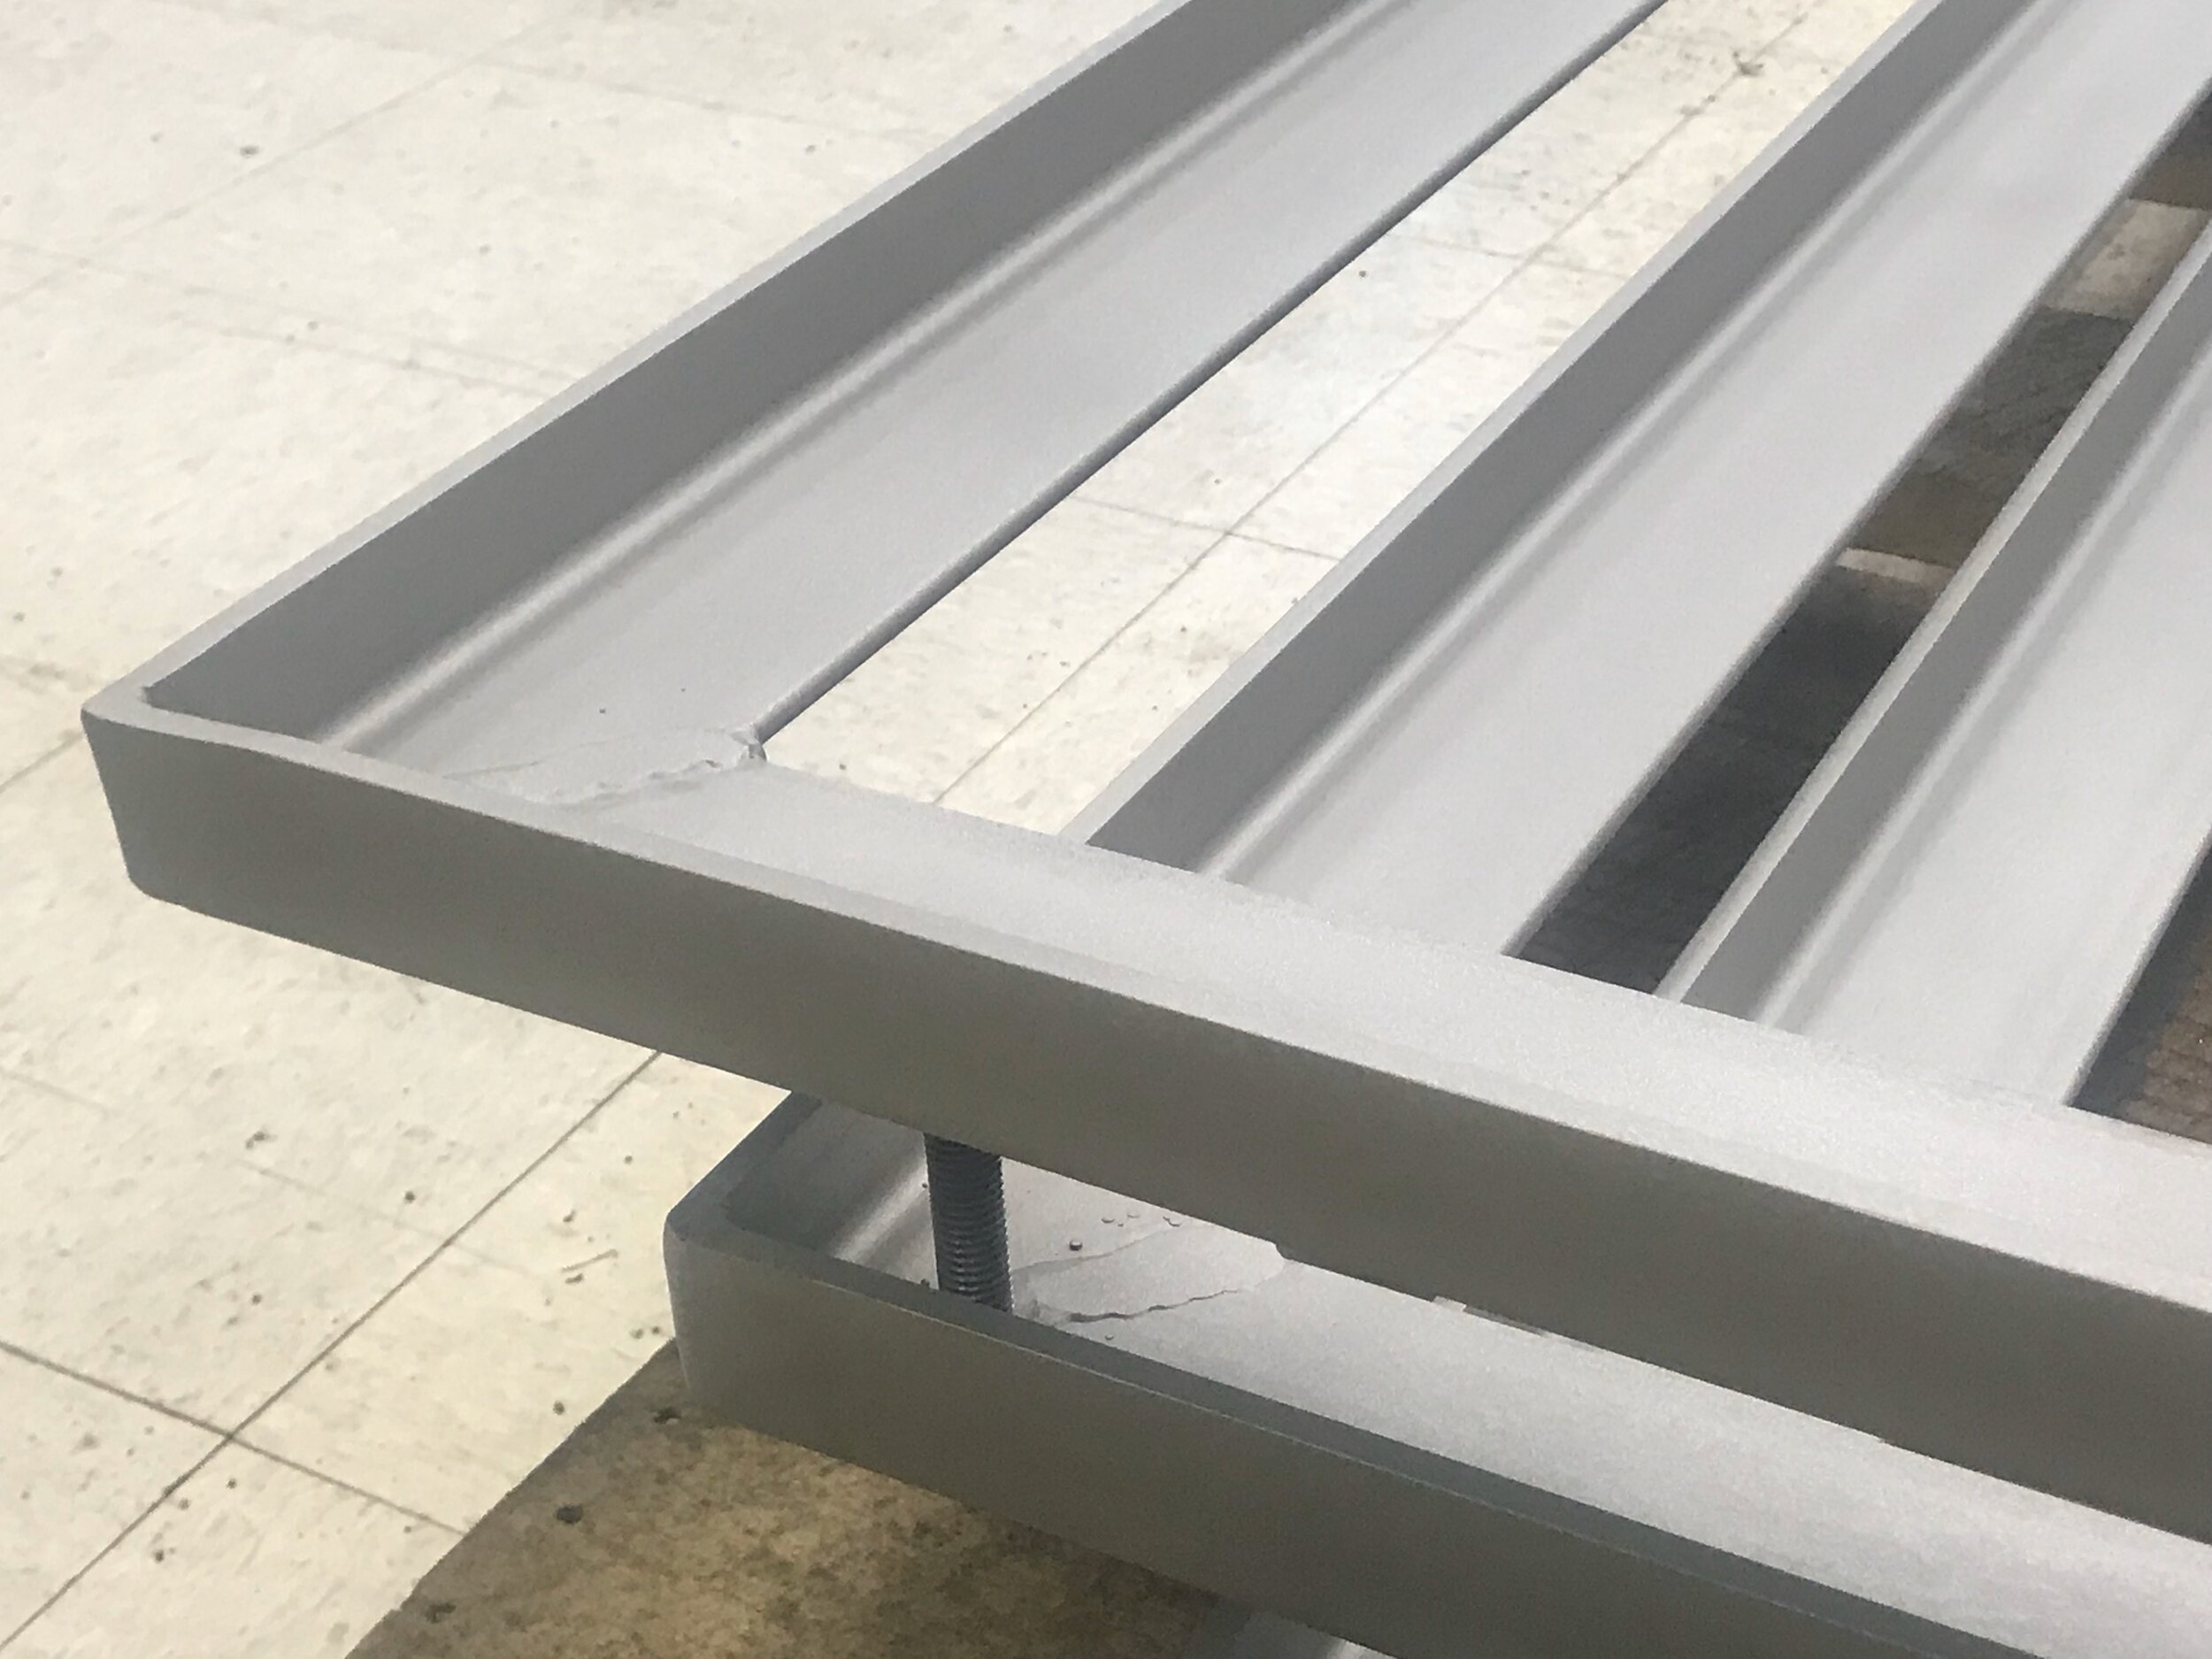
Decking Frames
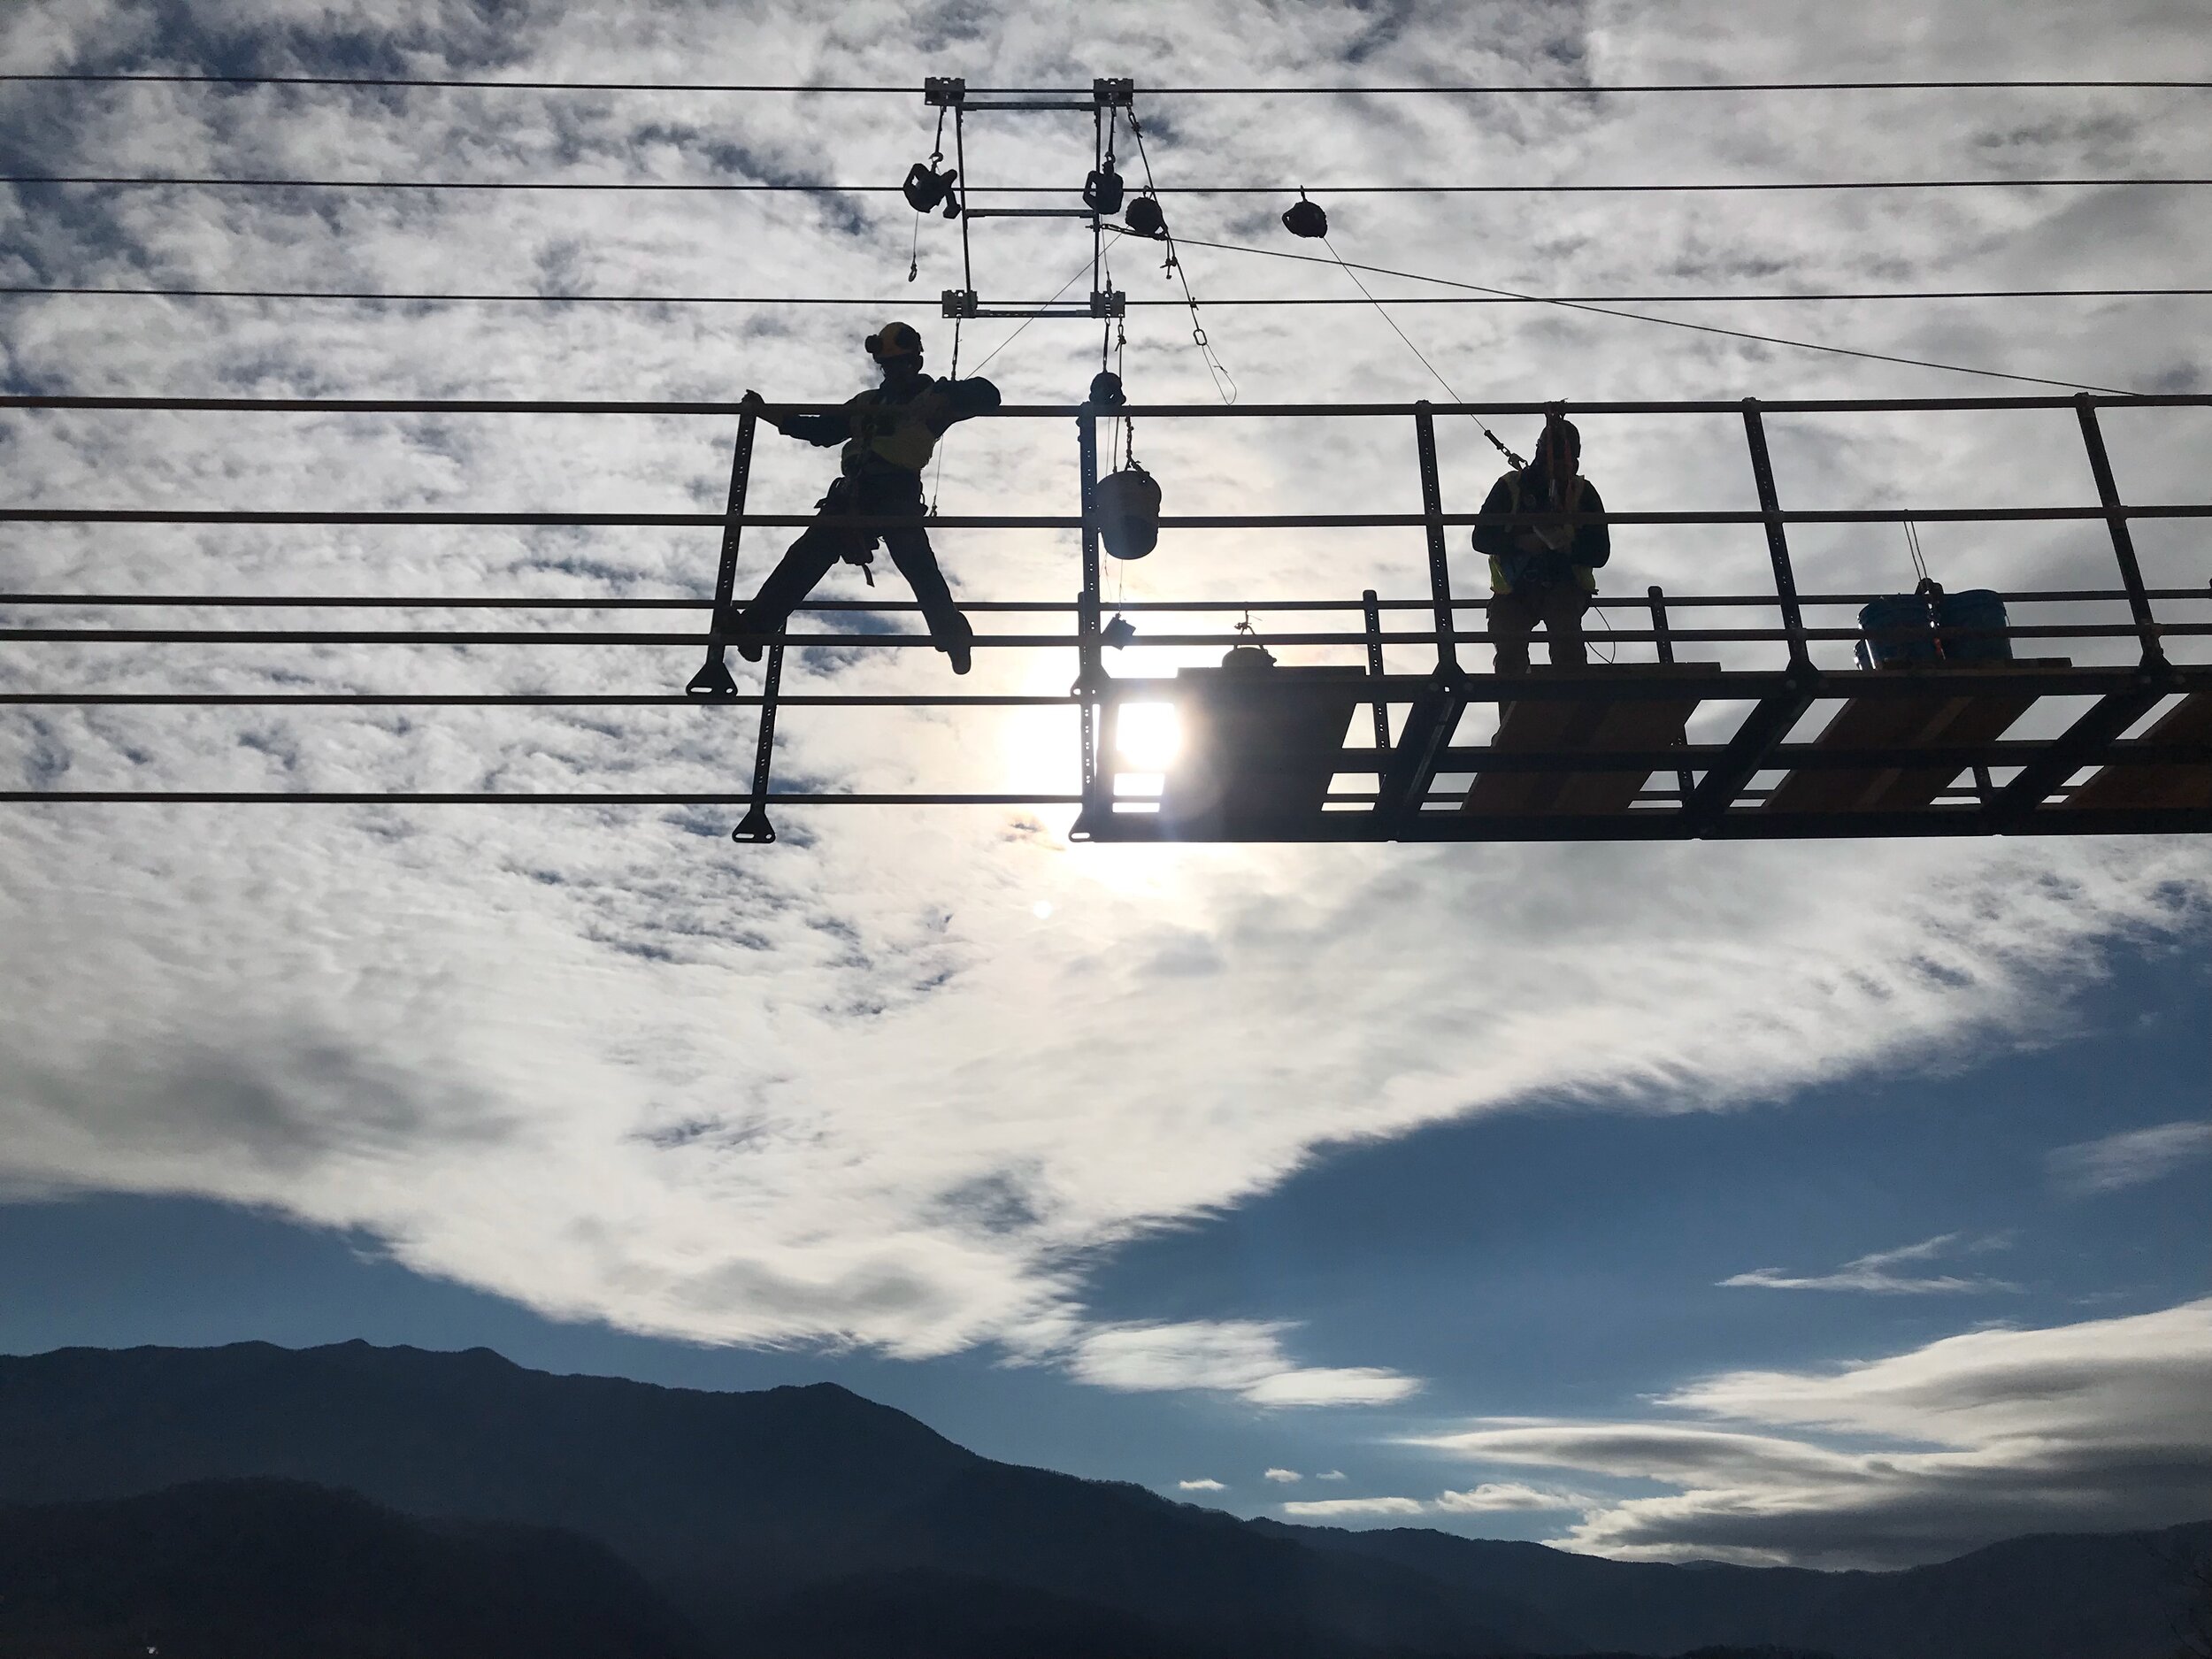
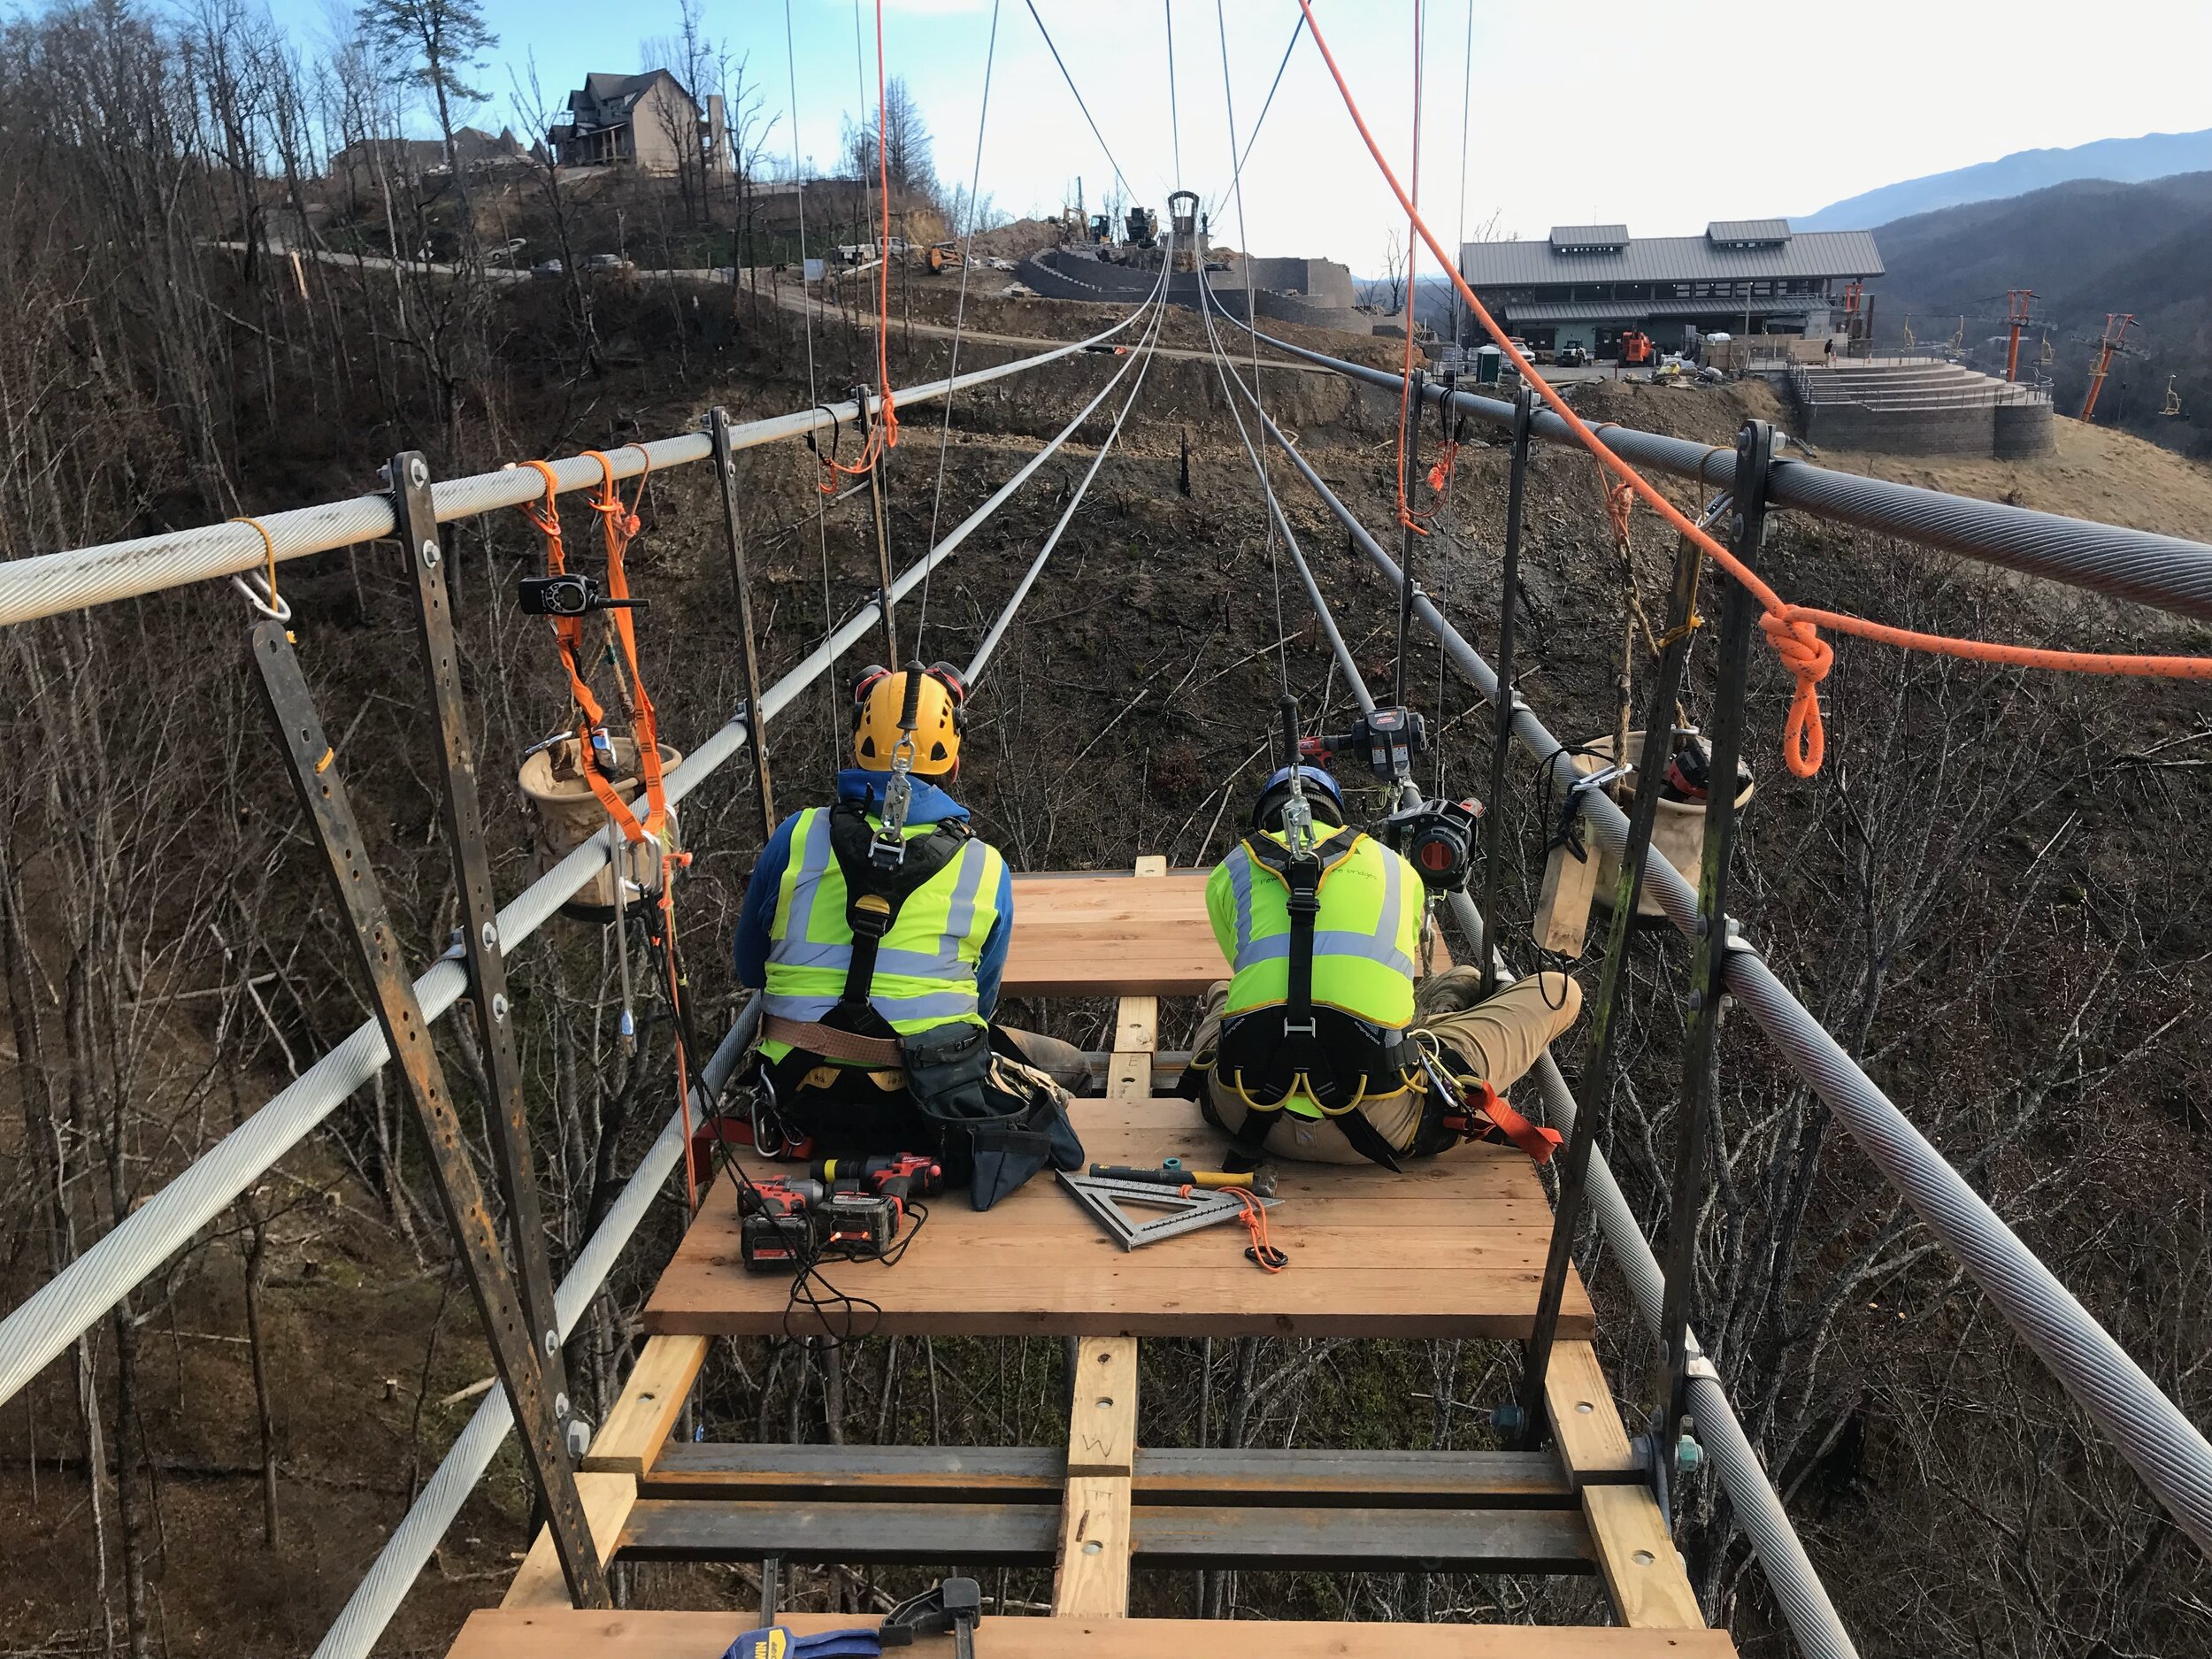
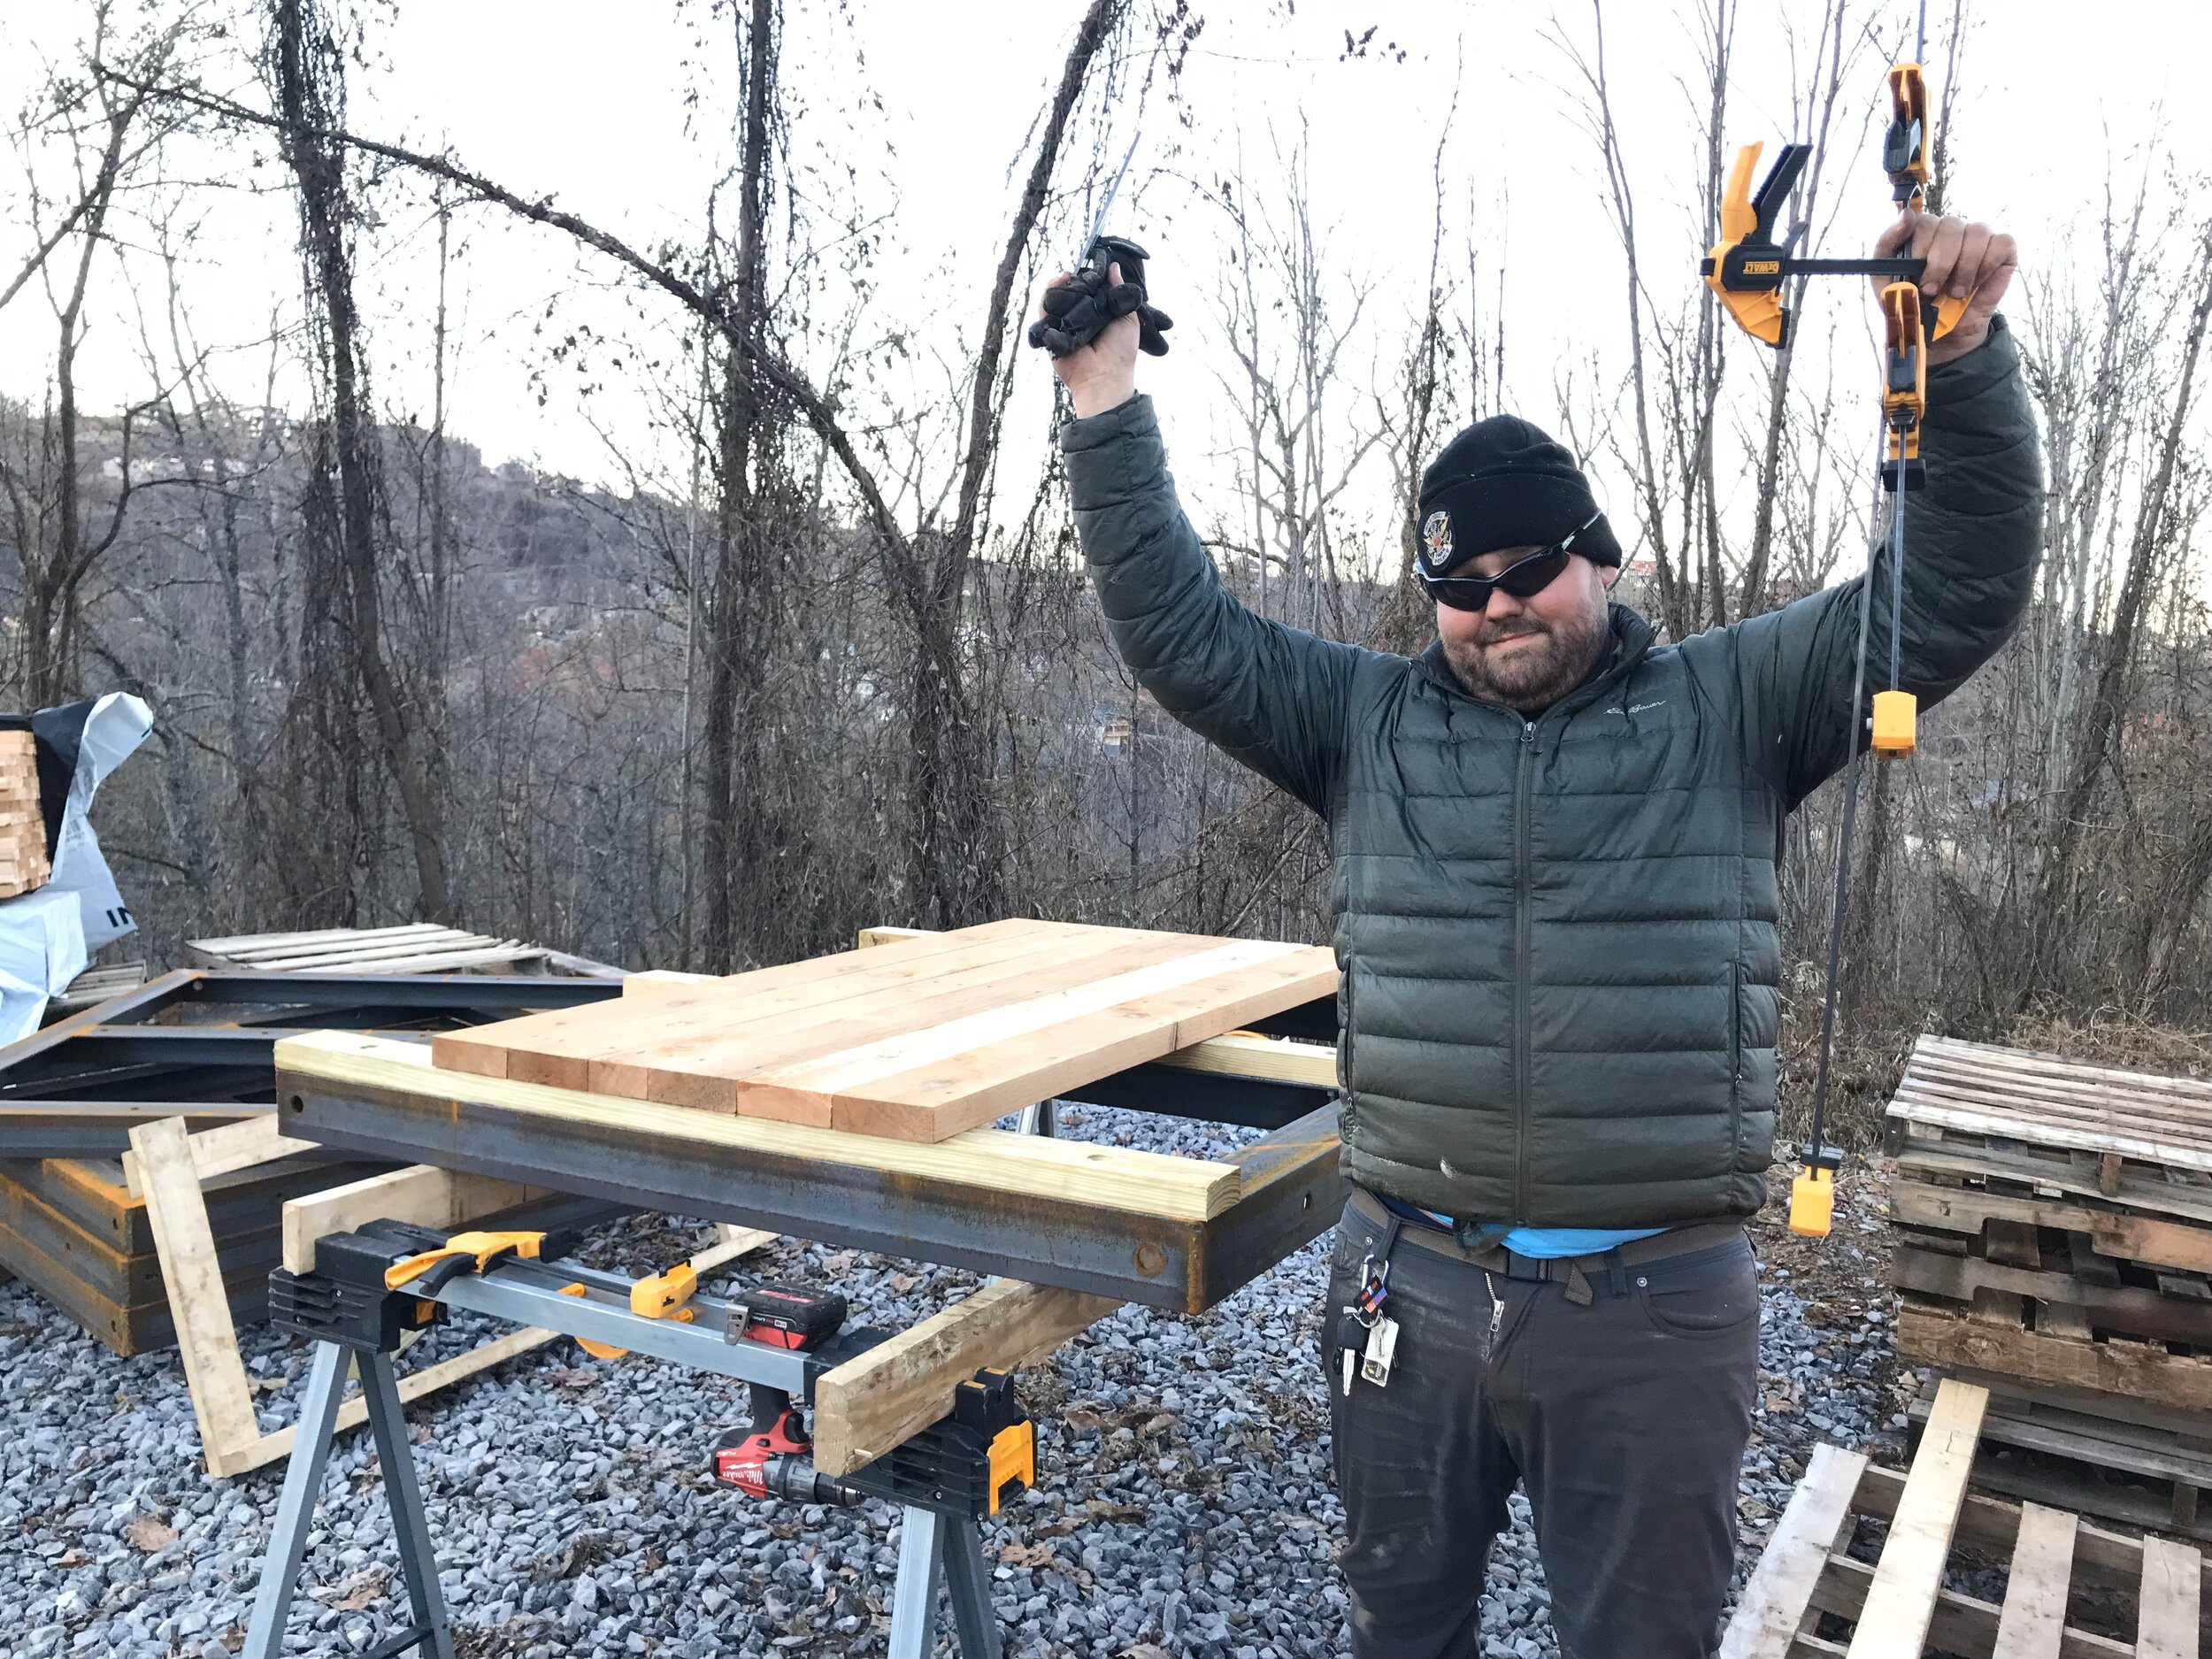
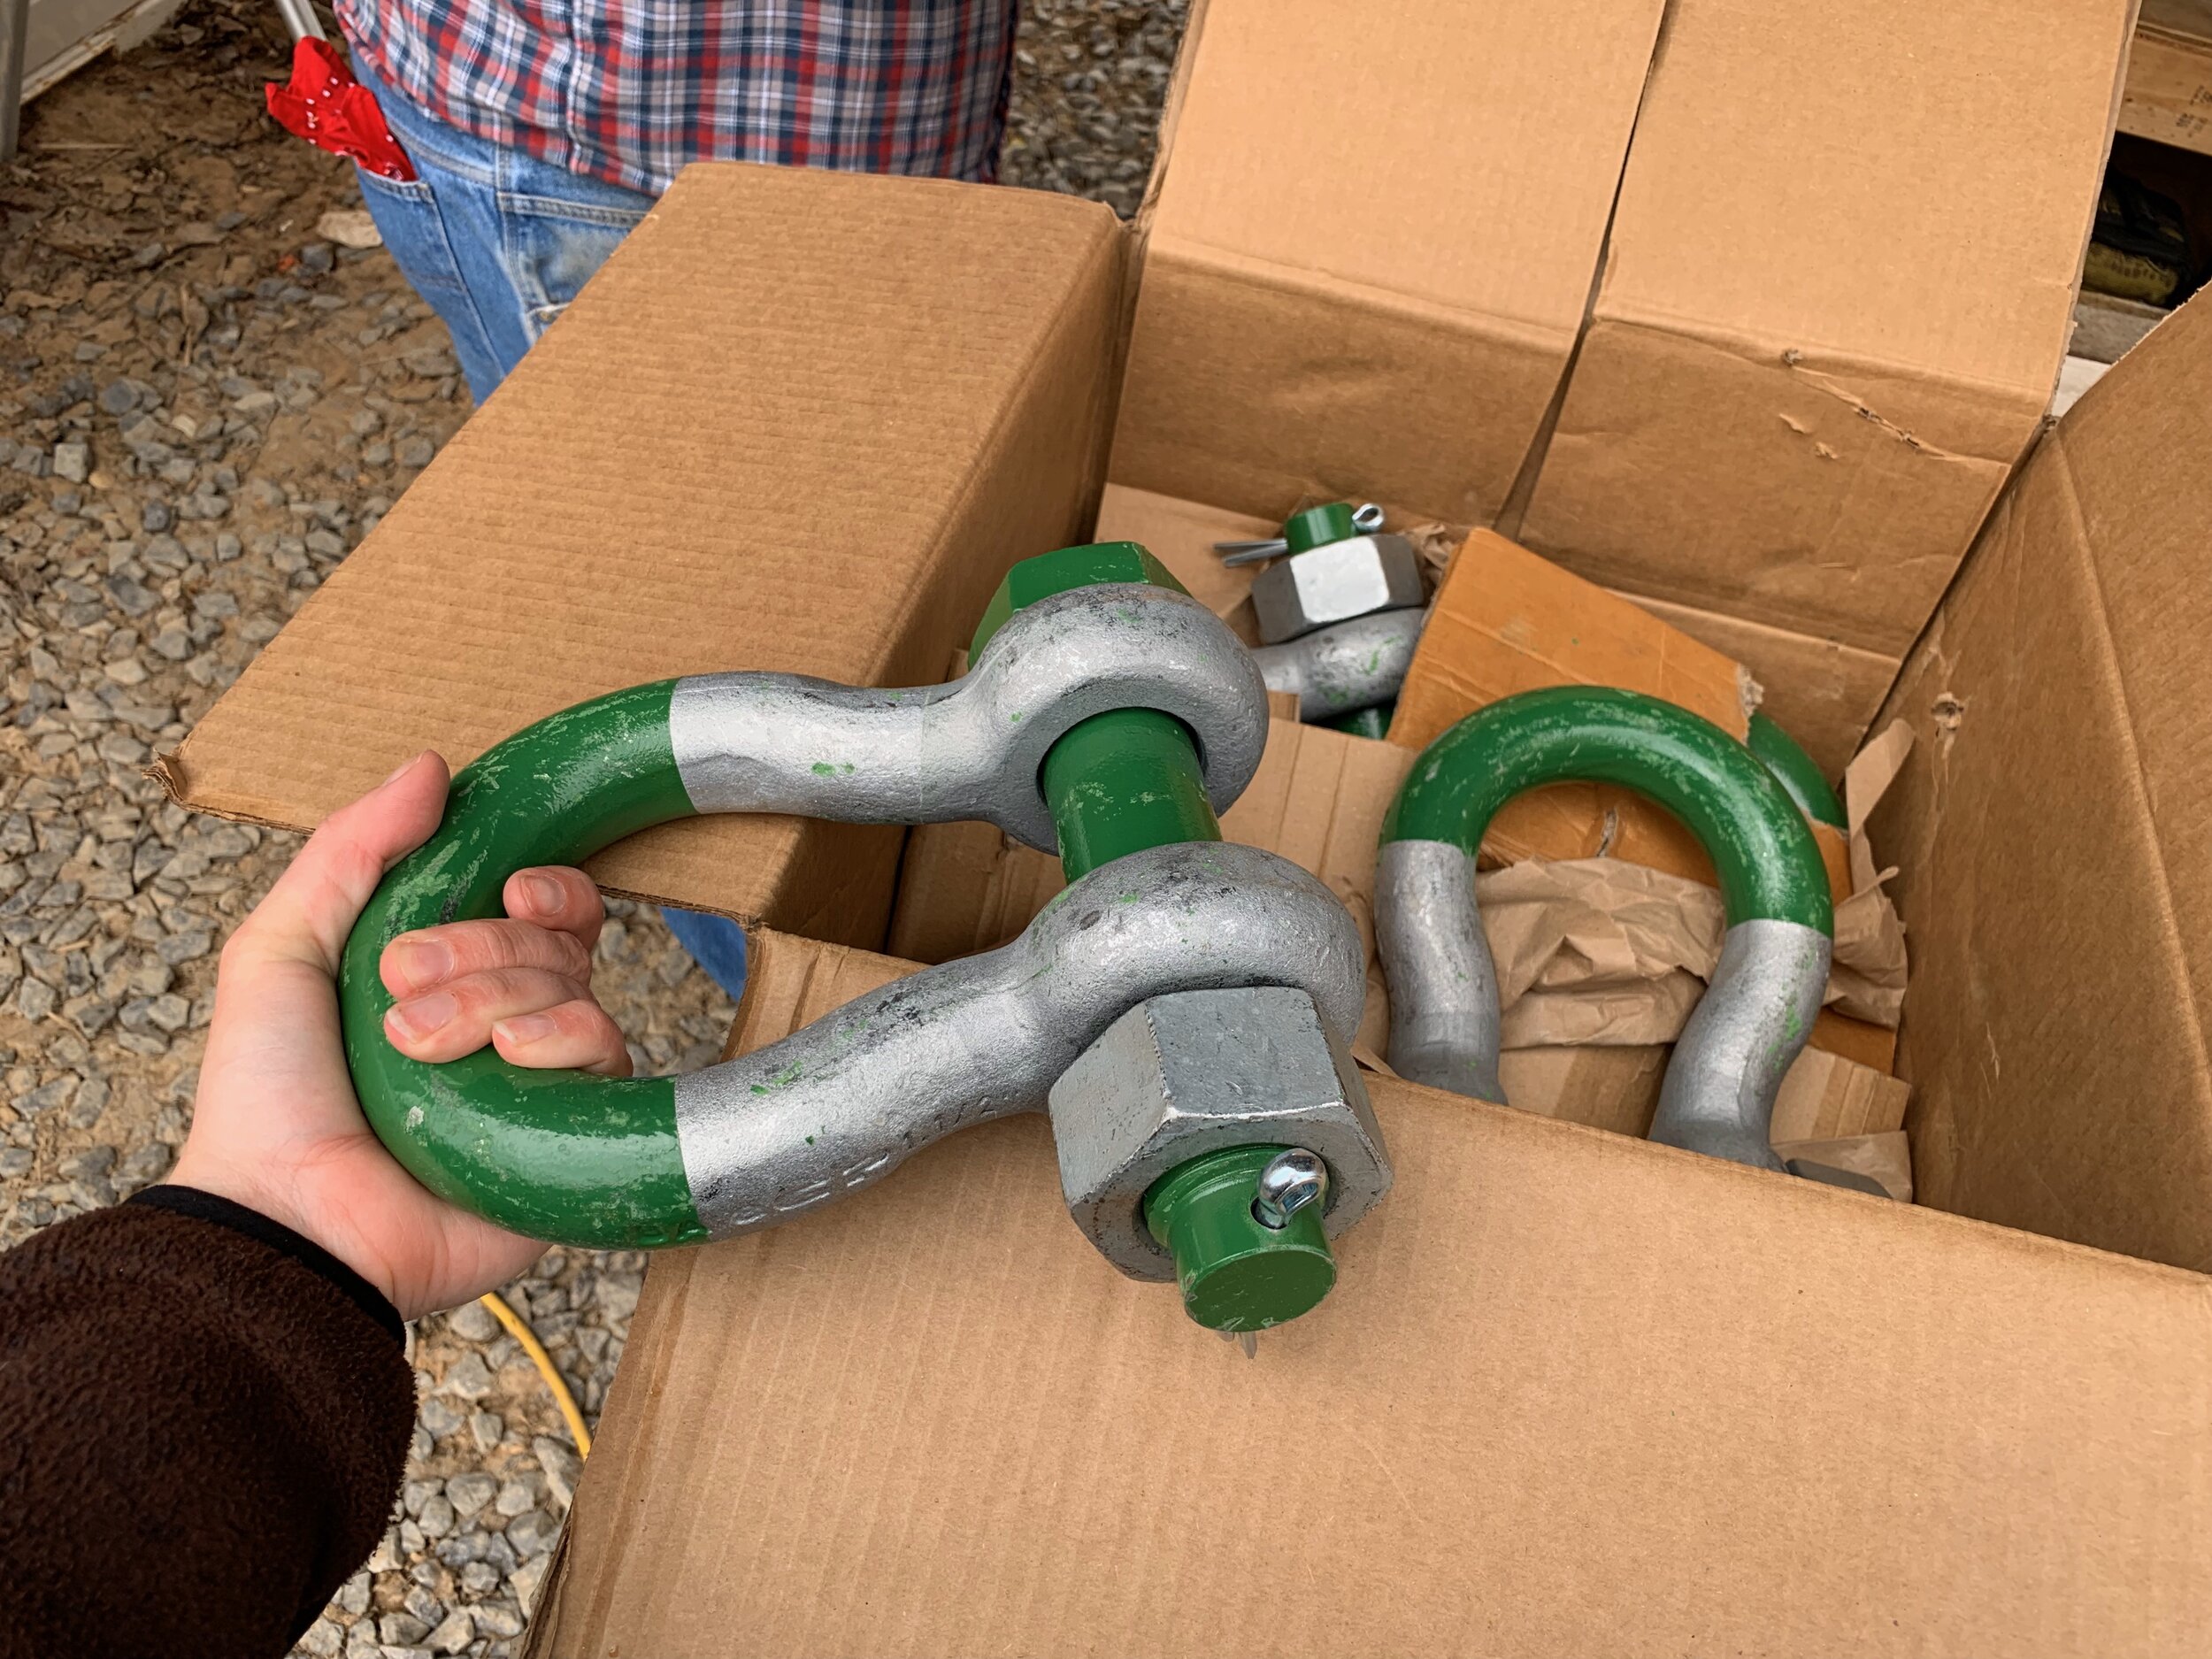
With the huge task of installing the main cables behind us, we now set our sights on starting to turn this into a real bridge that we could walk across. We had 129 decking frames to install, as well as their associated suspenders and hardware. Each frame and suspender is made of A588 weathering steel, and for each decking frame and suspender set there is 108 individual pieces of hardware. Time to get to work! In order to increase efficiency and reduce drop, we pre-made hardware sets and sent them out to the aerial team in pre-sorted buckets for them to grab and install. The frames were brought in mostly decked, with spaces in order to install hardware. A skid steer brought in and hovered one frame at time over the end of the bridge, where it was attached to a trolley we had made in order to zip out each deck frame and lower it into place for installation.


Dramatic video of frame and decking installation below for your enjoyment…
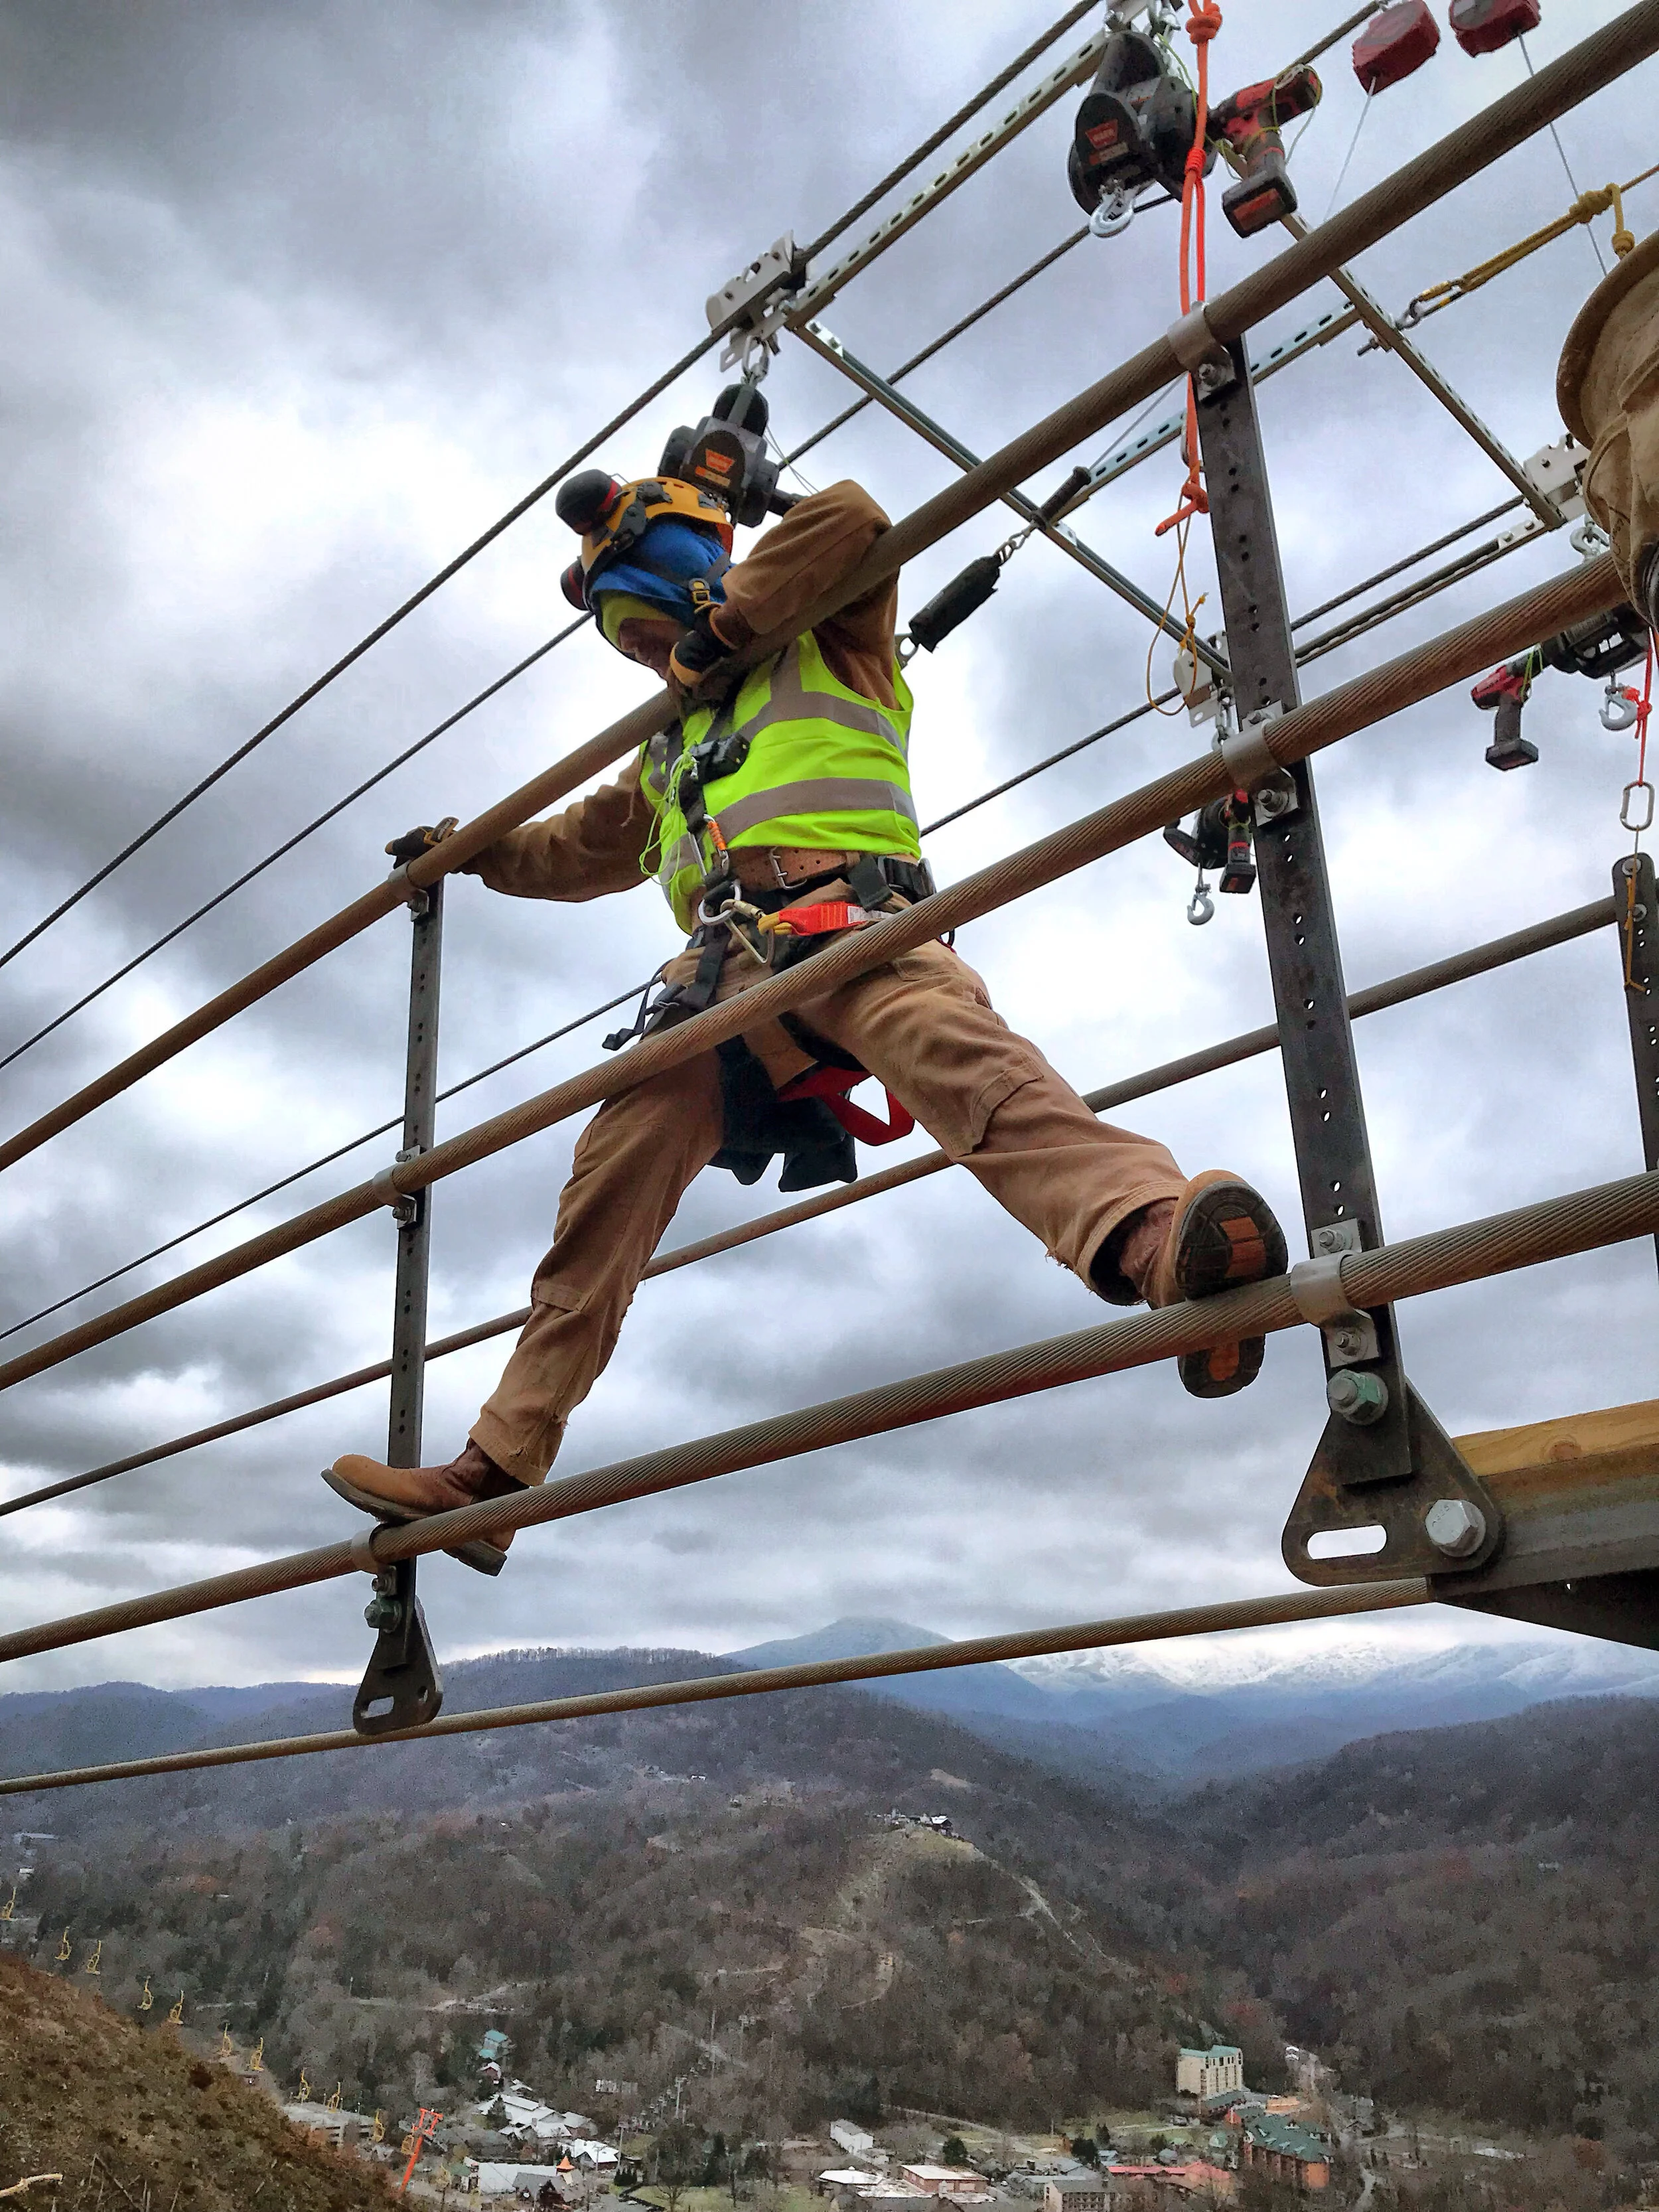
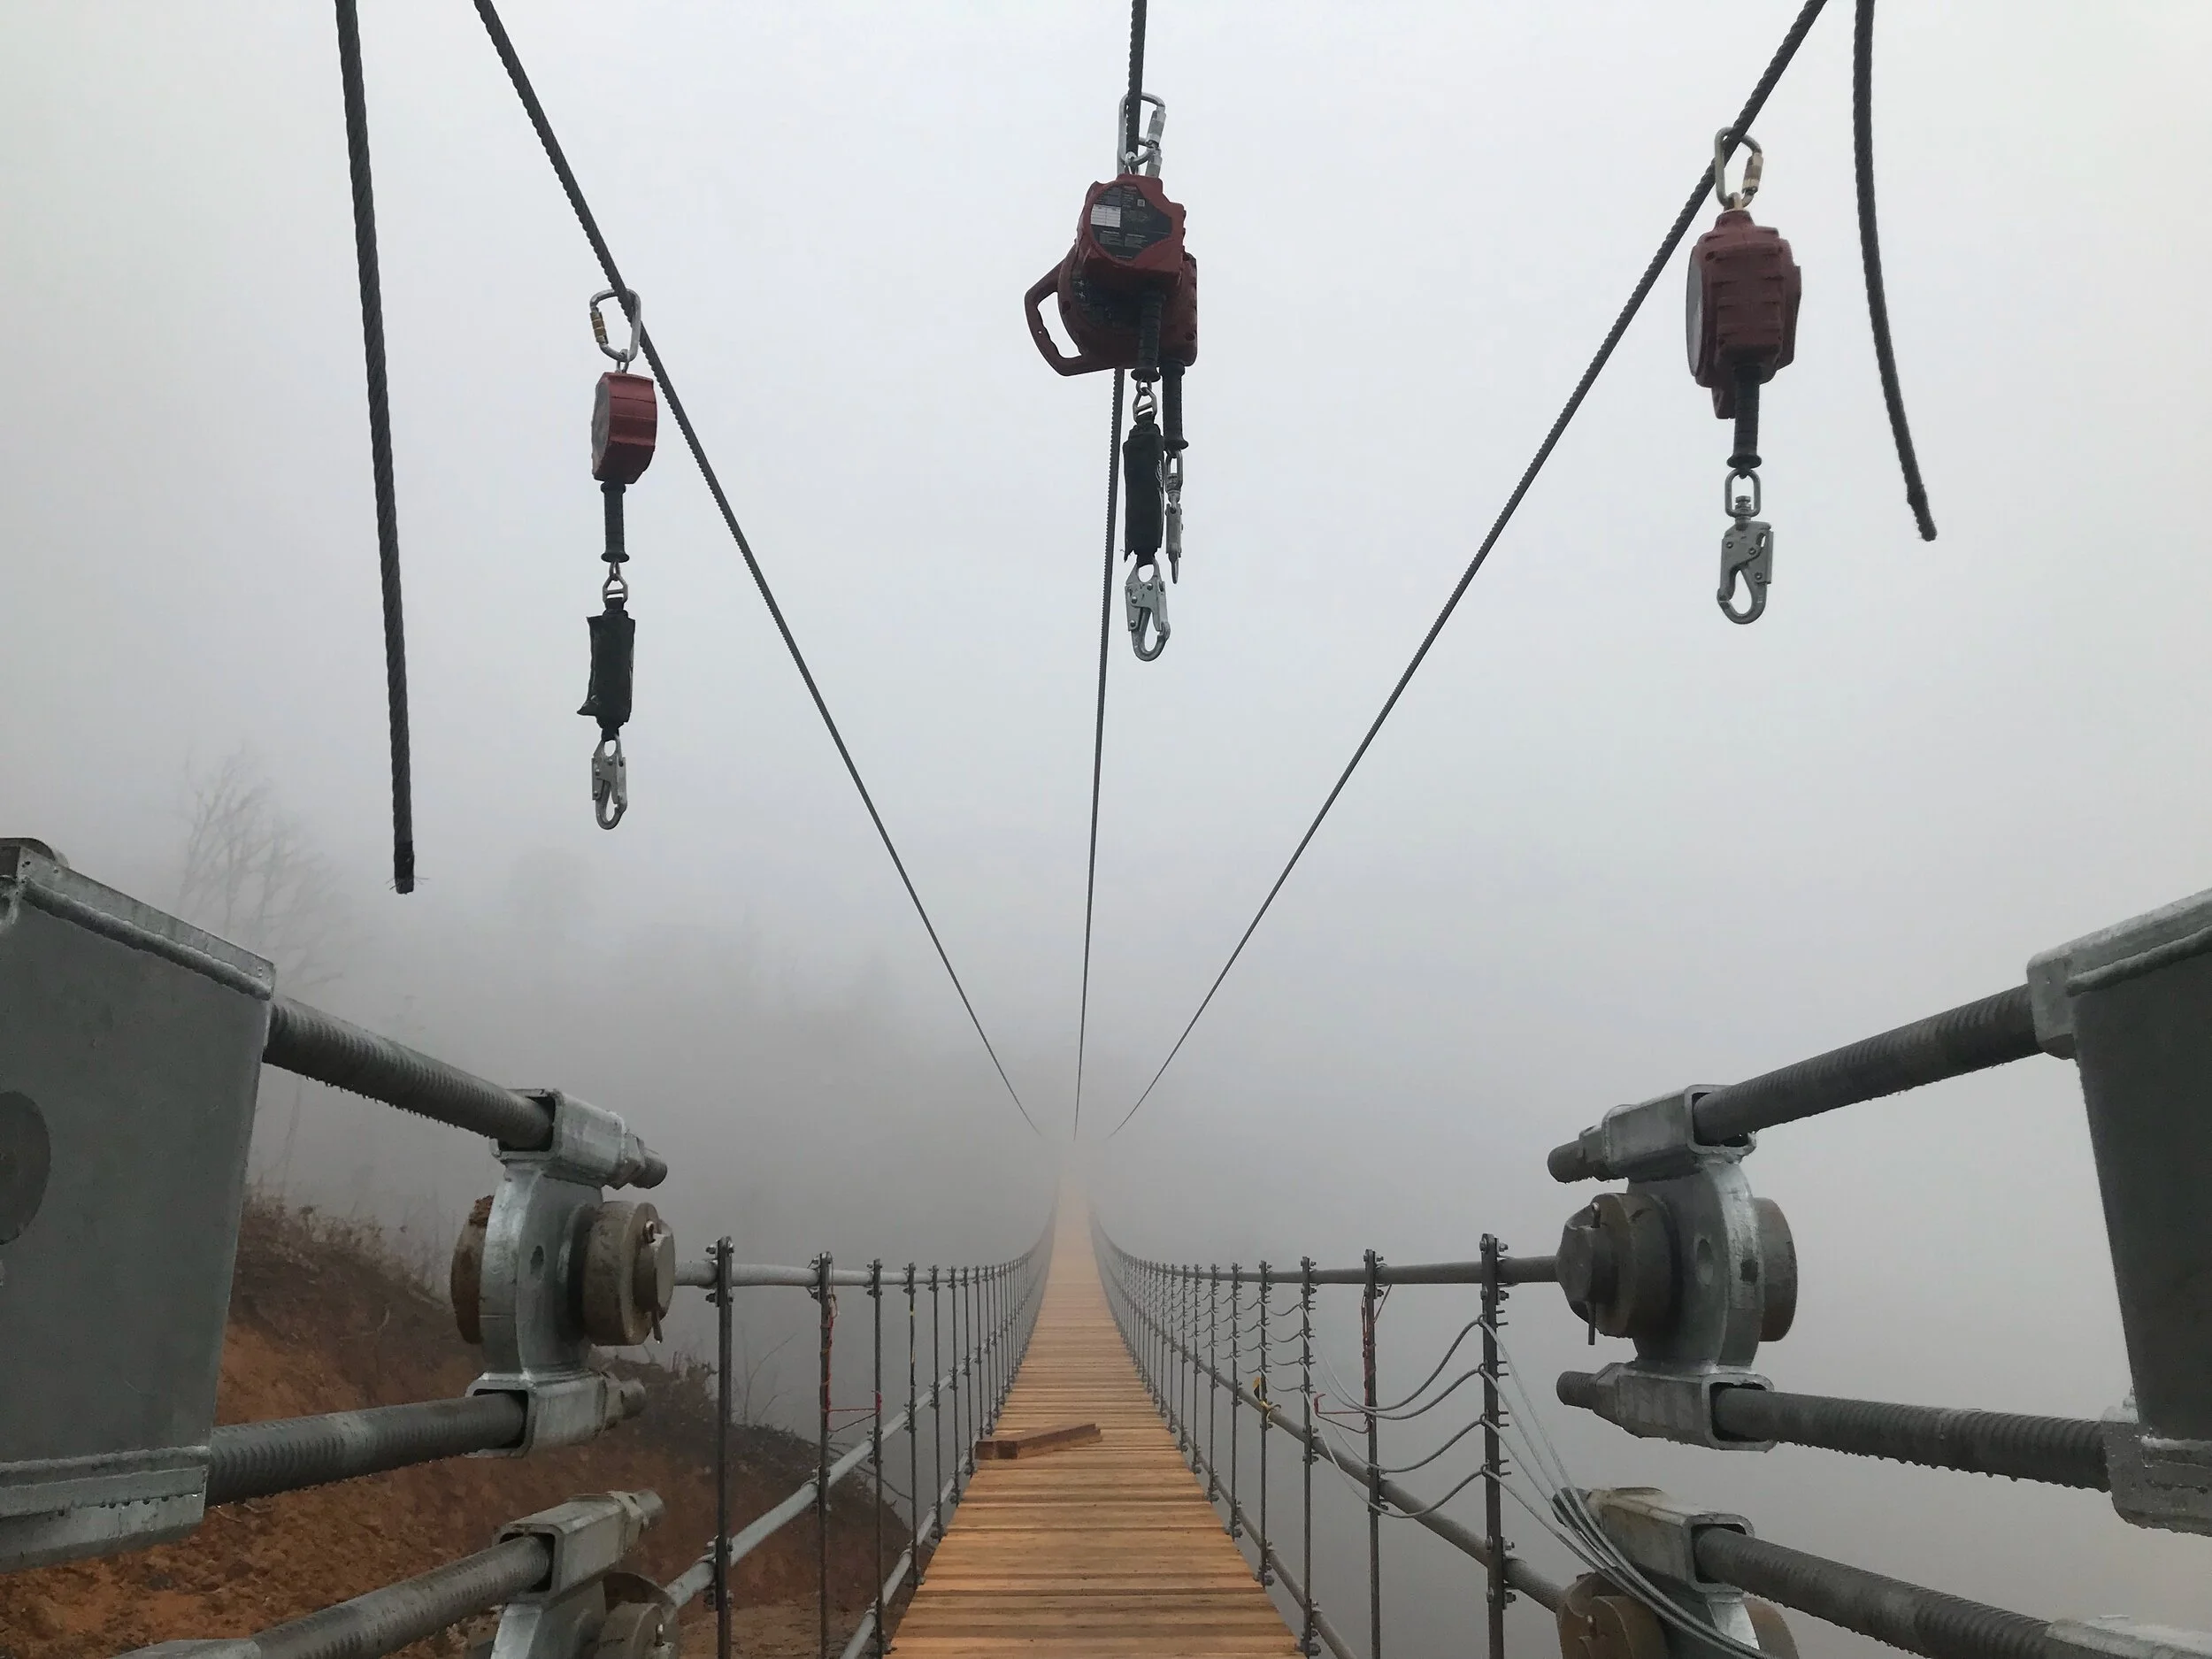
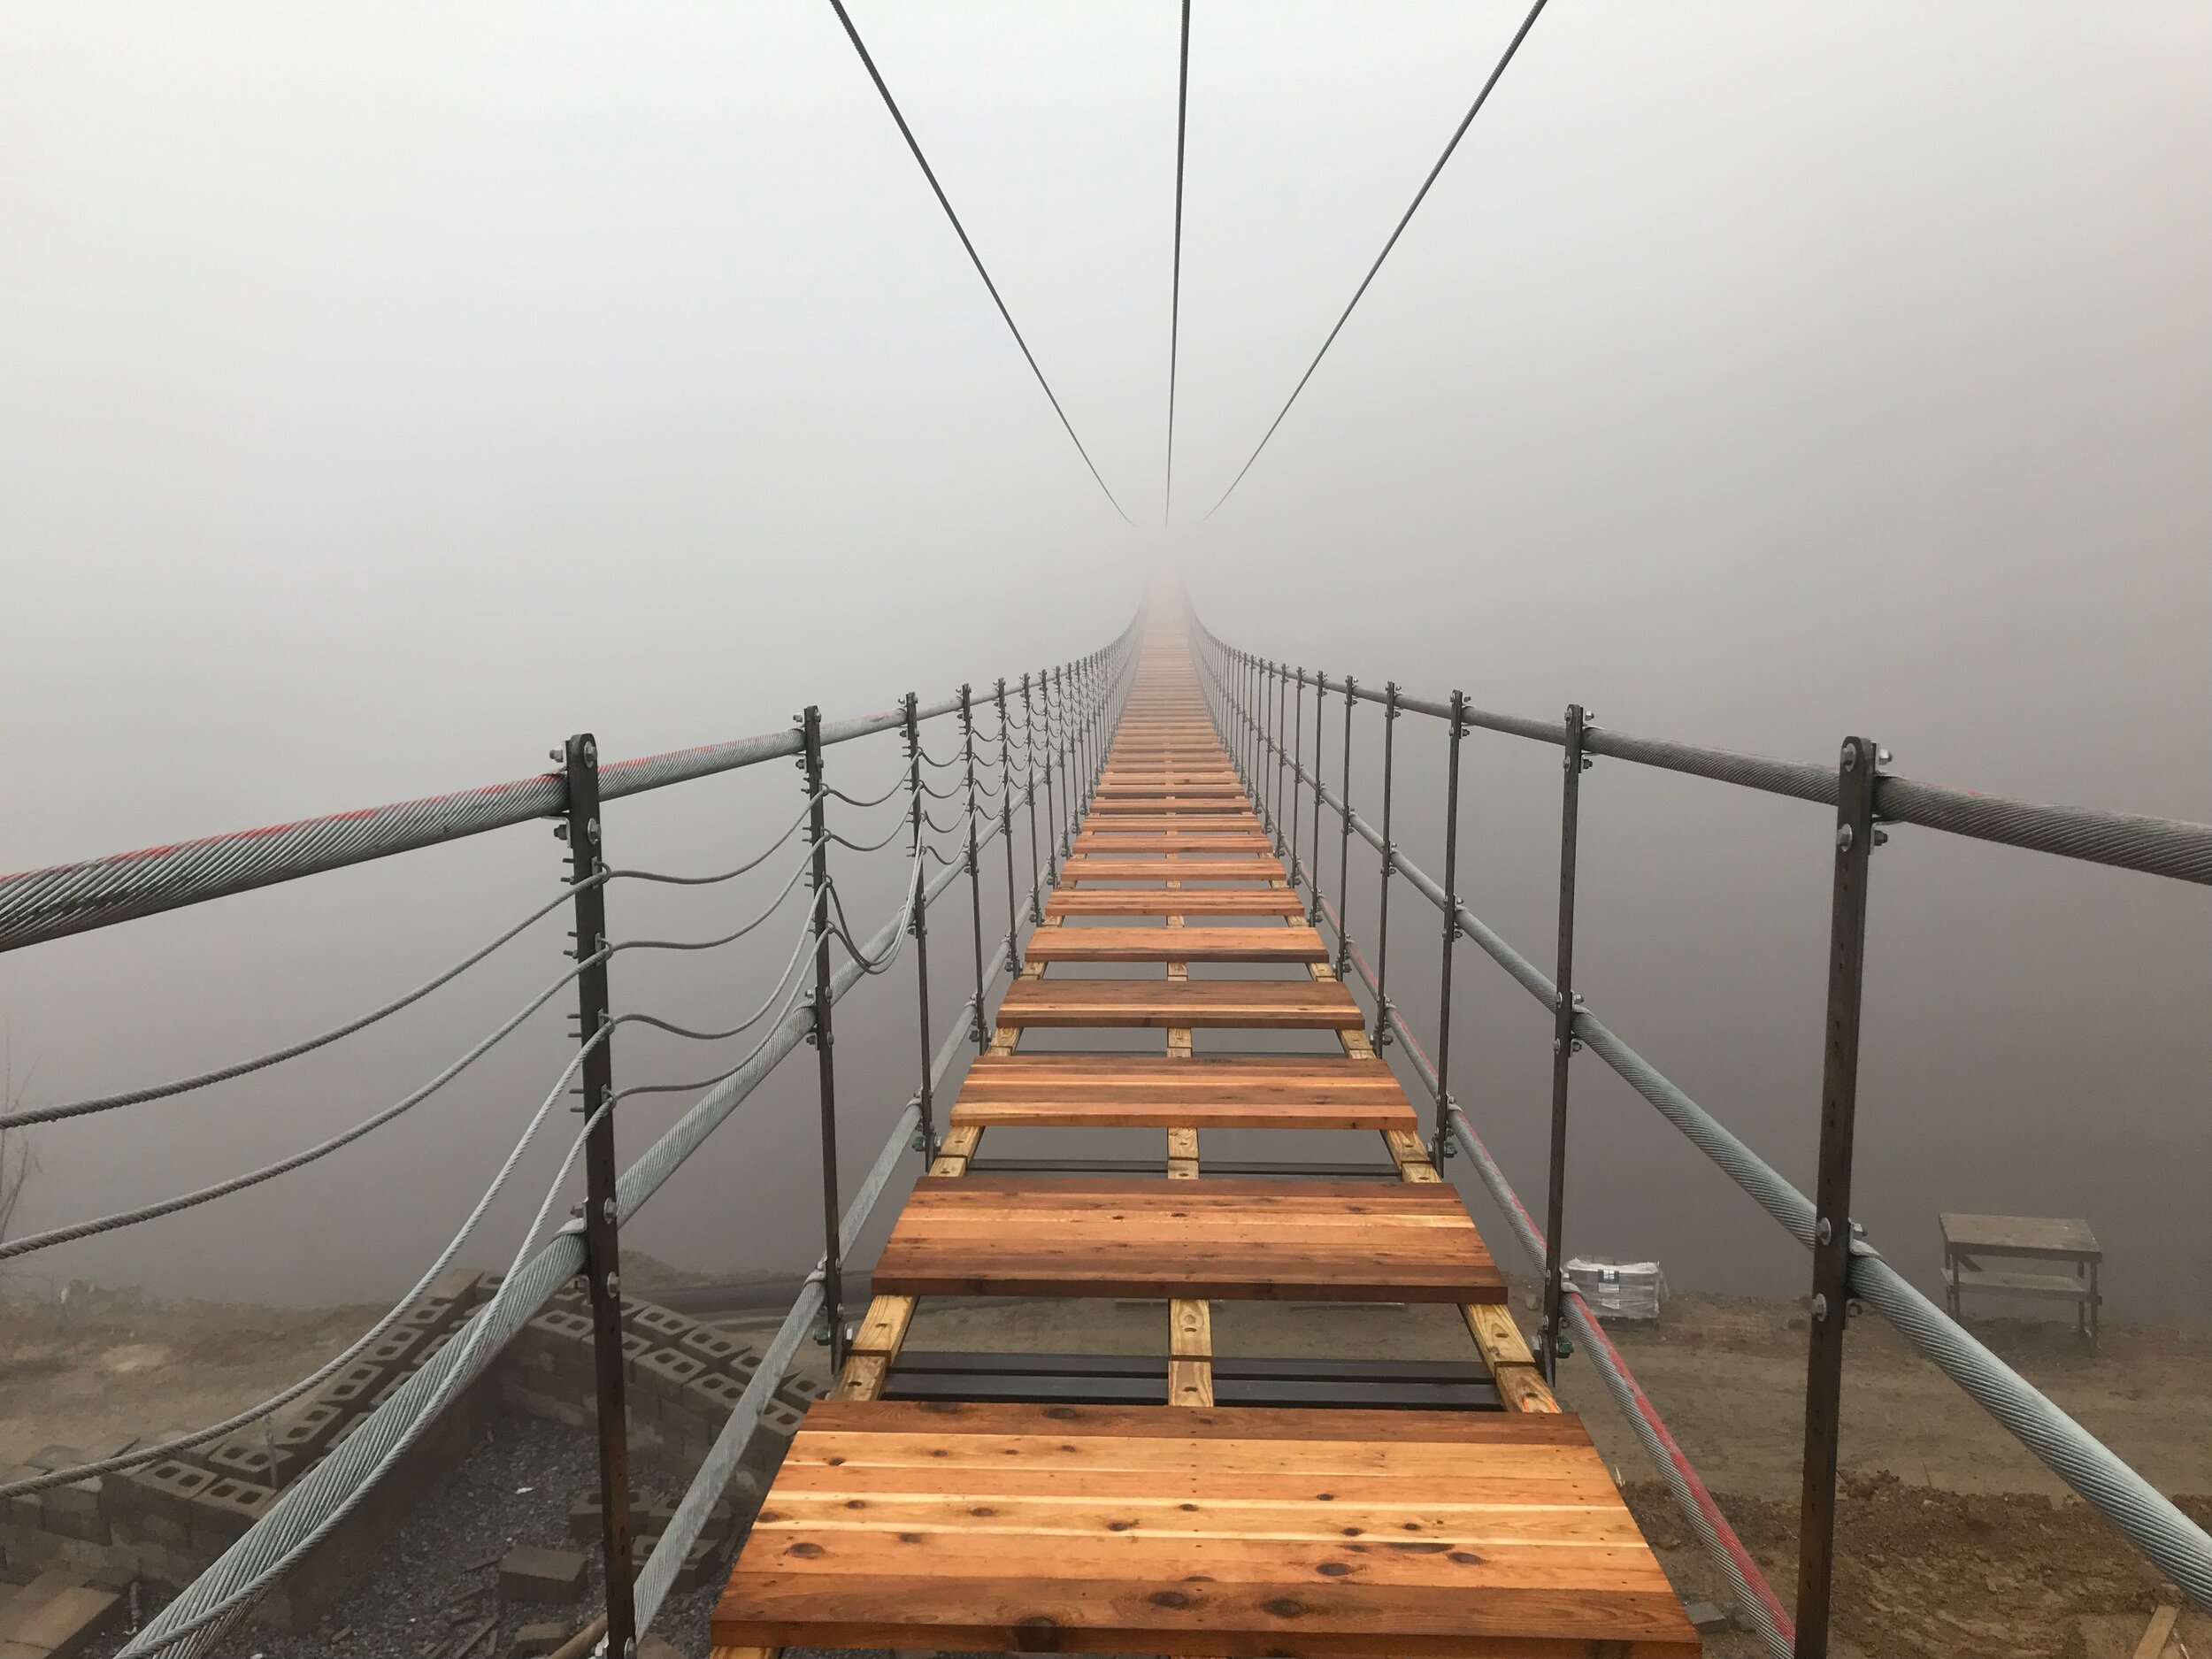
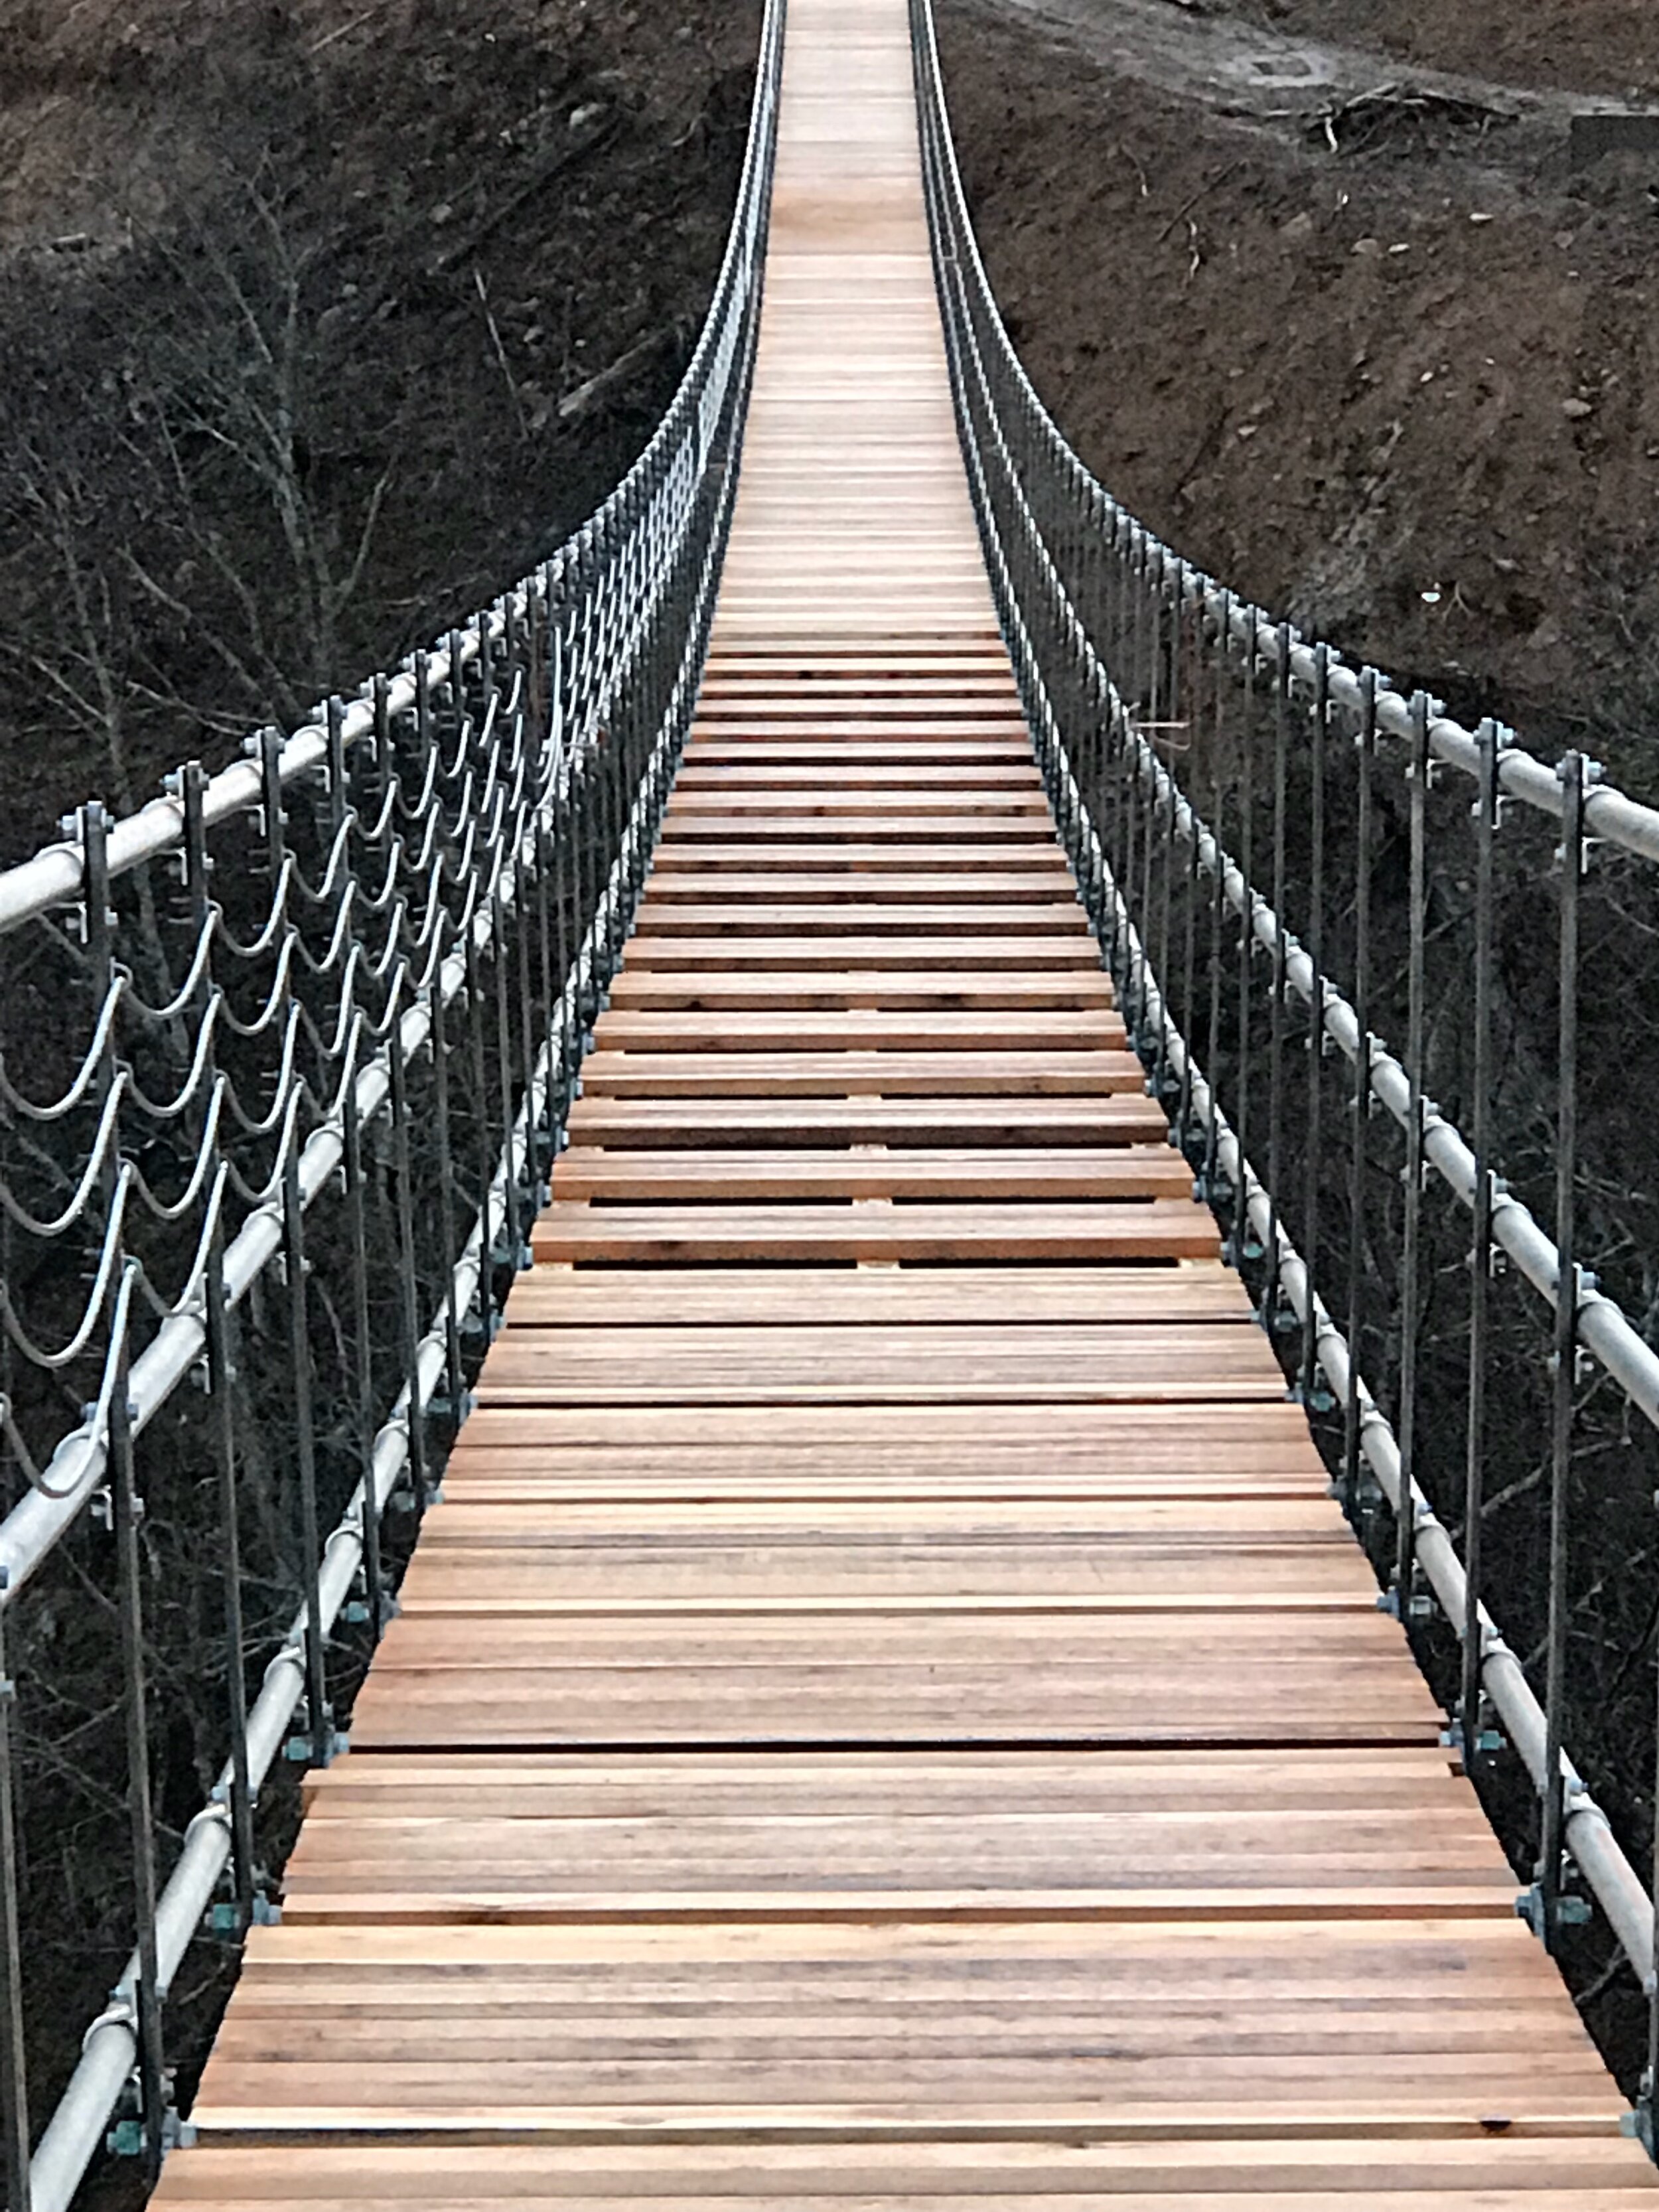
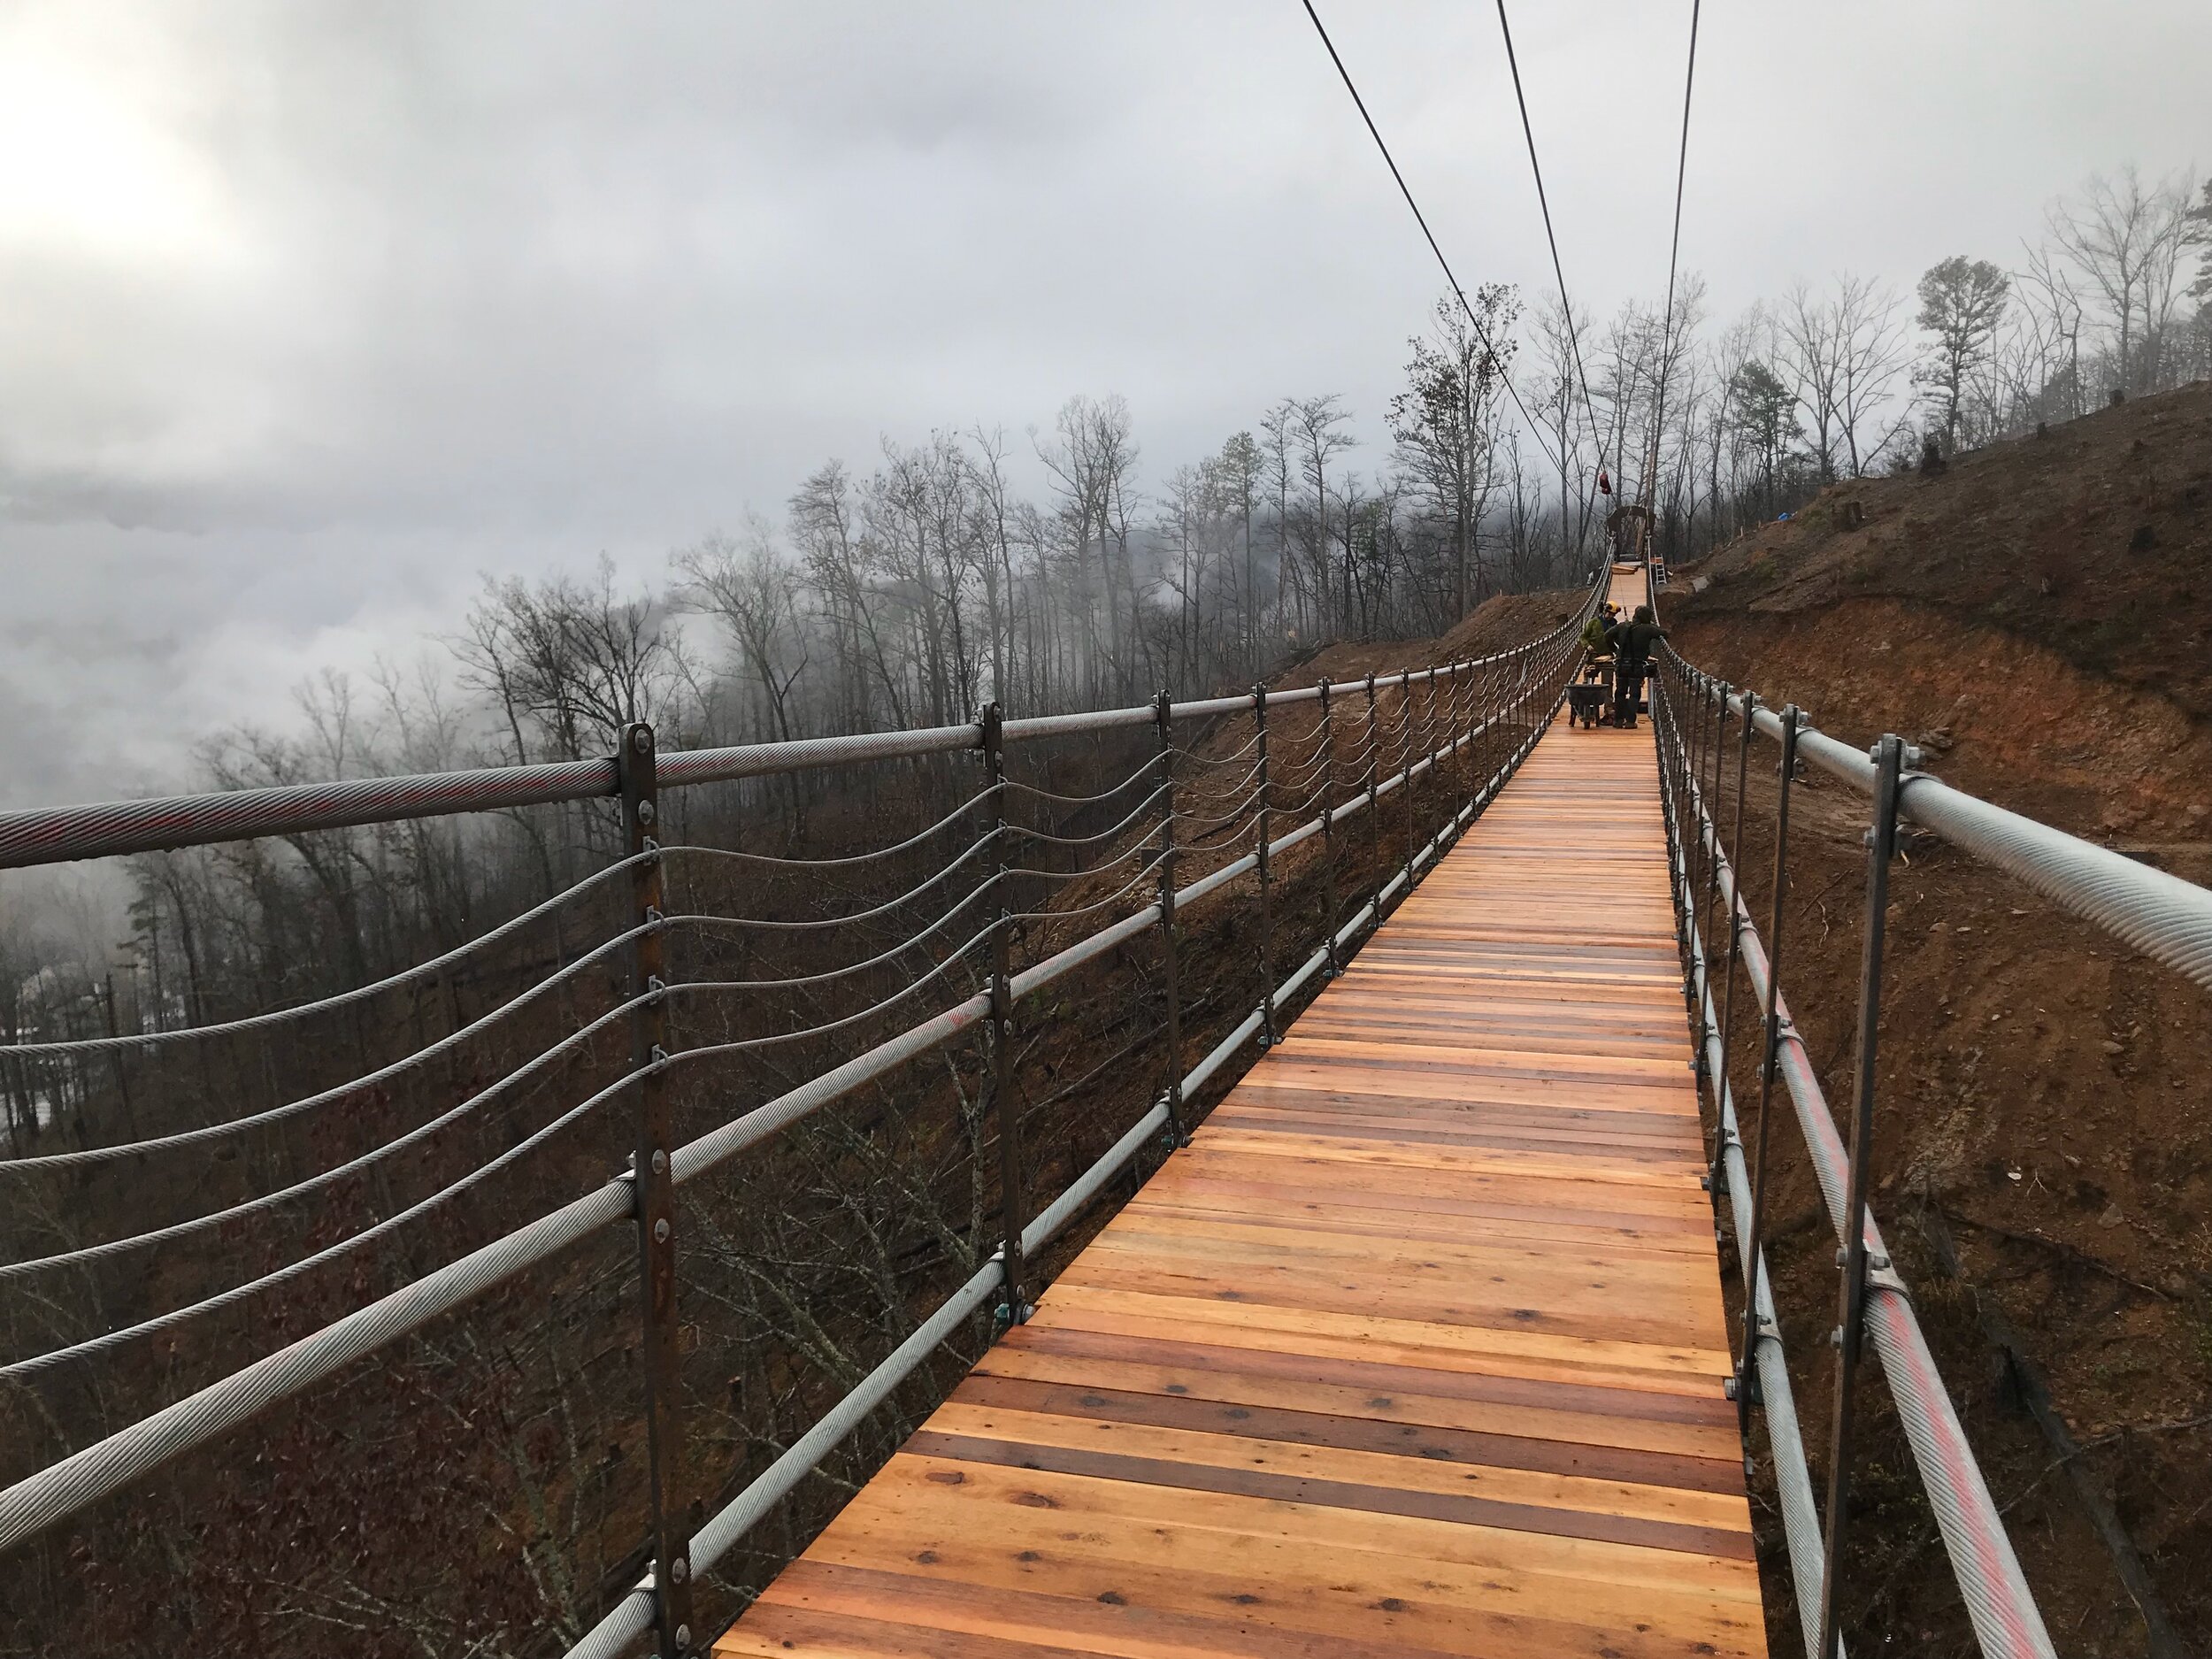
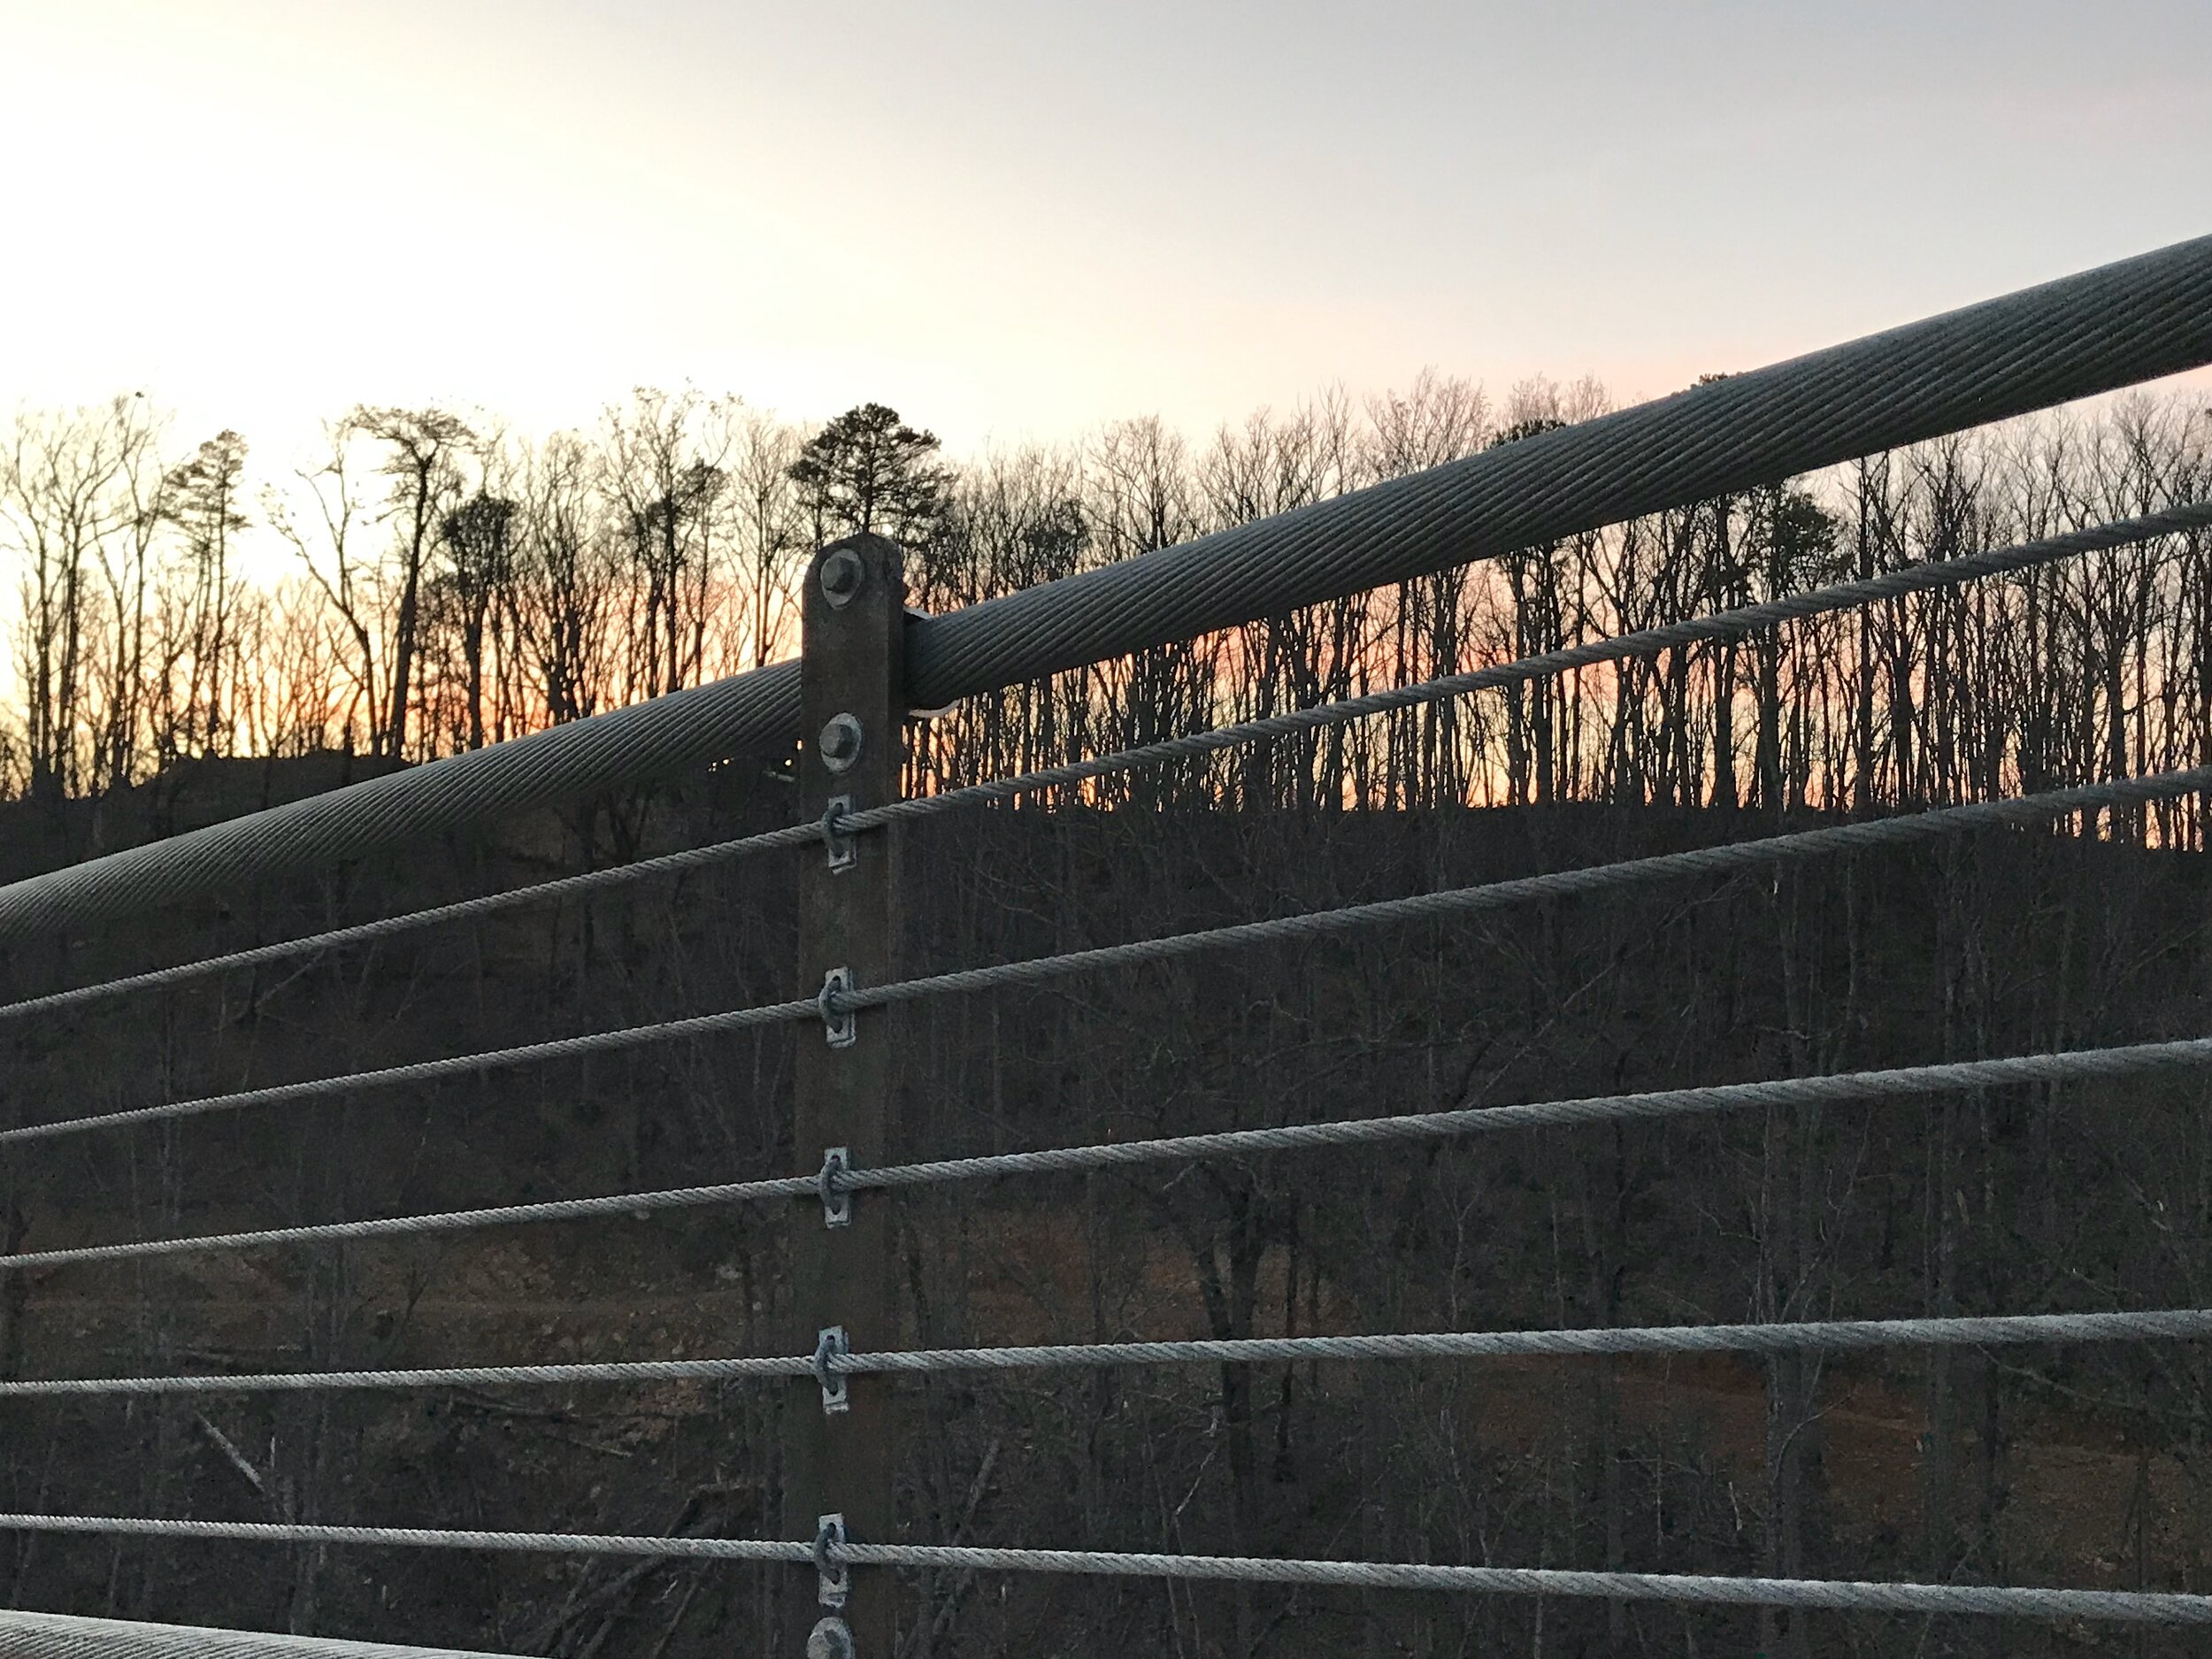
Decking & Railing
With all 129 frames installed, we could now walk across! Time to close it up with completed decking and to put up some railing. The deck of the bridge is made of rough cut cedar 1 3/4” thick, and each deck frame needed 10.5 boards each. The railings are made of 3/8” galvanized wire rope, with ten (10) cables running on each side of the bridge, for a whopping total of over 13,500 feet/4,115 meters in railing cable. Plus, with each cable needing to be attached to the frame suspender every 5 feet/1.5 meters, it all adds up to over 18,200 pieces of JUST railing hardware. Not counting termination and tensioning hardware. Oh - and did we mention that there are over 10,000 deck screws?

Wind Guys
The function of the wind guys is to stabilize the bridge. And these guys are pretty hefty! There are four primary wind guy cables that are made of 1 1/4” galvanized steel wire rope that connect to the bridge, as well as each of their own (very strong) foundations. Each primary wind guy has two intermediate cables that attach between at cable and the bridge - these are 3/4” galvanized steel cable. It was a balancing act to get everything ship shape and ready to go, and once it was complete, we were just down to some finishing touches.

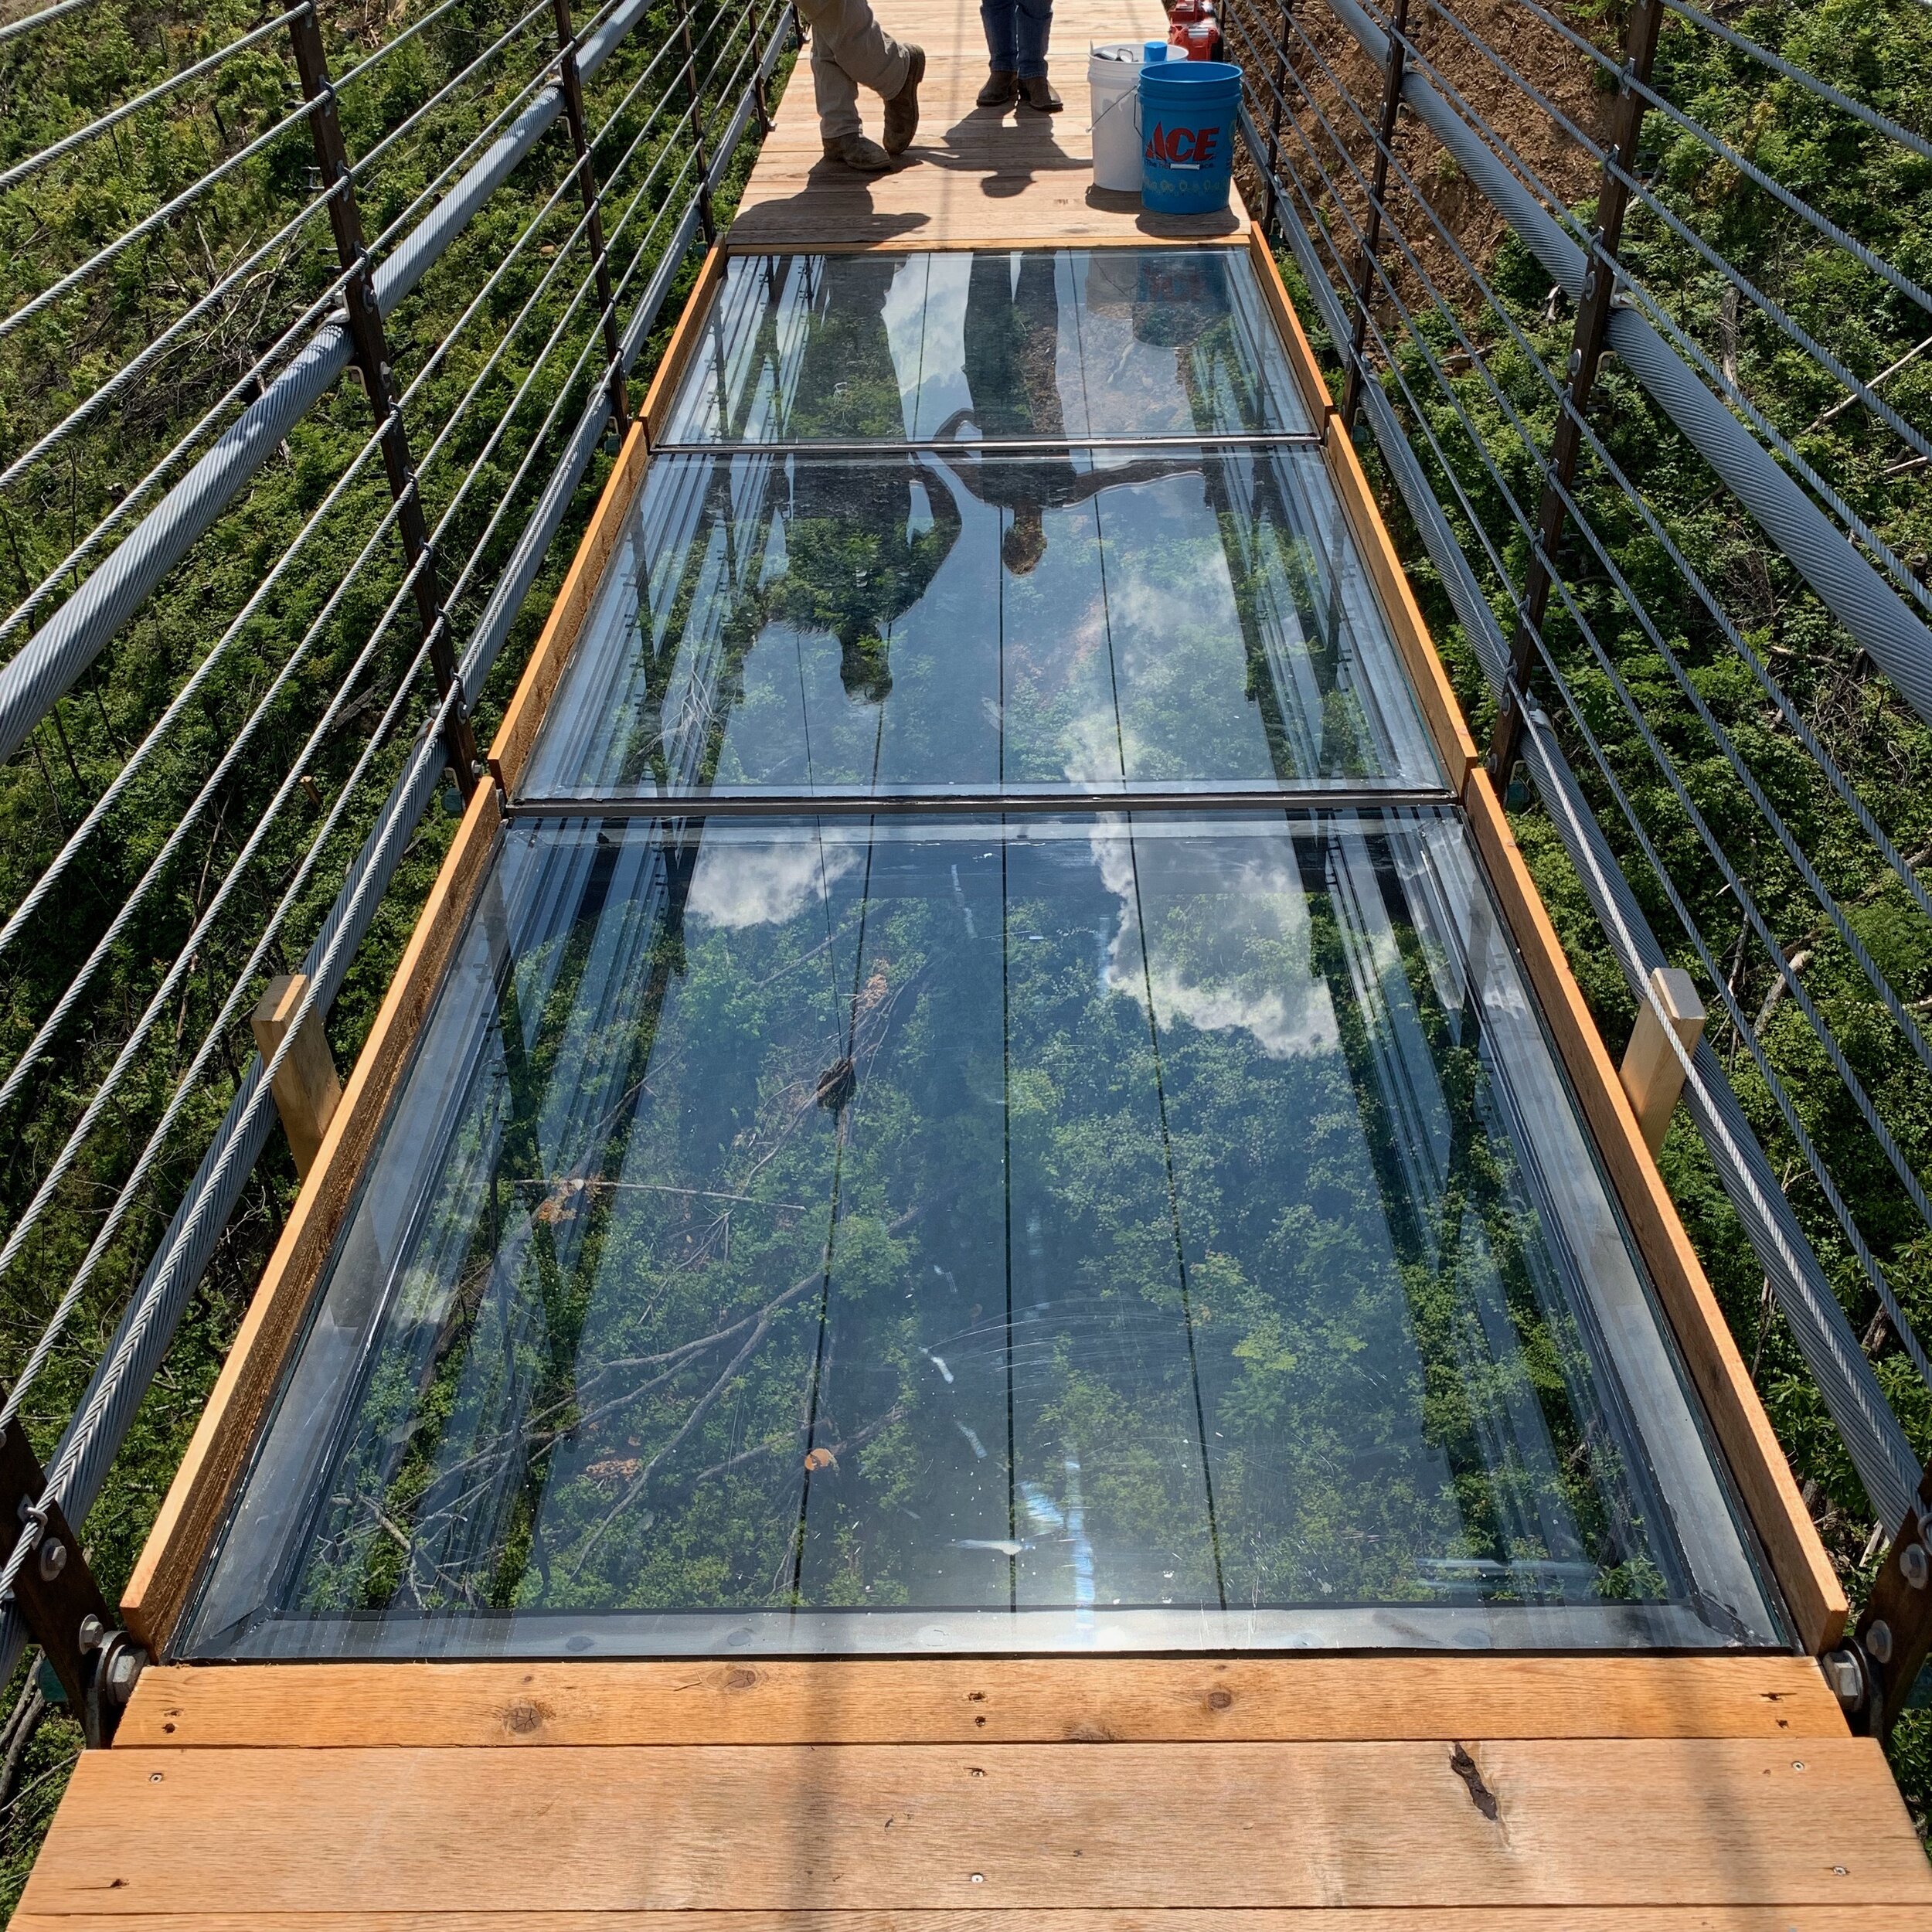
THE GLASS
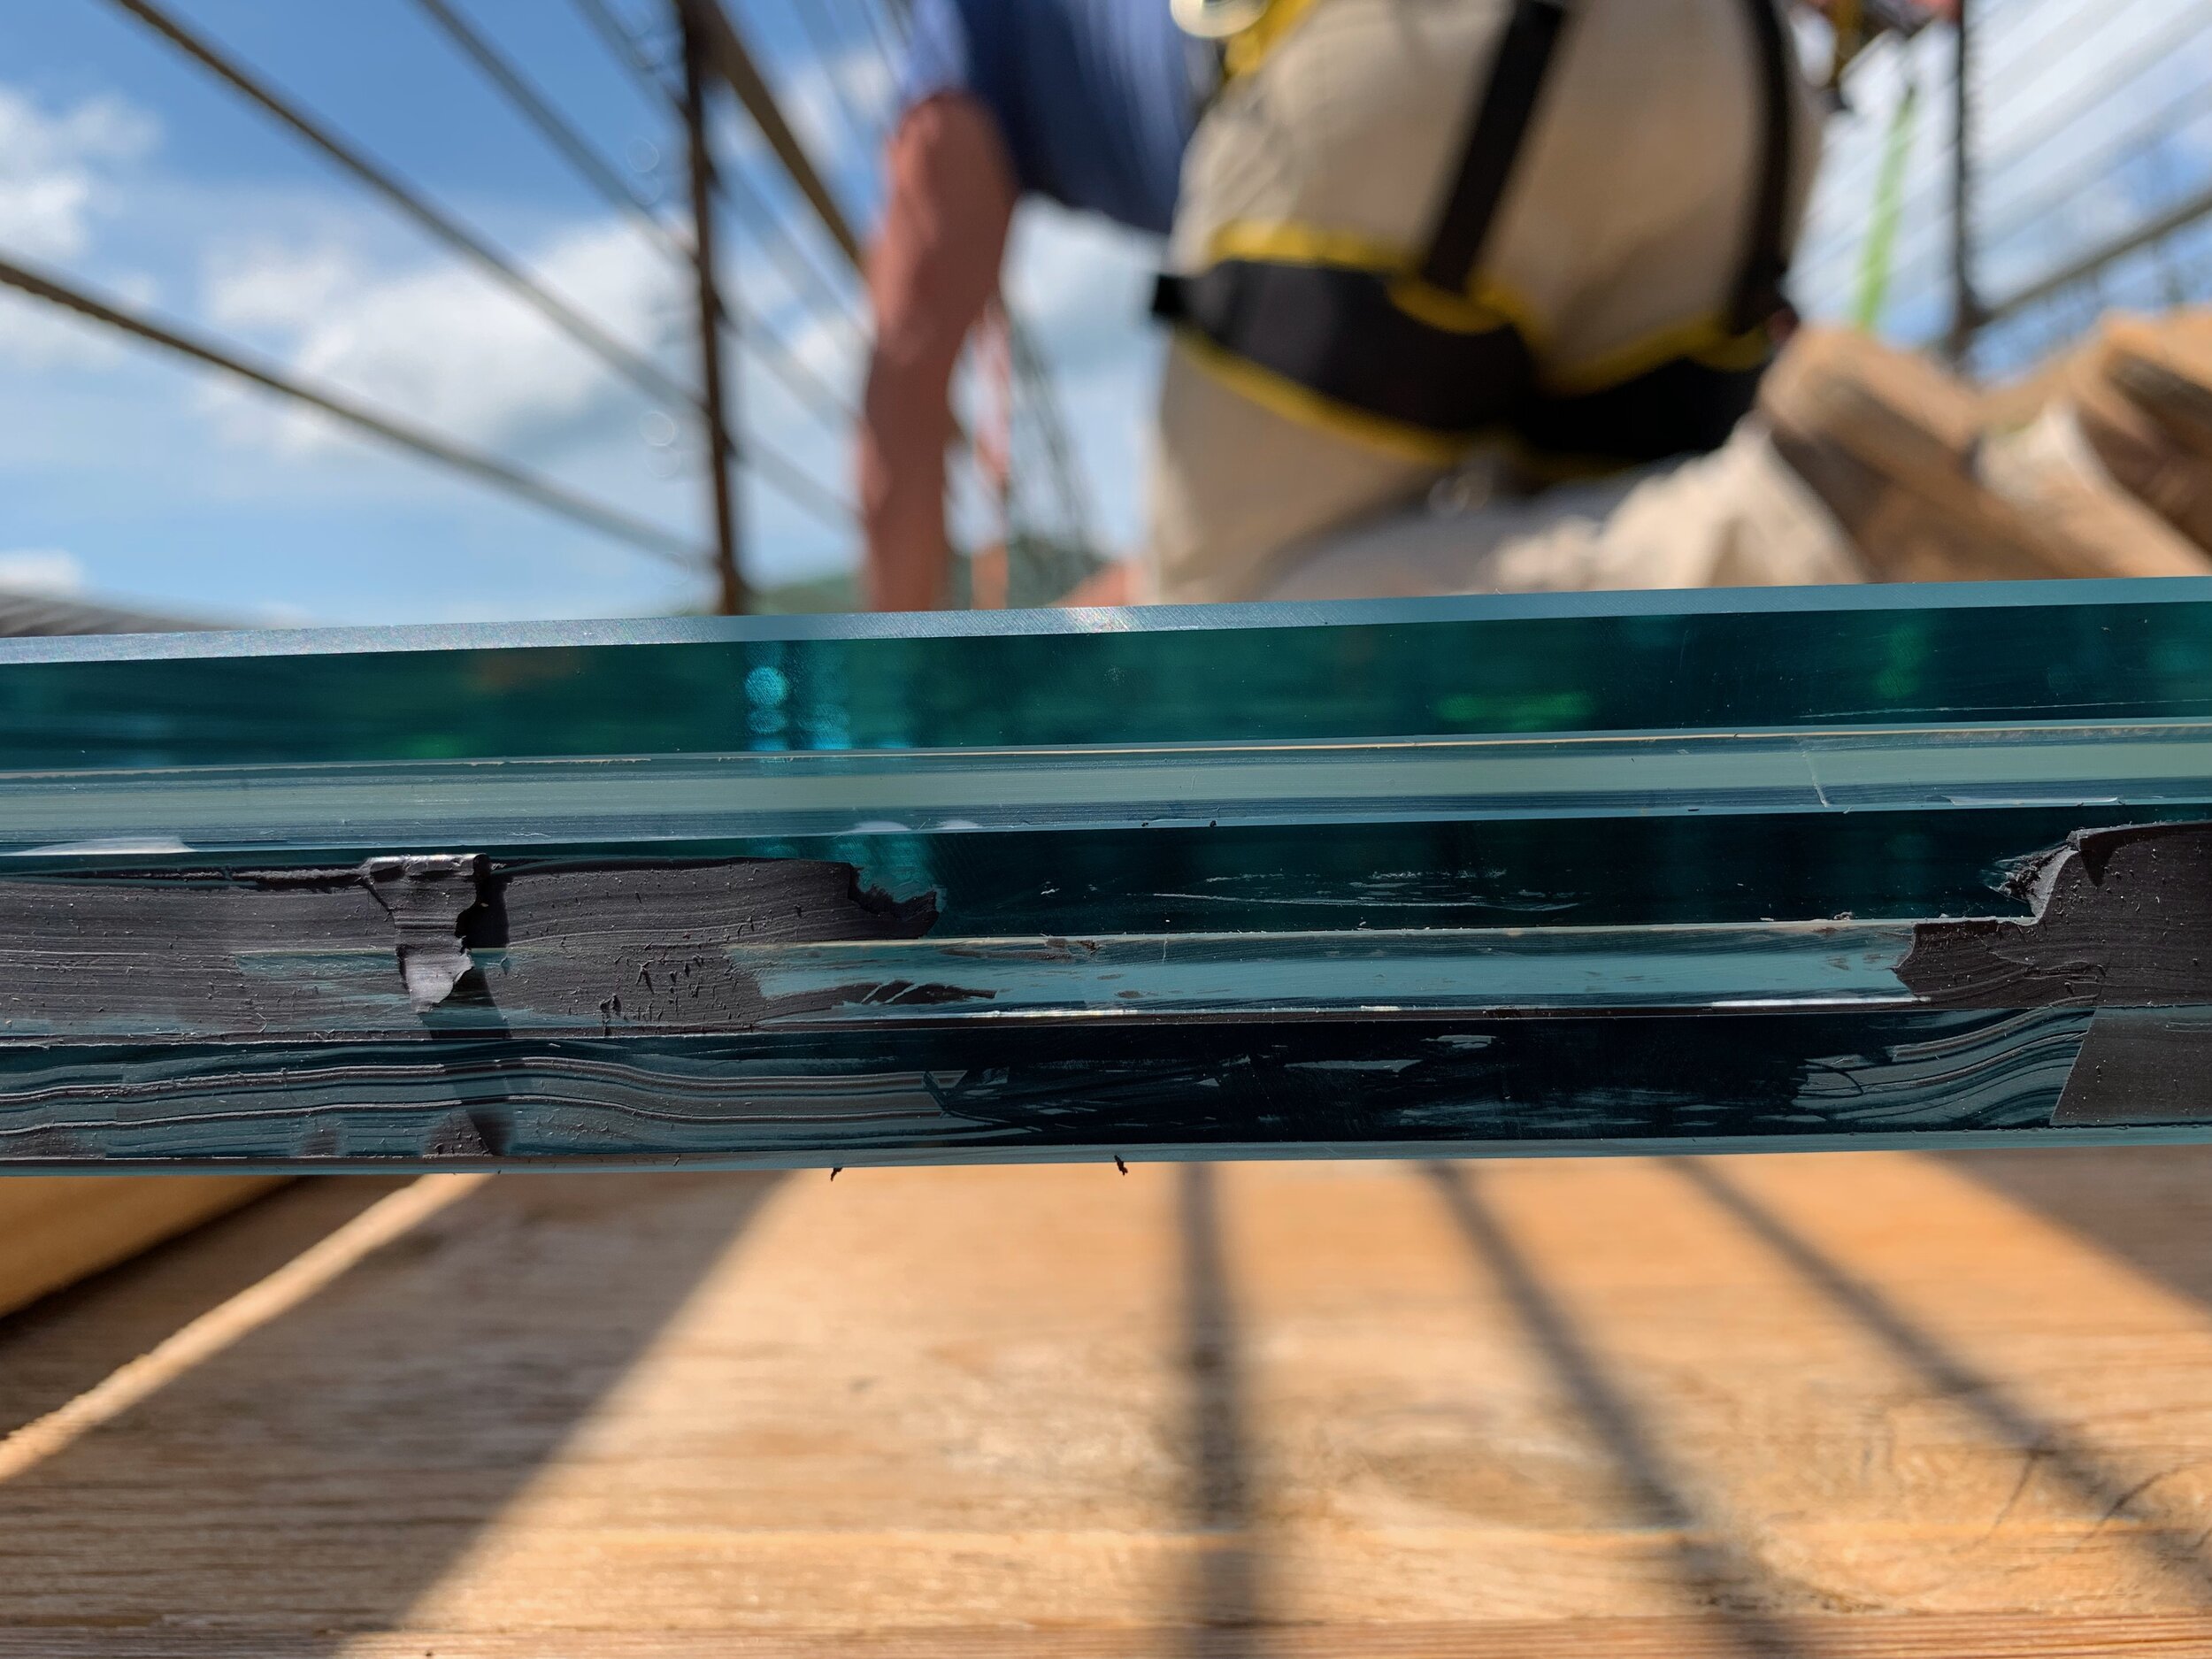
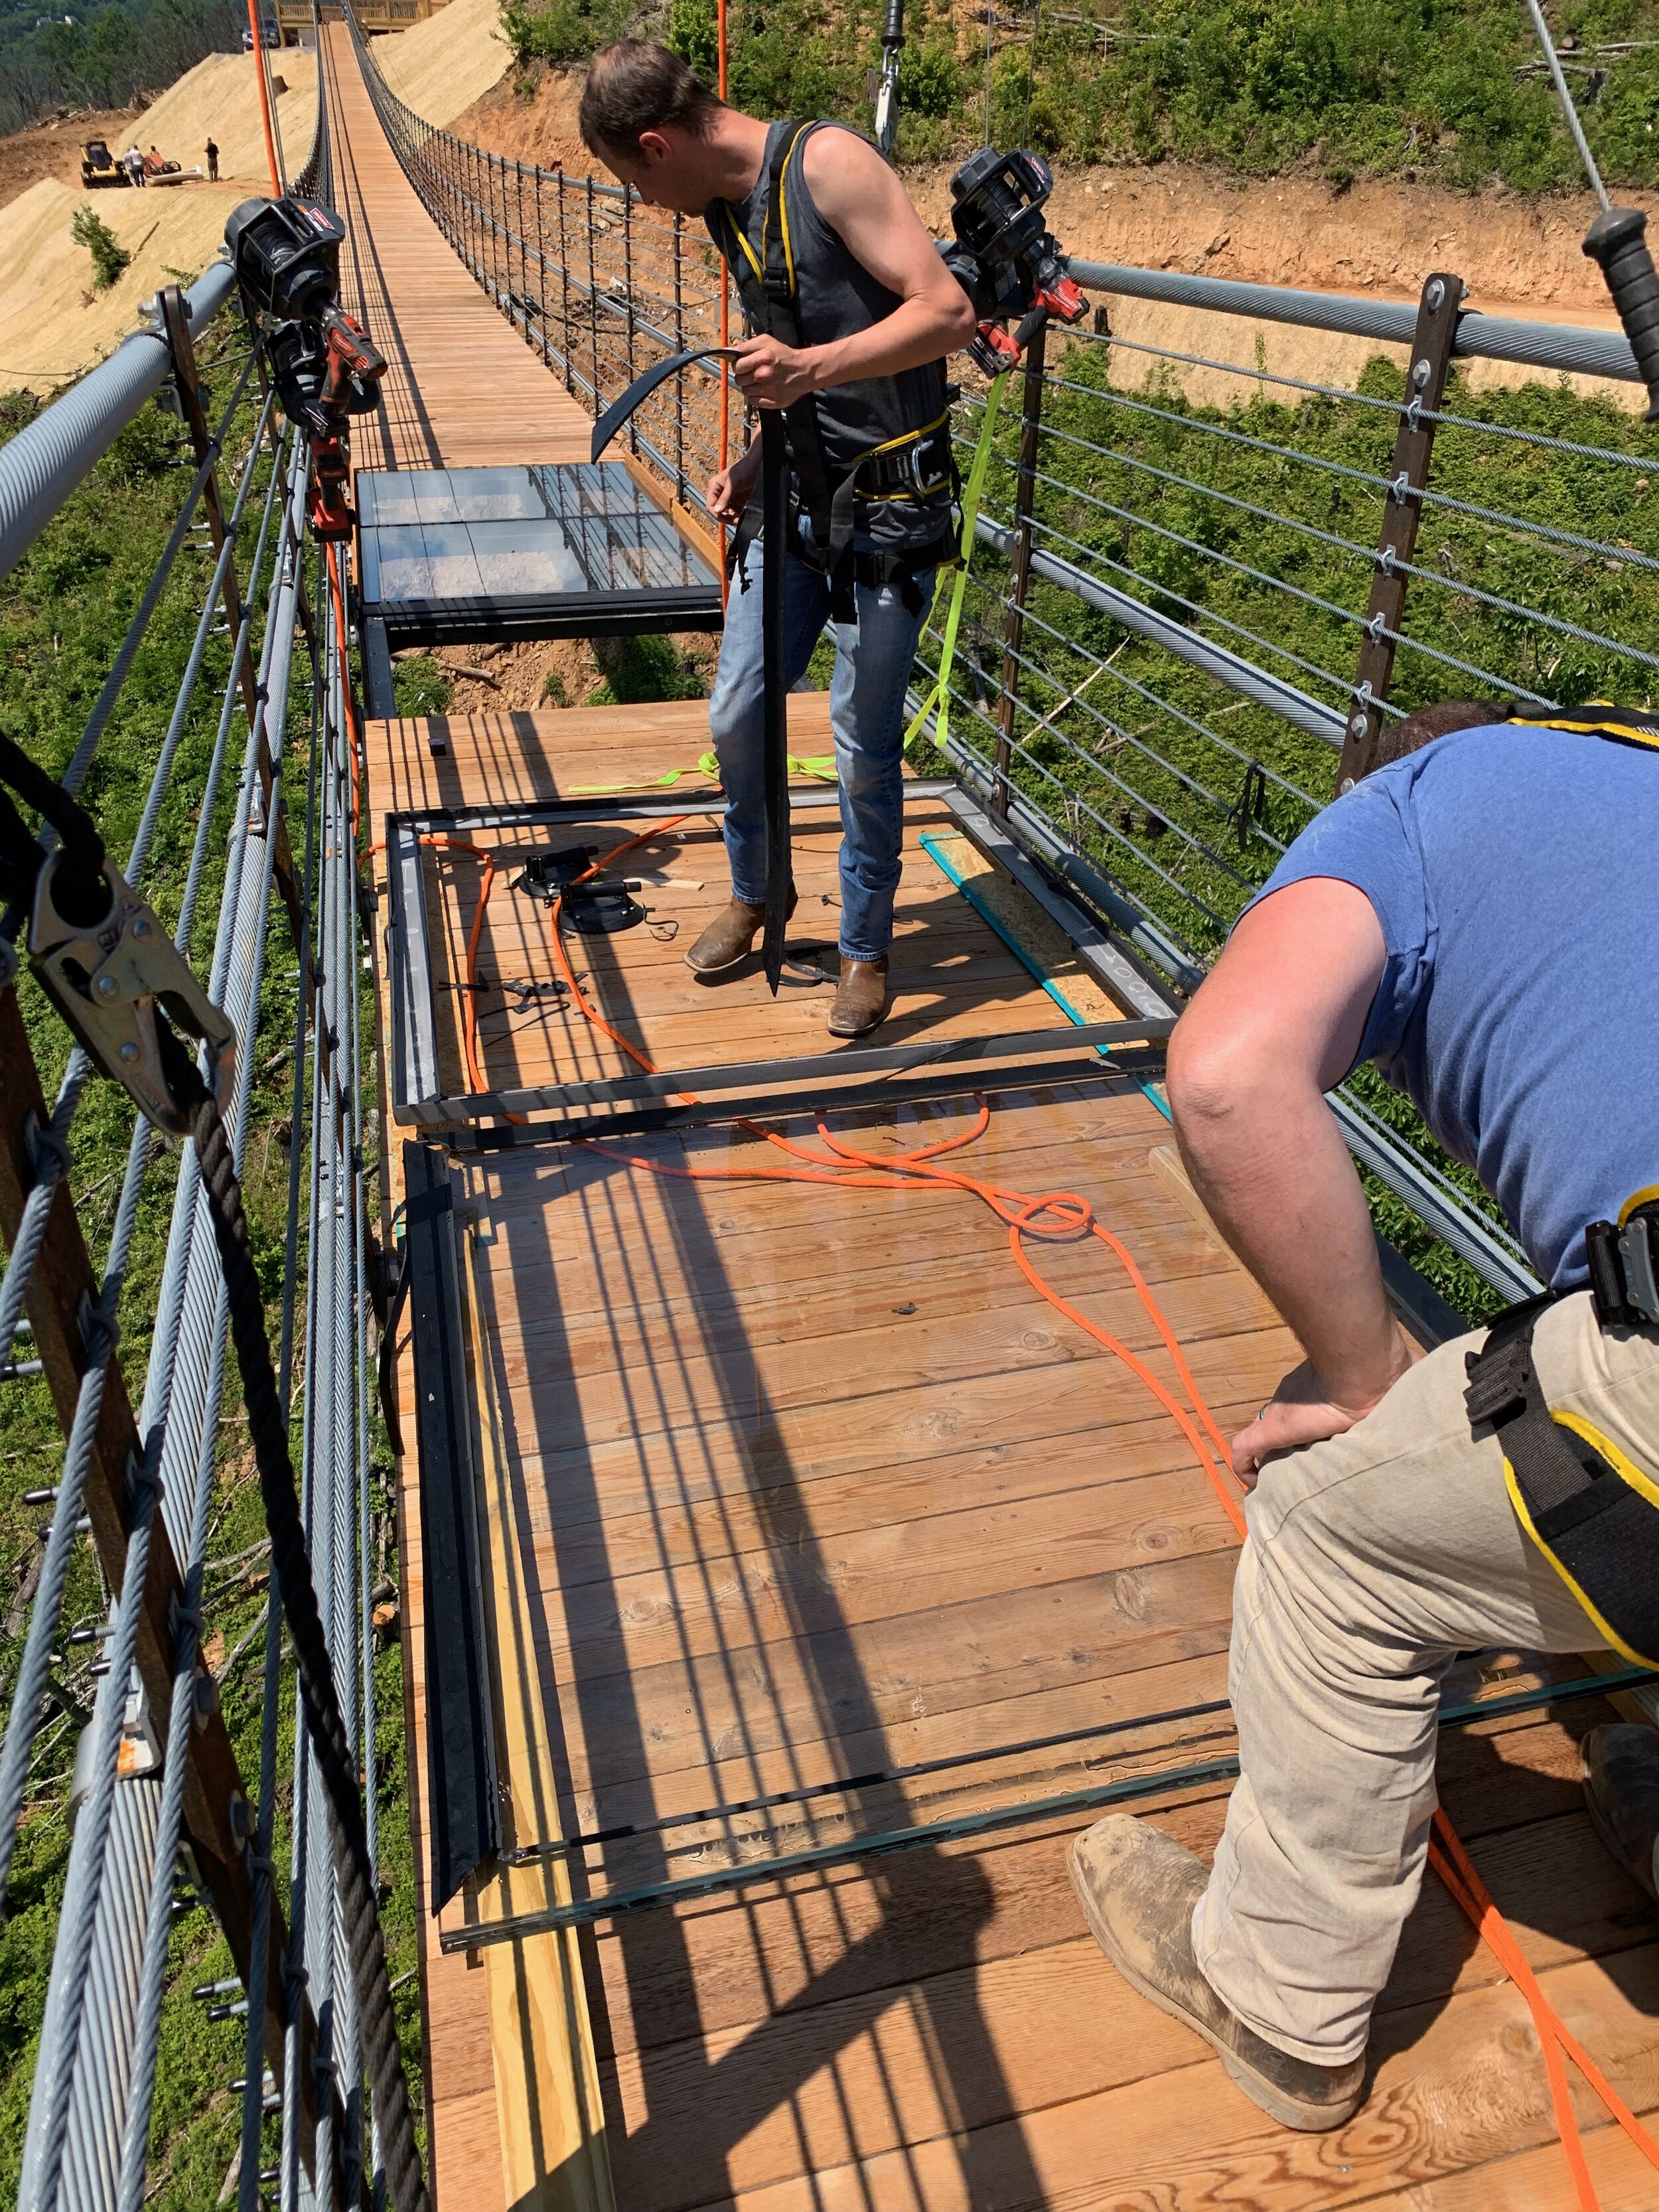
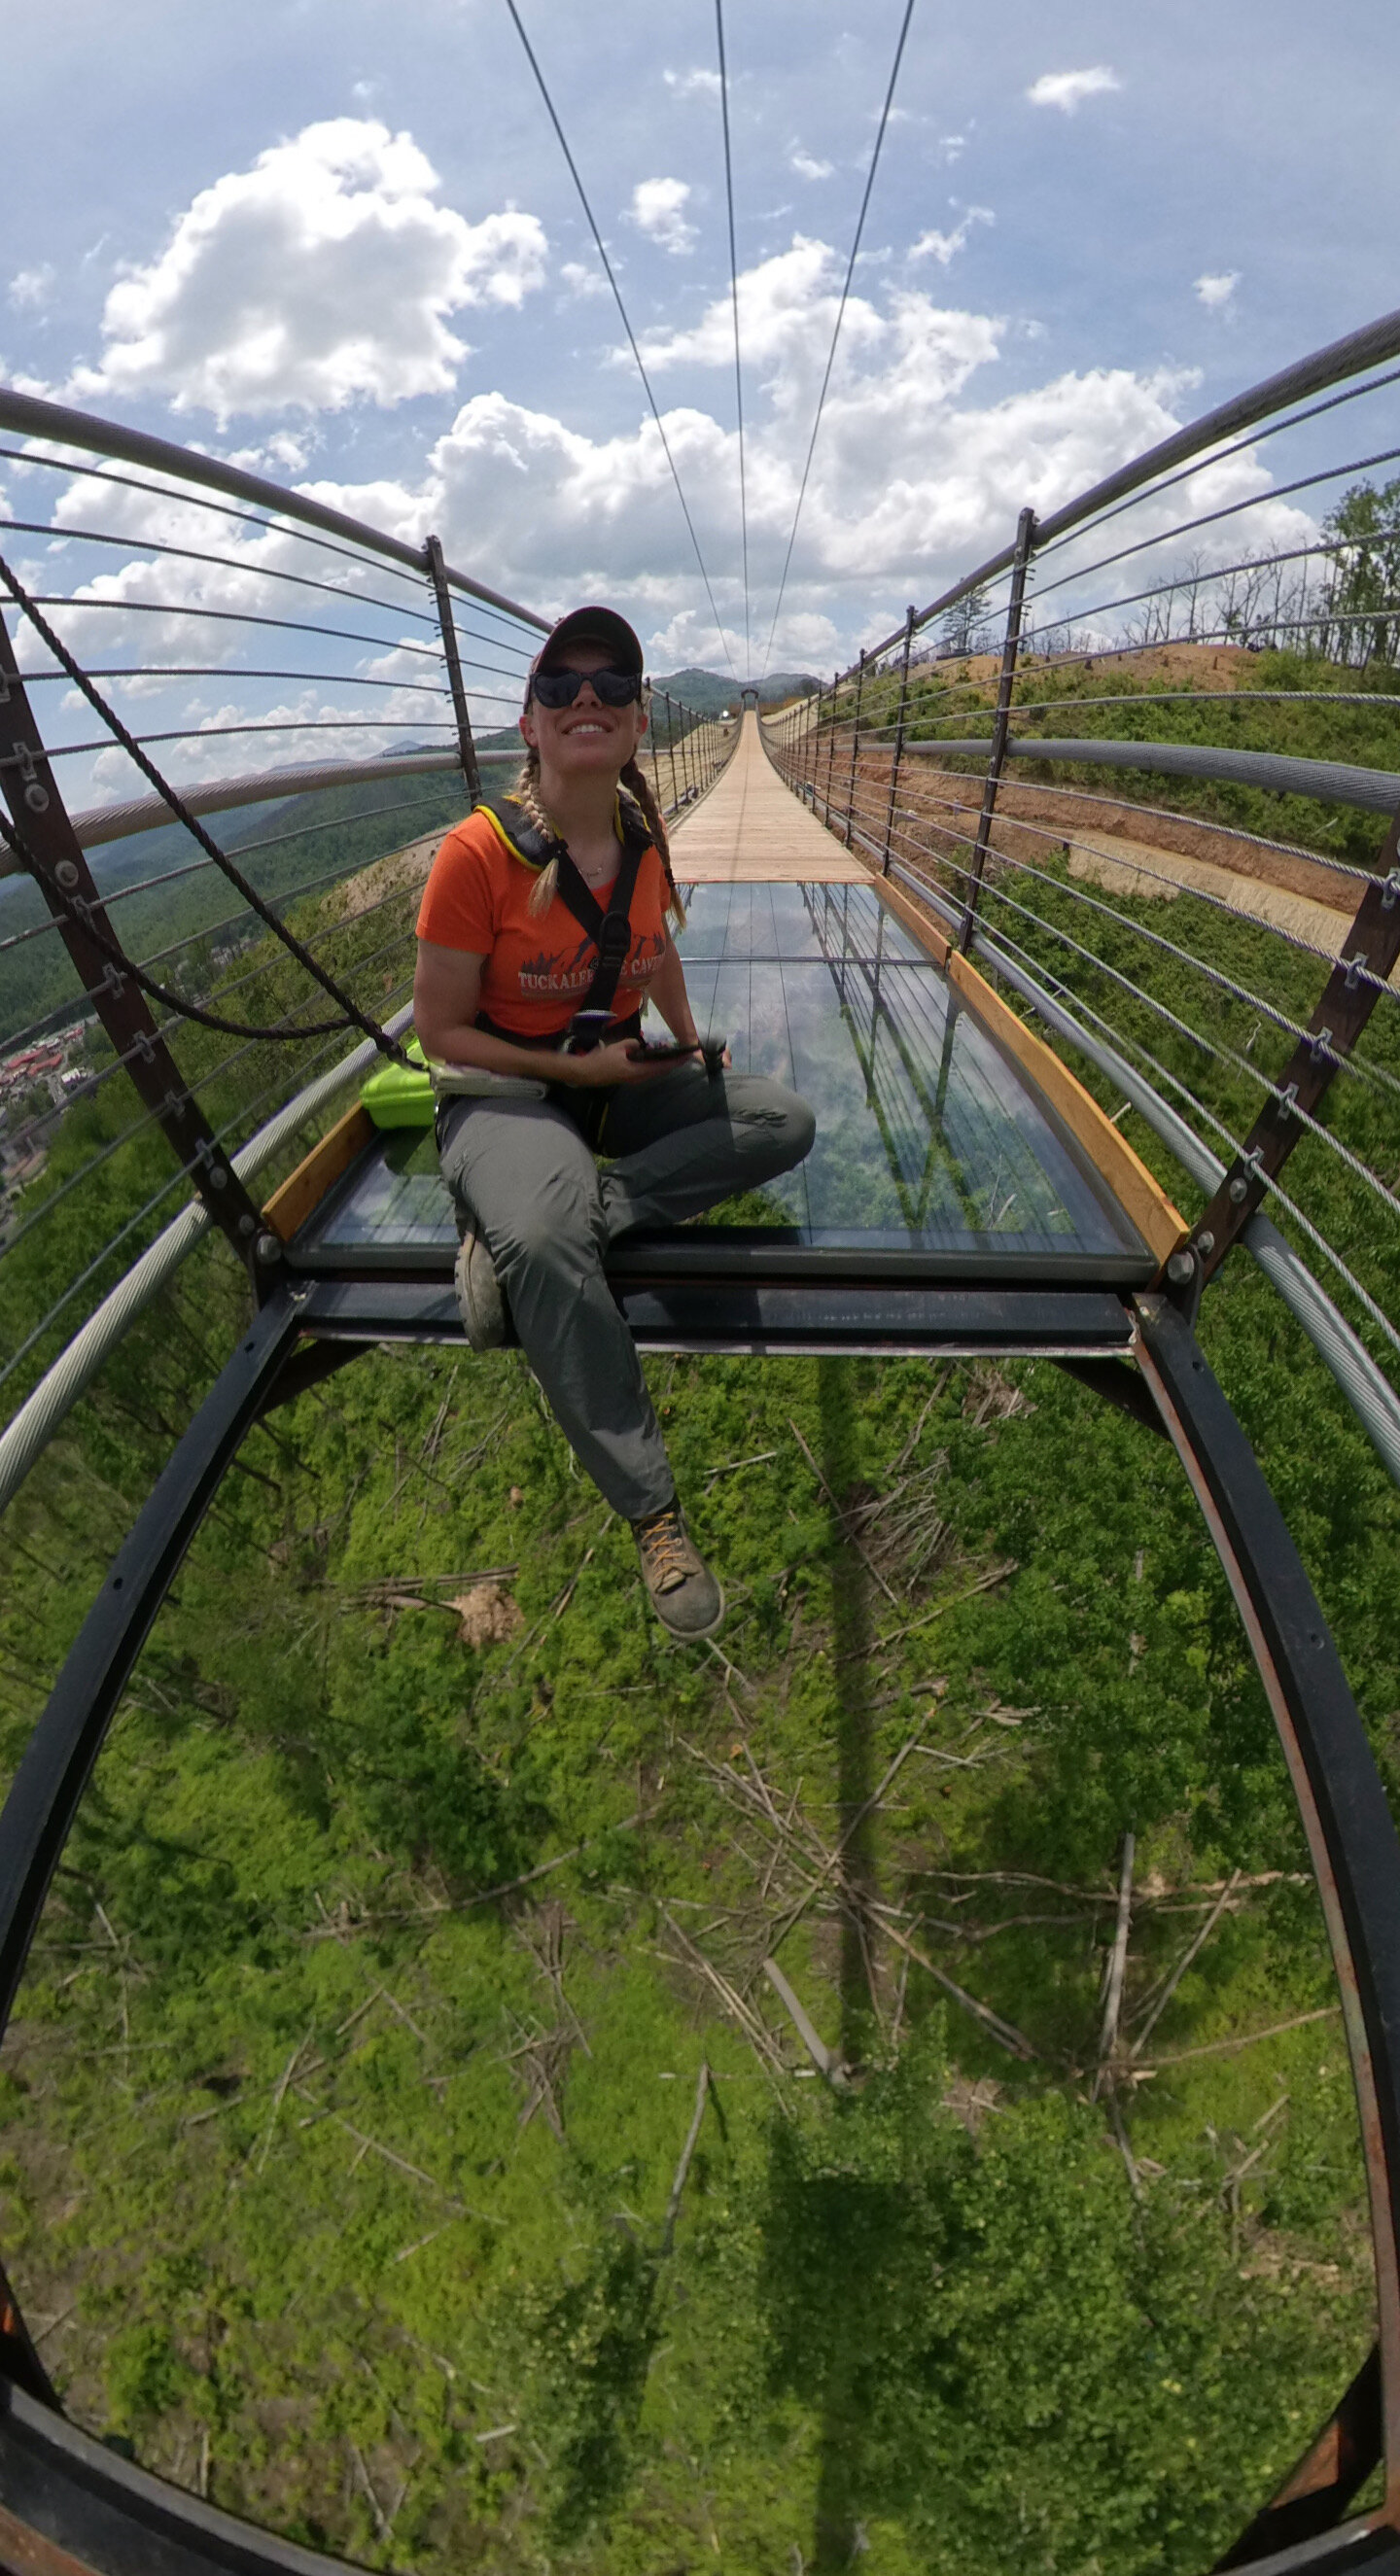
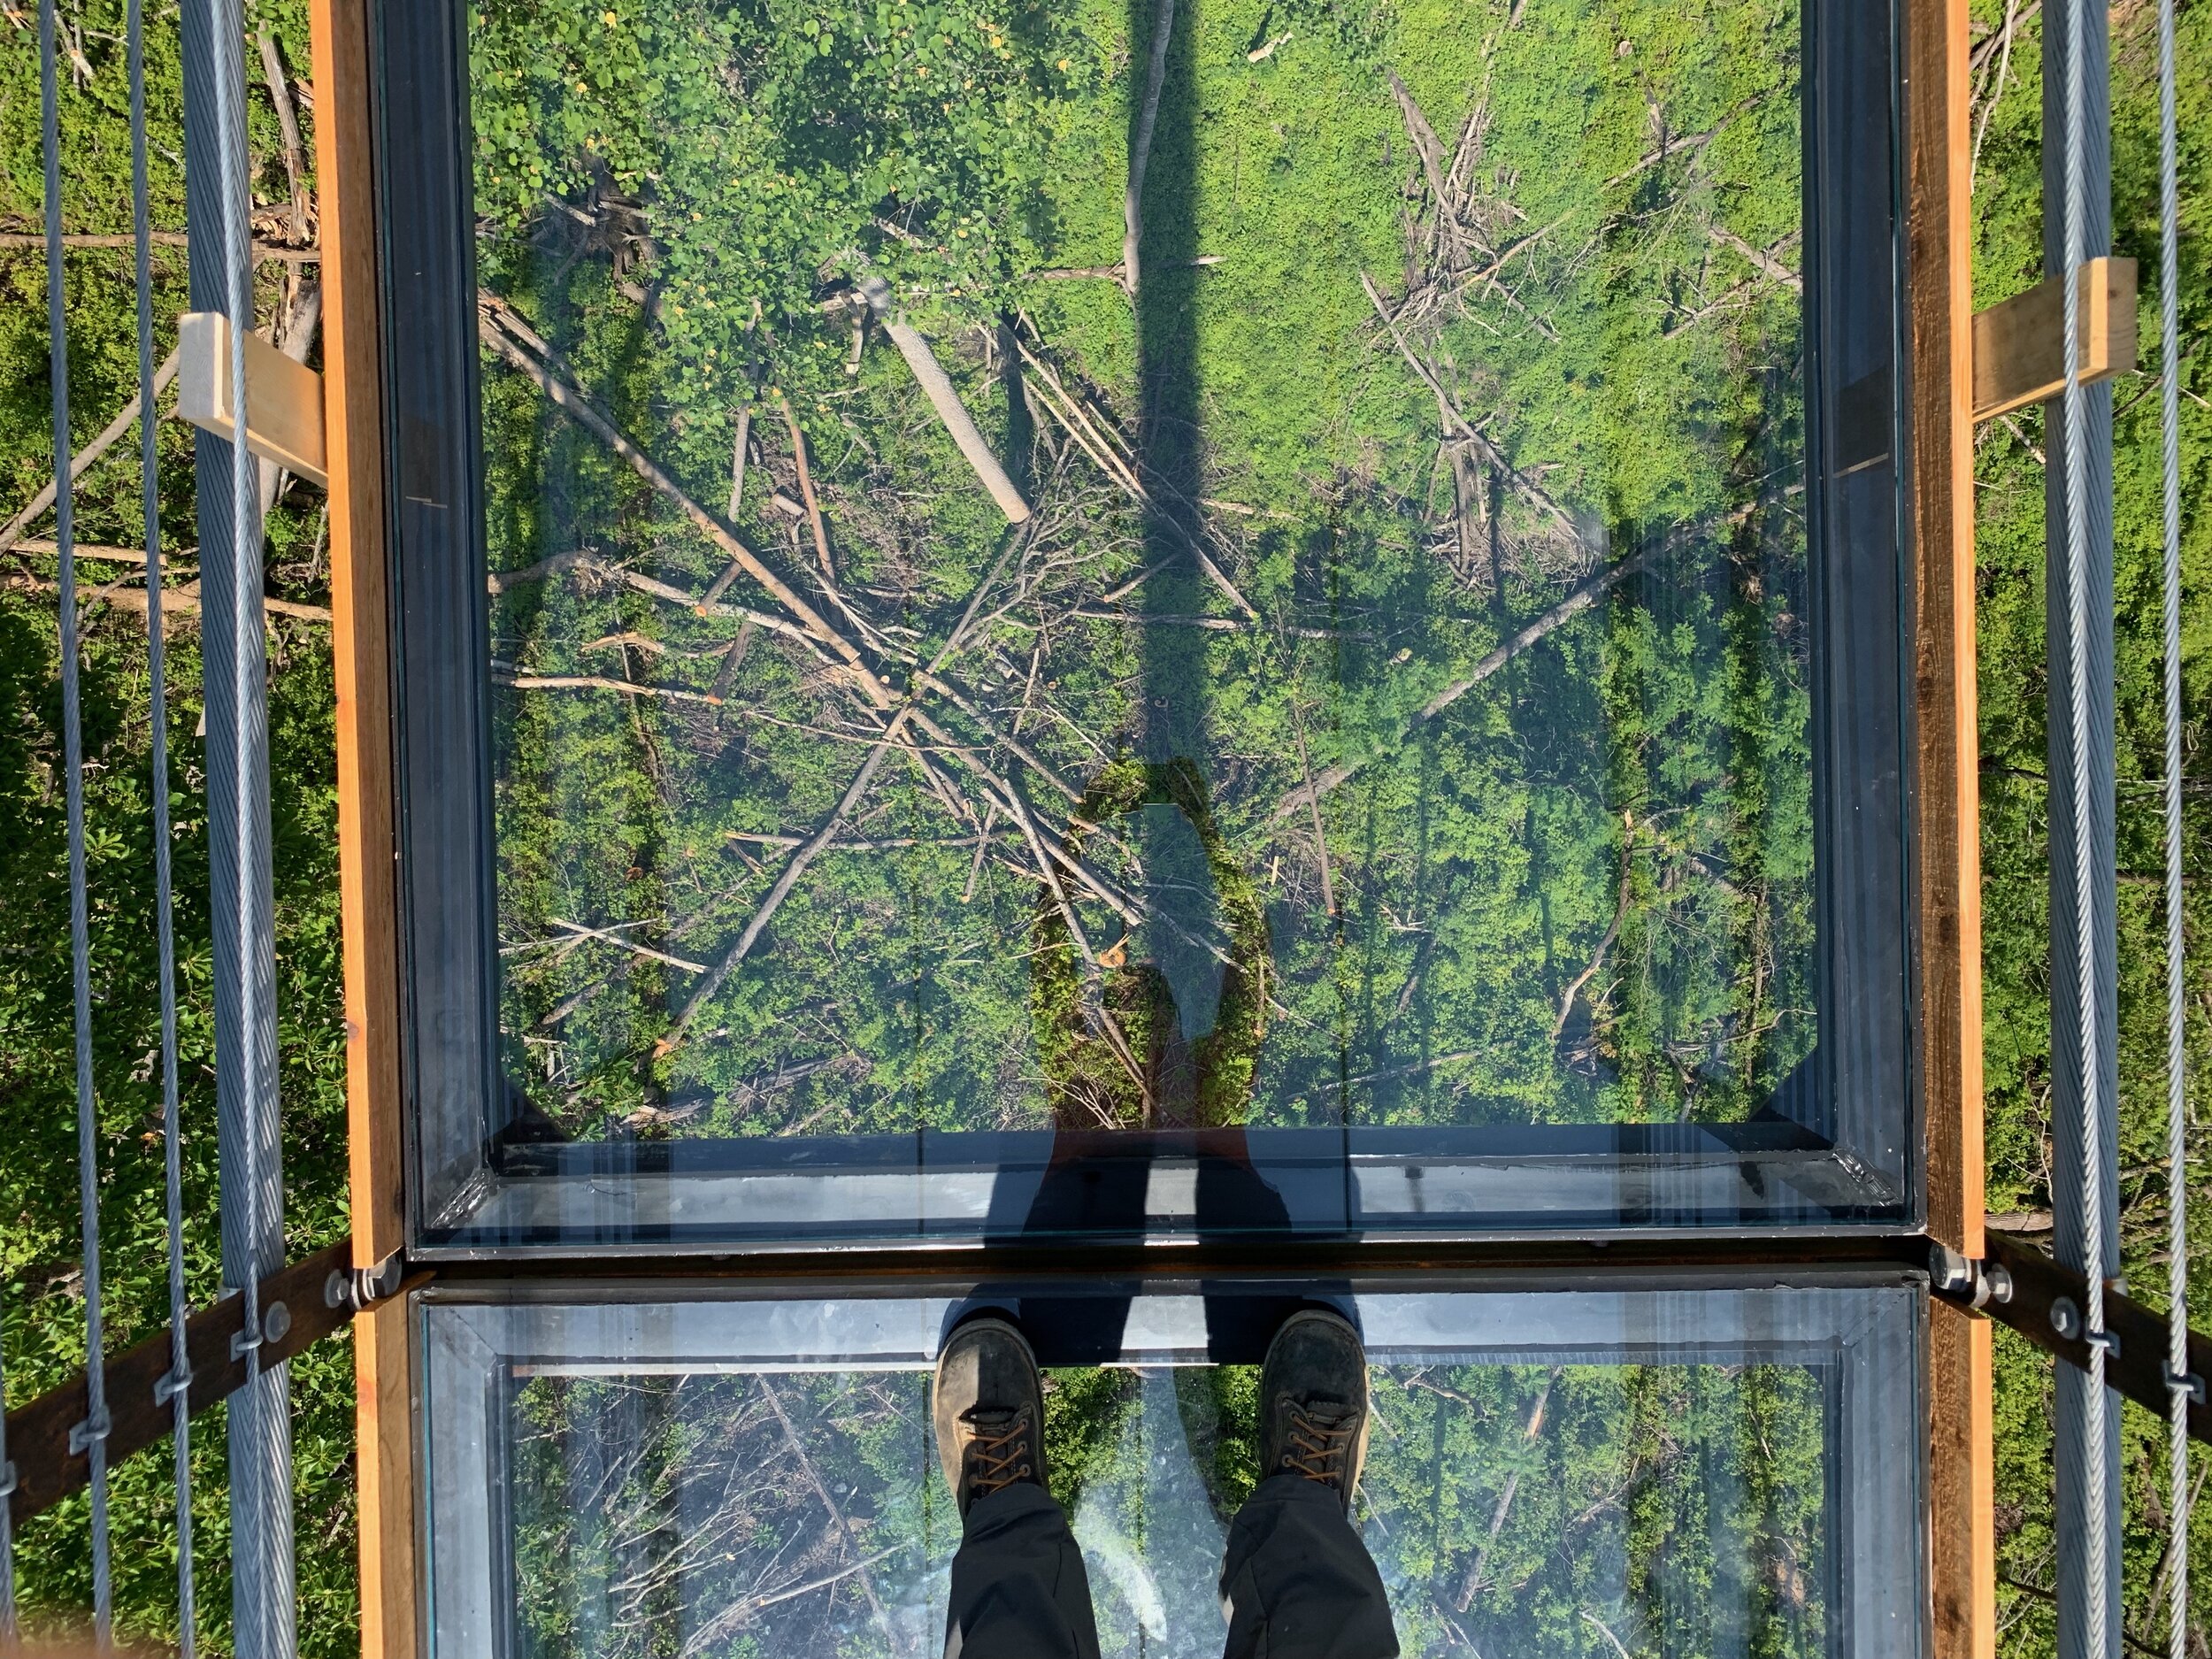
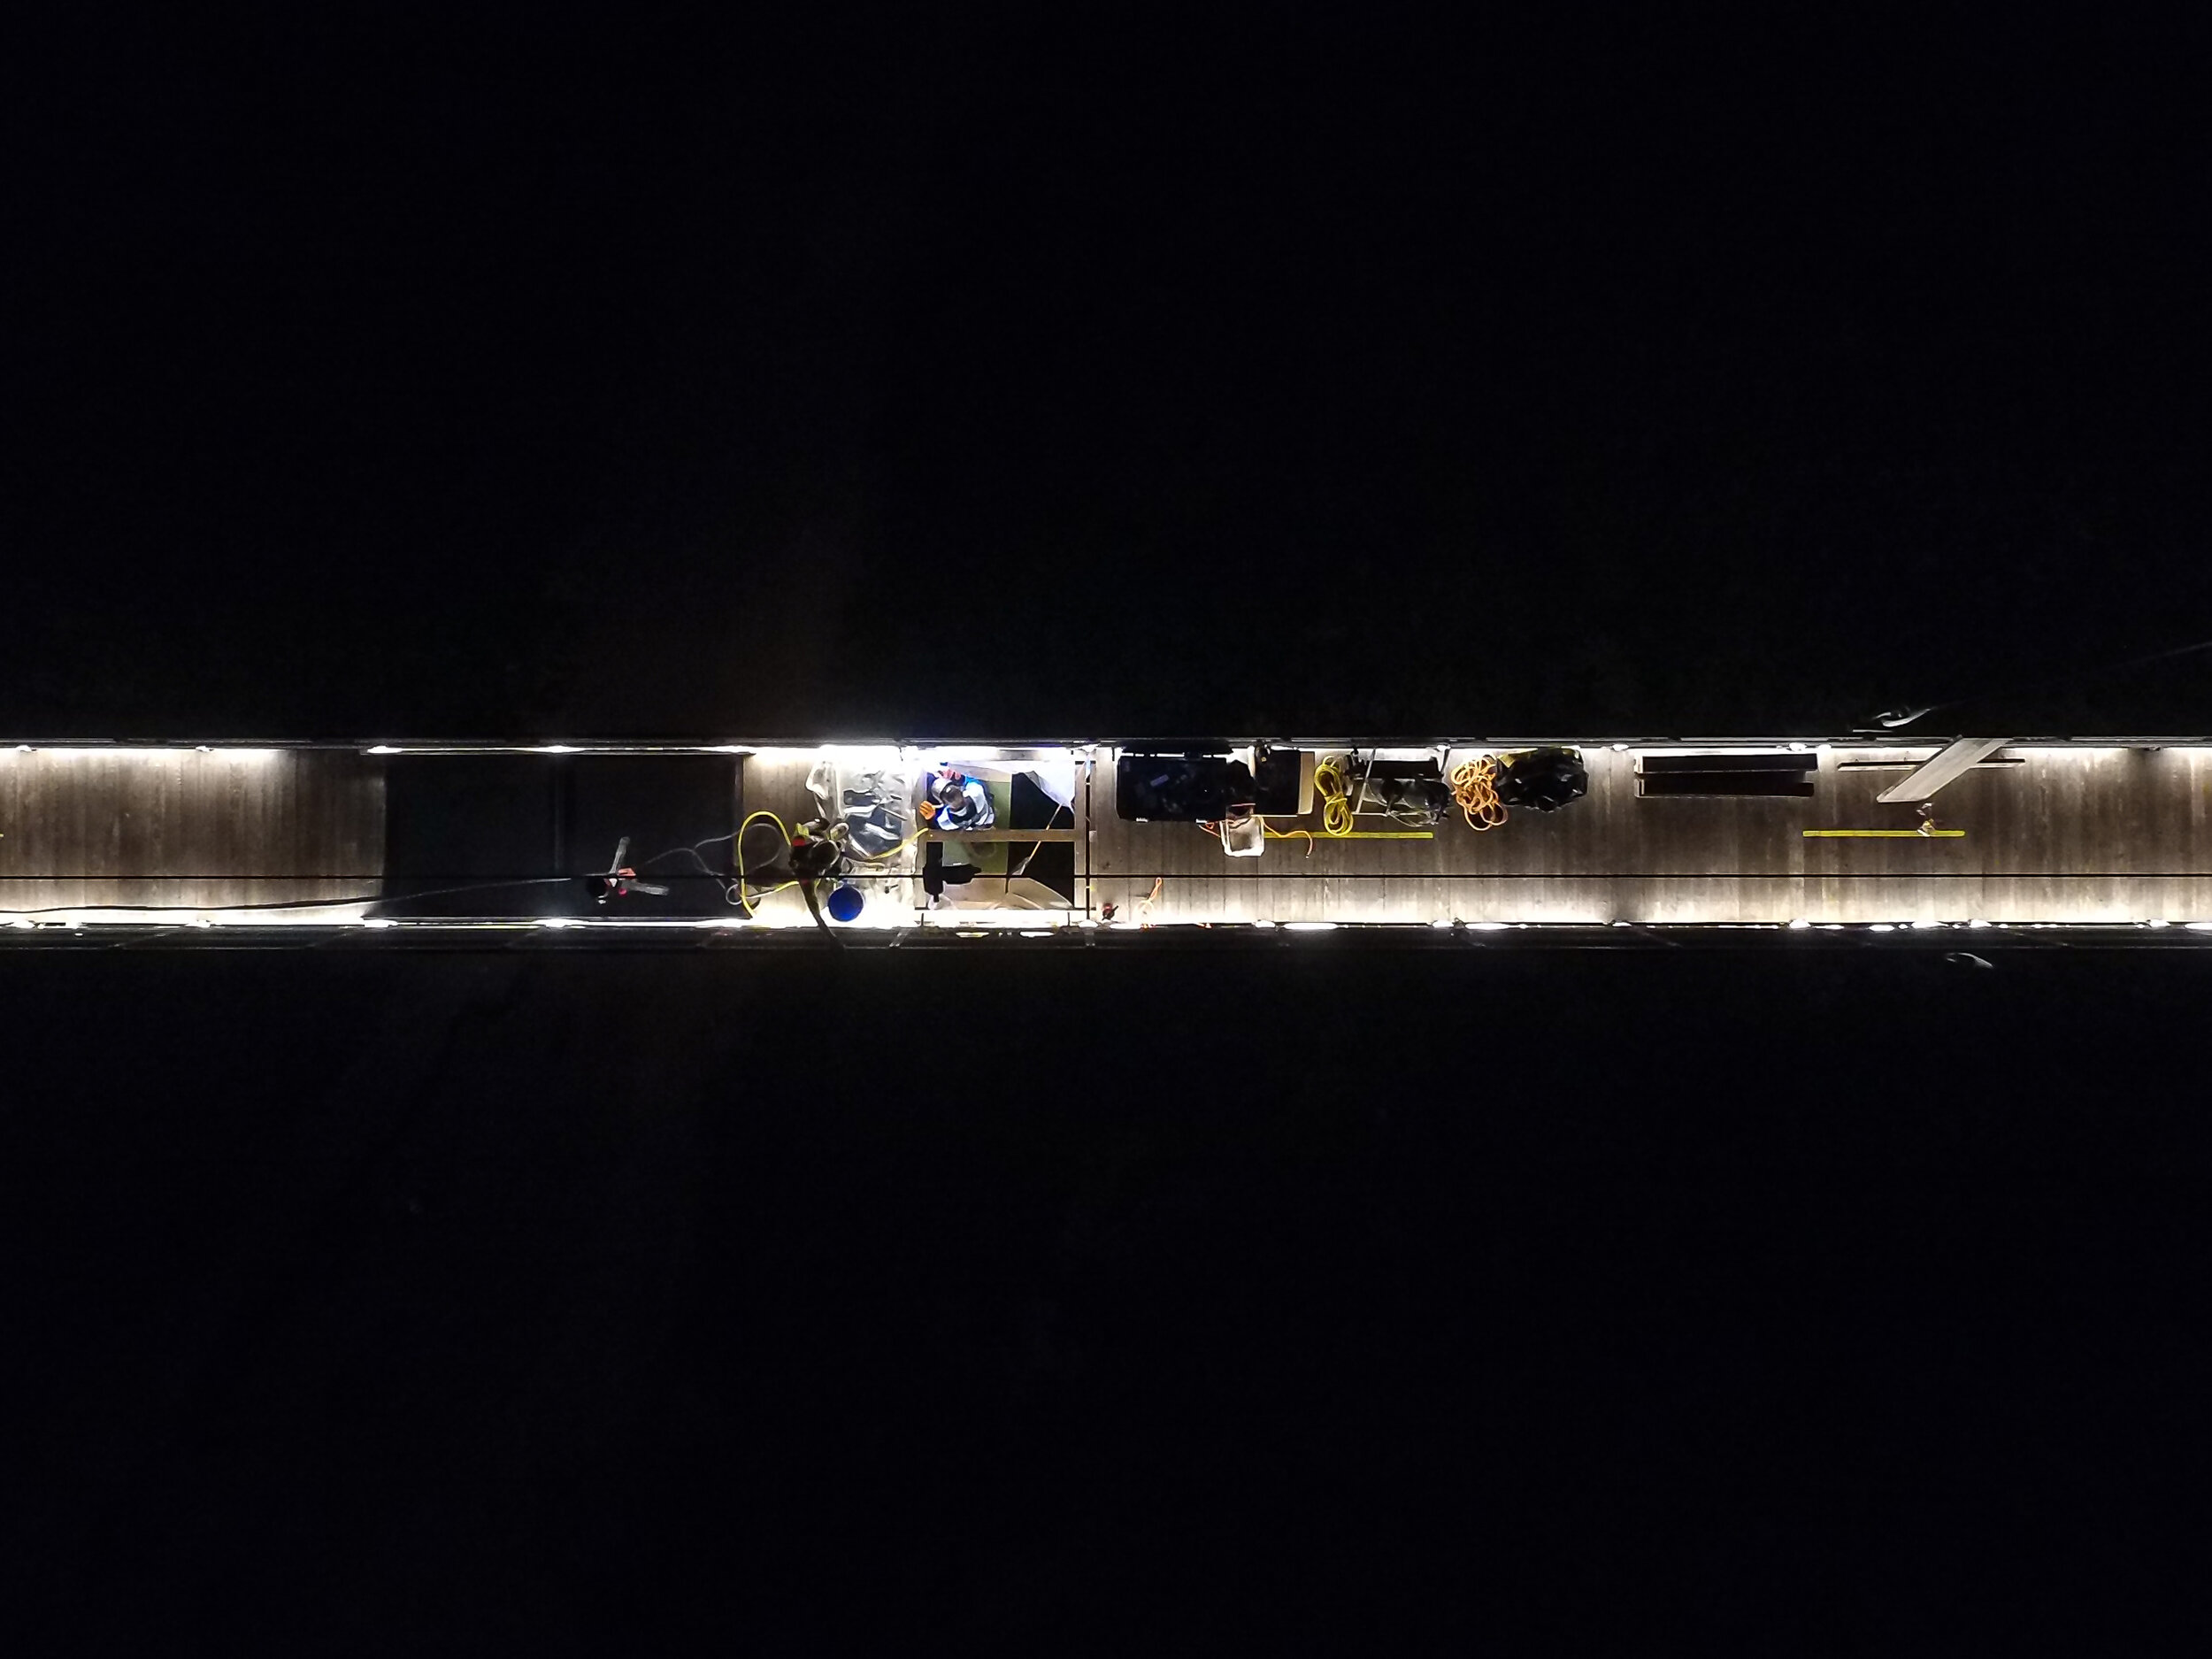
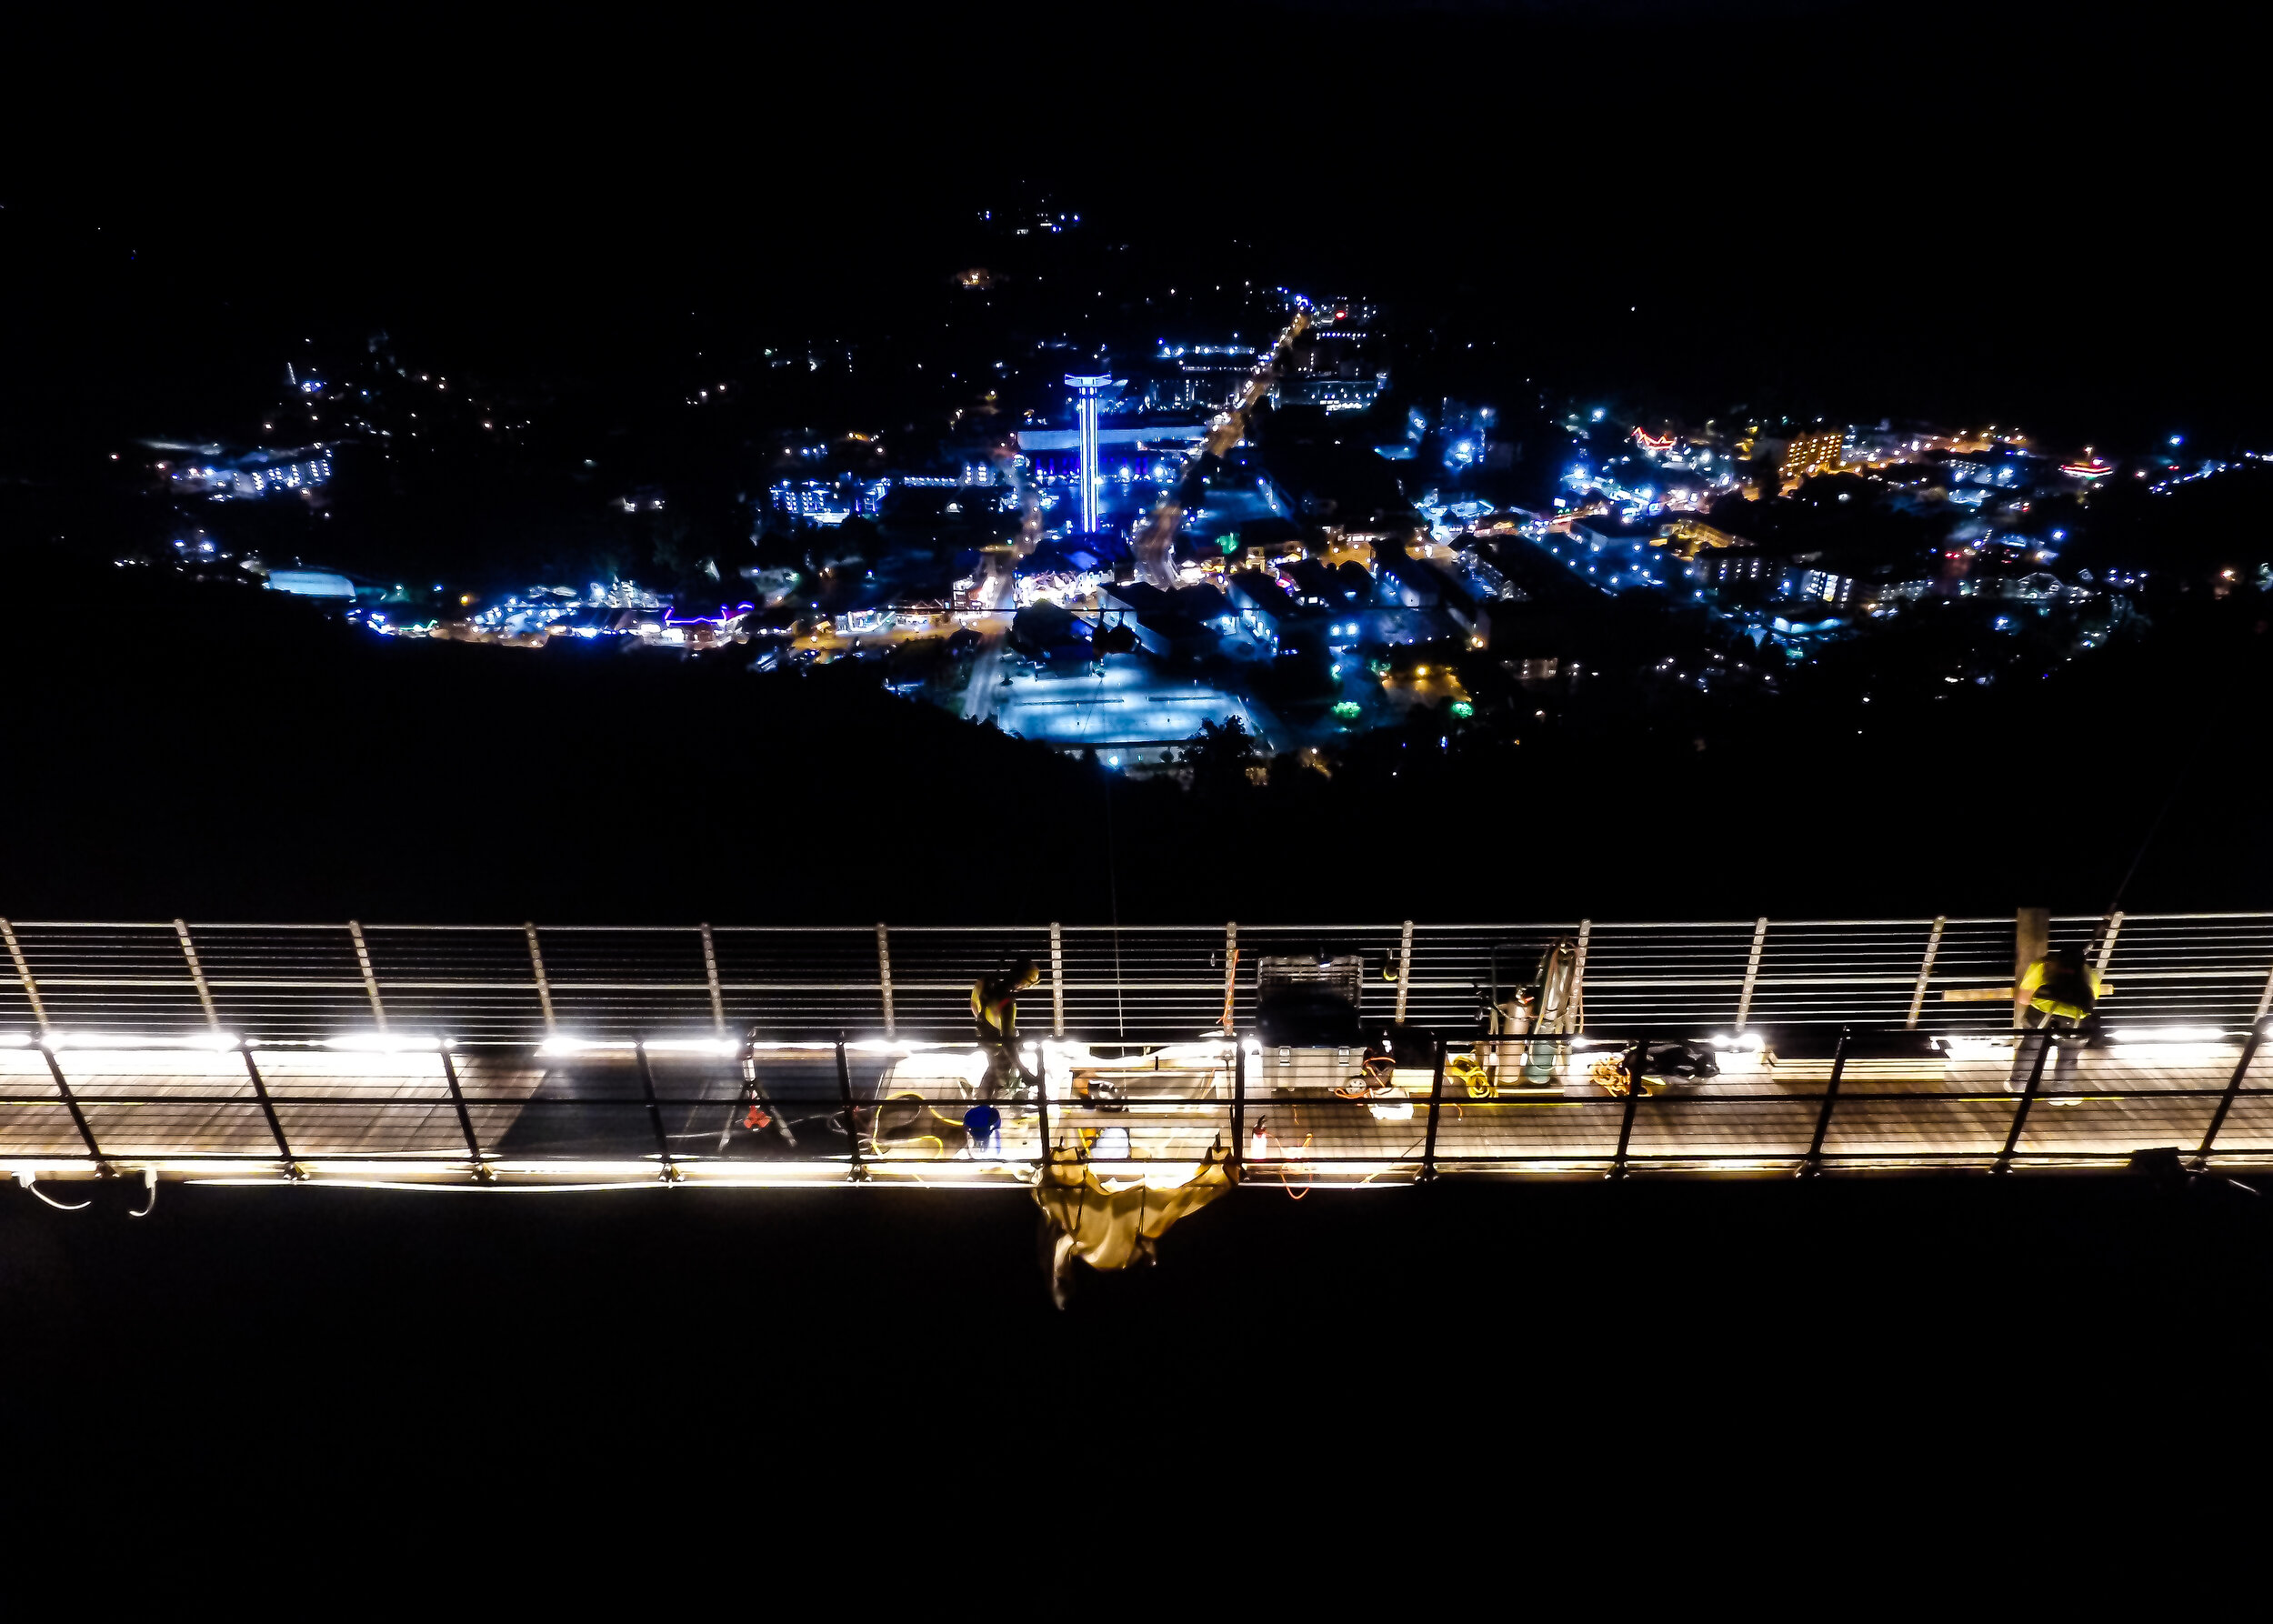
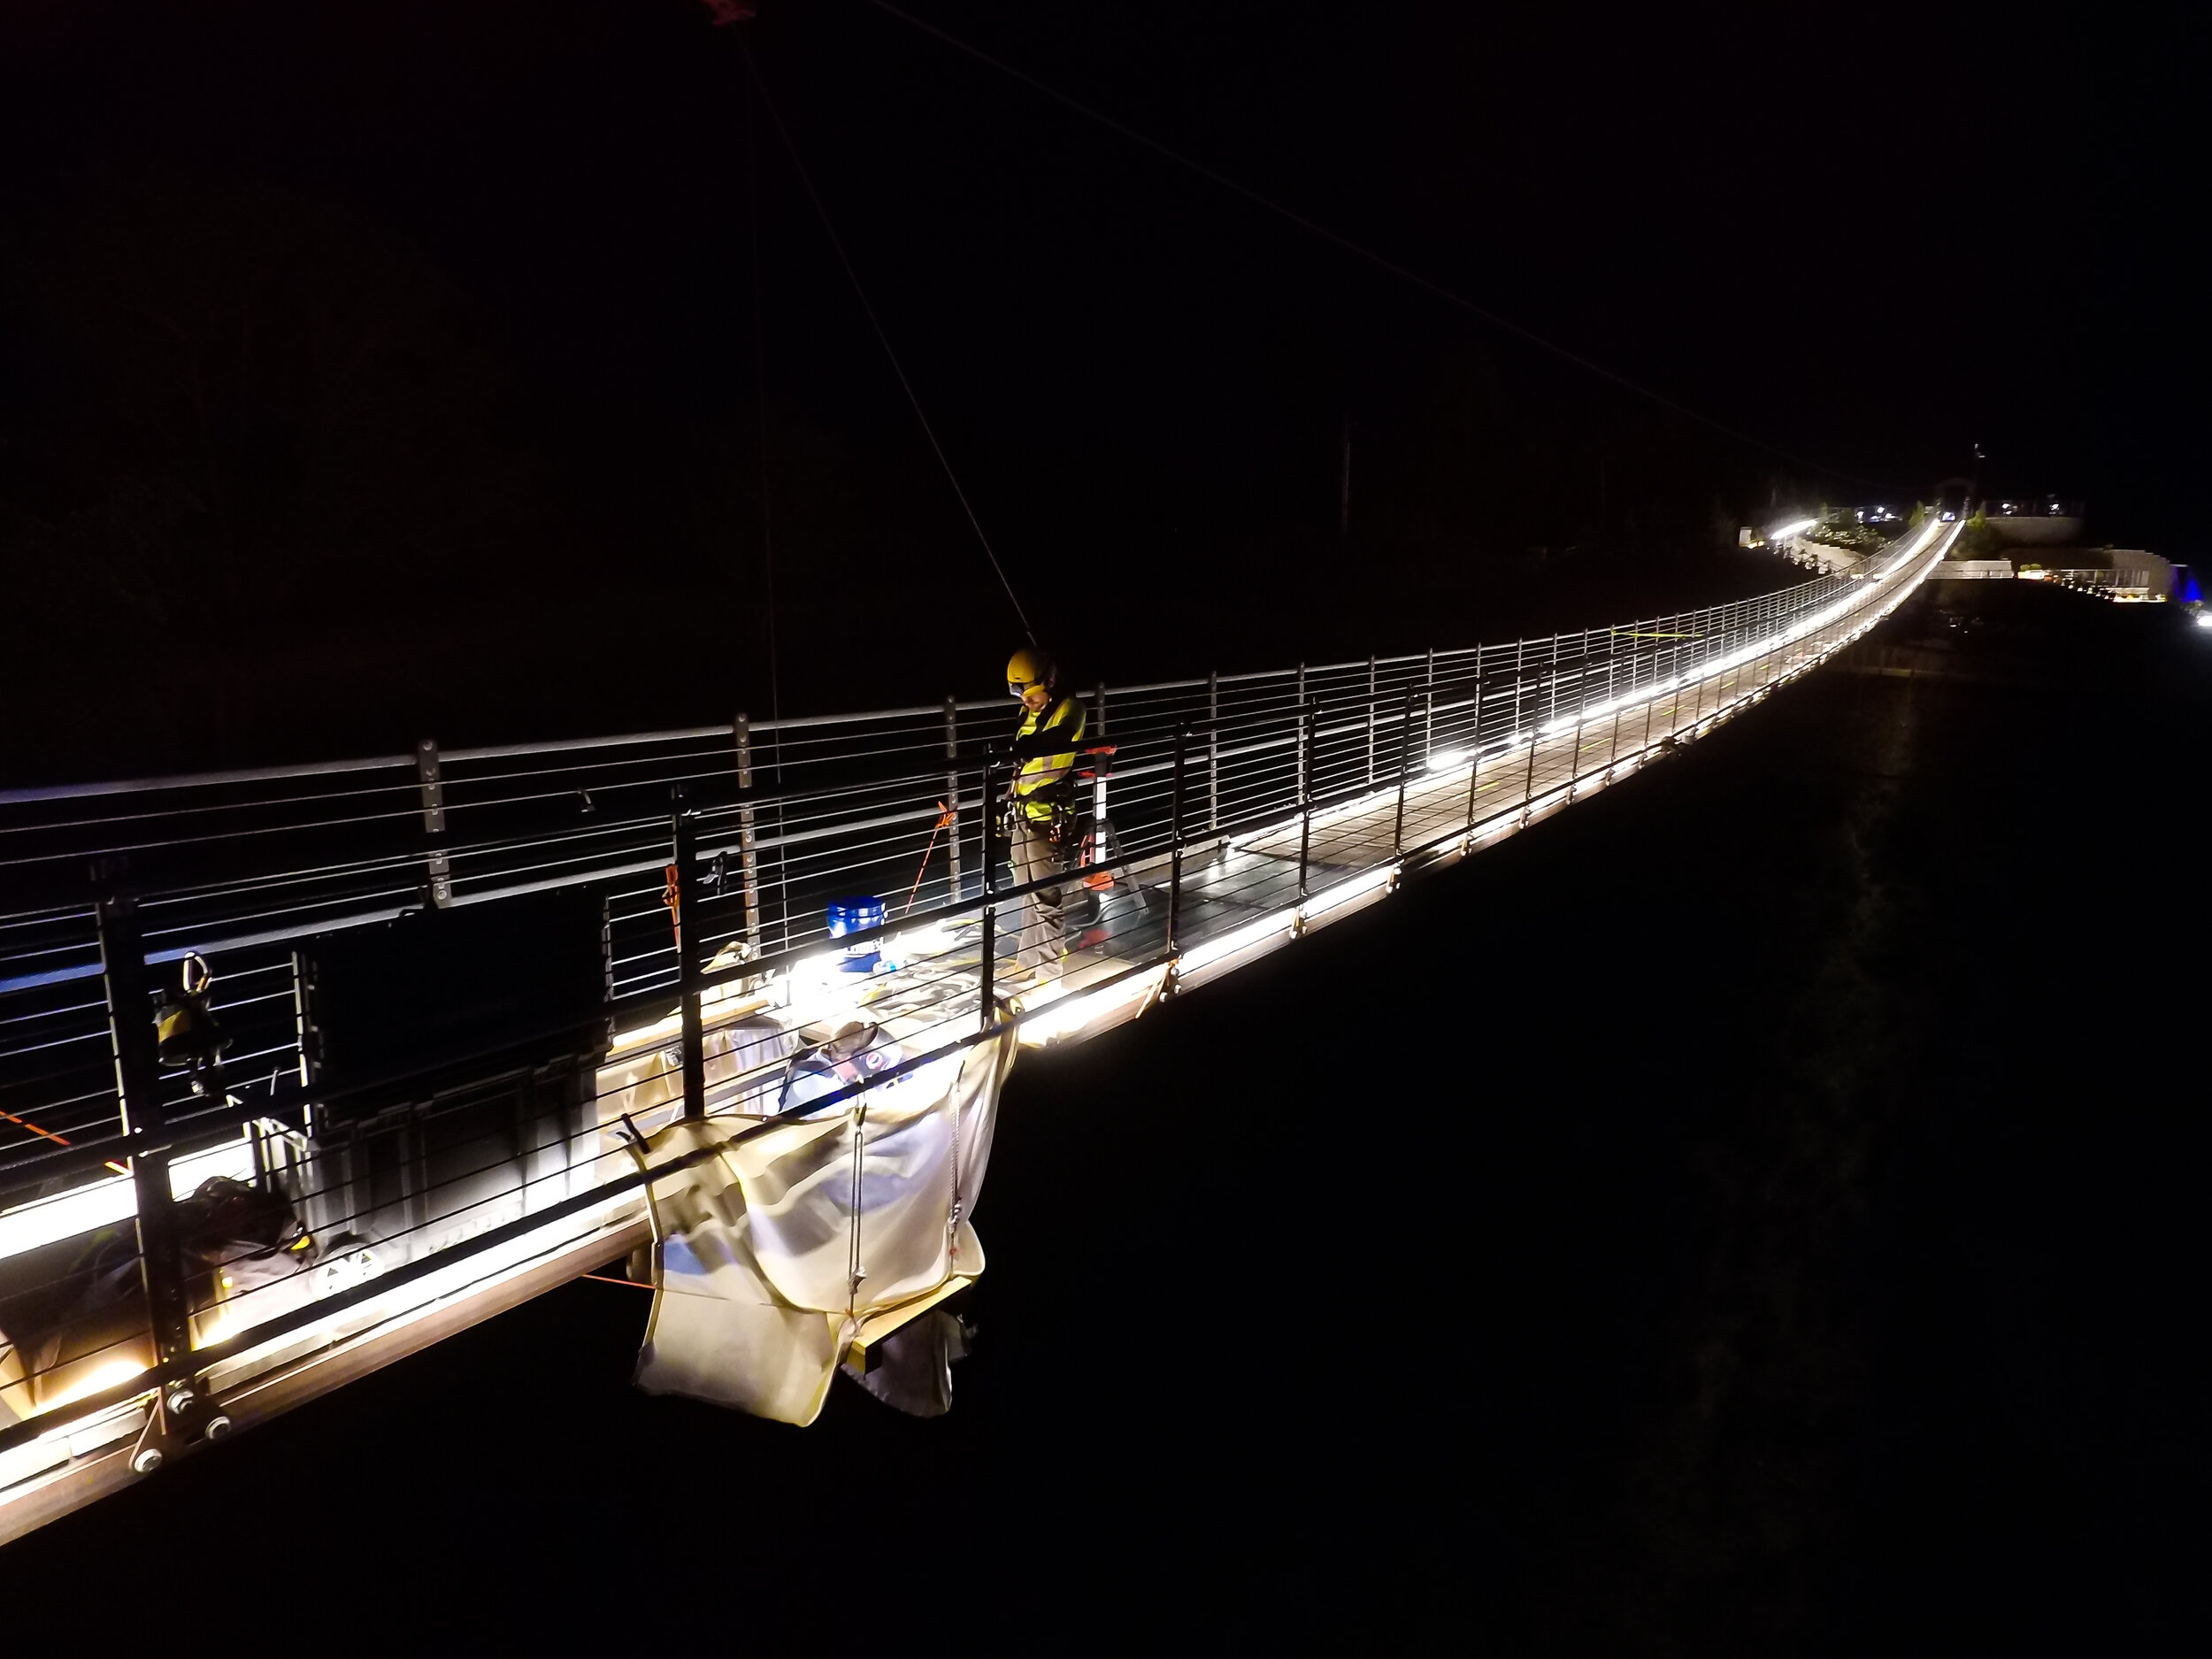
The last major structural piece to go onto the bridge is probably one of the most talked about - the three glass panels in the middle. Each panel is 5 feet/1.5 meters square, and is made of laminated, 3-ply, tempered glass that is 1 1/4” thick. Many people are fearful of crossing the glass, but a little know fact is that the glass panels are actually engineered to be even stronger than the cedar panels. The glass has a higher point loading than is required in an average concrete parking garage! Not that it matters to some folks who still refuse to walk across them. The glass is framed in stainless steel, and those panels are installed directly onto the A588 steel panels, almost the same as the rest of the bridge with just a couple of modifications. The panels are usually flown in and dropped into place, however one panel needed a little extra sealant love and had some work done right on the bridge, as seen in the photos.
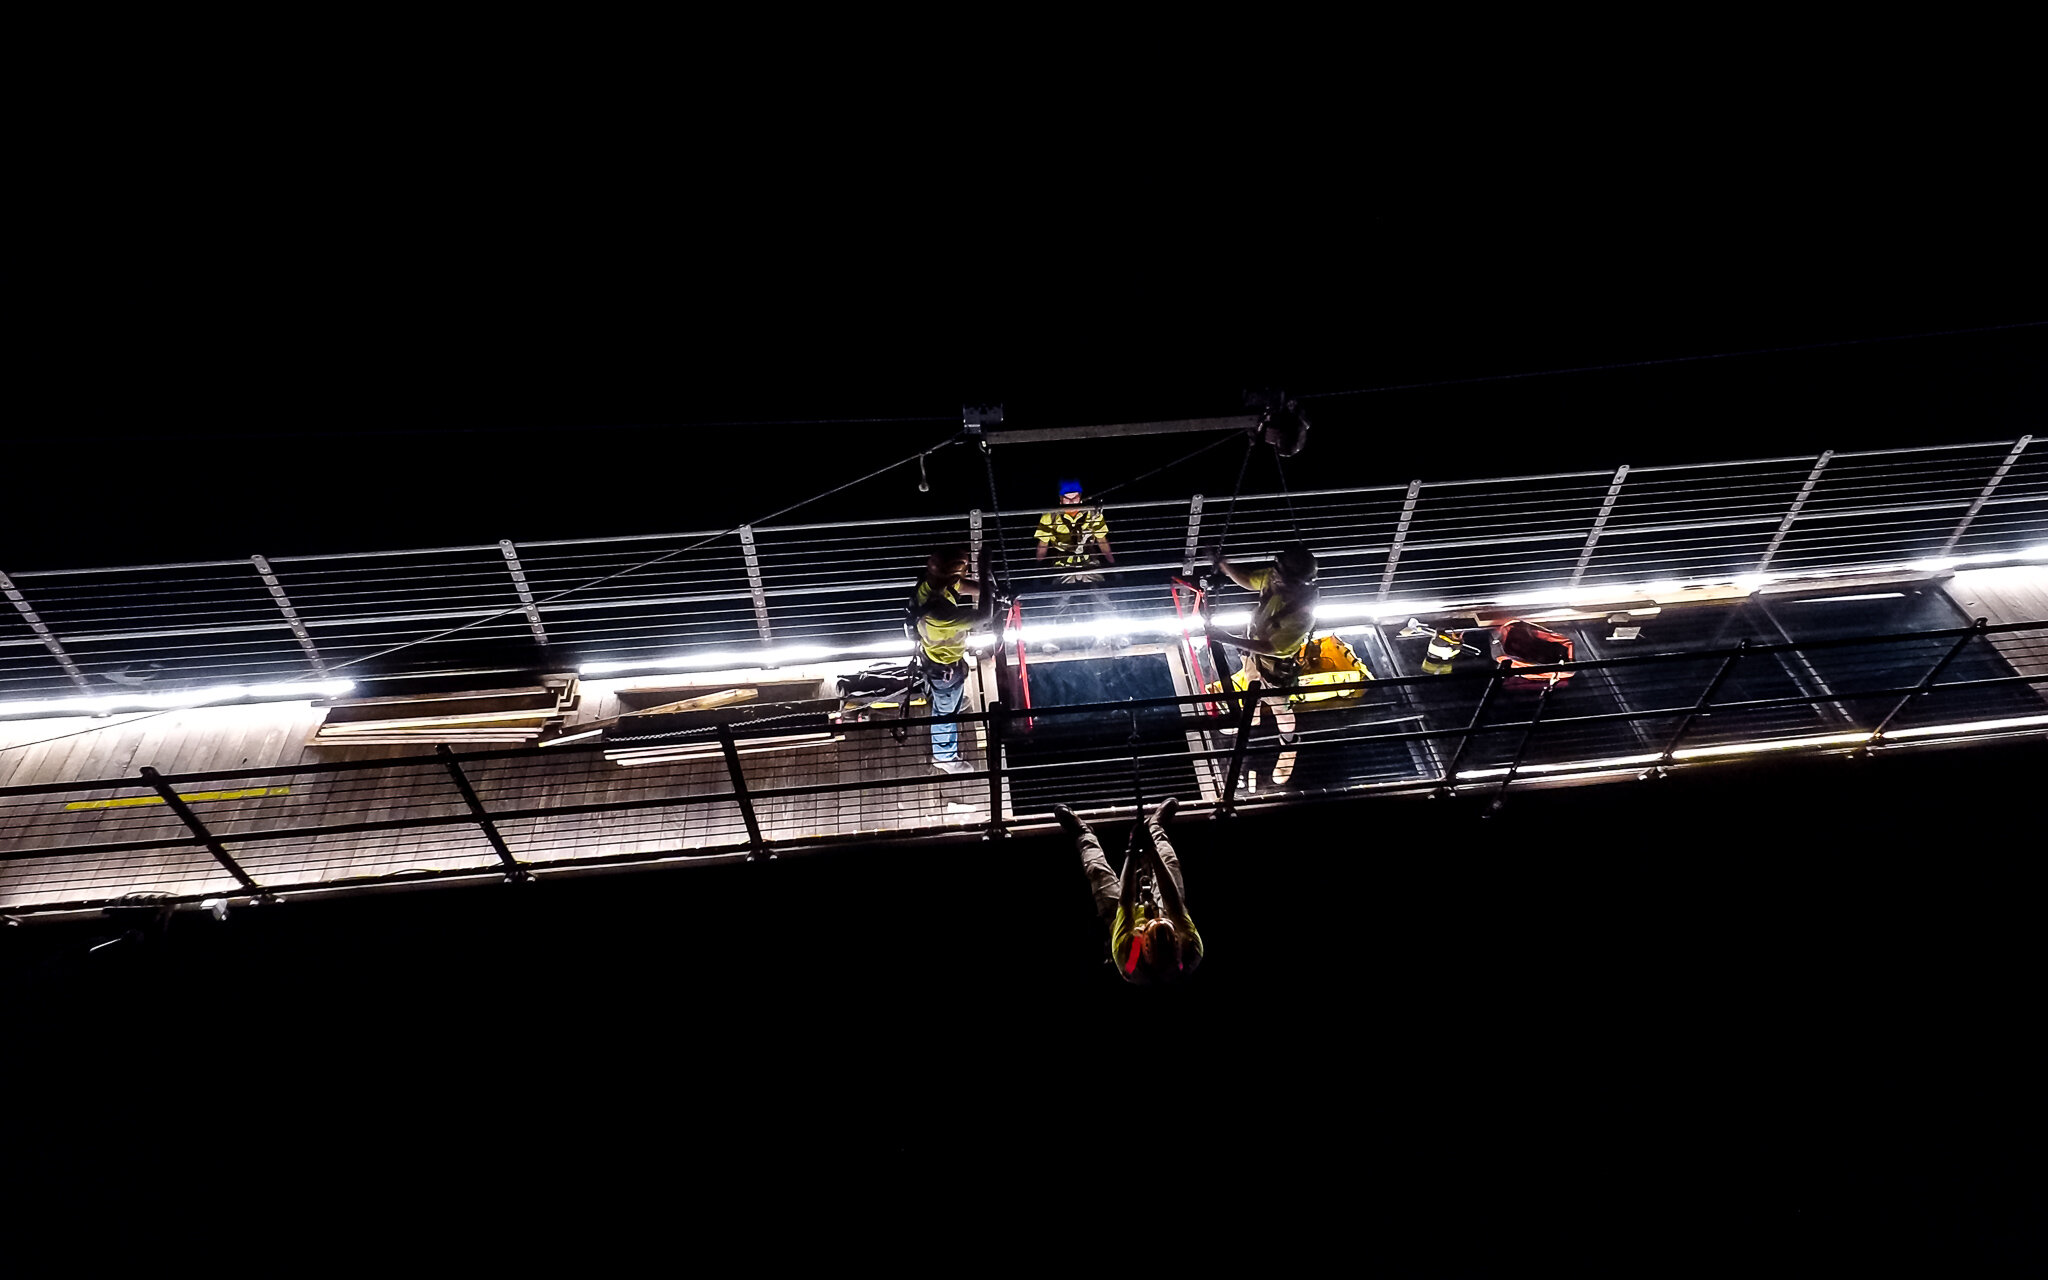
UPDATE: In the summer of 2020 (of course), an adult (yes, adult) male guest decided to violate the rules of the SkyBridge and executed a baseball-style slide across the glass. Him chipping the glass with some metal on his person in combination with the force of his shenanigans resulted in him breaking the top layer of one of the glass panels. The good news is that the glass did what it was designed to do - the top layer broke but left the other two layers completely intact, and no one on the bridge was in any danger. So while we’re not thrilled that it happened, we were very happy to see the safety features work as designed. Plus, the Gatlinburg Skylift decided to add three more glass panels while they are at it, bringing the total length up to 30’ of clear glass at the center of the bridge! ERi was happy to modify some of the subframes and install that glass during some fun overnight work sessions in the 2020 - and it’s looks GREAT!
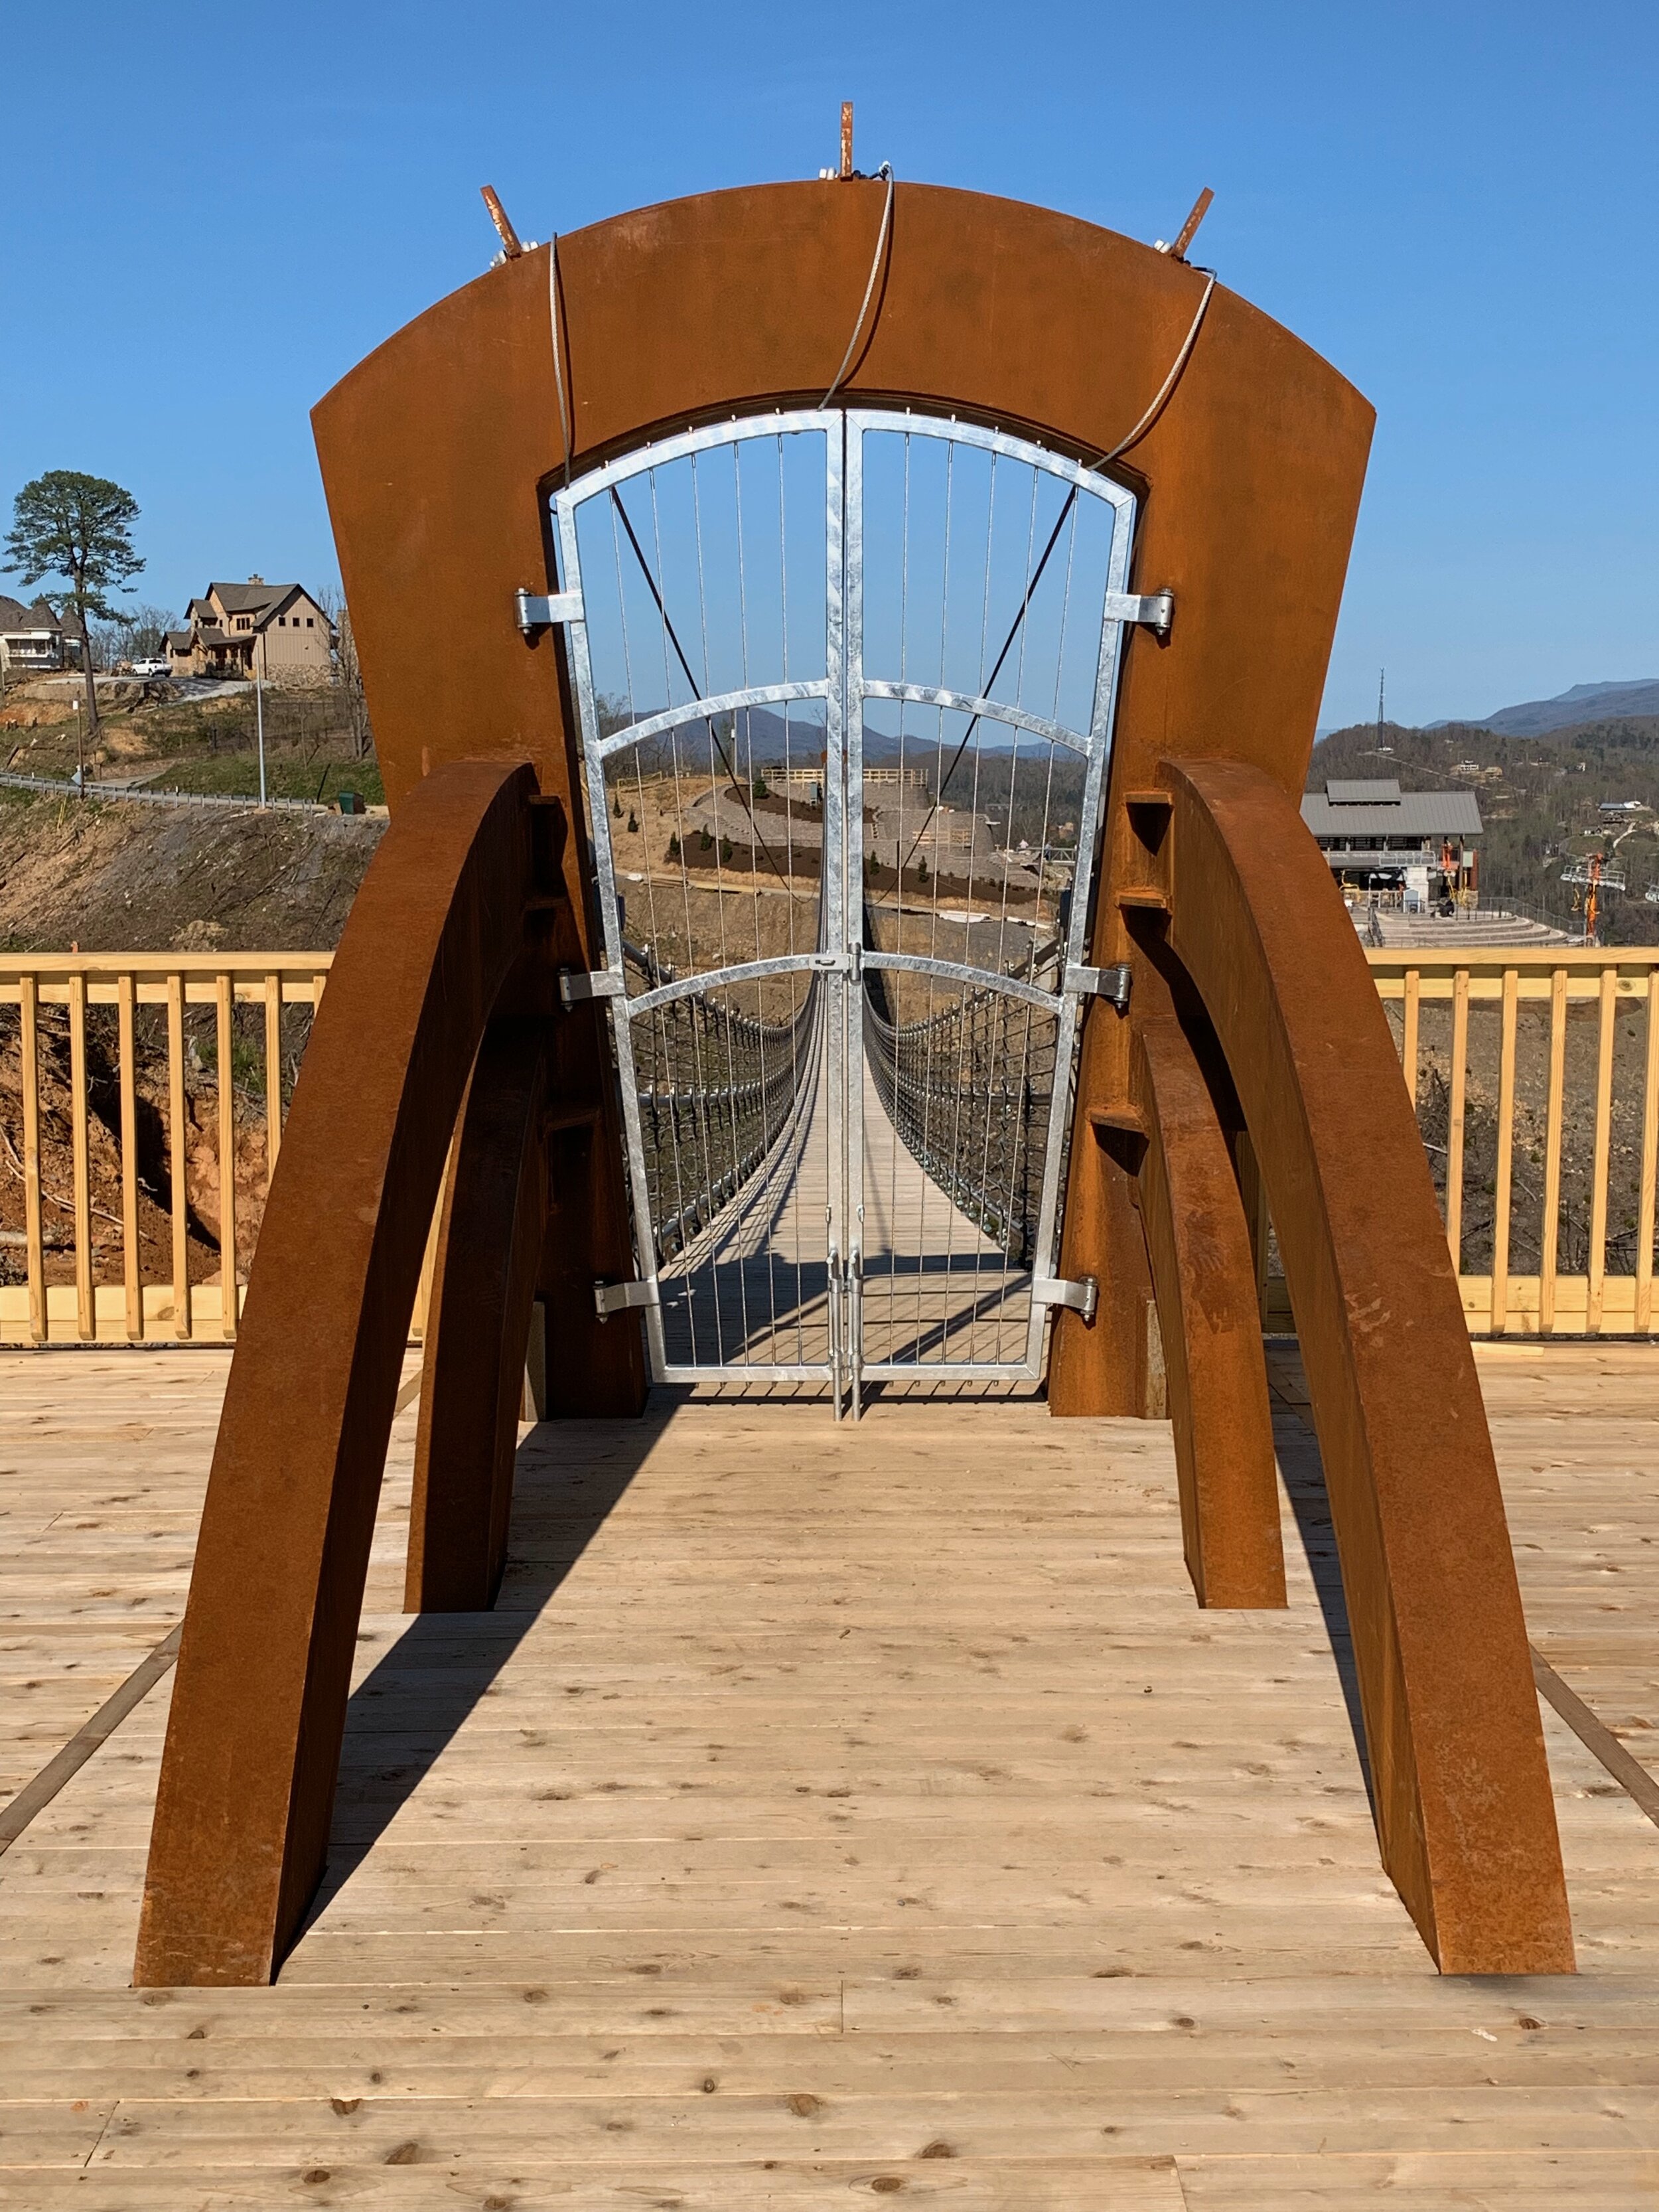
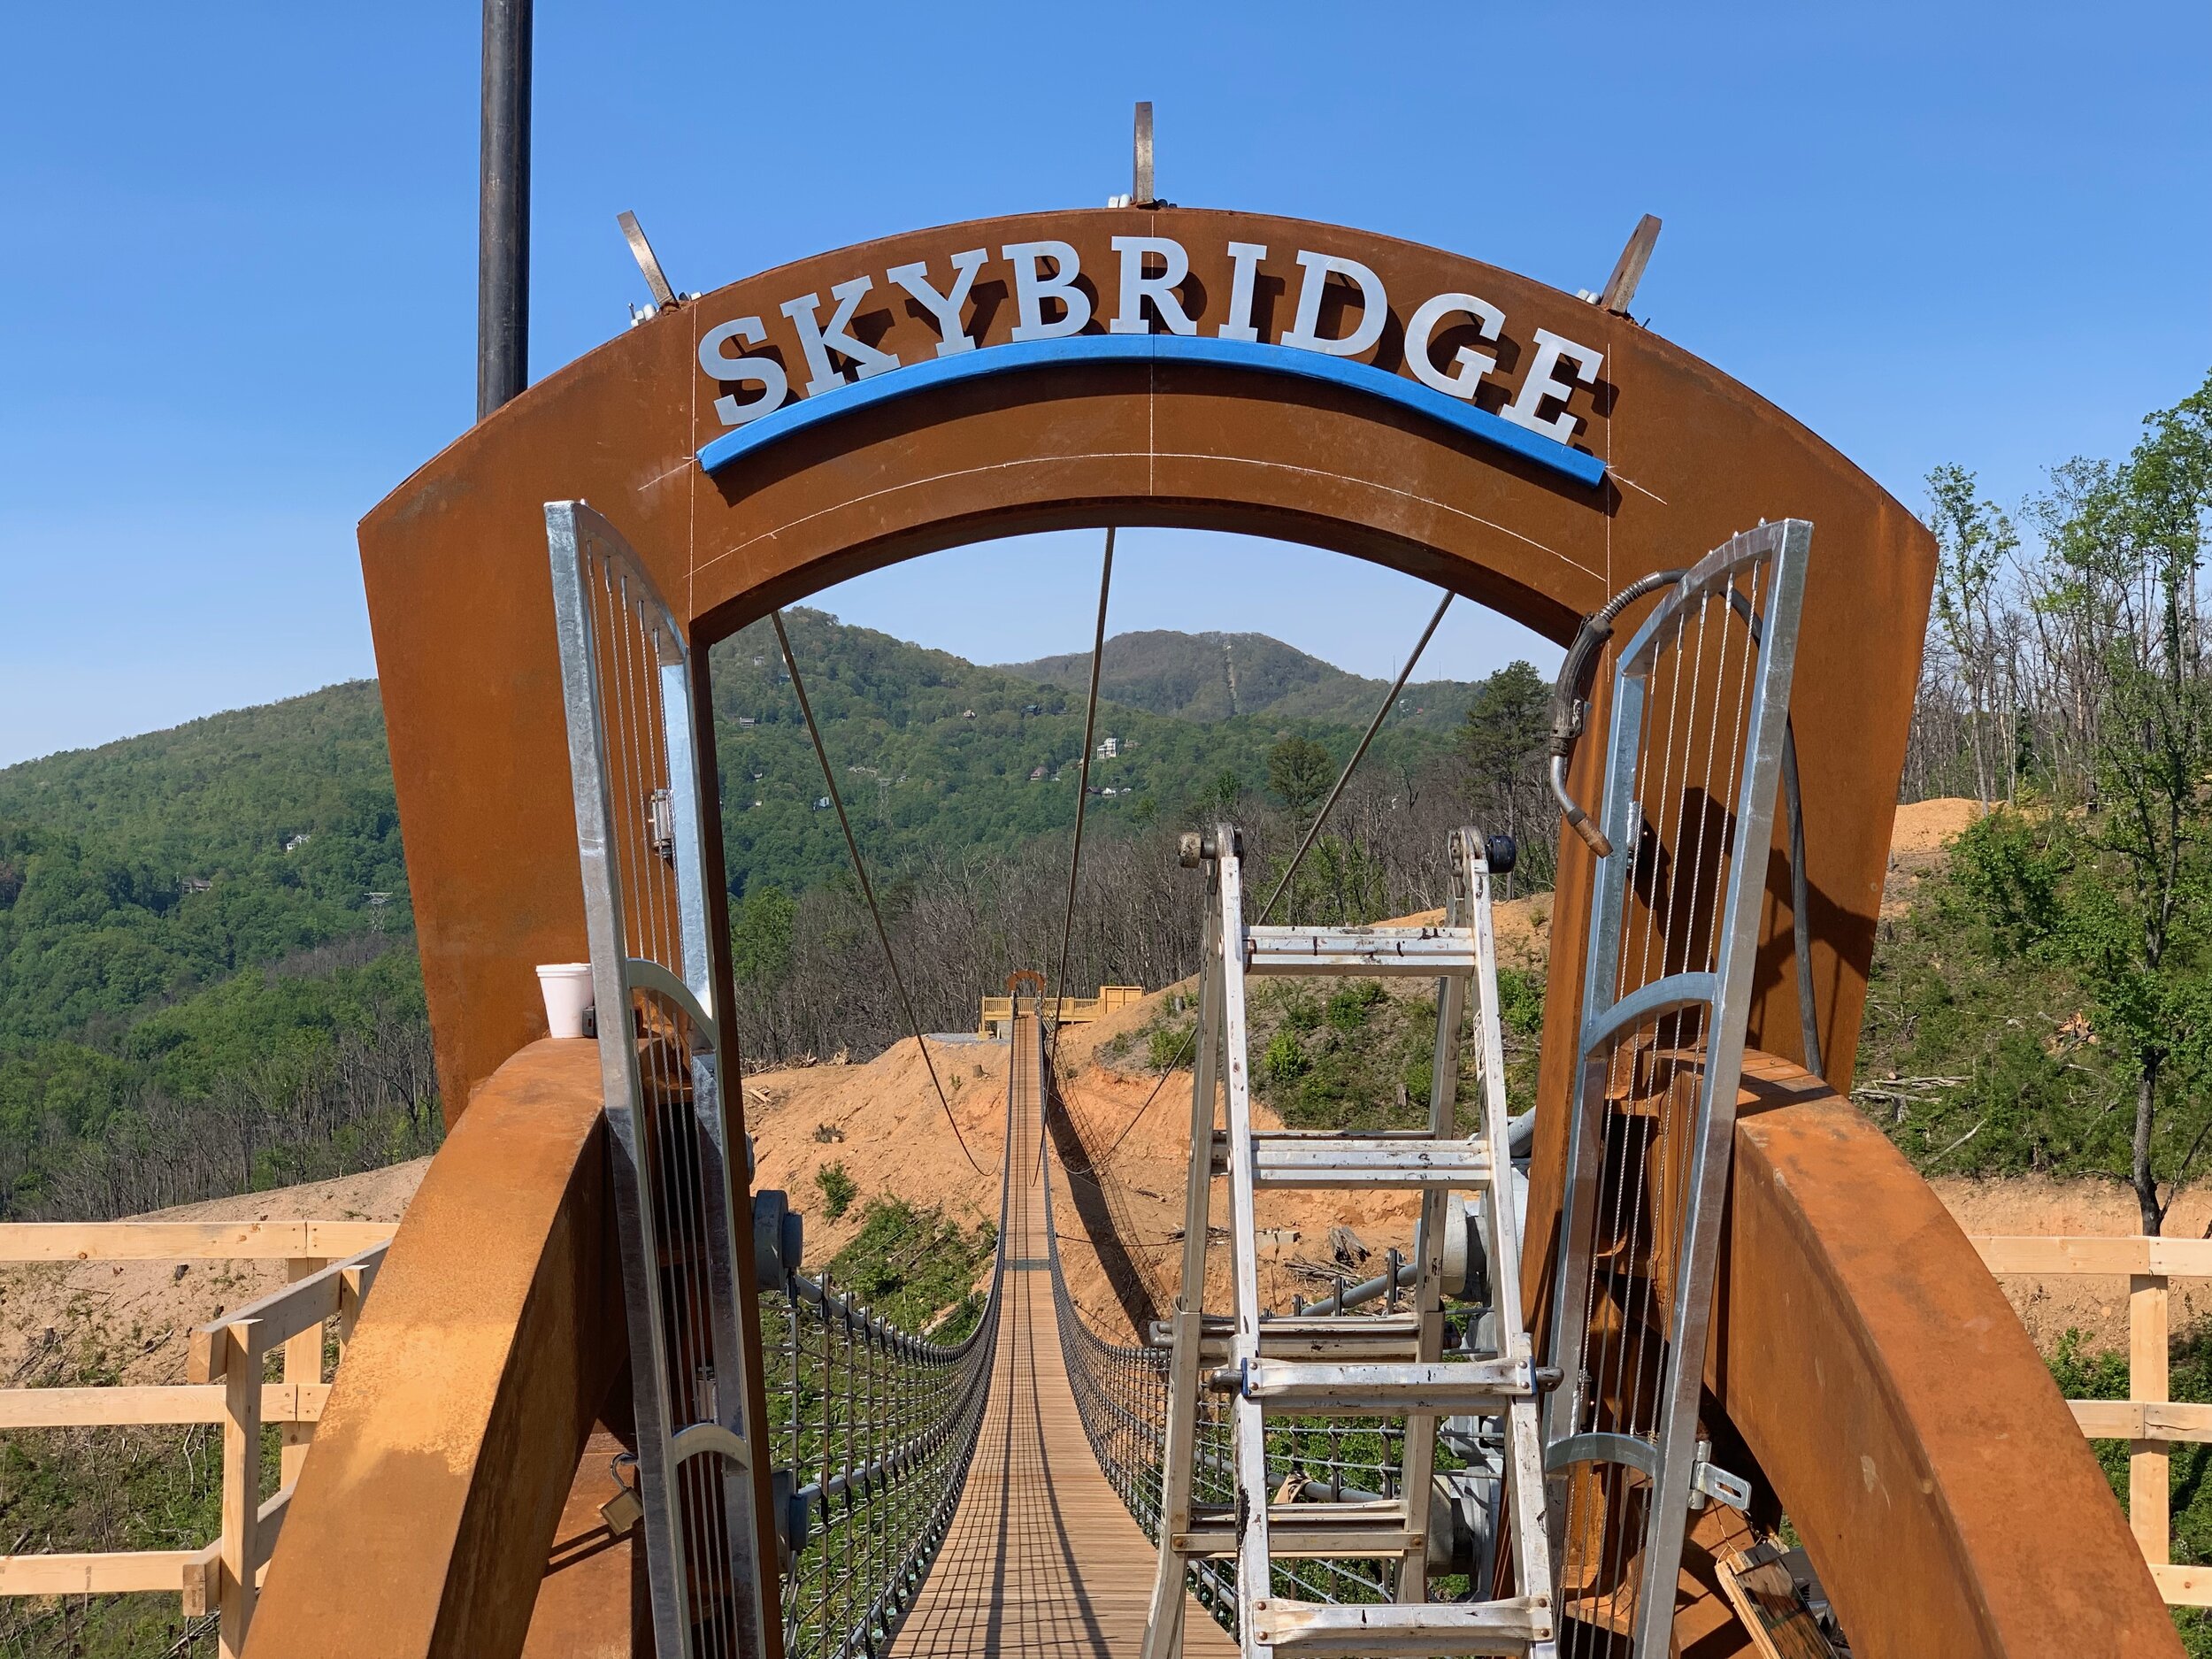
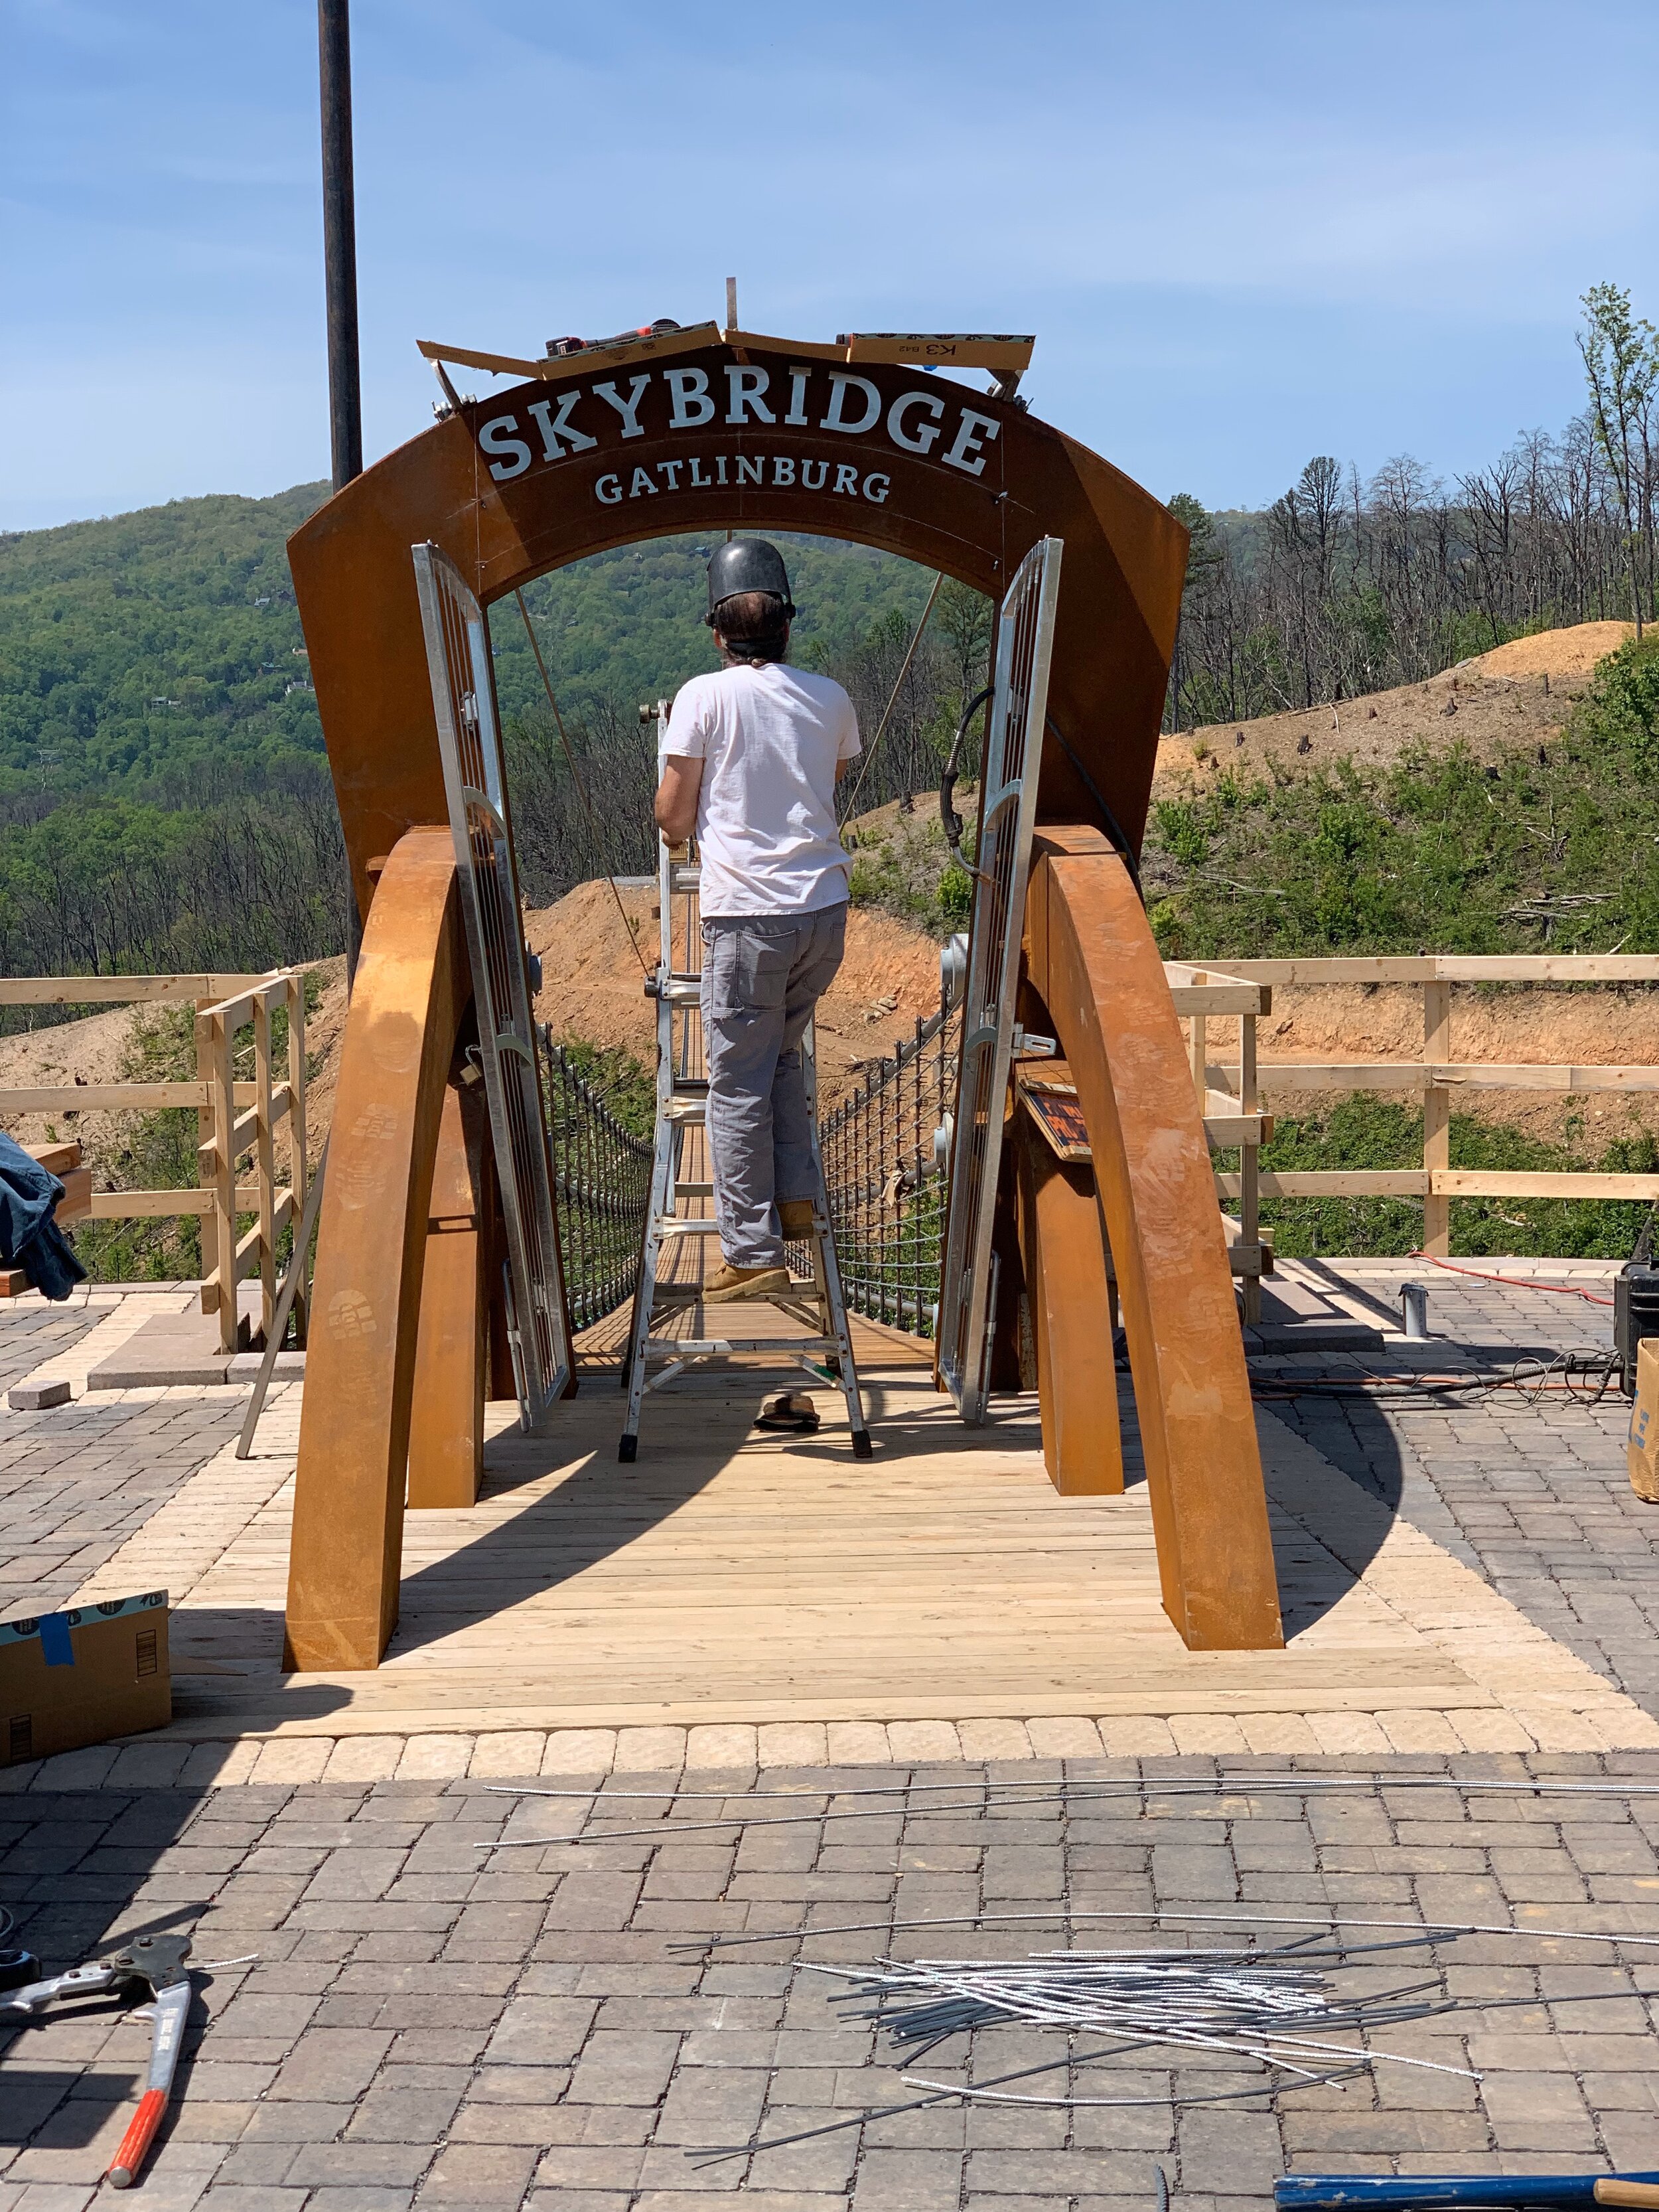
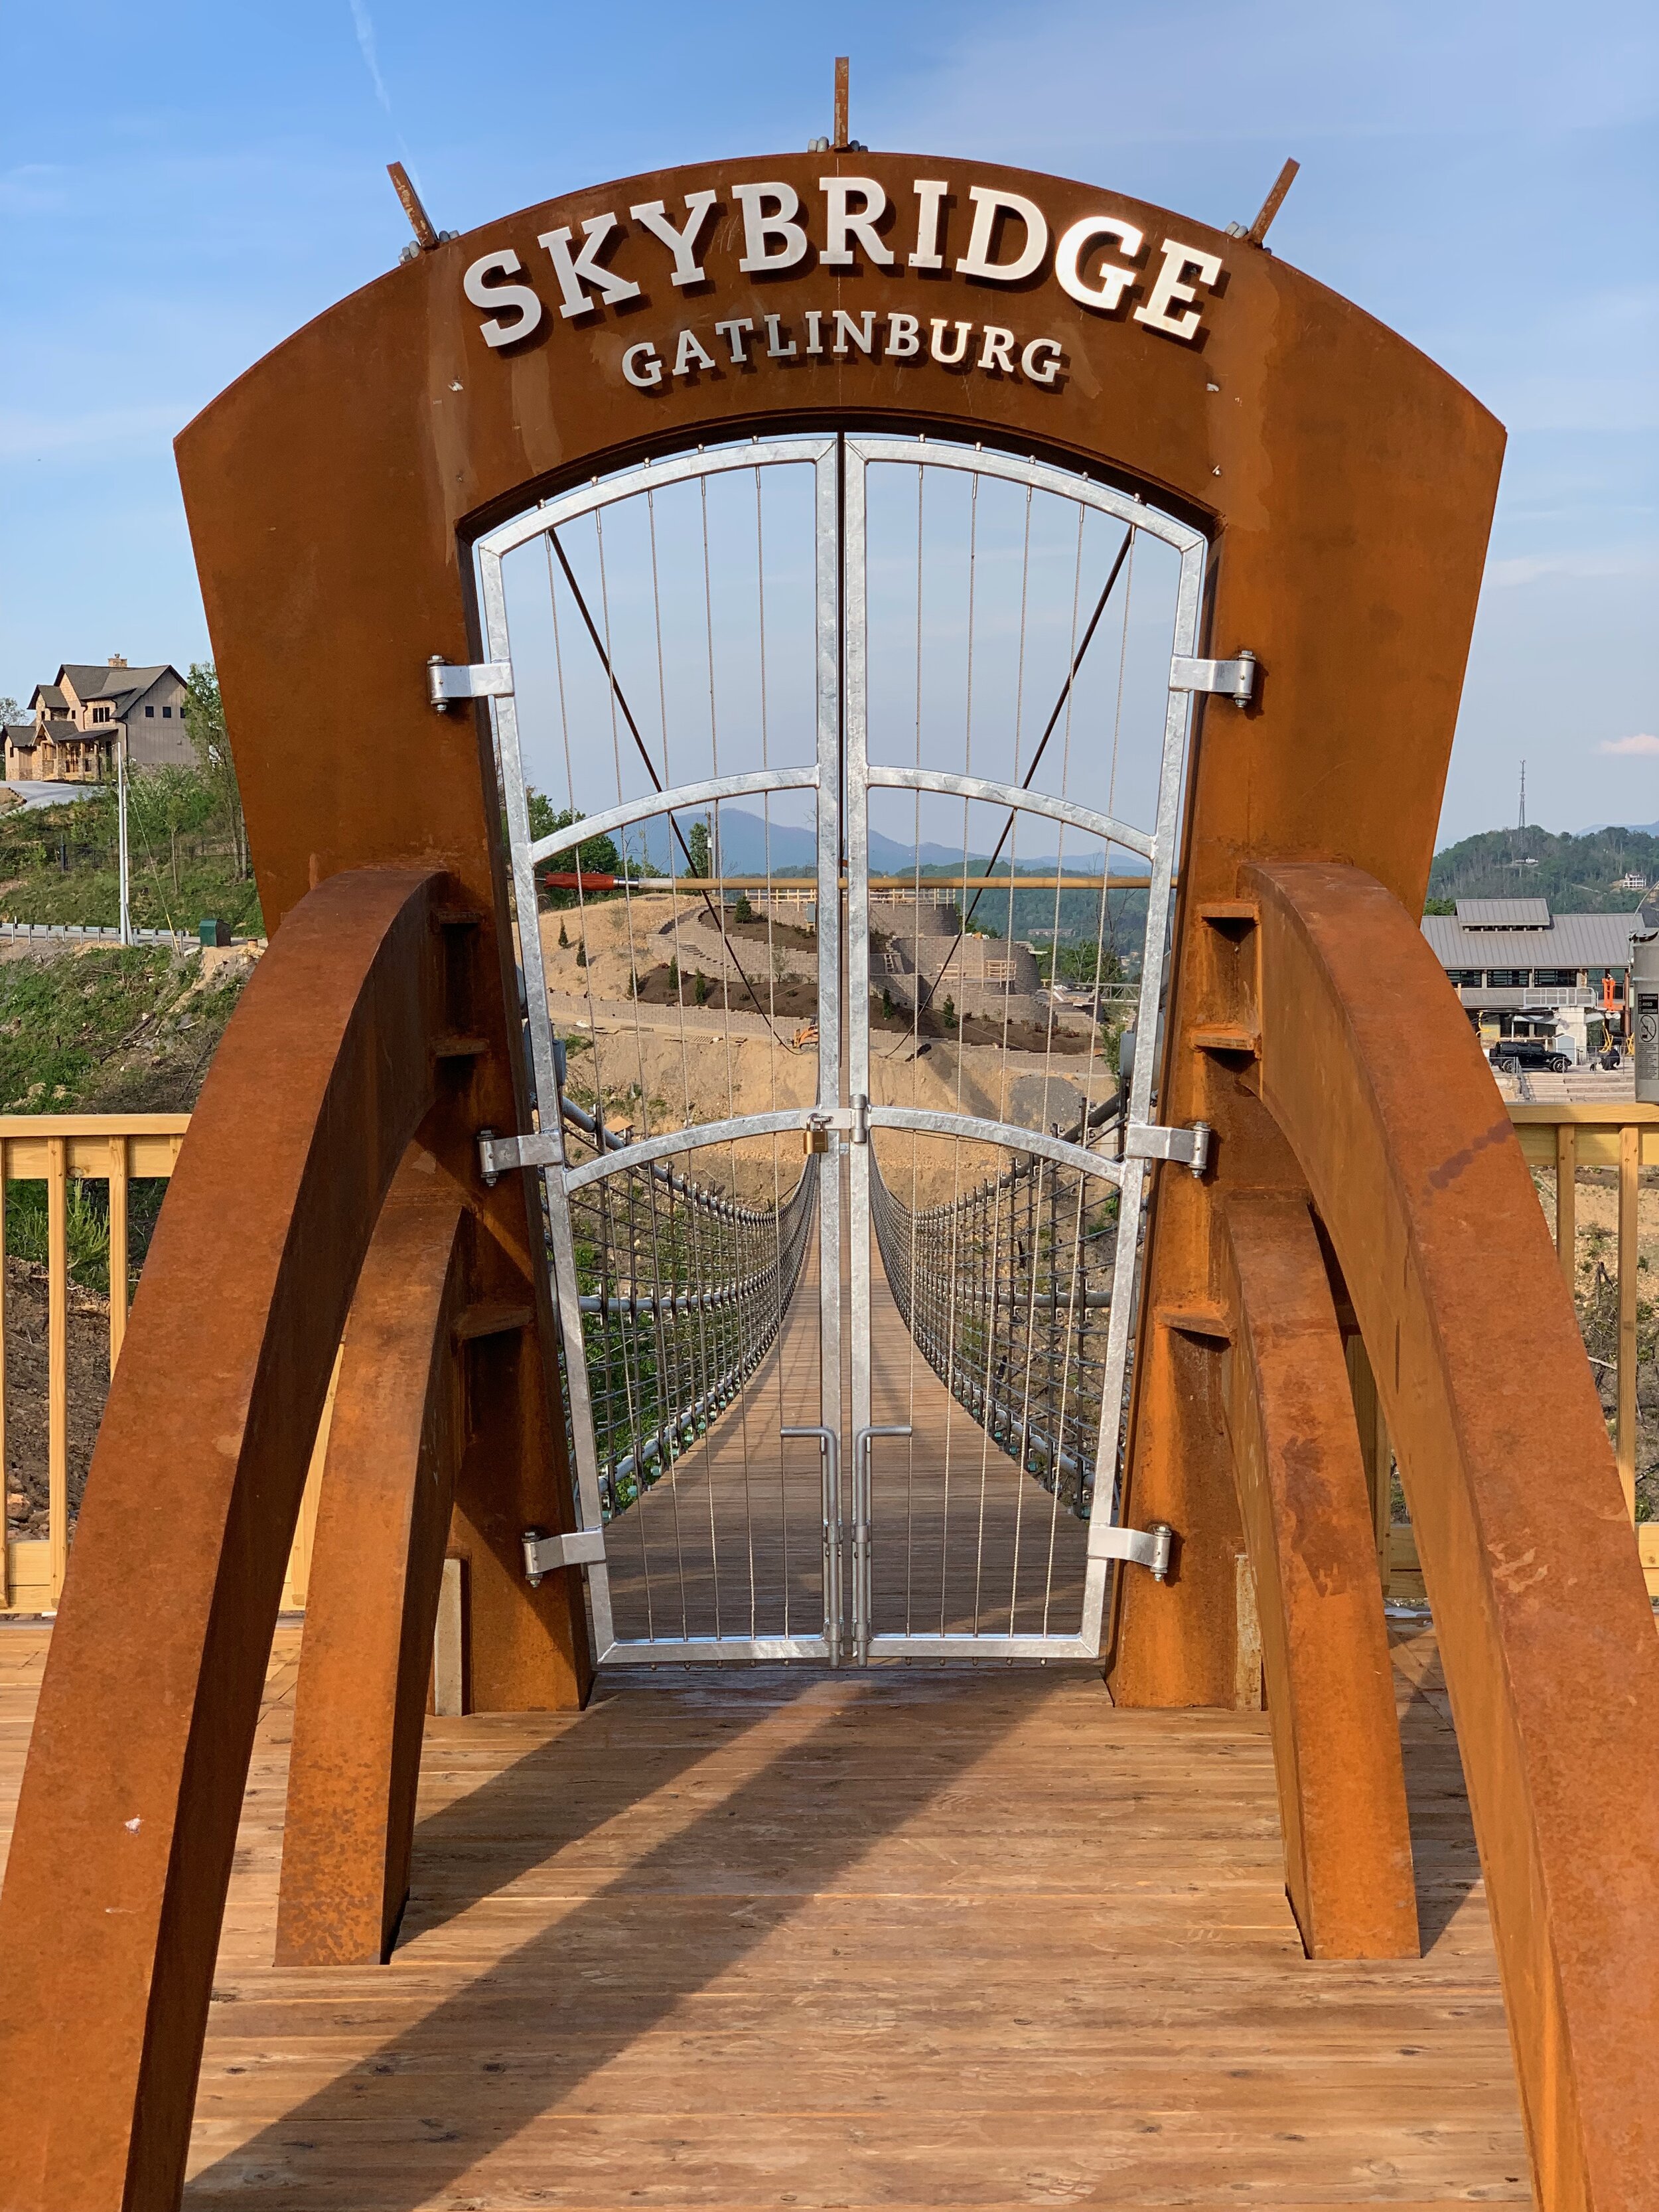
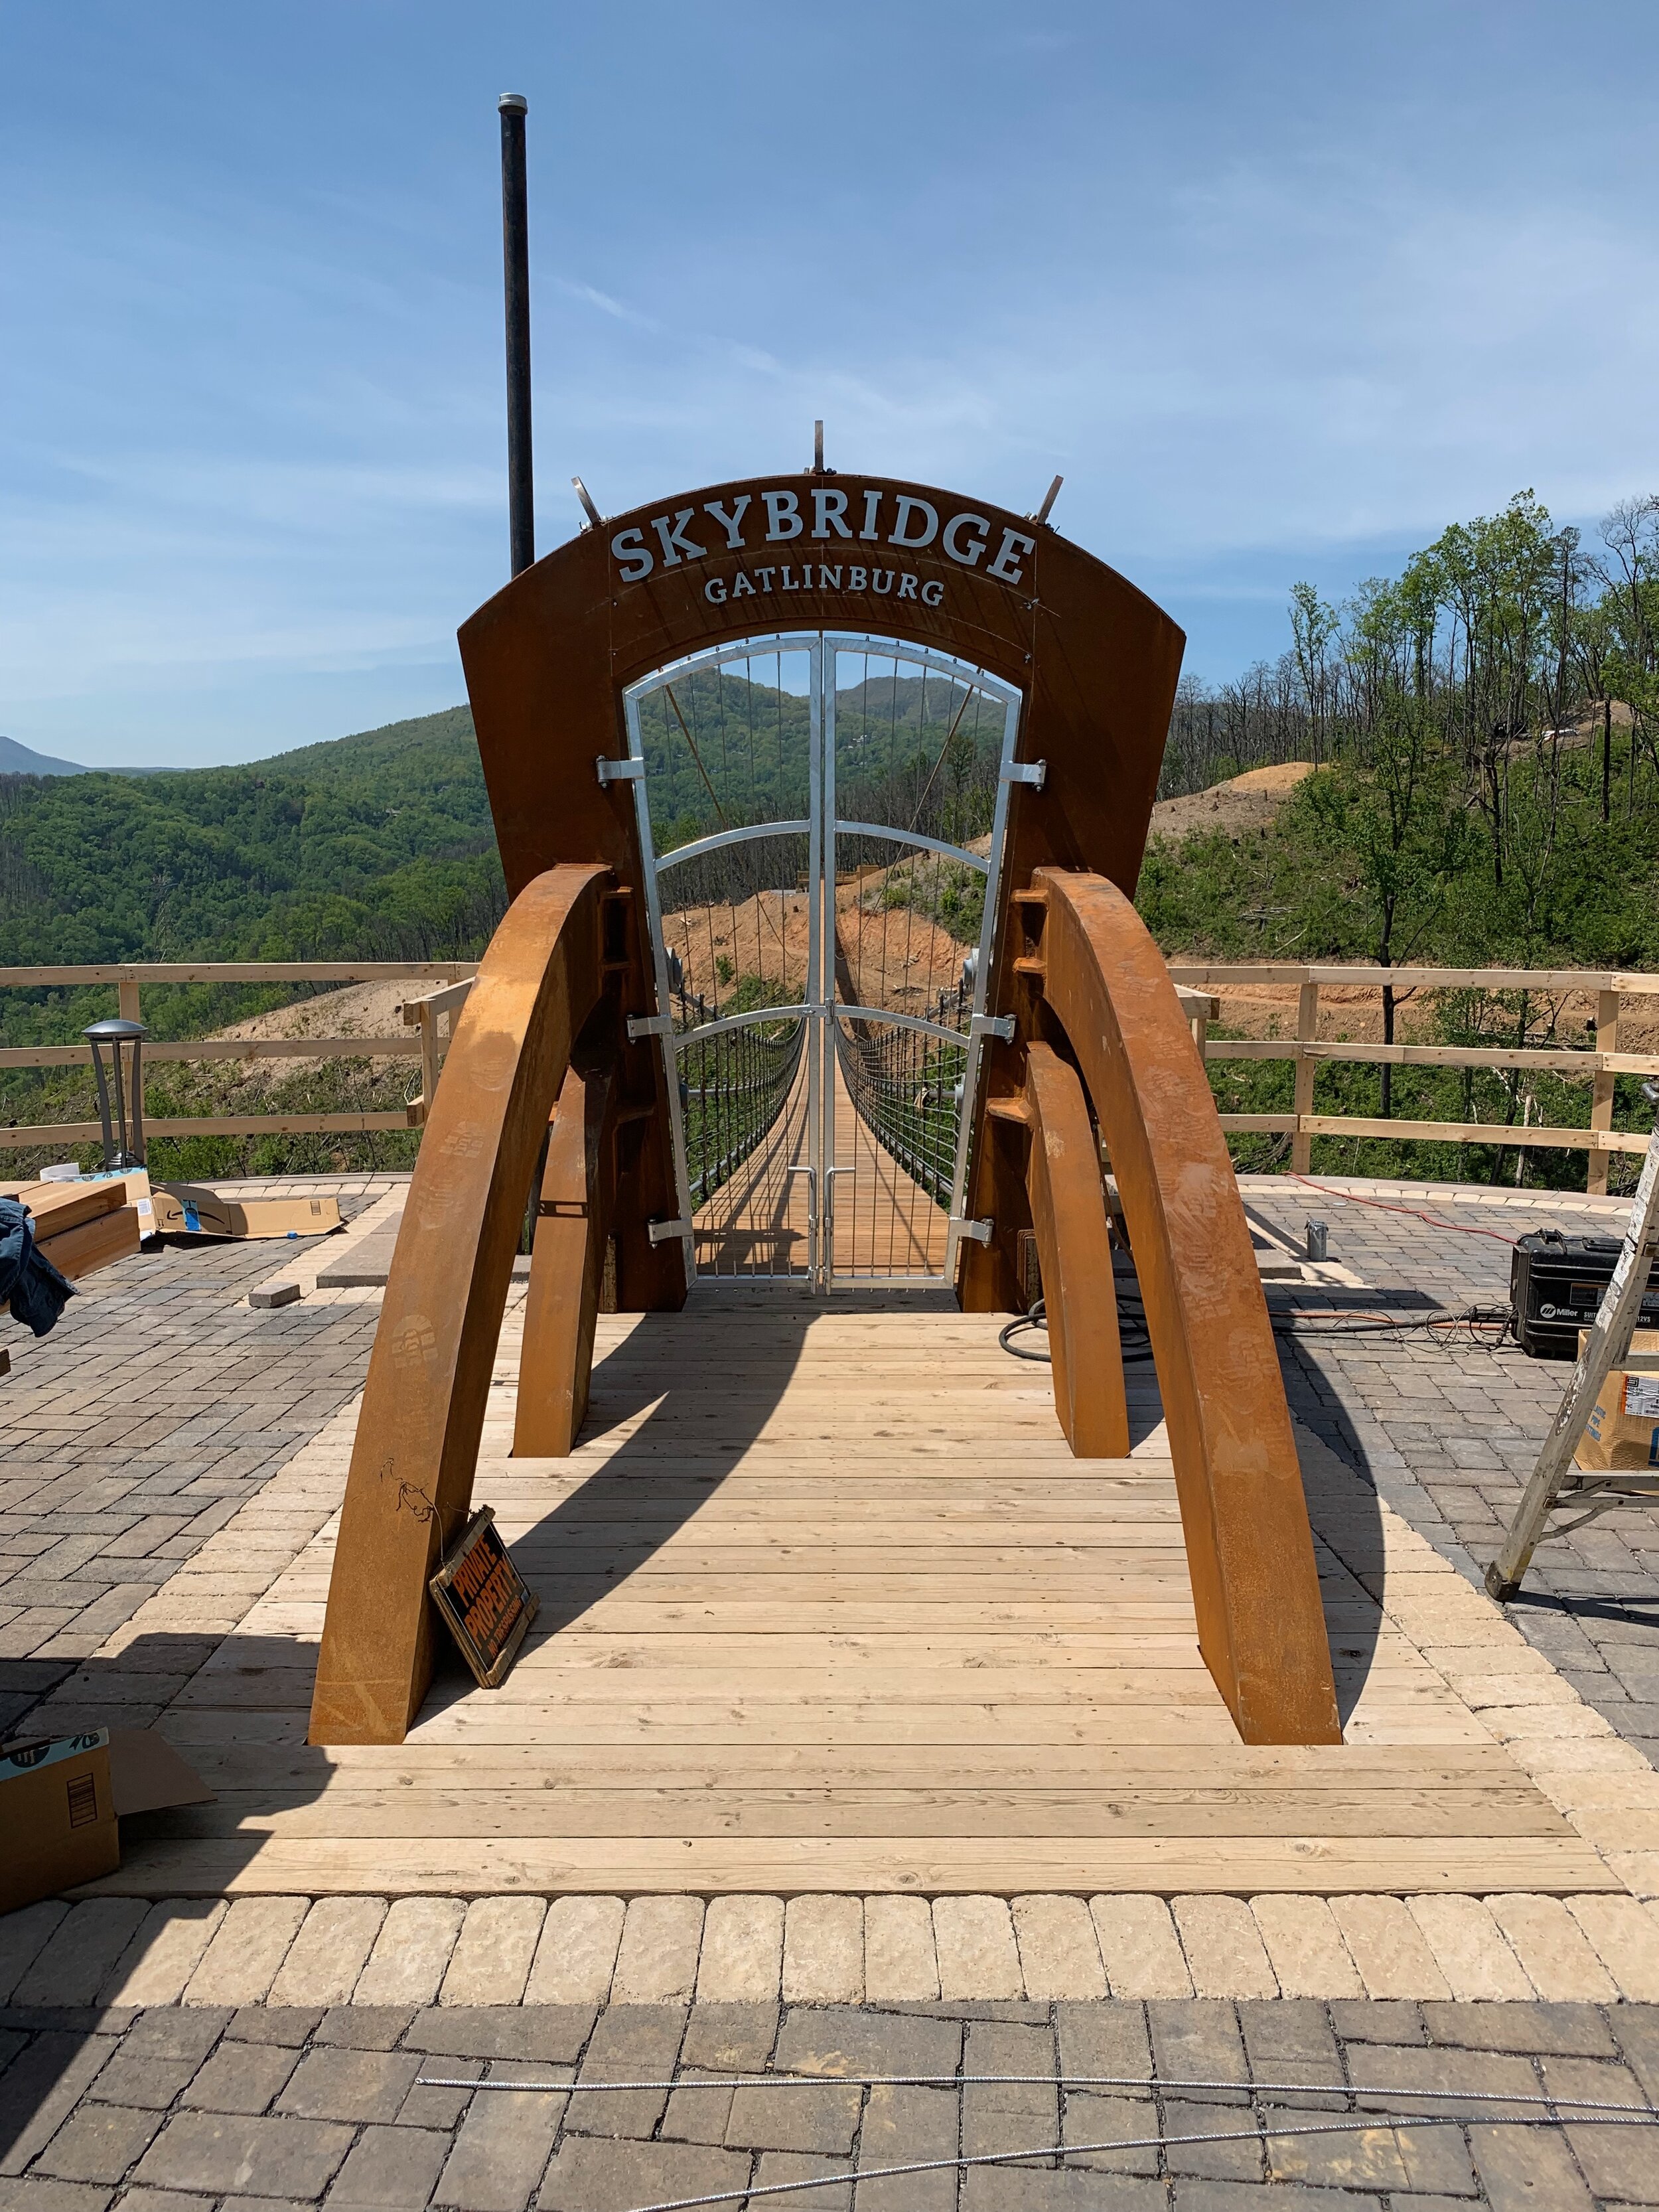
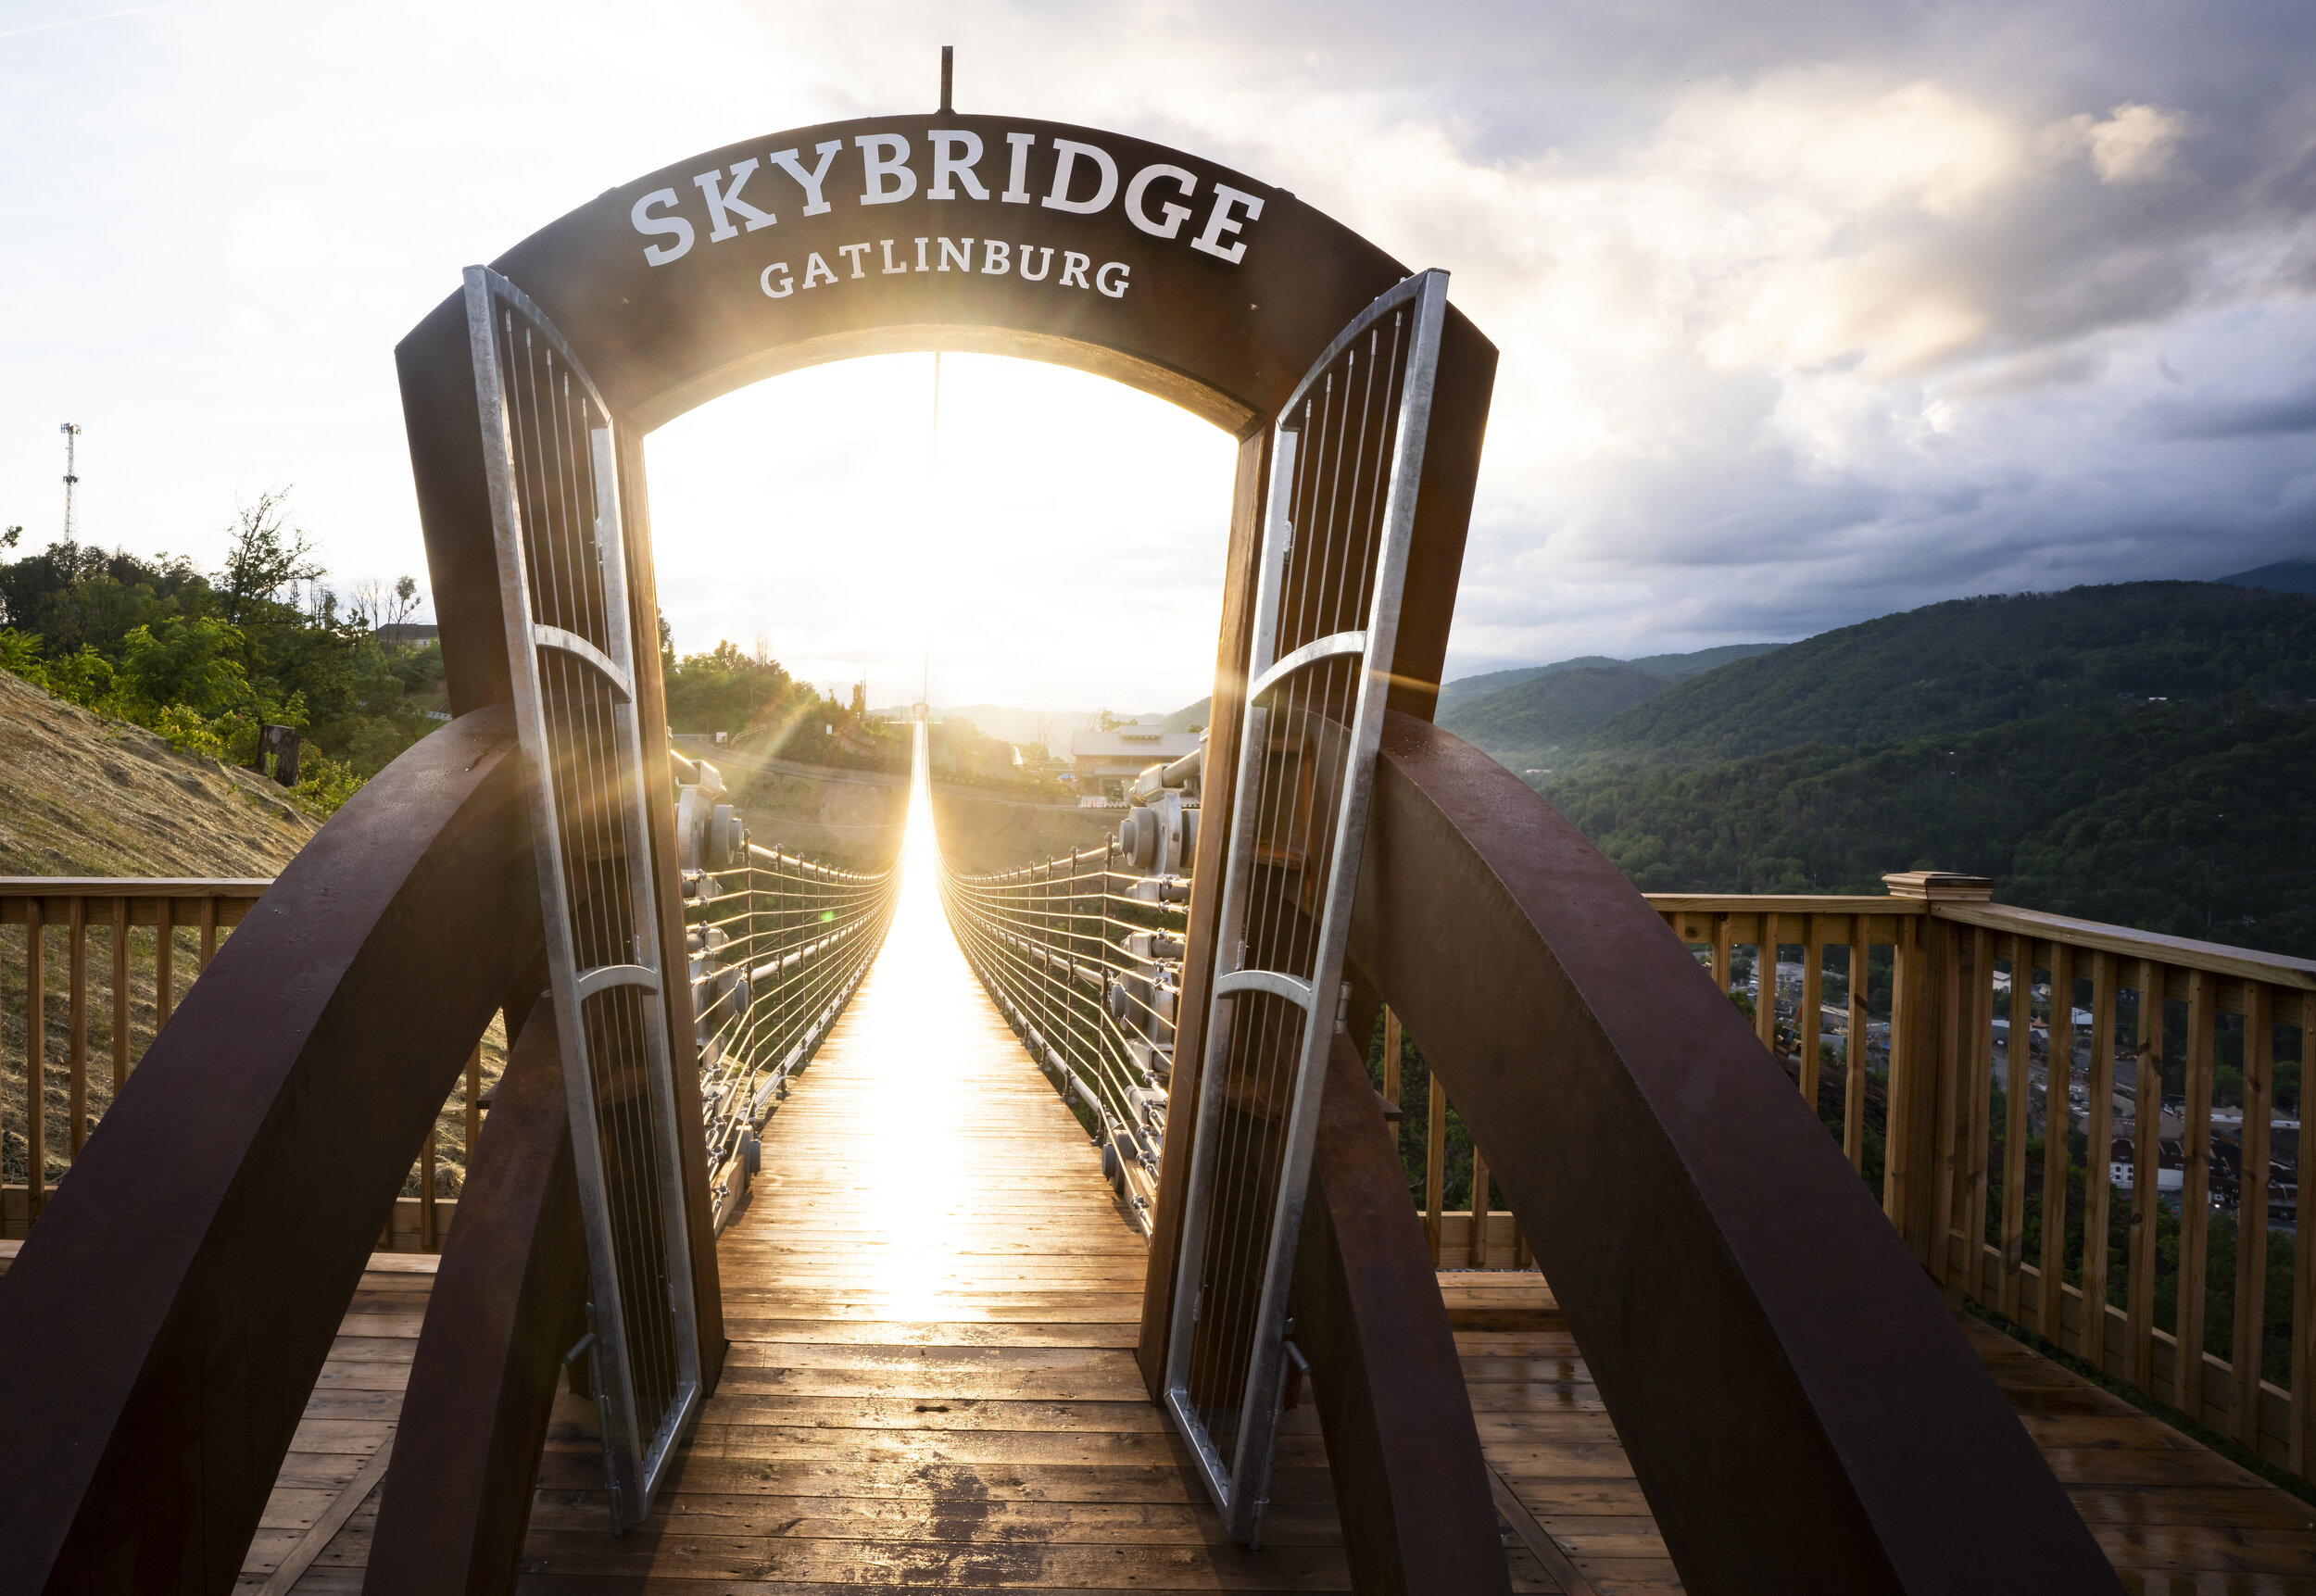
FINISHING TOUCHES
And now, there were just a couple things left to check off of the list. The bridge needed some gates, and we also needed to transform the portals from their plain (but beautiful!) structures into the iconic Gatlinburg SkyBridge entrances that we know today.